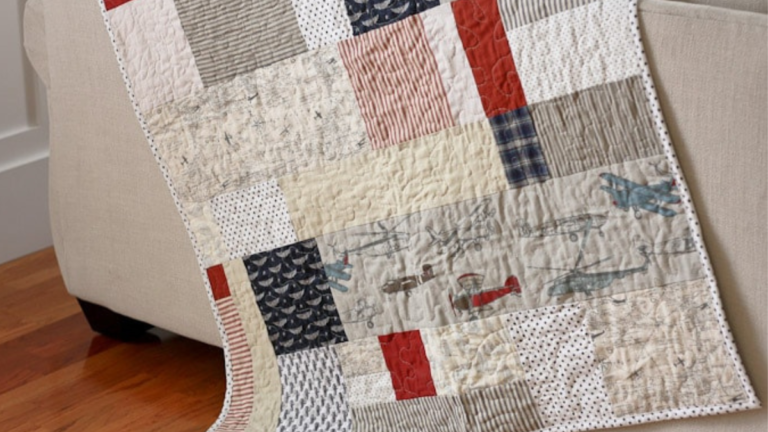
Baby Quilt Without Binding
Today we are making an easy baby quilt without binding. You can literally do this baby quilt pattern in 3 hours or less. Grab your favorite charm packs, fabric for your strips and back and get ready to have some fun.
Win a Fat quarter bundle of fabric on our giveaway page.
Supplies for Baby Quilt
- 2 package of charm packs
- batting for quilt
- Fabric for strips and backing
- Spray Adhesive
Video
Directions
Most crib size quilts are 36″ x 52″. However, you can change it to any size you want. My directions are for this size. Another factor is your material. My material is from Amazon and honestly it’s thinner than most quilting fabric.
It stretched alot while sewing. So what I am saying, is this is a guideline, you can adjust the squares to make it any size you want.
So let’s get started on making our baby quilt without binding. Go ahead and open the charm packs.
You want to place the squares in the pattern you like. You will start with a whole square and then cut the next square in half and use only half. I just folded the pieces in half and cut with my scissors. You will keep that pattern going. I had to do around 10 squares per row to get the size I wanted.
Sew your row of charm pack pieces using a 1/4″ seam allowance to complete row 1. Take it to the iron and iron in one direction. I like to put the iron down on the seam and hold for a few seconds and now press the fabric.
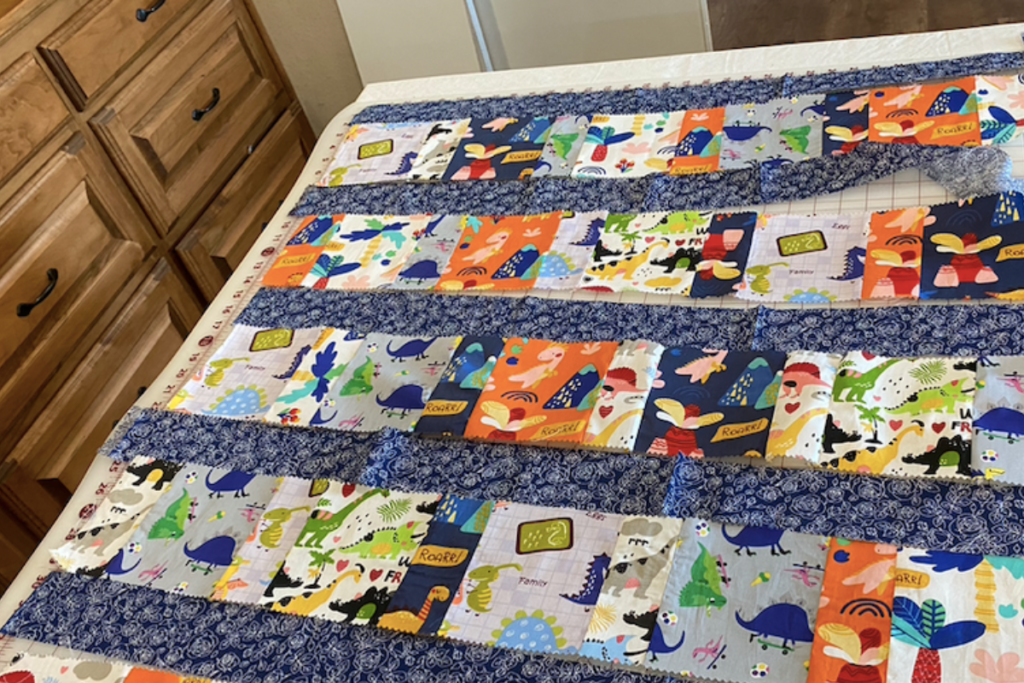
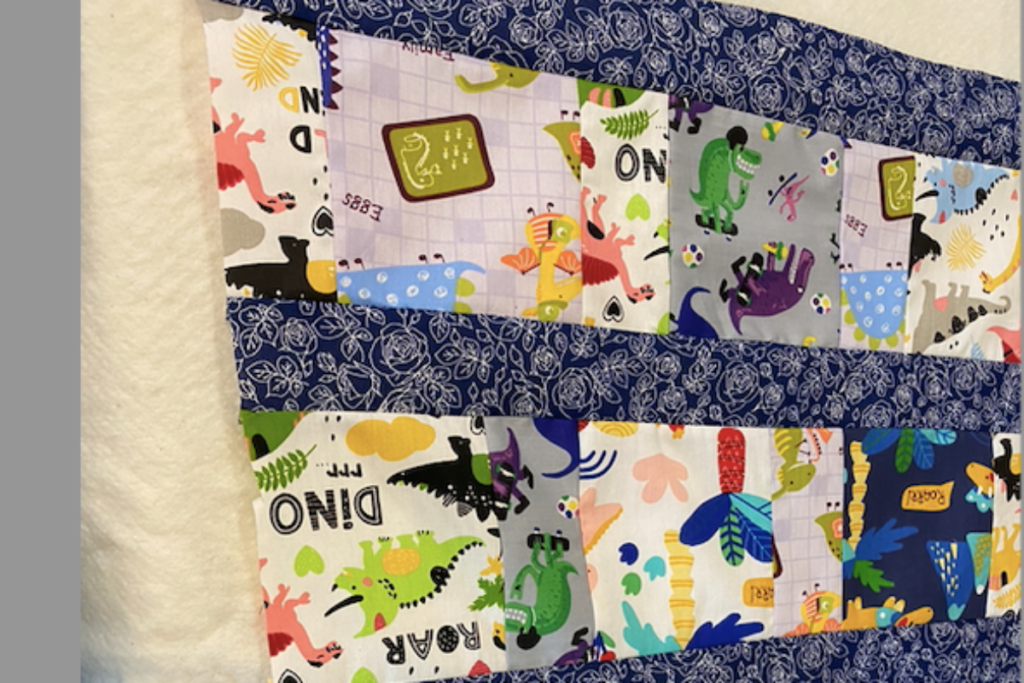
I did all my squares because the strips for sashing are all the same size. On the next row you will start with a 1/2 charm pack and then a full charm pack piece. Again, I got it to approximately 10 pieces. Now sew that row to complete row 2. Go to the iron again and press.
I did a total of 9 rows for my quilt. I did have a few pieces leftover.
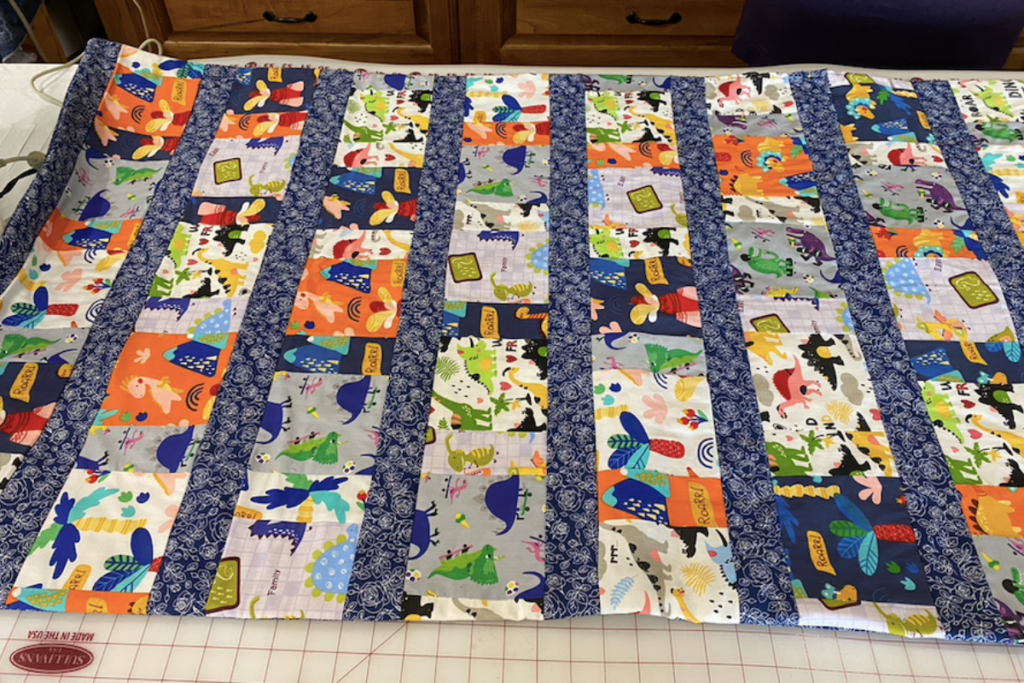
Sashing directions
Cut your sashing 2 1/2″ WOF. I did one at the top and bottom and 1 between each row of charm packs.
Put your Top Together
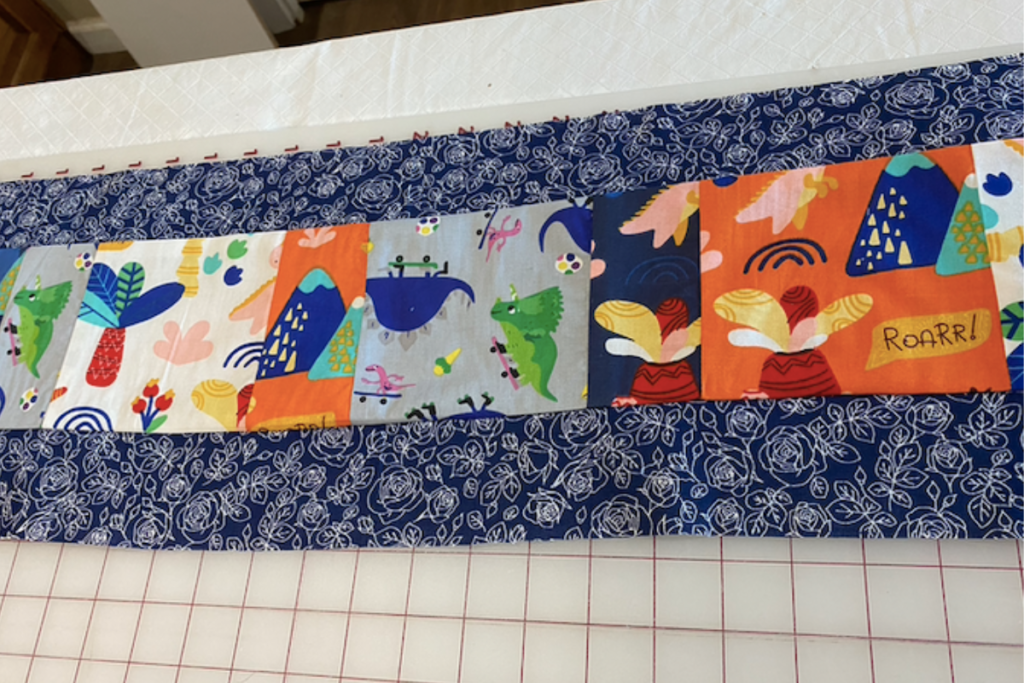
I started at the top and sewed each row to the next with a 1/4 ” seam allowance. I ironed each connection. If you are using fabric double check each piece before you sew to make sure what you want facing down will be that way after you sew. Finish with a sashing.
Trim Up your Pieces
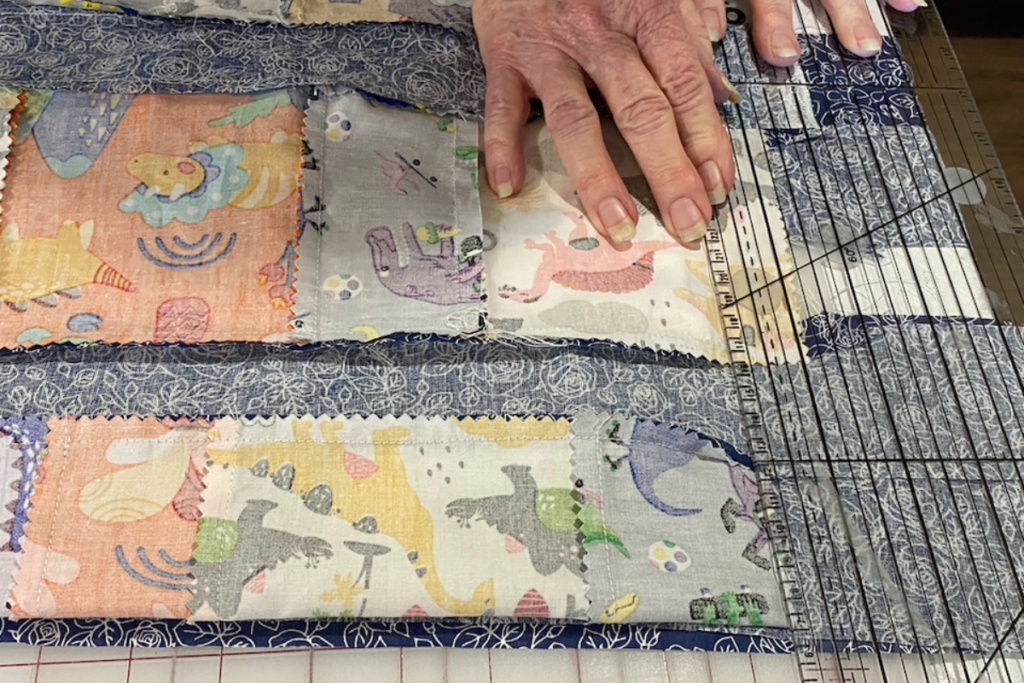
Now it’s time to trim up your pieces. We folded it twice and trimmed it up using a rotary cutter. You can see how we did that in the video above.
Place Your Batting On
We placed the batting on the table and started at the top leaving room at both the both and bottom and applied our top to the batting using the spray adhesive. Let it sit for 30 minutes to adhere. You are over half way to completing your baby quilt without binding
Cut any excess batting leaving about 1/2″.
Cut your Back
Measure your quilt and then cut a back leaving about 1/2 to 1 inches of fabric excess on every side. We will trim it later.
If you would rather using binding, here is an easy binding tutorial
Sewing Your front to back
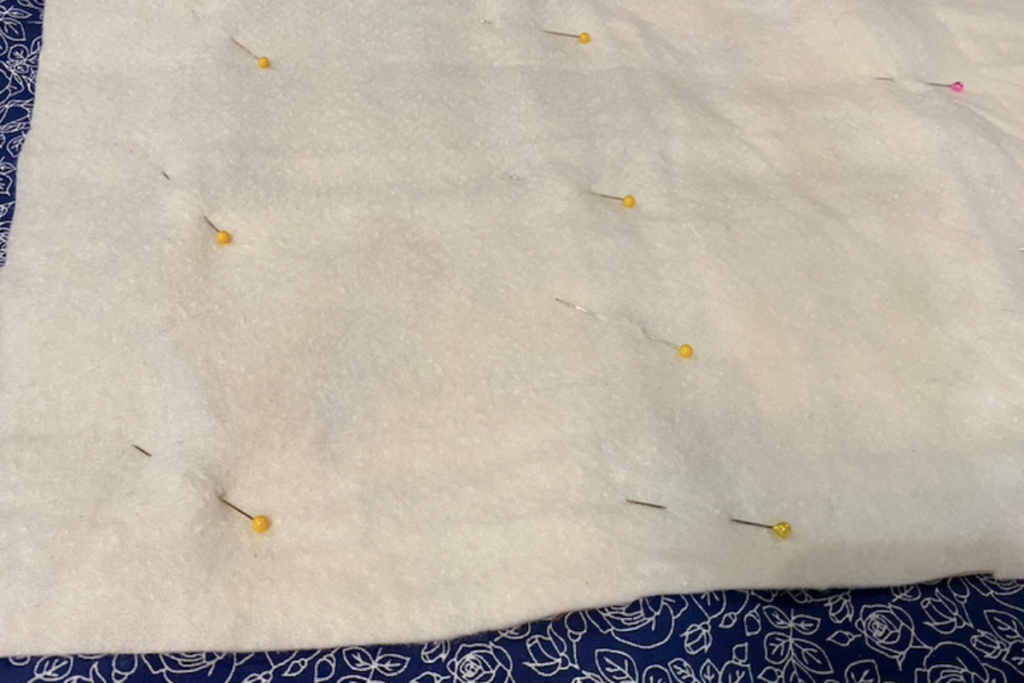
You want to put right sides together and sew all the way around your quilt using a 1/2″ seam allowance. Leave about 4-5″ open so that you can pull your quilt through. We pinned the entire blanket to keep everything from moving
Trim off your excess back using pinking shears if you have them, turn your quilt so right sides are showing, iron and close that opening before you quilt the top.
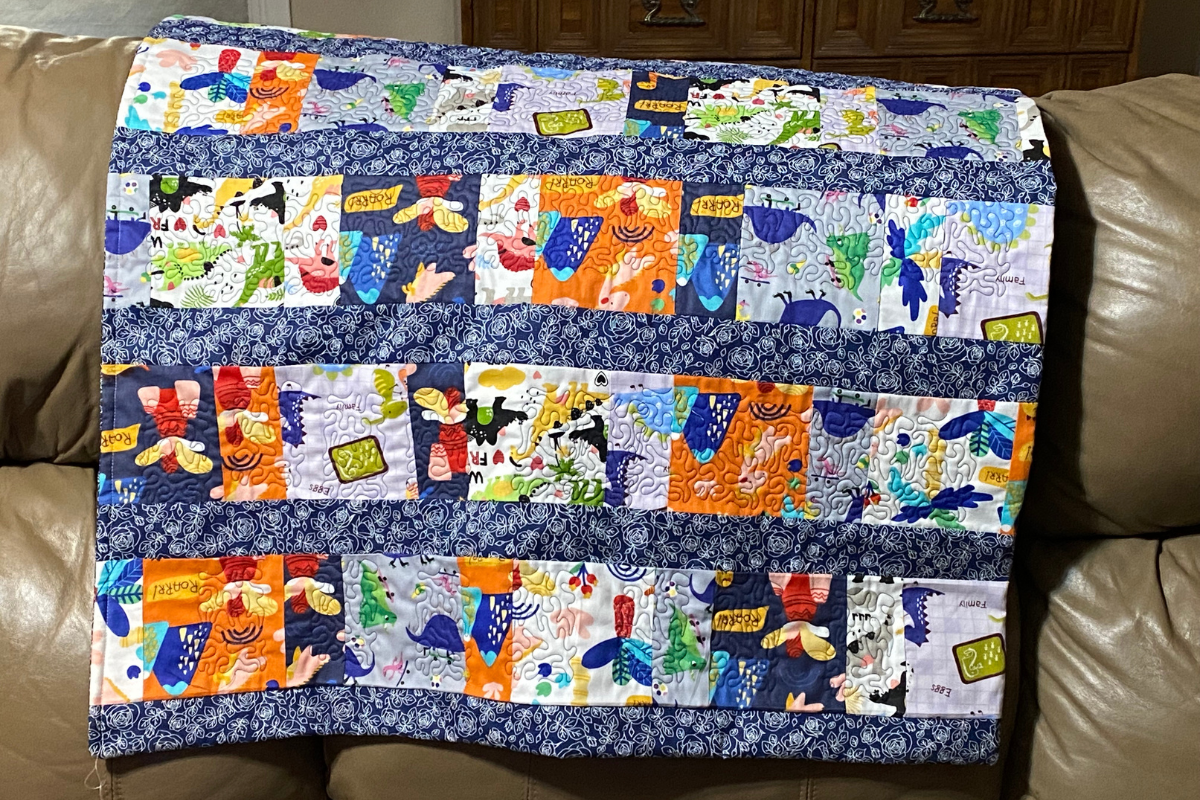
Quilt Your Top
You can use your normal way to quilt your top. If you have an Embroidery machine, I would love for you to check out how I used my embroidery machine to quilt the top. I love how easy it was after a little learning curve. LOL.
PS Congrats, you just finished your baby quilt without binding.
Fabric Giveaway
Enter our monthly fabric giveaway. Simply complete the tasks daily and you will be entered into the drawing. Winner will be randomly drawn on the first day of the month and notified via email