How To Make Quilt Binding In 5 Easy Steps
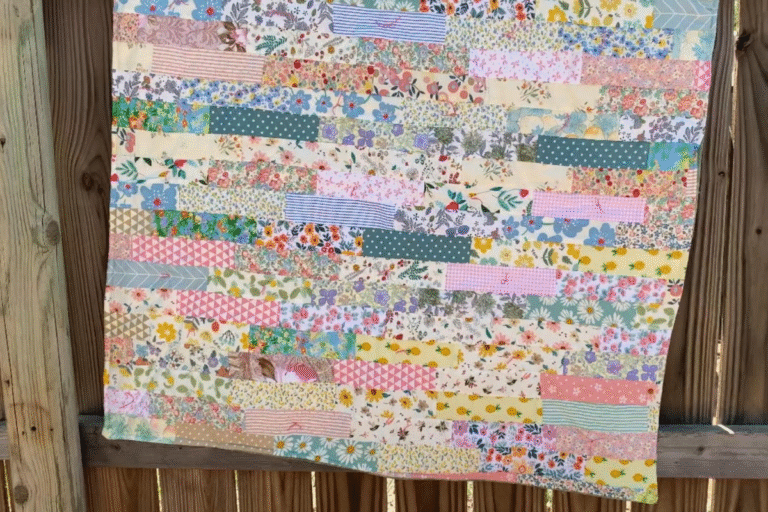
My niece wanted a quilt for Christmas. My aunt made the quilt top for her, but it needed binding around the quilt.
We thought it would be fun for my niece to learn how to make quilt binding and have a hand in her own quilt.
We came together on a Sunday afternoon and cut the fabric and created the binding and got it attached to her quilt. It turned out stunning.
My niece had not sewn anything since she was about 4 or 5, and she is now in her 20s so if she can learn how to make quilt binding you can too my friend. We are here to help with both written and video tutorials.
Sewing Supplies You Need
- Sewing machine
- walking foot
- sewing pins or sewing clips
- binding fabric
- Quilter’s ruler
- Self-healing cutting mat
- Rotary Cutter
I had been watching YouTube videos the week prior to find the best way to combine the binding strip to the back of the quilt, and I came across a video that created a diagonal seam. I loved it.
Likewise, I didn’t see a written tutorial, so I carefully watched the video, and we used it on the quilt edge, and now I will have a written tutorial for my next quilt and you will too.
Quilting Binding Calculator
First, you have to figure out how many strips of fabric you need. We have a calculator below to help you measure the front of the quilt and get the correct number of strips.
Make sure and write down your numbers, and then we will move on to the second part.
Quilt Binding Calculator
How to Make Quilt Binding

Ok, let’s do this step-by-step. Whether this is your first quilt or you are making your 100th quilt. This will be fun.
I have included Stacey’s video below as she walks you through step-by-step if you are a visual learner.
We are grateful she made a video for all of us to watch. I personally, did a step and stopped it so that I didn’t skip any steps as I was learning how to make quilt binding.
Cut Fabric Strips
I love using my self-healing cutting mat and rotary cutter to make my strips. Cut the number the calculator above gave you and set them aside.
You will cut these the width of fabric which is usually either 43 or 44 inches
Joining Binding Strips
I think this is so much easier when you follow the instructions in the original video using your cutting mat.
If you are using directional patterned fabric, you want to make sure your fabric goes in the same direction when putting your pieces together.
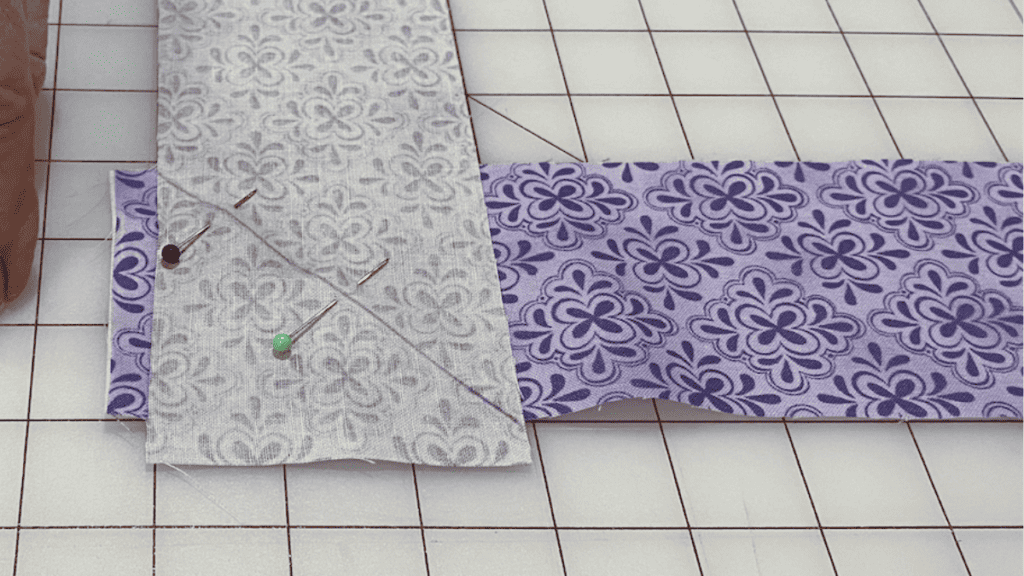
First you are going to take a strip and with your right sides up you want to line it u with a straight line on your cutting mat.
Next, you want to take a second piece of binding strip and place it right sides down and line it up with a vertical line.
Make sure you are on lines because this helps keep your binding strips straight. If you are off, your binding will be off. This is really noticeable if you are using a patterned fabric.
Now you need to draw a diagonal line across the wrong side of the fabric from the top corner to the bottom corner using a pencil or fabric pen.
Pin your 2 fabrics in place. You will be sewing down this diagonal line.
You want to continue this process with all your strips. To do this, flip the wrong side fabric over the the right side.
You will repeat the process above aligning the edge with a line and then adding another strip of fabric placing it wrong side up and drawing your diagonal line, pinning and repeating the process.
Continue until all of your strips are pinned. Make sure you use plenty of pins and keep your lines straight because that will become important as you attach your binding strips to your quilt.
Sewing Binding Strips

You will want to sew down each diagonal line. There is no need to worry about back stitching, and you can simply use your normal stitch for your sewing machine.
Make sure and do all your diagonal lines you made.
Your presser foot will be in the middle of your line as you sew. Don’t forget to remove your sewing pins as you finish sewing.
You could also use clips but you want to make sure the lines are so straight so I found sewing pins worked better.
Now you are ready for the next step. It’s pretty easy learning how to make quilt binding so far right?
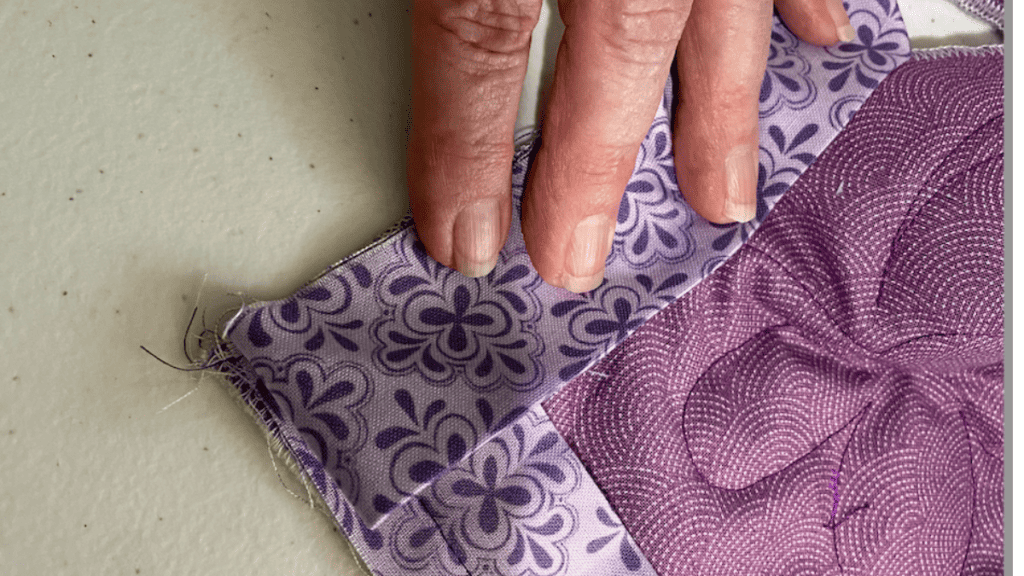
Trimming Binding Strips

You need to trim the strips. You can use your rotary cutter or scissors and cut right above your diagonal seam allowance. You want to go about 1/4 inch seam and cut along that line.
Finish it off by cutting the dog ears at the top and bottom so you have a nice clean diagonal. I just used my scissors to do this part but you can certainly use your rotary cutter and self-healing cutting mat.
Press Your Seams
Open your seam and do a finger press, and then use your iron to press your seams. This will help when attaching to your quilt top. Don’t forget to do each of your seams.
Cutting The Start And Finish

You want to lay one end of your strips right sides down and on your self-healing cutting mat cut a 45 degree angle from the top right corner to the next corner.
After you cut that, take it over to your ironing board and fold over the edge a little more than 1/4″. Iron that in place and on that edge of the binding cut the end of the fold off making sure you have a clean diagonal.
Now, you want to fold your fabric with wrong sides touching each other and press your fabric along the folded edge. You want to go completely through all your binding strips. This will help as you attach it to your quilt top.
If you haven’t squared up your quilt, you will want to do that before attaching the binding strips.
You will definitely want to take your quilt sandwich and cut off excess batting and make sure you are ready to attach your binding to your quilt.
Attaching Binding To Quilt
Now you are ready to attach your binding to your quilt. You are going to flip your quilt over so that the wrong side is facing up.
On the raw edge of the quilt, you will place your binding with the raw edges of the binding touching the selvage edges of your quilt.
Make sure and start in the middle of your quilt not the edge.
Also make sure you have plenty of bobbin thread. You might want to put in a fresh bobbin as this takes a lot of thread.
You currently have a double fold so open it up and you will sew 1/4 inch seam allowance about 1-2″ making sure you back stitch. Now you want to place the top fold down so your wrong sides are together.

Leave a 1-2″ opening and beginning sewing a 1/4″ seam allowance all around the perimeter of your quilt. I will explain the mitered corner in the next paragraph.
When you reach a 1/4 inch from the corner you want to place your needle down and turn your fabric and sew off the bias binding and cut your thread.
Now take your binding and fold it up and over. Next, you will fold it down so that it aligns with the binding edge and your quilt edge.
After you have everything lined up then the final step is to start at the beginning of that row and back stitch and sew all the way down until you get to your next corner.
You will repeat the binding stitches you did prior starting with that first stitch and sewing all the way down the long strip until the next corner.
This process is so easy as you simply rinse and repeat all along the raw edges of the quilt. When finished the entire back of your quilt should be sewn with entire binding.
When you reach where you started you will sew up to where you started your first stitching and then stop sewing. You want to cut your piece of fabric with a diagonal and place inside your open pocket of that continuous strip of your binding tape.
The last step of this section is to sew closed your binding along the edge of the fabric making sure you back stitch.
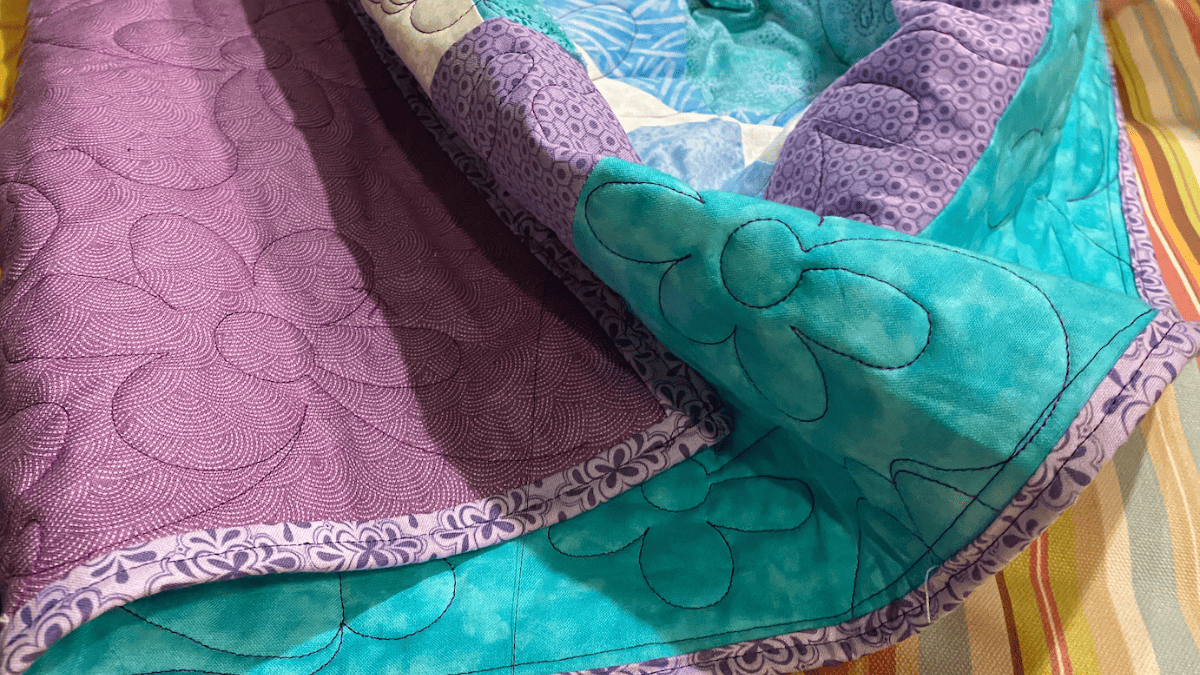
Finish Your Quilt

With the wrong side up you are going to press the binding to the front side of the quilt. Skip the corner, as you will sew that side in a while to make that mitered corner.
The easiest way to finish this is to fold your top binding to the right side of your quilt. Then you will fold your binding on the right side into the front of the quilt making a mitered corner.
Clip all your binding to the front of your quilt. This is easier when doing a baby quilt. I found that doing sections of the quilt depending on the size of your quilt was easier than pinning the entire thing.
You may want to use your walking foot at this time. There is a lot of fabric. Make sure everything is sitting flat and not bunched up on the quilt’s edge.
When you get to the corner, you want to go up until you reach where the 2 pieces of fabric line up, leave your needle down and then turn your fabric and continue sewing.
You will do this until all of your binding is securely attached. It is so simple. There are so many different methods when it comes to how to make quilt binding but I love this way.
I am so grateful to Stacey and her tutorial for making binding easier to do.
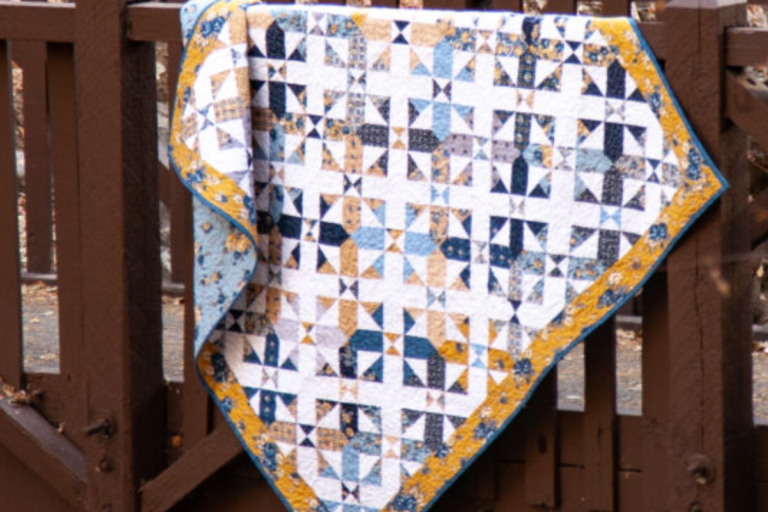
Quilt Patterns
Now that you have your quilt finished, it is time to find your next quilt pattern. We have an entire library of quilt patterns and here are a few of our community’s favorite pattern you can make and then practice again how to make quilt binding.
From baby quilts to king-size quilts, there are so many great quilts in our library that are perfect for you or to give as a gift.
Check the pattern you love for the sizes or check our handy quilt size chart.
Fabric Giveaway
Enter our monthly fabric giveaway. Simply complete the tasks daily and you will be entered into the drawing. Winner will be randomly drawn on the first day of the month and notified via email