
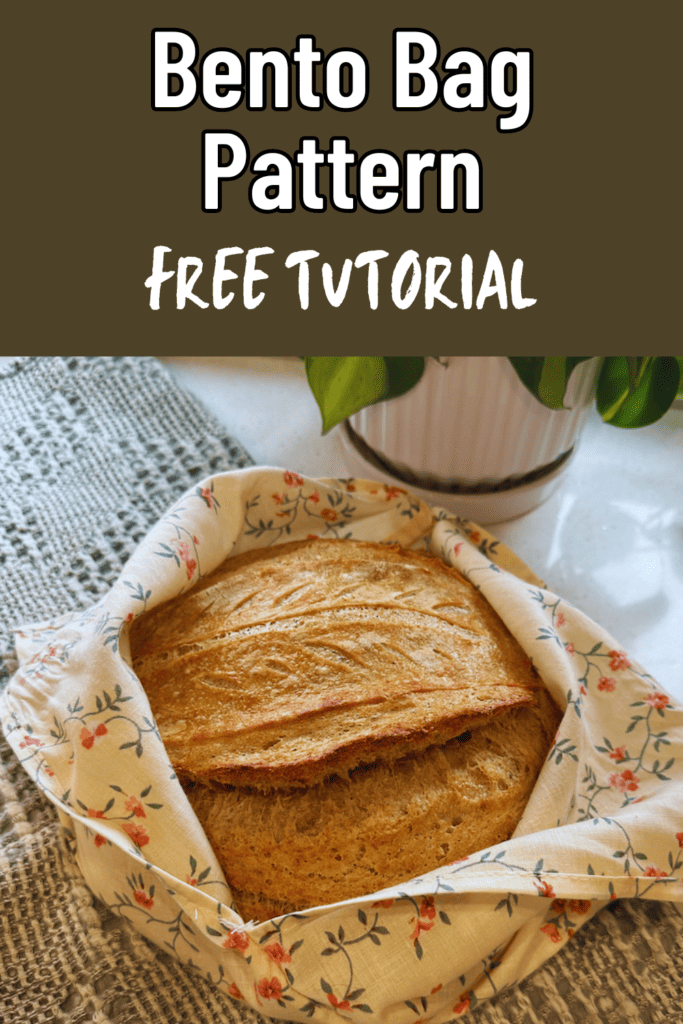
Easy Bento Bag Pattern Which You Can Make In 30 Minutes
My niece has fallen in love with sourdough bread, and she walked into the house and asked how hard it would be to make a bento bag.
I had to do a search on Pinterest to figure out what it is. I had honestly never heard of that bag. It can also be called an origami bag.
It is so easy to make and uses just a small amount of fabric. She wanted to sew it herself, and she has only sewn one other item.
This bag is perfect as an easy beginner sewing projects to teach kids or adults sewing.
You could easily use fat quarters. You would simply need to sew the pieces of fabric until you got to the designated size.
Simply follow the step by step instructions below, or download the PDF instructions with more photos and support if needed.
Bento Bag Pattern Supplies:
Bento Bag Directions
First, cut the fabric to get your desired dimensions. My niece wanted her finished fabric to be 12 inches by 36 inches, and it should be three times as long as it is wide, begin with a piece measuring 14 inches by 38 inches to account for your seam allowances.
You can simply adjust your outer fabric for your desired finished size.
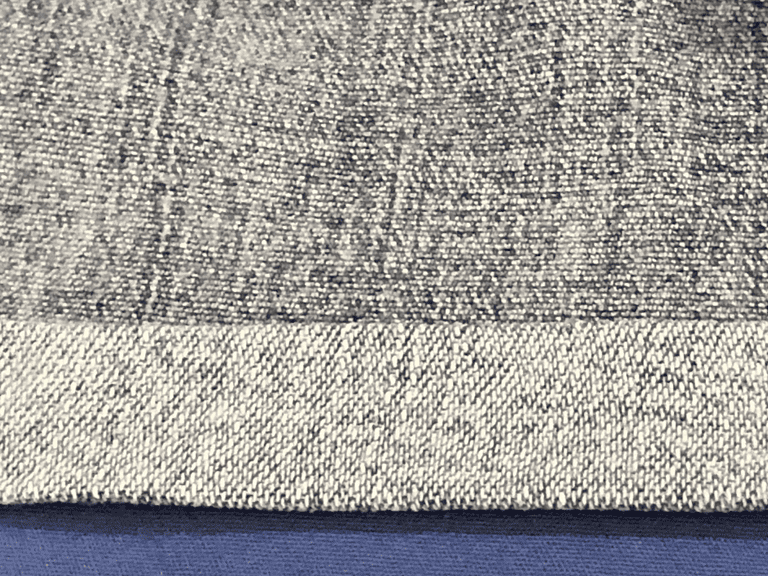
Use scissors or a rotary cutter to trim this linen fabric accordingly.
Hem Your Edges
Fold the raw edges of your fabric once, creating a 1/4 inch fold, and then fold them over another 1/4 inch. Ensure you’re folding towards the wrong sides of the fabric.
The next step is to repeat this process on all four sides and secure with pins to hold them in place.
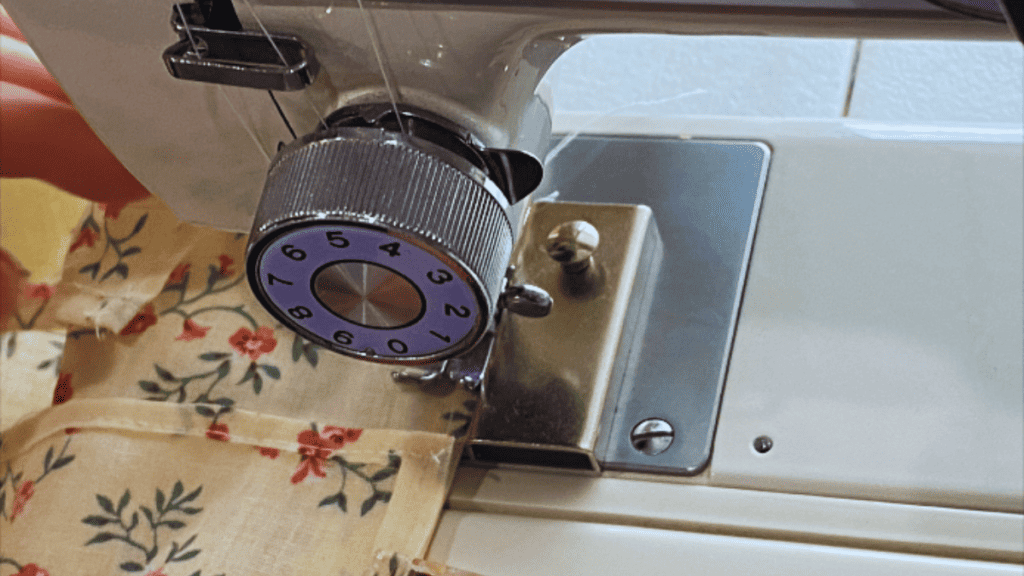
Proceed to top stitch around the rectangle right sides starting from the right corner and going down all the long edge of your origami bento bags. You are 1/3 of the way done with your bento bag pattern
Fold Into Thirds

Next, you’ll need to divide your rectangular piece of fabric into three equal parts, denoted as A, B, and C. If you have access to an iron, you can press the folds accordingly. . Afterward, unfold the fabric to its full size.
Also, ensure that your fabric is facing right side up at this stage!

Fold part C over part B, aligning their tops, and sew them together. Sew as close to the edge of the fabric as possible, ensuring to backstitch at the beginning and end to secure the thread firmly, even when your bento bag is filled with items.
Turn the fabric so that part A is now on the right side, while the section you just sewed lies at the bottom. Fold back part C so that its top edge does not overlap with any of part B’s top edge.
Next, fold part A over part B, ensuring that part C remains folded out of the way.
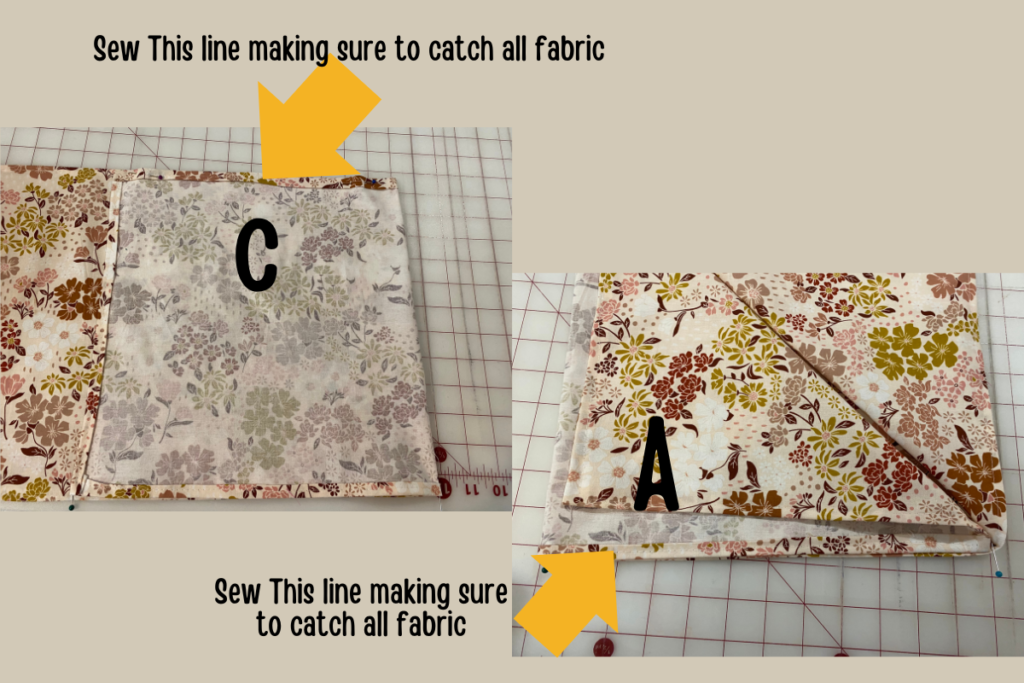
(Note: Be cautious not to stitch part C along with A and B, or the project bag will not work as it’s supposed to) Sew the tops of part A and B together with a 1/4-inch seam allowance.
Let’s finish your bento bag pattern by following the directions below.
Finish Your Bento Bag Pattern
Turn the bag inside out to reveal the right side of the fabric on the exterior. Locate the spot where the two handles intersect. Strengthen this area by sewing a few zig-zag stitch up and down.
While it may appear slightly untidy with your finished bag, choose a thread color that complements well and give it intentional charm. Repeat this process on both sides of the bag.
For a flat surface you can do a boxed corner by sewing across your corners (side pieces) 2 inches and then trimming that off.
You can also use this delightful bag as an origami market bag for your fruits and vegetables or for lunch bags. Remember, if you want a bigger bag, you can do a larger width ratio of 3:1.
You can also do a lining fabric for a more sturdier bag and do 2 of each of the exact measurements and then pin together and leave an opening and turn.
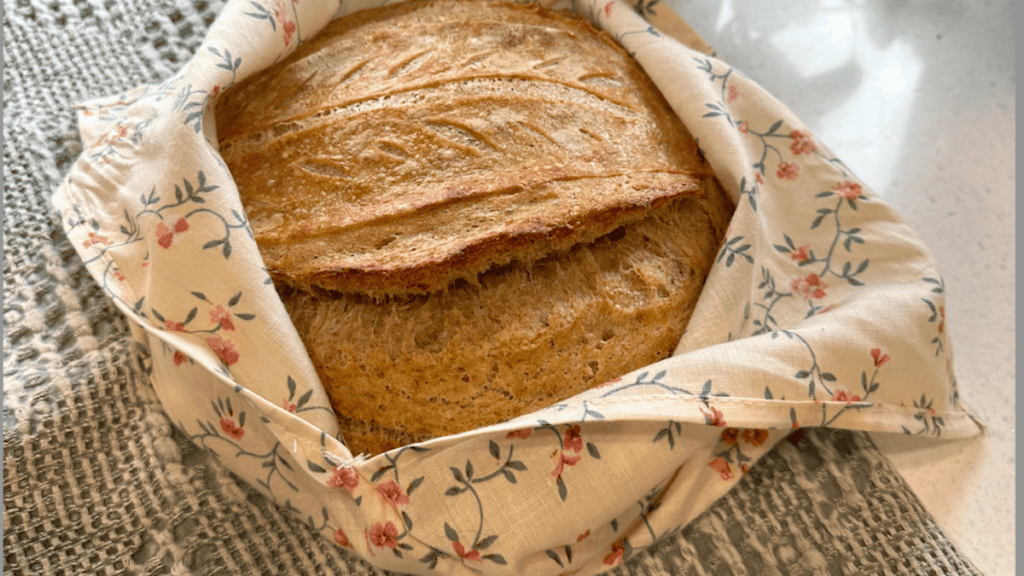
The bento bag shape is perfect for sourdough as you can see in my photos. For this pattern, I didn’t square up the bottom of my bag and it fits her sourdough really well.
We hope you enjoyed making your bento bag pattern. If you ever find some Japanese cloth, it makes a great Origami tote bag, which I love using natural fibers with.
For more free patterns for sewing, here are some of our favorite patterns for beginners.
Easy Beginner Sewing Projects
Here are some of our sewing community’s favorite sewing projects. We have an entire library of Easy beginner sewing projects you can easily make in a weekend.
- Reusable gift bags (perfect drawstring bags)
- Corner Bookmark (perfect for fabric scraps)
- Tote Bag (great way to use fat quarters)
- Book Pillow Pattern
- Table Runner For beginners
Make sure and show off your bento bag pattern on our Facebook page. I love sharing what people in our community are making.
If you aren’t on our email, that is where you will hear first about our sewing projects and receive free patterns.
If you love quilting and looking for a bigger project, I would recommend our 3 yard quilt patterns or our fat quarter quilt patterns. They are so simple to make especially for your first quilt. They are so much fun to make.
Fabric Giveaway
Enter our monthly fabric giveaway. Simply complete the tasks daily and you will be entered into the drawing. Winner will be randomly drawn on the first day of the month and notified via email


Do you have a video of this?
no, you can do a search on YouTube and find a video
Where are the pdf instructions?
Thank you!
The PDF accidently got deleted. I will be recreating it and adding it to our Etsy store.
I just made one and it was so easy. Your instructions are great and the bag is cute and practical. I did not have linen but I used my pricey Liberty of London fabric. I’m going to order to Essex Linen to make another. Thank you! For sharing this pattern
You are so welcome. That sounds like a gorgeous bag.