Book Pillow Pattern: Easy Beginner Sewing Project
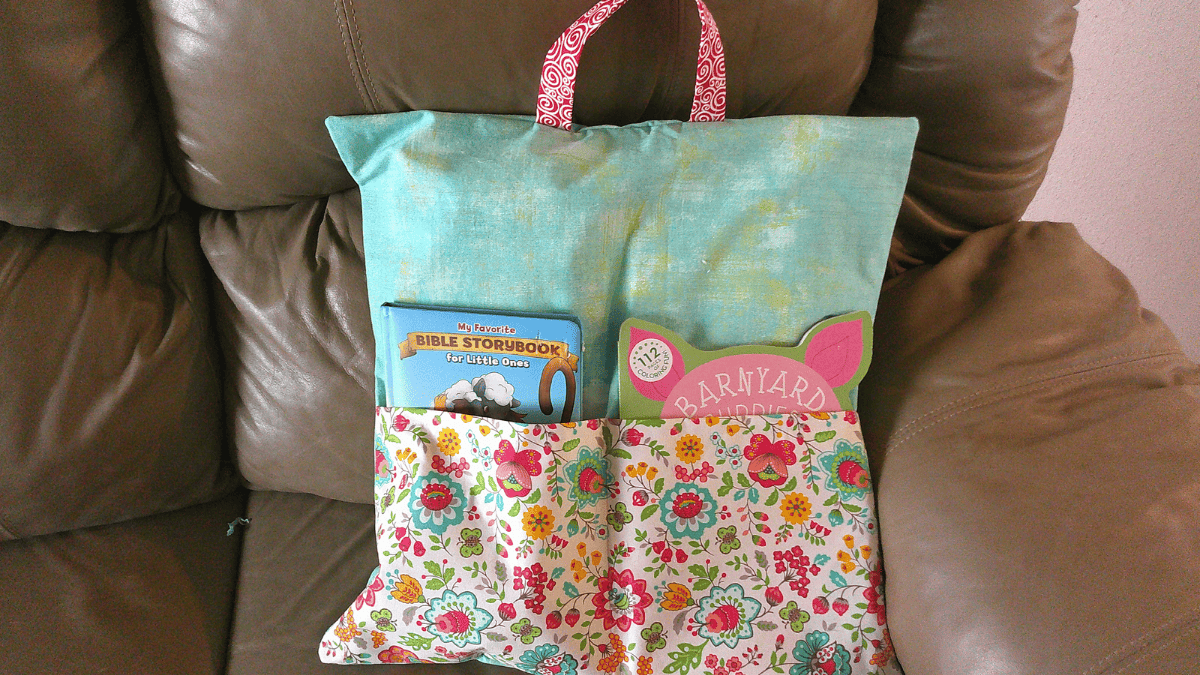
Do you ever go down the rabbit hole of Pinterest? Well as I was doing that I saw the cutest idea for my great grand baby. a book pillow pattern that is perfect for her to put her books and a small baby doll.
I love how it turned out. It’s such a great gift and she absolutely loved it. I love that the back of the pillow opens and mom can put a pillow form making it super easy to wash if she happens to get it dirty. She’s two, so she will get it dirty.
This is a larger-size reading pillow and honestly makes a great gift no matter the person. You can download the PDF pattern below.
This would be so cute for a mom or use fun fabrics for a little boy. I can think of so many creative ideas for this project.
Win a Fat quarter bundle of fabric on our giveaway page.
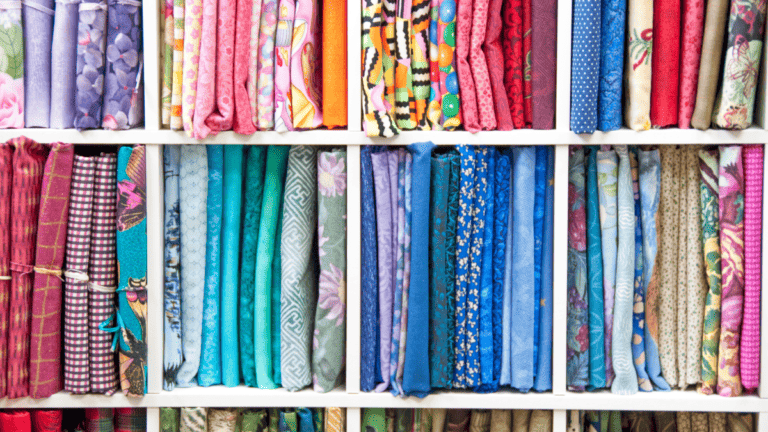
This is also the perfect fat quarter project. You can always find cute fat quarters.
Book Pillow Pattern
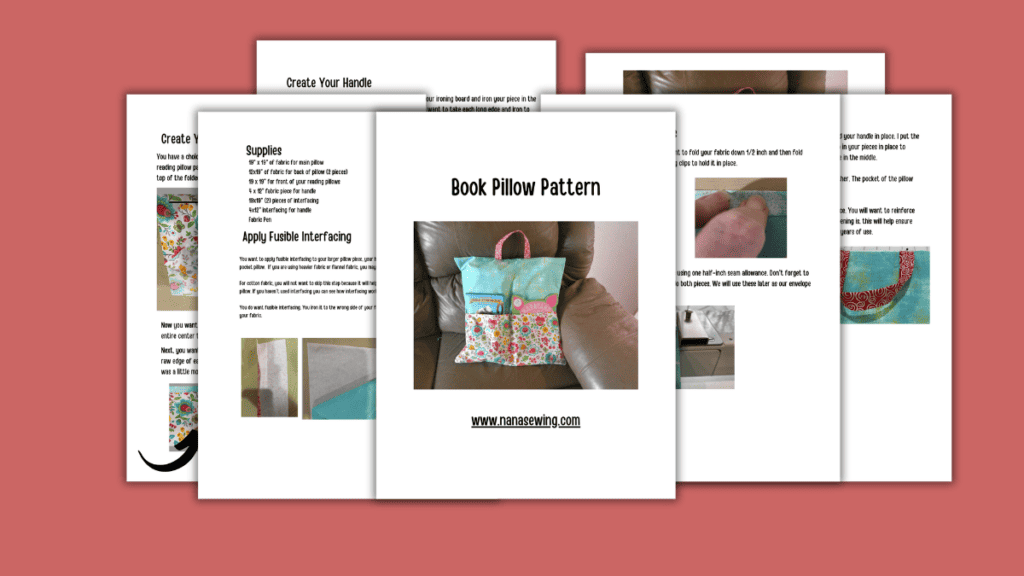
Download the PDF pattern for the book pillow pattern, which has a ton of photos and step-by-step directions. If you need help, you can simply reach out on Etsy if you purchased the PDF version of this pattern.
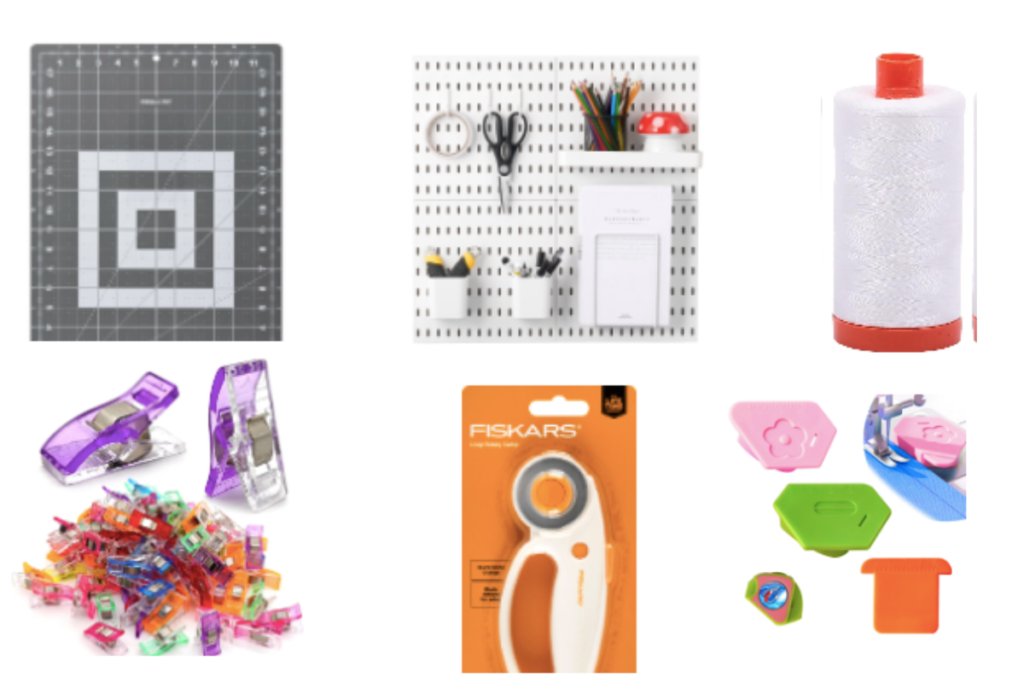
Sewing Supplies:
Cut Out Fabric
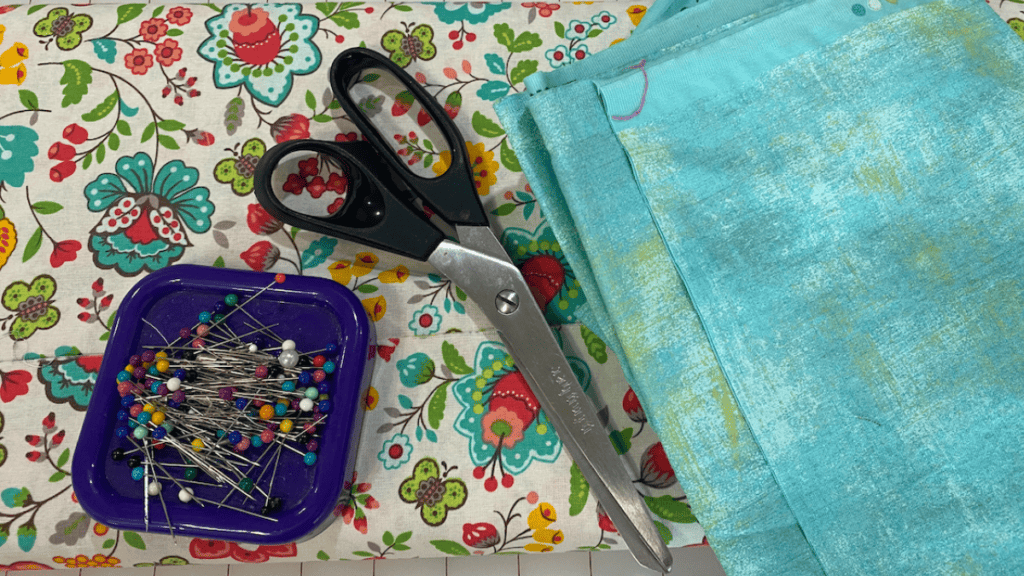
You want to cut your pieces for your pillow. Here are the fabric requirements you need:
- 19″ x 19″ of fabric for main pillow
- 12×19″ of fabric for back of pillow (2 pieces)
- 19 x 19″ for front of your reading pillows
- 4 x 12″ fabric piece for handle
- 19×19″ (2) pieces of interfacing
- 4×12″ interfacing for handle
- Fabric Pen

Apply Fusible Interfacing
You want to apply fusible interfacing to your larger pillow piece, your handle, and to your front piece of your reading pocket pillow.
If you are using heavier fabric or flannel fabric, you may not need this step.
For cotton fabric, you will not want to skip this step because it will help keep your favorite book in your fun reading pillow.
If you haven’t used interfacing you can see how interfacing works and how I use it in projects.
You do want fusible interfacing. You iron it to the wrong side of your fabric which is so much easier than sewing it to your fabric.
Create Your Back Pieces
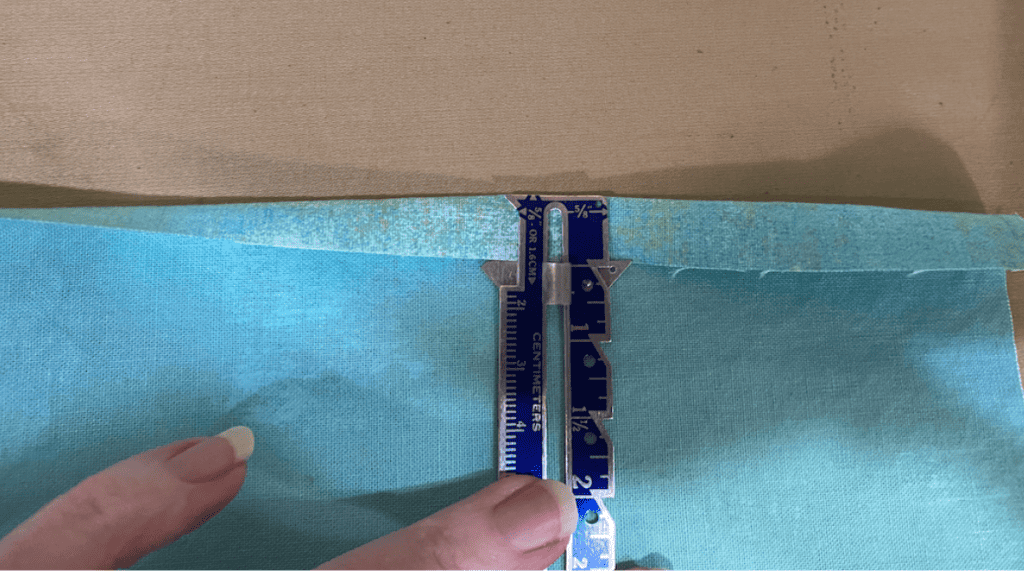
On each long side of your back pieces, you want to fold your fabric down 1/2 inch and then fold again and iron them in place. I used my sewing clips to hold it in place.
You need to sew across those pieces of fabric using one half-inch seam allowance. Don’t forget to back stitch at the beginning and end, and to do both pieces. We will use these later as our envelope pieces.
Set those aside while you work on your front piece.
Create Your Pocket

You have a choice here to make 1 large pocket or do as I did and create 2 pockets for your DIY reading pillow pattern. Fold your pocket in half and iron. You will then want to top stitch the top of the folded side using a half-inch seam allowance.
Now you want to mark your center crease. I used my fabric pen and marked down the entire center to have a line to follow as I sewed.
Next, you want to attach your pocket to the top of the pillow. Don’t forget to line up the long raw edge of each one and then sew. I did back stitch at the beginning and end just so the pocket was a little more sturdy.
Depending on how big the book they put in, it can stretch that seam. My grand daughter also puts her baby doll in there, and so I knew that seam definitely needed a little extra support.
Create Your Handle
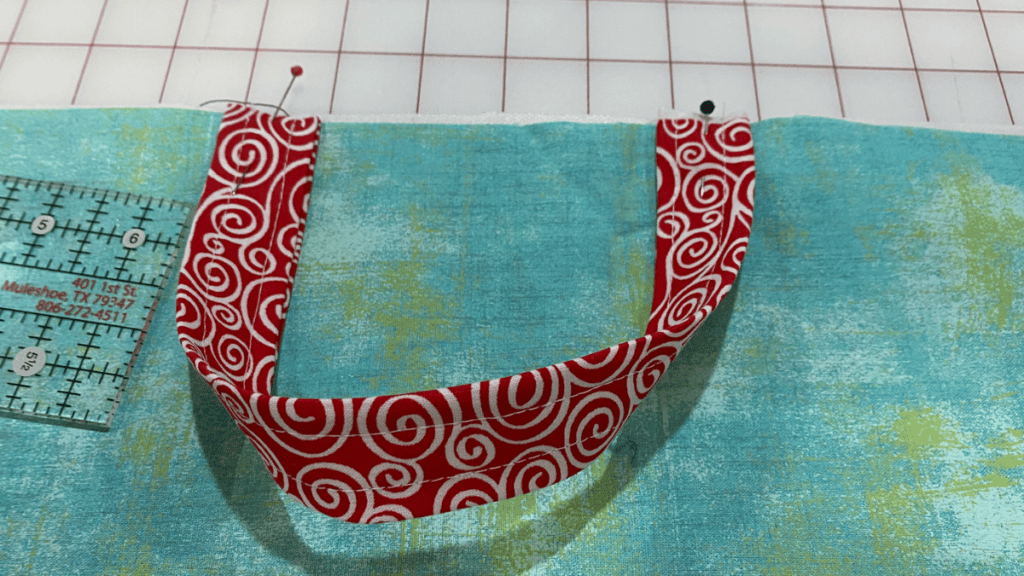
After applying your interfacing, you want to head to your ironing board and iron your piece in the center. Your fusible side will be in the middle. Then you want to take each long edge and iron to the middle.
You will then fold the bottom edge to the top edge, creating your handle. You will sew a half-inch seam across the long edge.
Furthermore, you can use the same color as your pillow pocket or use scrap fabrics like I did.
Sew Your Pieces
Now you want to use your sewing clips or sewing pins and hold your handle in place. I put the handles 7 inches from the end of each side.
Then you want to in your pieces in place to create an envelope-style pillow, the finished back edges will be in the middle.
Additionally, you will pin your pieces with the right sides together. The pocket of the pillow should be at the bottom and the handle at the top.
You will go around all your pieces, sewing a 1/2″ seam allowance. You will want to reinforce several times at the handle pieces and where your envelope opening is. this will help ensure your pillow holds up to rough and tumble kids and subsequent years of use.
Finish Your Pillow

Before turning it you want to trim your corner close to the seam going in a diagonal line. Just make sure you don’t cut through your stitches.
Now you will simply turn your pieces and make sure the corners are sticking out. I will use the blunt end of scissors or a chopstick to get the corners.
You can top stitch the top edge of the pillow to the entire pillow perimeter if you love that look and want that extra security.
Make sure and show off your pillow on our Facebook page. These make the best handmade gifts, and you can easily use your favorite fat quarter for your front fabric, and backing piece as you can see I used a different fabric for my handle. It was just a scrap of fabric I had.
These make a great Christmas gift.
If you love quilting you can absolutely make quilt blocks for this quick book pillow. You can also quilt your back piece with 1″ lines attaching your piece to batting vs interfacing.
All you need to add is a good book. Don’t forget to save this to Pinterest to have it later when you are looking for a quick gift.
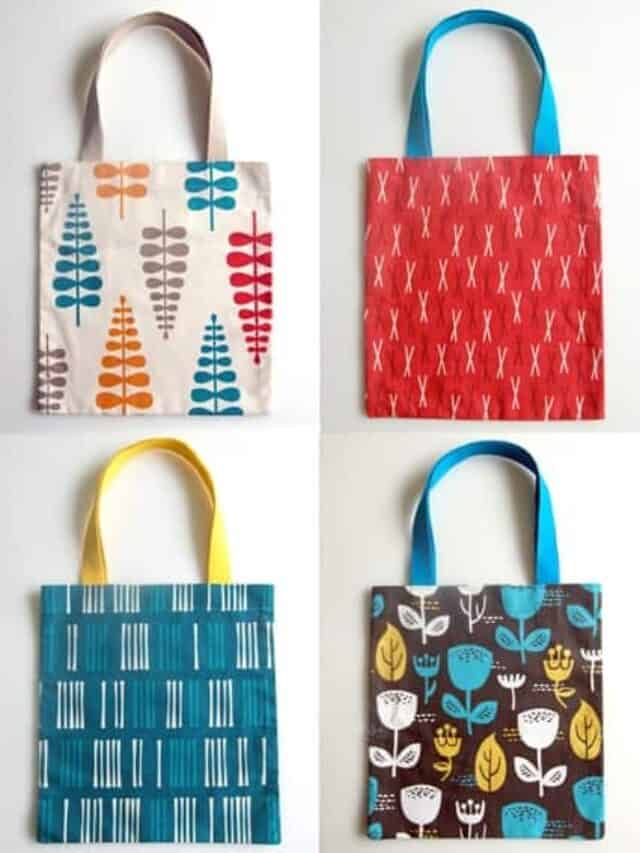
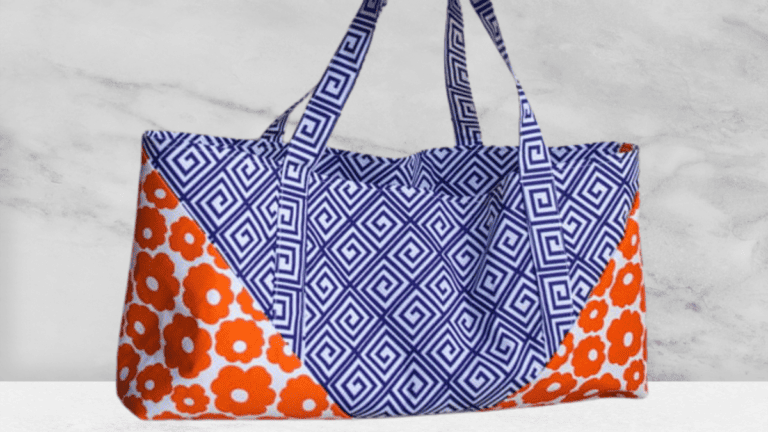
Easy Beginner Sewing Projects
Here are a few of our favorite sewing patterns for beginners that are easy or simply a quick weekend project.
Fabric Giveaway
Enter our monthly fabric giveaway. Simply complete the tasks daily and you will be entered into the drawing. Winner will be randomly drawn on the first day of the month and notified via email


One Comment