Tote bag sewing tutorial: easy DIY project
Join me in this Tote Bag sewing tutorial. This is an easy DIY project for beginners or experienced sewers.
The best part? You don’t need to have an expert skill level to make it! It’s a simple tote bag pattern. It’s the perfect project for a beginner sewer.
I’ll guide you through the step-by-step instructions for creating a functional and stylish tote bag that will come in handy for so many purposes.
So, get your sewing machine ready, and let’s dive into this fun and rewarding project!

The first thing you need is your supplies for the body of your bag and your fabric straps

Tote Bag sewing tutorial SUPPLIES
- Scissors
- Sewing Machine
- Rotary cutter
- Fabric Cutting Mat
- Iron
- Table top ironing board
- Beginner’s sewing kit
- White thread
- Pinking shears
- Medium weight fusible iron on interfacing
- Fabric (or use your fabric stash)
- Fat Quarter Bundles
- Sewing Pins
- Sewing Clips
- Fabric Marking Pens
- Bone folder to make edges crisp
Tote bag sewing tutorial Instructions
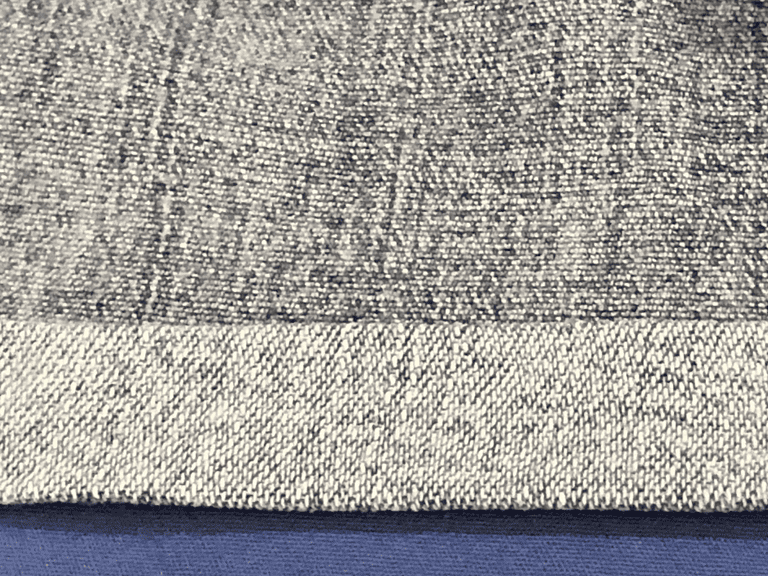
Step 1 is to cut 2 pieces of fabric from your favorite fabric stash using scissors or a rotary cutter. You can use contrasting fabric if you want each side to be a different color or if you want your straps to be a contrasting fabric.
Your front piece and back piece should be 17” x 15” and your straps should be cut 4” x 21”
Step 2: Draw a 1” line from the top using a fabric marker pen which disappears when you iron it.
Step 3: Mark where you want your straps to go on your bag. You can see where I put mine in the video. Mine are 4” from the raw edges.
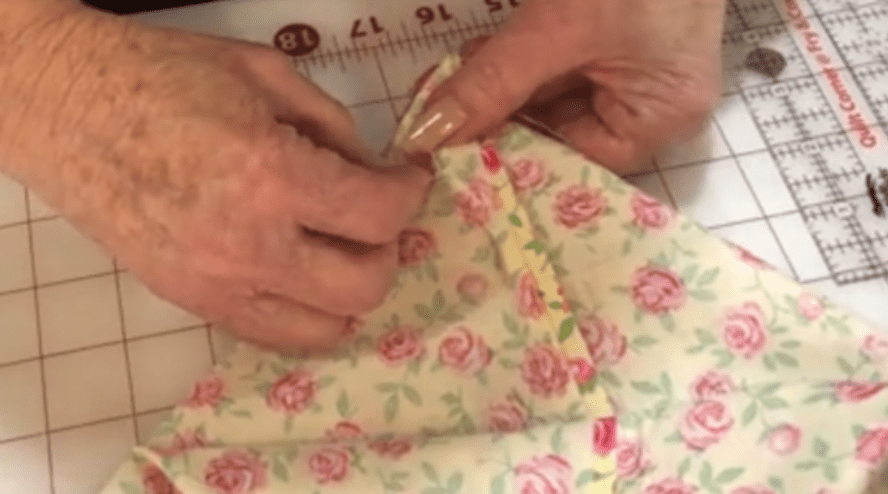
Step 4: Create your straps by folding your fabric in half, creating a crease. Next, fold the right side of your fabric in half and the left side of your fabric in half. They should meet in the middle.
This technique gives your straps strength and keeps you from having to turn these.
Step 5: Place the raw edges of your cute bag right sides together and hold them together using sewing pins or sewing clips.
Step 6: Sew your shoulder straps and both sides of the perfect tote. NOTE: If you want an interior pocket you can do that using a 8×10” fabric like we did in the Hobo bag.
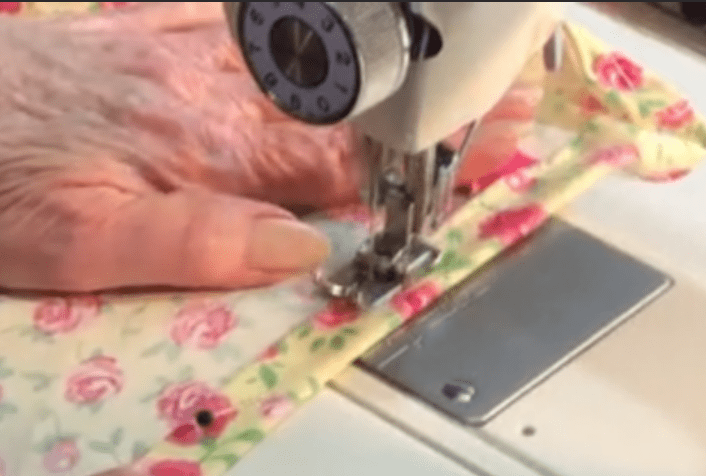
Sew along the long edge of your straps using a straight stitch with a ¼” seam allowance. As you can see in the video, I continually sew all 3 pieces of the straight edges and then cut my threads after I am finished with the first side seam.
Next, sew the second side seam of your easy tote bag. Finally, sew the bottom of your bag.
Step 7: After you cut your thread and have 3 fabric pieces you want to match your side seams. From the tip of the bottom of your bag you want to measure up 1.5” and using your fabric marking pen make a line across.
You will sew across this line to create a flat bottom on the bottom of the bag on both side seams of your bag.
Step 8: Pin your straps on both sides and then sew in place. You do want to backstitch each strap a few times to keep it from tearing from the top of the bag.
Step 9: Press under just a slight bit on the top edge of your tote. You then want to measure down an inch and pin your top edges in place.
Step 10: top Stitch the edge of your turned-under fabric pieces and finally top stitch the outer fabric, making sure you pull your straps in the opposite direction to create your finished bag.
Tote Bag Sewing tutorial Video
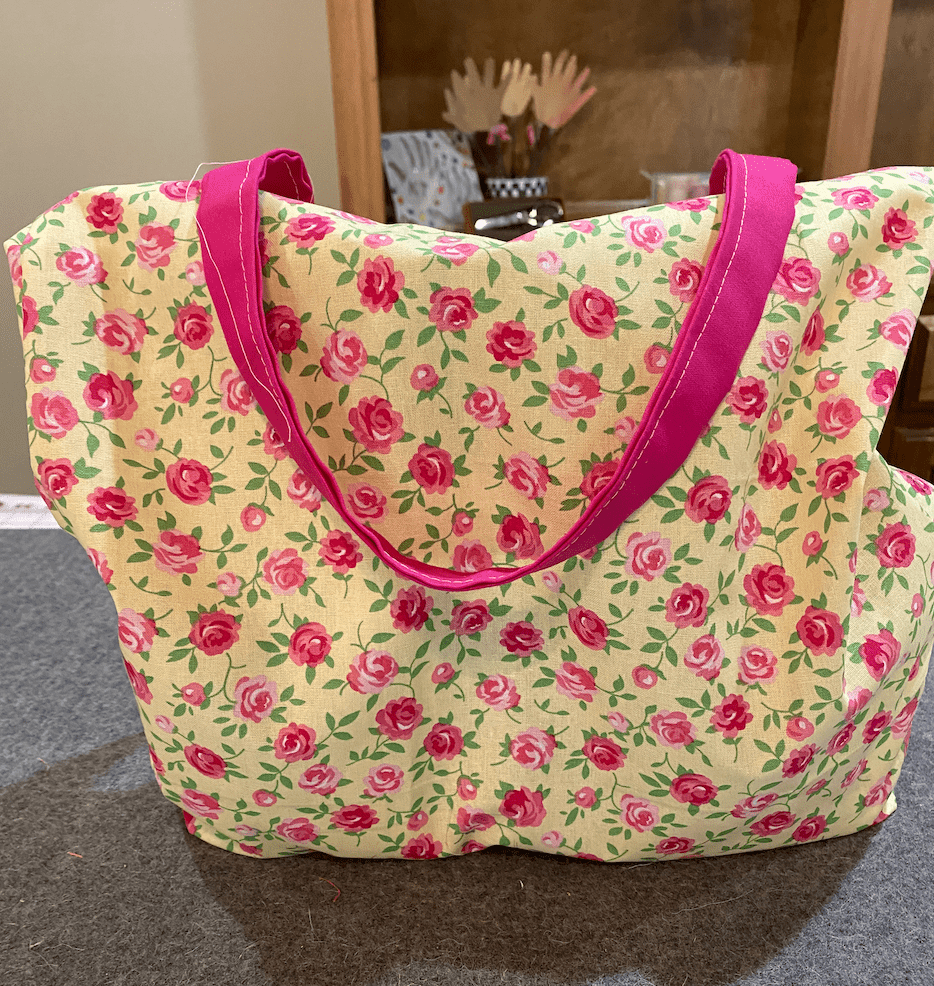
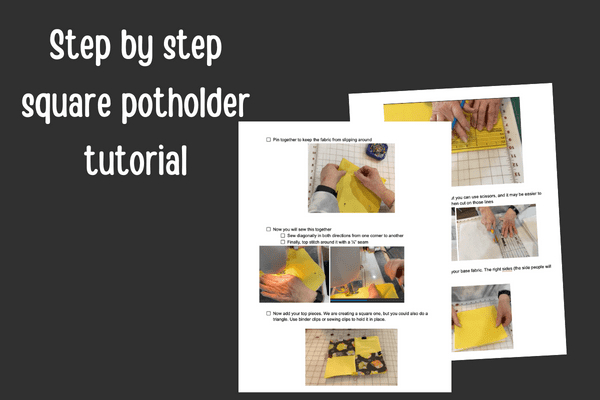
As you can see, this is a simple design perfect for beginner sewers. If you want to download the PDF pattern, you can do that below. PS Congrats you have created your own tote bag and this makes a great gift or a product to sell on Etsy or at a craft show.

Closure option
You can use a magnetic snap or simply use a zippered pouch to keep items from falling out.
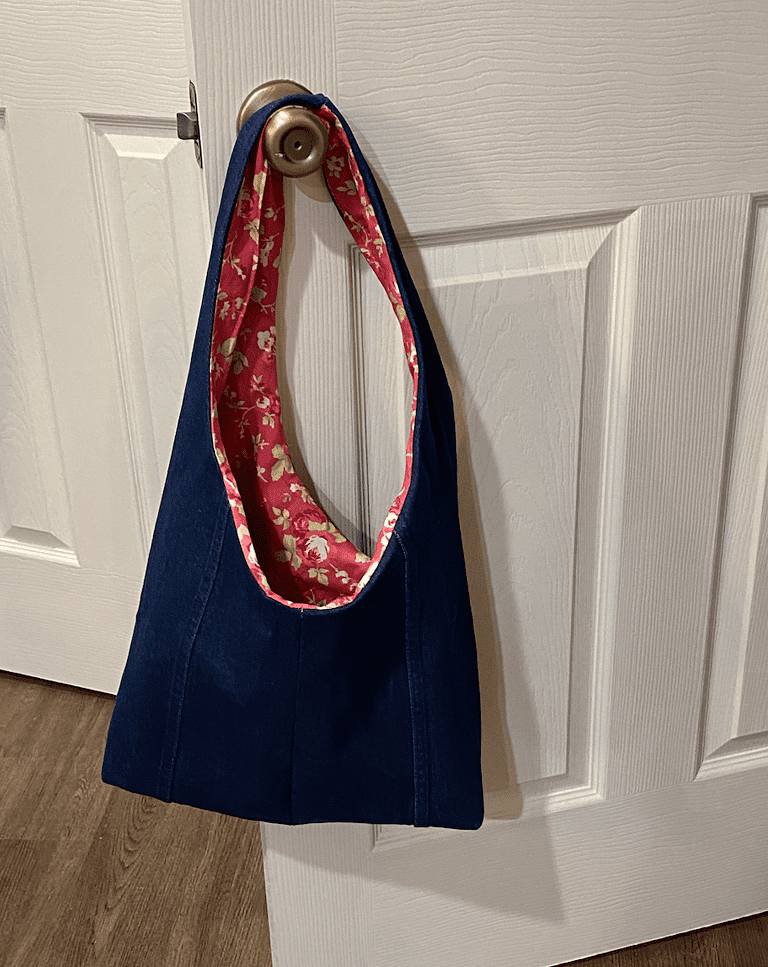
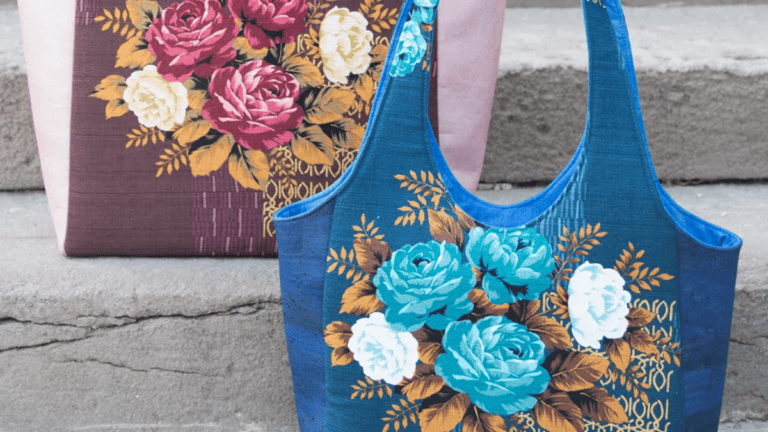
I hope you enjoy this step-by-step tutorial tote bag sewing tutorial. It is the right size for shopping bags and the perfect bag to take to the beach, and it is a great sewing project for beginner sewers. Have fun making totes with different colors
Easy Sewing Patterns
Here are our top 5 easy sewing patterns
Fabric Giveaway
Enter our monthly fabric giveaway. Simply complete the tasks daily and you will be entered into the drawing. Winner will be randomly drawn on the first day of the month and notified via email


11 Comments