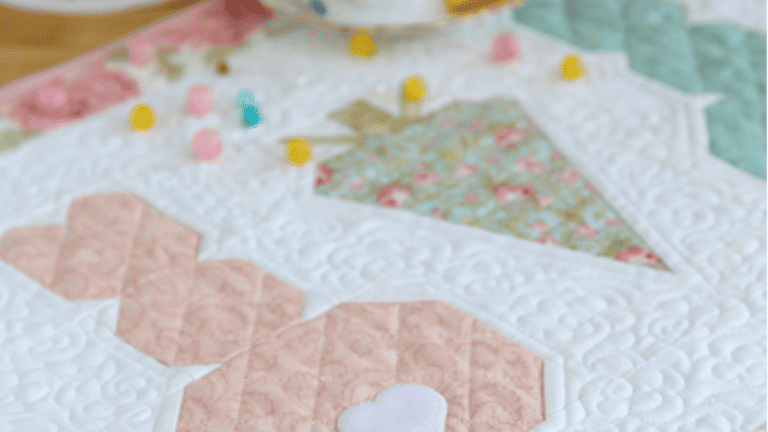
Easy Fabric Easter Basket In Only 30 Minutes
This fabric Easter basket is so beautiful and honestly a super simple pattern to make.
If you are looking for a keepsake for many generations to come, this basket won’t disappoint. You can simply throw it in the washing machine before storing it.
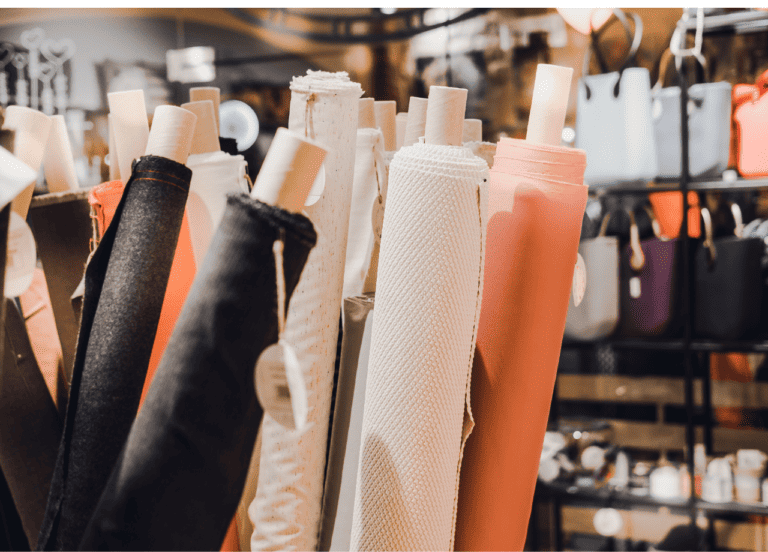
Simply pick up your favorite 2 Easter fabrics and some heavy interfacing and you are set to go.
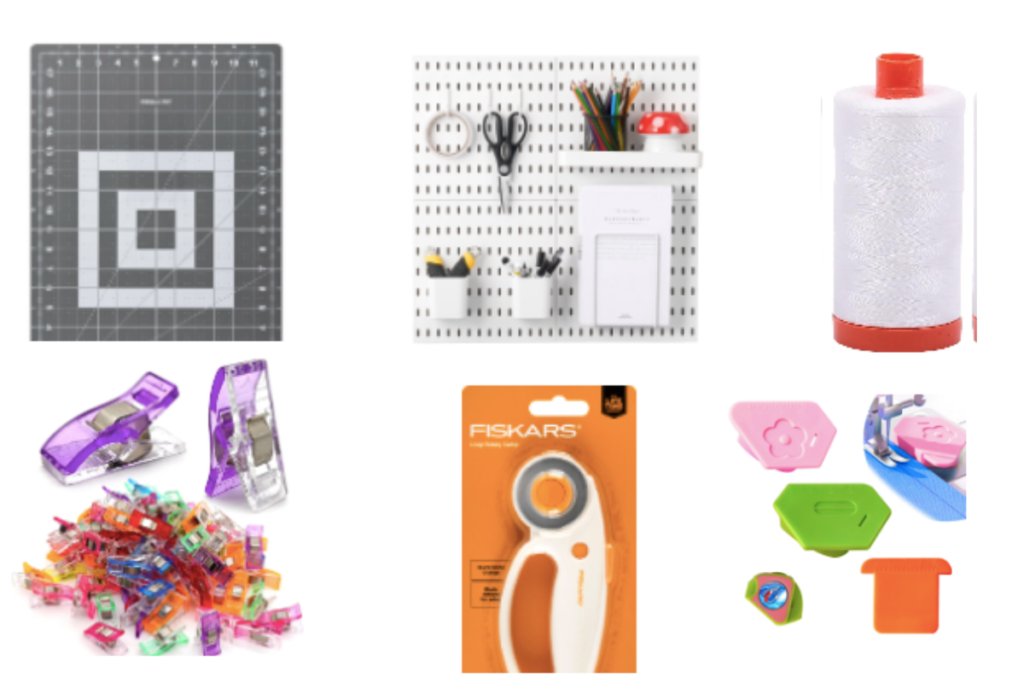
Sewing Supplies:
Fabric Easter Basket Directions
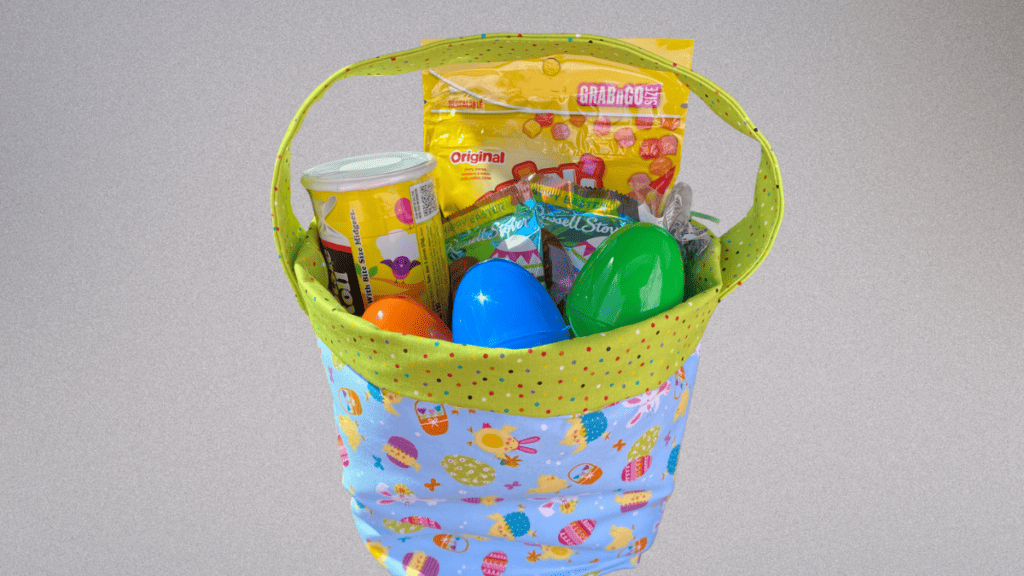
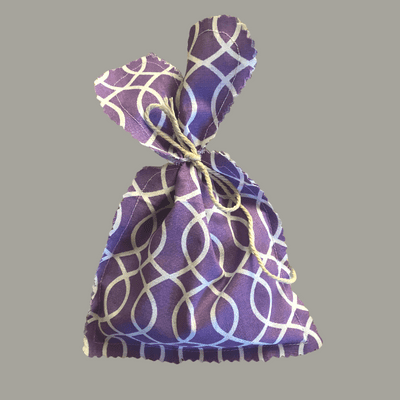
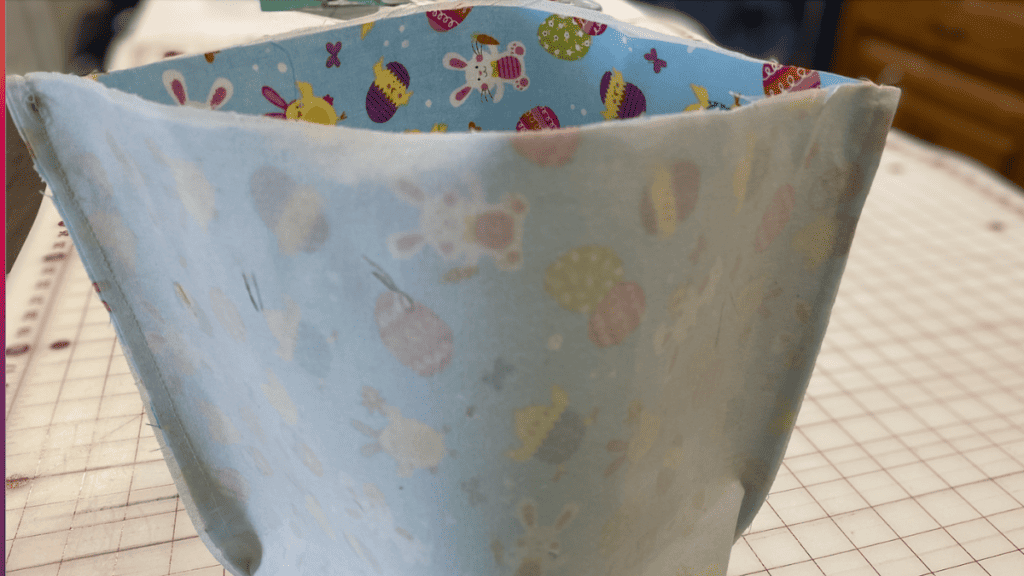
In this free tutorial, we are making a small fabric Easter basket, with the top of the basket in contrasting outer fabric. You will have so much fun making these Easter baskets.
1. First, you want to cut out your pattern, making sure you cut your bottom pieces. For the small basket, You want to cut out 4 pieces of fabric that are 13×13″ and cut your corners out measuring 3×3″
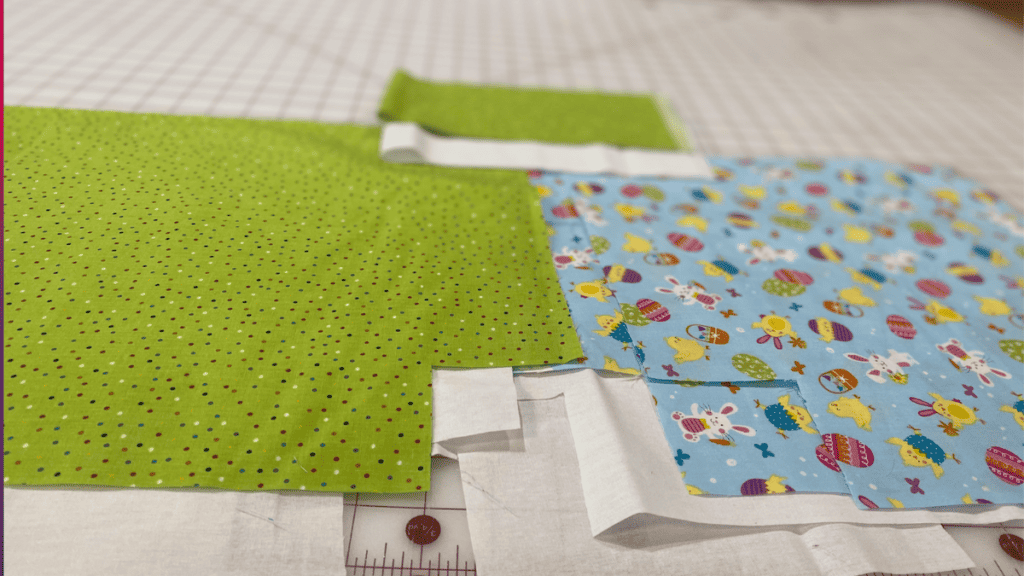
2. Next, cut out a piece of interfacing for both sides of your inner lining and outer pieces and apply it to the wrong side on each. I use fusible interfacing, so there is no need to sew the interfacing.
The interfacing gives your basket a stiffness and helps it hold up to all the Easter egg hunting or if you are putting treats inside, it won’t collapse.
3. Next, with the right sides together, you are going to stitch the outer fabric edges down each side seam and across the bottom of your basket using a 1/2-inch seam allowance. I use my magnetic seam guide to ensure my lines are straight.
4. For your basket lining, you will sew 1 side, the bottom, and on the other side leave about a 1/2-1″ opening to turn your bag inside out.
5. After you have sewn those initial seams, you want to create boxed corners by bringing your 2 seams on the bottom together and after ironing and stitching across a 5/8″ seam allowance cut off the excess on your boxed seam.
This will help your basket stand upright when finished.
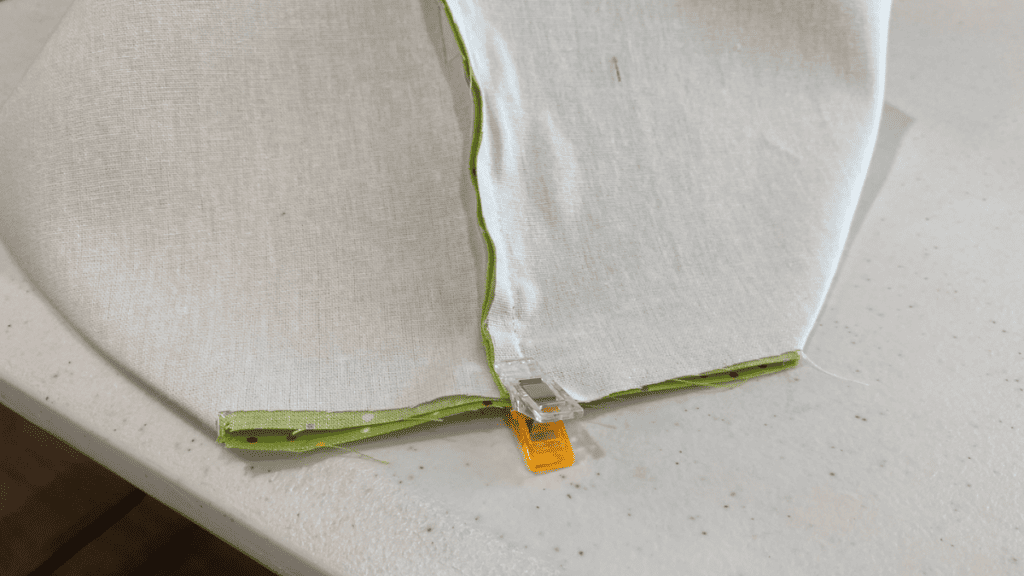
7. Next, you want to attach your exterior fabric to your inner lining using sewing clips or fabric pins together and sewing the top edge.
When finished, you will put the fabric through the opening and sew the opening closed. Finally, turn down the top about 1/2″ to show the contrasting lining. You can top stitch the edge of the contrasting fabric

to add a handle, you want to cut a strip 4.5″ x 18.5″. You will fold in each side about 3/8″ and fold in half and sew. Attach to the outside of your basket using a square shape.
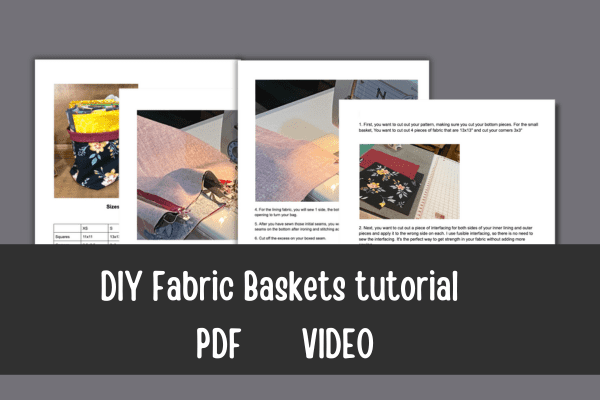
DIY Fabric Baskets video
Care for your DIY Fabric baskets
Simply throw the basket in the washing machine and then the dryer.
You can download the DIY Fabric baskets tutorial below. It includes step by step instructions and has different basket sizes from XS-XL.
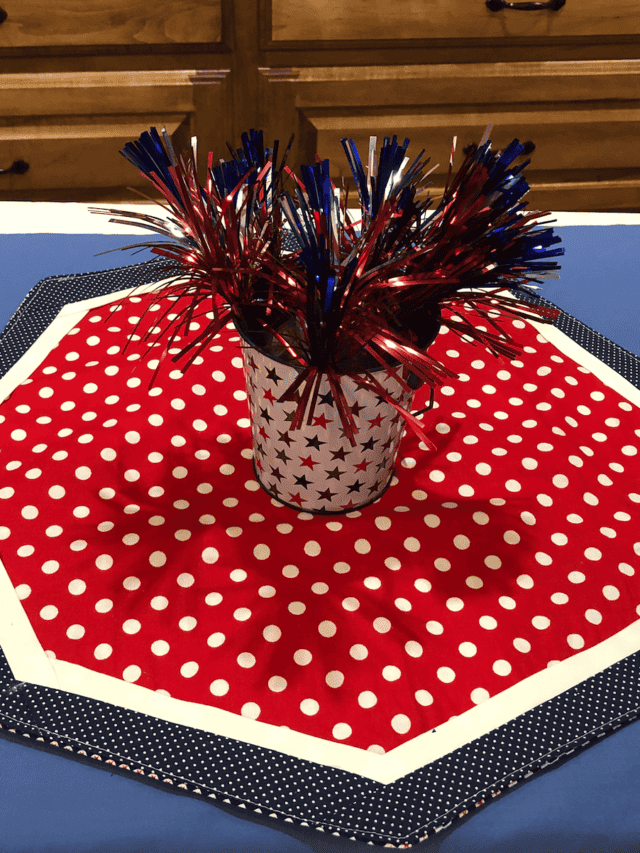
No doubt you can find the perfect size for using the sturdy fabric basket in all areas of your house. This easy tutorial and simple pattern make the perfect handmade basket.
Easter Sewing Projects
We have an entire library of Easter sewing projects. Here are a few of our favorite Easter projects:
Fabric Giveaway
Enter our monthly fabric giveaway. Simply complete the tasks daily and you will be entered into the drawing. Winner will be randomly drawn on the first day of the month and notified via email