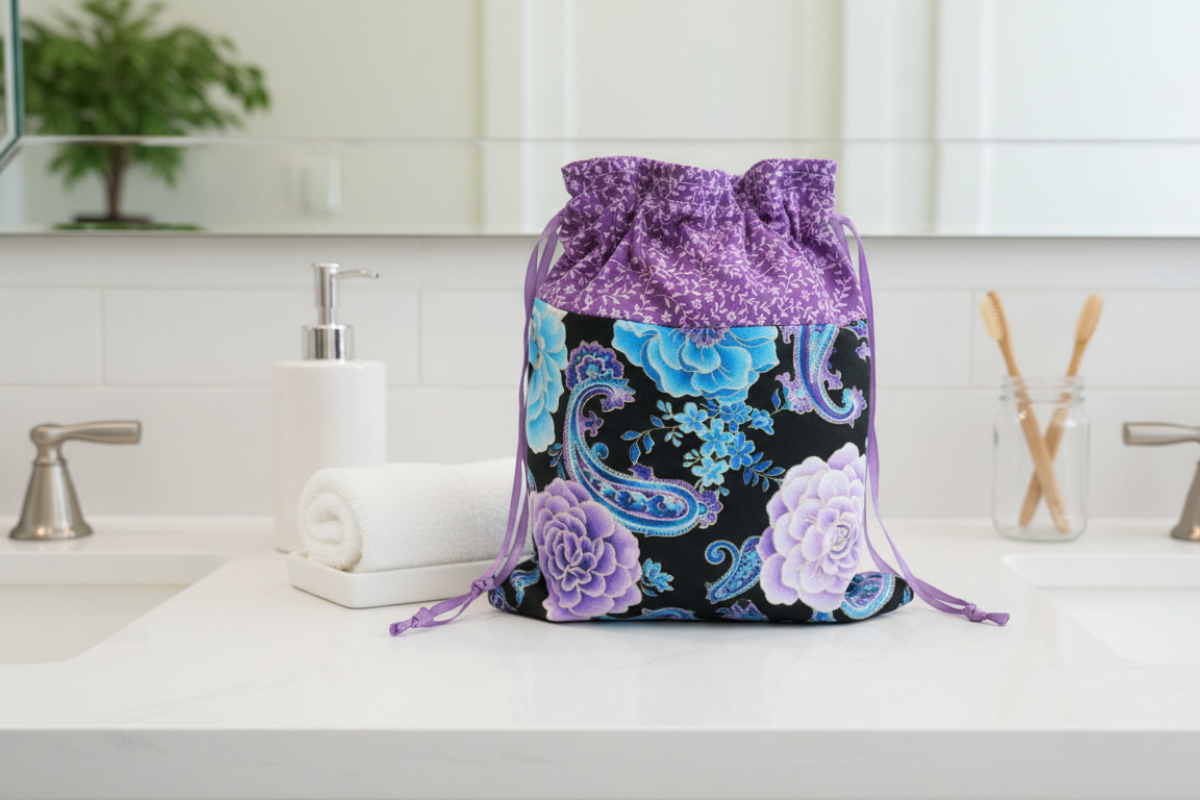
Drawstring Pouch Bag Pattern
I was looking for a drawstring pouch bag pattern to put my grand baby’s Barbie accessories in. She loves playing with her dolls and I love watching her play.
However, the barbie stuff is ALL over, and we needed a solution so that my husband and I weren’t stepping on Barbie accessories.
This drawstring pouch bag pattern is perfect for Legos, doll accessories or even to add birthday gifts in and give it to someone. They are so easy to customize.
If you want a video tutorial, you can check out my YouTube channel where I have done a video for these little bags.
Win a Fat quarter bundle of fabric on our giveaway page.
Sewing Supplies
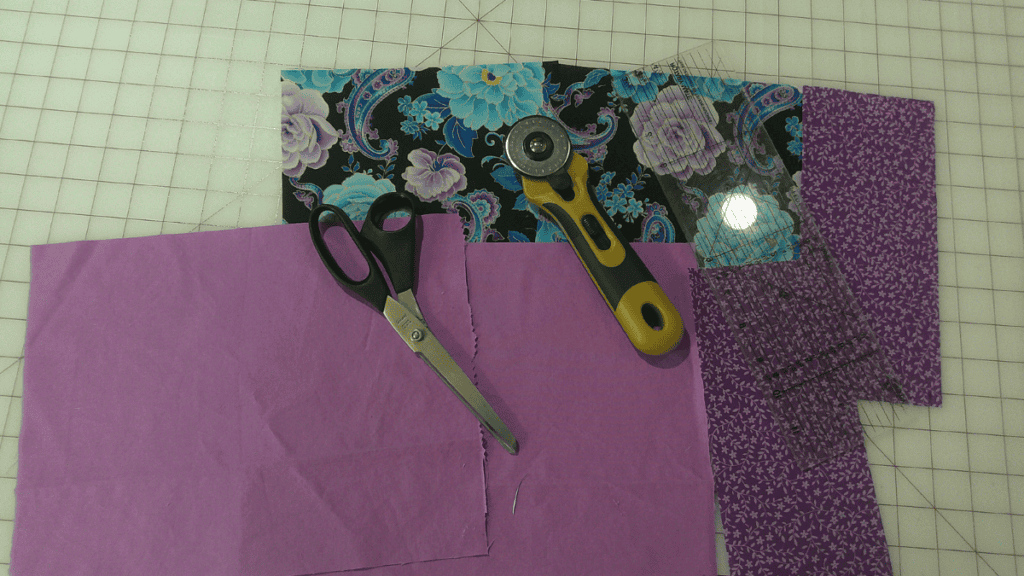
You don’t need a ton of supplies, but you can find the list here. These are perfect for using your fat quarters or stash of fabric.
I have made several of these cute bags using my fabrics. I even made a smaller bag for a dice bag for our Yahtzee game.
- 3 Fat Quarters: Each measuring 18″x21″. You’ll slice and dice these into specific measurements for each bag component. We used cotton fabric for all of our pieces.
- Ribbon for Drawstrings: Use either 2 yards of 1/2″ twill tape or nylon paracord. If you choose to make fabric straps, snip out two 32”x2” strips.
- Thread: Match or contrast with your fabric choice for that extra pop.
- Tools: Get hold of a sizeable safety pin, an acrylic ruler, and a water soluble pen. If you fancy a stiffer bag, bring some interfacing into the mix for the outer pieces.
Cutting Your Fabric
Cutting your fabric correctly is essential especially if you’re working with directional prints to keep the pattern looking pristine. If you are a complete beginner, stick with fabric with no obvious diagonal pattern. It’s a great way to keep this simple.
- For the Outer Bag: The fabric requirements include cutting out a 9″x21” strip from your chosen fabric. Then, divide it into two 9”x10.5” pieces.
- For the Accent: A single 4″x21″ strip will do. You’ll want to cut it into a pair of 4″x10.5″ pieces to match the outer bag.
- Lining: Take the third fat quarter and cut out a 12.5″x21″ strip. Subdivide this into two 12.5″x10.5” pieces for the bag’s interior.
Remember, we’re trimming these pieces with an eye for minimal waste, so if you have remnants, they won’t be part of the final bag.
Video Tutorial
Assembling the Drawstring Pouch Bag Pattern
Here begins the fun part:
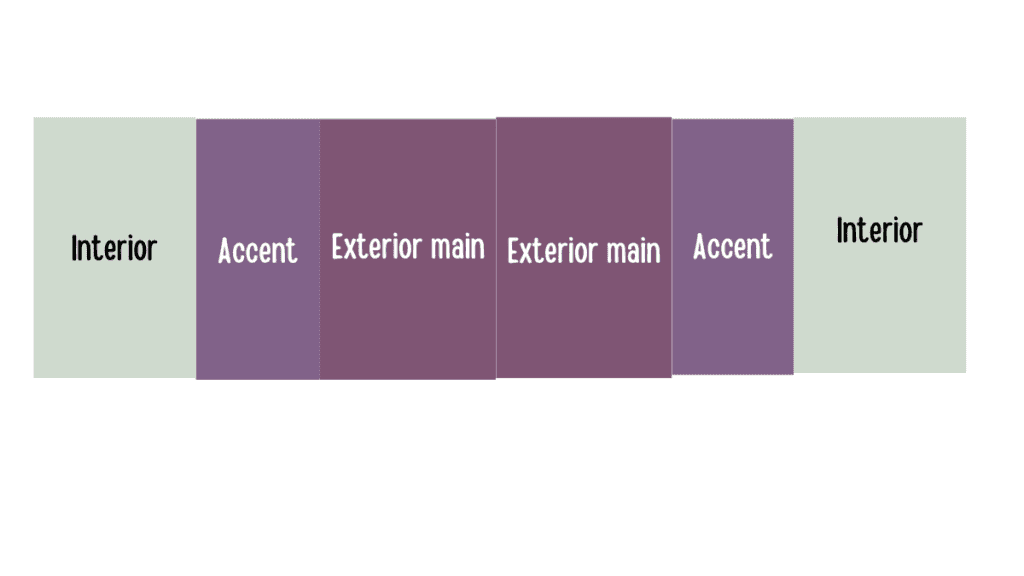
- Prepare the Fabrics: Arrange your cut pieces – two each of the main outer fabric, accent, and lining fabric as you see in the diagram below. Your fabric should be facing right sides up.
- Mind the Direction: If you’re using prints that need to face a certain way, place them so that the print heads to the top, mirroring the lining.
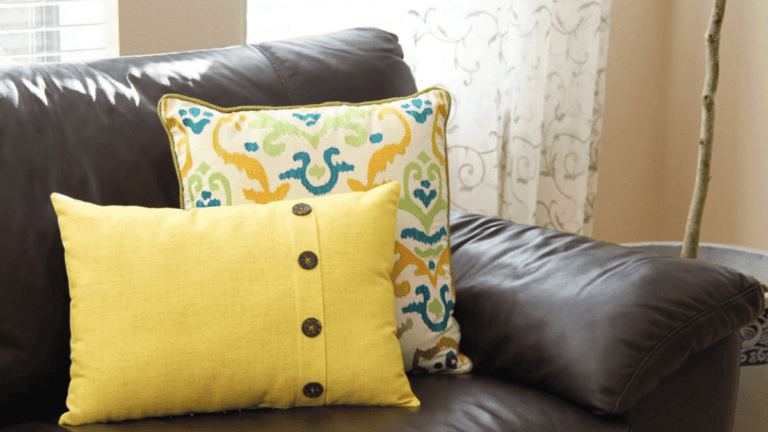
Easy Sewing Patterns
Here are our top 5 easy sewing patterns
Sewing It All Up
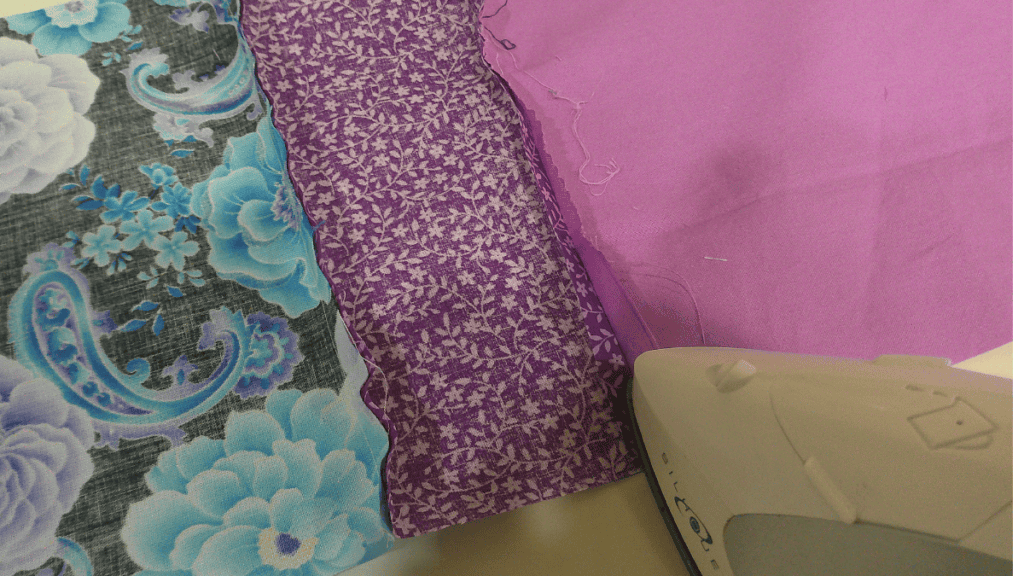
Use a quarter-inch seam allowance for stitching unless guided otherwise. Stitch all your pieces together in the specified order to form a single long strip.
Make sure and align your raw edges before beginning to sew your DIY drawstring bag. Use a backstitch at the beginning and end of each seam. Then, press your seams open.
Next, fold your sewn strip in half with the right sides together, ensuring that the interior ends are aligned. Use pins to secure along the raw edges, matching up each of your side seams.
Leave a 3″ space at the center of the open end (interior) to allow for turning later.
Next, mark a 1″ opening in the center of the exterior accent piece on both sides. Measure 1.25″ and 2.25″ from one side of the exterior accent to mark two small sections that will be left unsewn, forming an opening for the drawstrings.
Step 5 is to stitch along the three open sides using your sewing machine, backstitching at the beginning and end.
Avoid sewing between the 1″ openings marked on both sides and the 3″ opening at the end. Remember to backstitch before and after each opening.
Boxed Corners
To form the flat bottom of your bag, begin with an interior corner. Separate both interior pieces and flatten the corner where the seams meet.
Align the bottom and side seams, adjusting them with your fingers to ensure they are properly aligned.
Pressing the seams open a few inches in each direction may make this process easier.
Place your acrylic ruler over the corner of your wrong sides, aligning the diagonal edge of your piece with the 45˚ angle line. Ensure that the stitching line aligns at 1.5″ (as indicated).
Then, use a water-soluble pen to draw a 3″ wide line across the corner.
Stitch along this line, across the corner, remembering to backstitch at the beginning and end. Trim off the corner, leaving a 1/4” seam.
Repeat the steps above for the remaining interior corner and both exterior corners of your outer piece.
Turn your fabric pieces right sides out, pulling through the opening in the interior. Gently push out the corners. Press the lining opening under 1/4” and stitch closed with a small seam allowance.
Your bottom piece should be lying flat making it easy to place small gifts in the bottom corners.
Drawstring Closure
Let’s create the casing pieces so we can add ribbon to your drawstring bag pattern so that small items will never get out of the small bag.
Locate the 1” opening on each side of the bag. Mark a small horizontal line at the top and bottom of the opening. Then, use your acrylic ruler to extend the lines around the entire bag.
Stitch all the way around your piece on the lines you marked, backstitching at the start and finish. Upon completion, you will have two stitch lines, one above and one below the 1” openings, creating the casing for the drawstrings.
If you are using a sewing machine without a free arm, like mine, turn the bag inside out after marking the lines. Then, sew on the lines “inside the bag”.
Attaching Your Ribbon

Secure a safety pin to one end of your ribbon (first cord) and then insert the safety pin into one of the side openings.
Thread it through, passing through the other opening, and pull it all the way back around and out through the opening where you started.
Even out the ends and tie them together in a tight knot. Repeat the same process with the remaining second cord, starting at the other side opening.
Make sure and knot the ends of your ribbon and if your ribbon is unraveling, use clear nail polish or candle wax at the ends of the ribbon to stop that.
I can’t wait to see your finished drawstring pouch bag pattern. Make sure and show it off on our Facebook page.
Fabric Giveaway
Enter our monthly fabric giveaway. Simply complete the tasks daily and you will be entered into the drawing. Winner will be randomly drawn on the first day of the month and notified via email


One Comment