How to Sew a Drawstring Bag-Easy 30-minute project
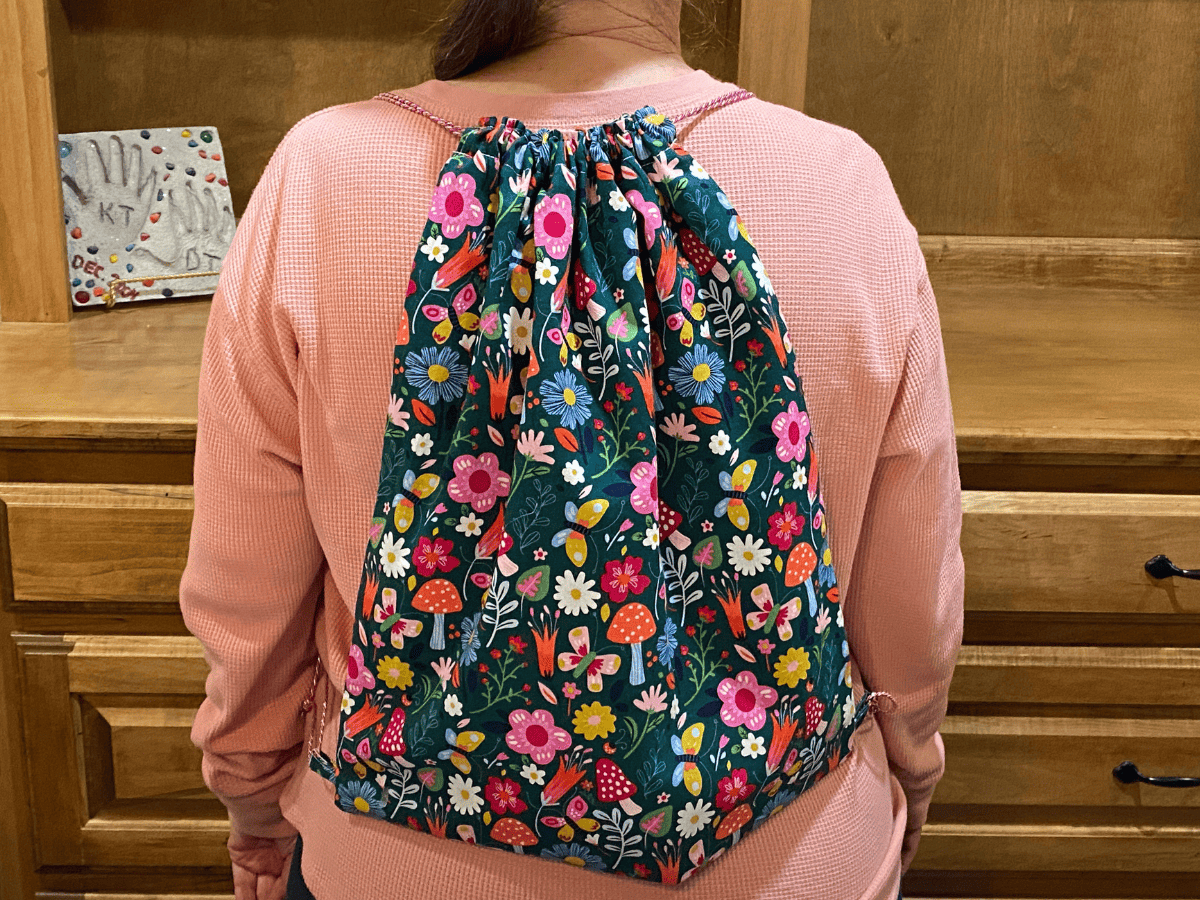
This DIY drawstring bag has become one of our favorite bags to use. We created a wet bag for the beach, and I had requests from 2 family members for their own drawstring backpacks.
Here’s how to sew a drawstring bag using your sewing machine, some cord, and your favorite fabric.

Learn how to sew a drawstring bag
You will find step-by-step instructions in creating your drawstring bag. This is a simple drawstring bag tutorial.
We do have an option if you want to take the full class with full-length videos and the ability to ask questions, we have those full classes on Udemy, This is great for the beginner sewer.
We have an abbreviated version in our sewing library you can access for free. Let’s get started learning how to sew a drawstring bag.
Supplies for the Drawstring Bag
You can find a link to our favorite supplies here
- Scissors or Rotary cutter
- Sewing Machine
- Cotton fabric (for outer fabric pieces and lining piece)
- Fabric Cutting Mat
- Thread
- Sewing pins
- Sewing Clips
- Bone folder
- Iron
- Ironing Board
- Magnetic Sewing Pin Holder
- drawstring cord 2 yards for each side of your bag
Assemble your drawstring bag
Now it’s time to start assembling your drawstring bag. These simple drawstring bags will become a fabric sewing tutorial quickly.
Cut your fabric
You will need 2 pieces of fabric on the fold that measure 20 x 8″. You also need a rectangle cut which is 6×2″. You will create your loops for the bottom corners to help hold your cording.
Create your loops
Take your piece of fabric and fold in half length ways. Now you want to iron that piece and open up and fold each half into the middle. Again iron the folded edges.
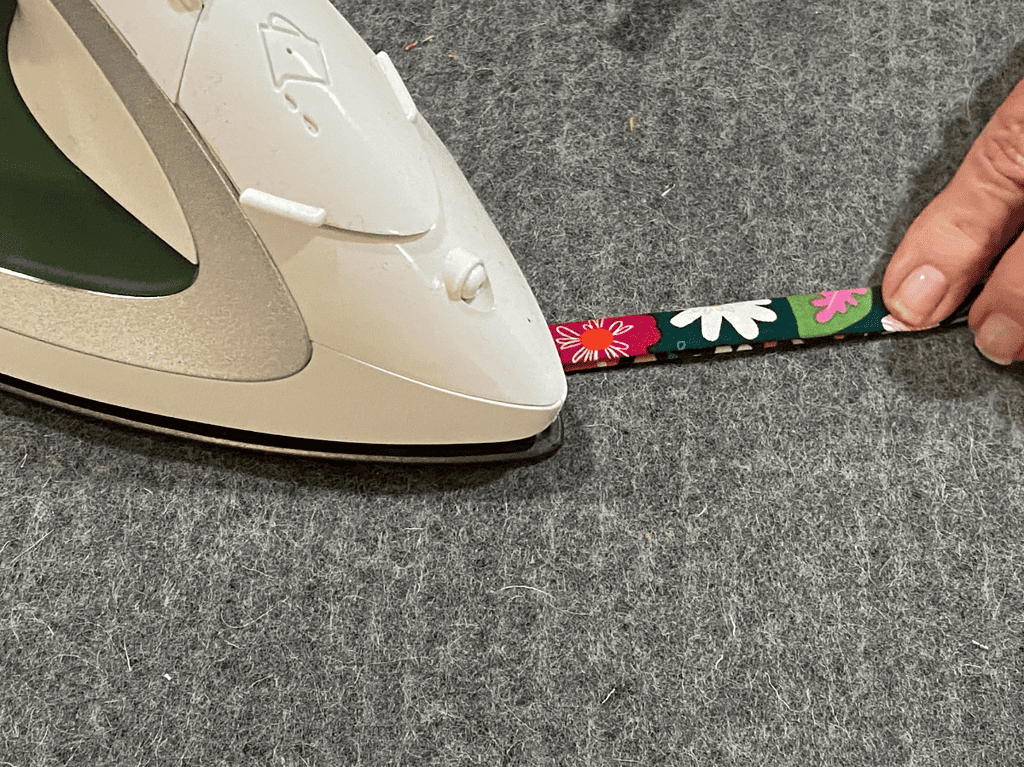
Photo Credit: Nanasewing.com
You will then want to do a straight stitch down the side seam. for added strength, Now take and cut that in half and use your Serger and sew the ends or use a Zig-zag stitch.
Attach your loops about 1″ from the bottom of your bag. You will pin them with the loop facing inside. Line your edges up with your straight edge and use straight pins to hold in place.
Reinforce your Fabric
You want to sew around both pieces of your fabric with a zig-zag stitch or Serger. You will simply sew down your edges. You are not turning any of your fabric down.
Mark your Casing
The fabric drawstring bags have a 3″ casing at the top to put your cording through. Put your right sides together and make sure your raw edges line up.
Measure 3″ from the top and mark with your fabric marker or with sewing pins. Great job. You are learning how to sew a drawstring bag.
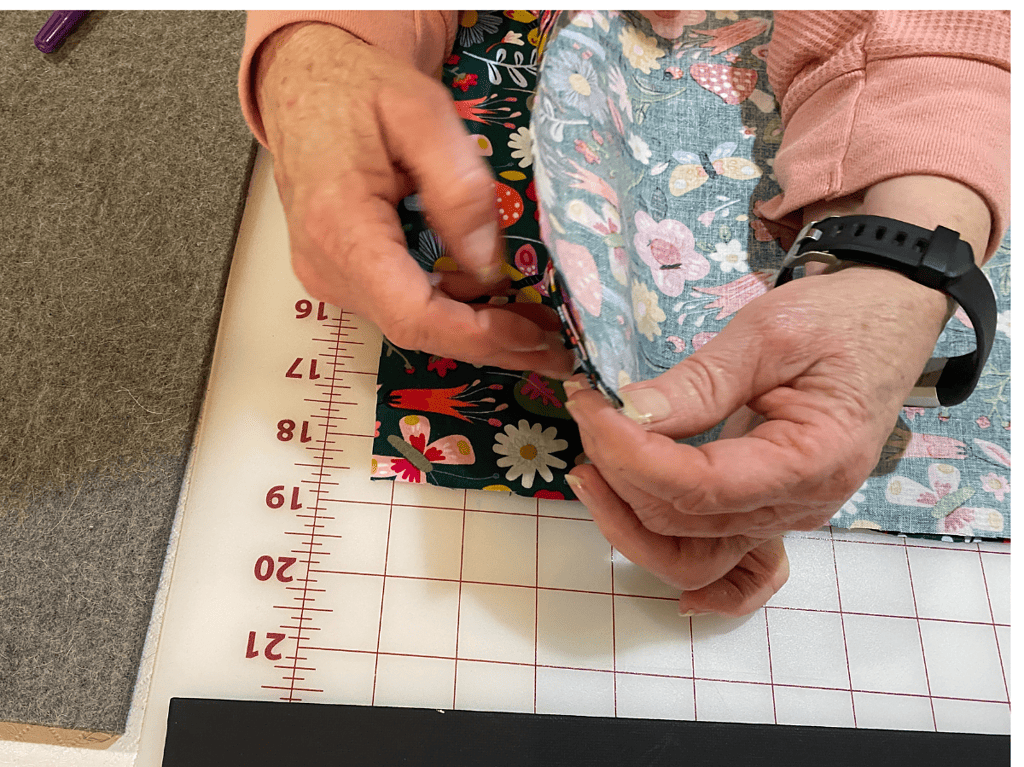
Photo Credit: Nanasewing.com
Sew your drawstring bag sides and bottom
Next, you want to sew a 1/2″ seam allowance down each long side and then the bottom. Don’t forget to back stitch when you start and finish.
Additionally, make sure you caught your loops well, so they never come apart. I turned my bag inside out to make sure before I created my casing piece.
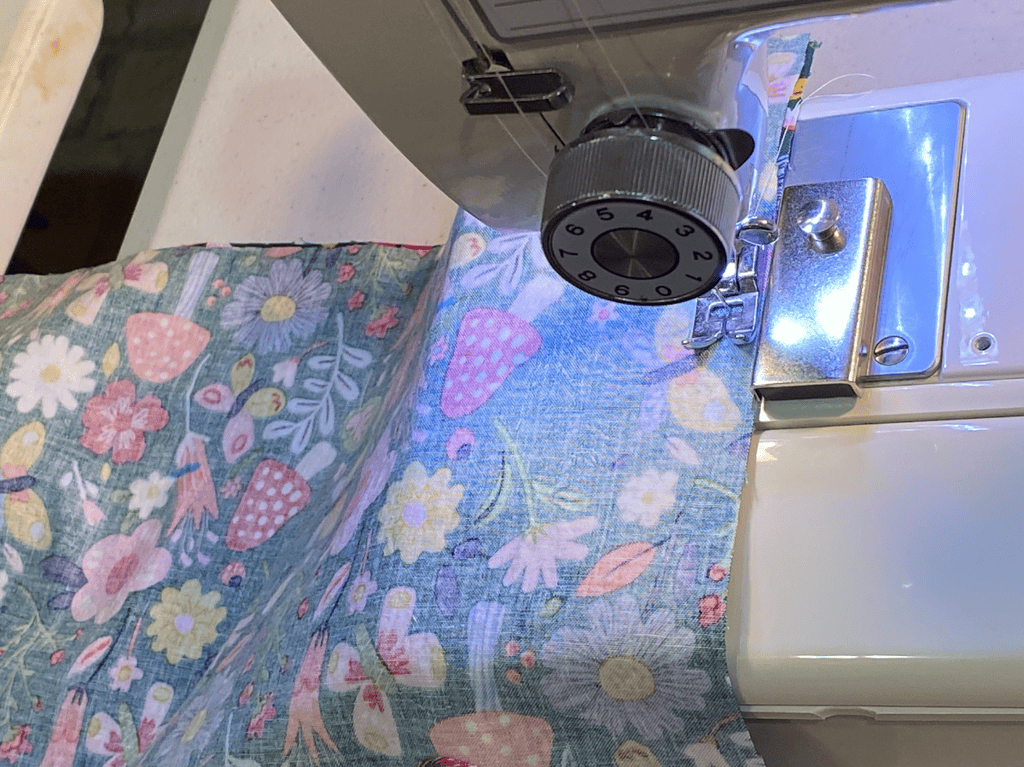
Photo Credit: Nanasewing.com
Create your Casing
You need to create a drawstring channel to pull the ends of your drawstring through. To create your casing, you have to first iron all your side seams with your iron.
Additionally, don’t forget to also do the opposite side of the bag so that all your seams are open.
Next, you want to sew down the side of one opening, across the bottom seam, and back up to the top of the bag. You can see the photo below.
Third, you need to turn the top edge of your bag to the seam and iron. You then want to turn under the bottom edge about a 1/4 inch.
Additionally, you will want to sew the top edge of your casing and sew a second seam at the bottom of the casing to keep your drawstring chord in the middle of your bag. The cord tends to want to go to the top of your bag without doing this.

Photo Credit: Nanasewing.com
After sewing, turn your bag so that the wrong sides are facing each other, and you see the bag as it will look when finished.
Furthermore, your casings are done. Look at you learning how to sew a drawstring bag.
Add your drawstrings
You are nearly finished. Just a few more steps. Take 1 of your drawstrings. You will want to put masking tape or use wax from a candle and put that on the end of the drawstring.
Next, you want to add a large safety pin on the ends of the drawstring and start to push it through the drawstring casing at the top edge of the bag.
Additionally, You will want to tie a double knot in your cord at the bottom of the bag. Do this on both sides. You now have a finished bag

Photo Credit: Nanasewing.com
This is the perfect project if you are teaching kids to sew or looking for easy sewing projects to do in a day.
Congrats, you have learned how to sew a drawstring bag. These can be made in a variety of sizes and make great homemade gift bags and are a great way to carry things while at the Farmer’s market or at the beach. Get the free sewing pattern in our Sewing Class Library.
Other Sewing Resources:
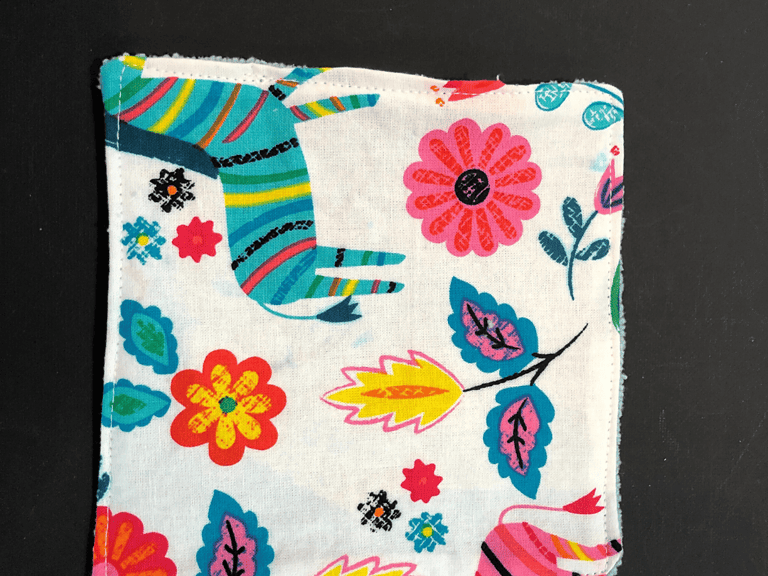
If you are new to sewing, we recommend that you start by learning the basics and starting with a simple project like the potholder.
Start with:
Fabric Giveaway
Enter our monthly fabric giveaway. Simply complete the tasks daily and you will be entered into the drawing. Winner will be randomly drawn on the first day of the month and notified via email


Where are the sewing practice sheets? I’m helping someone new to sewing and the practice sheets could be a great help. The link above only takes me to info about lights.
Thanks for letting us know. I corrected it and here’s the correct link https://nanasewing.com/sewing-practice-sheets/