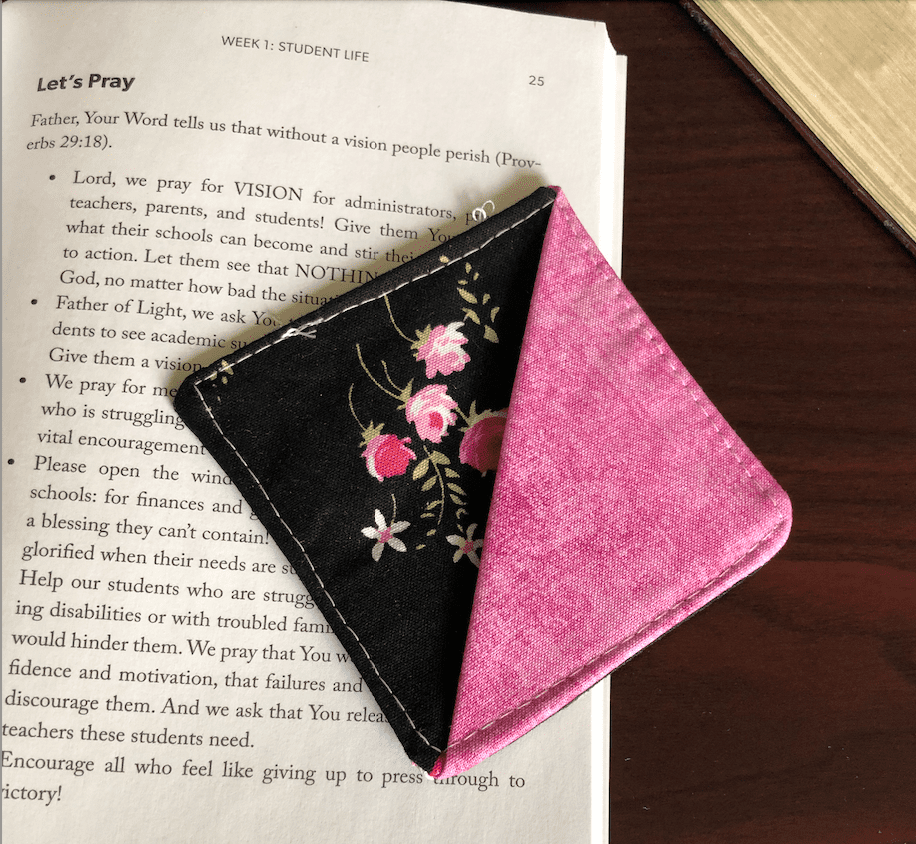
Easy corner bookmark 15-minute sewing tutorial
Reading a captivating book that you’re unable to set aside is truly one of life’s great pleasures.
However, if circumstances require you to pause your reading, this handy corner bookmark provides the perfect solution.
This sewing project is simple and can be done with scrap fabrics or with 2 contrasting fat quarters.
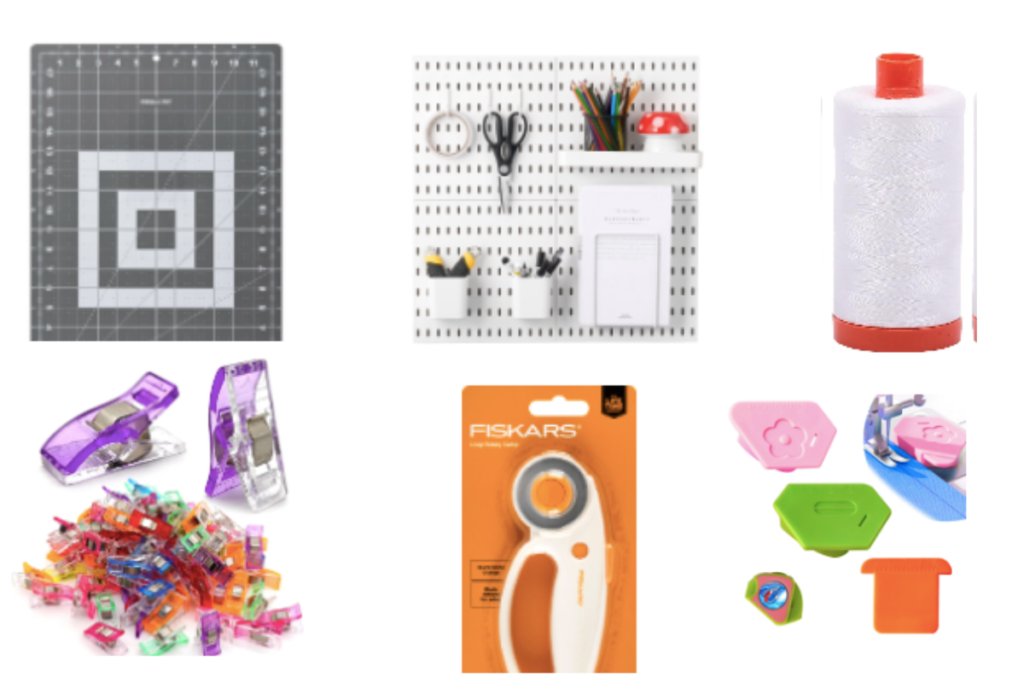
Sewing Supplies:
Instructions for Corner Bookmark
These instructions for the corner bookmark should be easy to follow, if you have any questions, please leave a comment and I will answer it.
The PDF tutorial has photos showing you step by step. It will help you remember how to make them, and we have free training if you intend to sell your items at a craft show.
- You need three 4″ squares and 2 squares of interfacing, of the same size. You can do contrasting colors or the same color. Totally depends on your choice.
- Cut 1 piece of interfacing in half (you will apply this to the top piece you will see)
- Iron the 1/2 piece to what will become your front and iron that piece into a triangle. This will be the piece you see when you open your page.
- Attach the second piece to one of your squares that will become your back. Interfacing creates stability so your corner bookmark doesn’t fall out of your book
- Now put your square pieces together as seen in the video below
- Sew the squares, leaving a 1/2″ to 1″ space to turn your bookmark. Backstitch at both openings to ensure it stays in place.
- After turning, use the bone folder to poke your corners out to make sure they are crisp. You can also use a chopstick, scissors or a butter knife.
- Top stitch your corner fabric bookmark making sure to close up the opening you used to turn your bookmark. I like to iron first to help make it easier to top stitch and to ensure my open seam stays closed as I sew.
DIY corner bookmark video
Here’s the step-by-step video on how to make easy DIY corner bookmarks. I don’t know about you, but I like seeing it done.
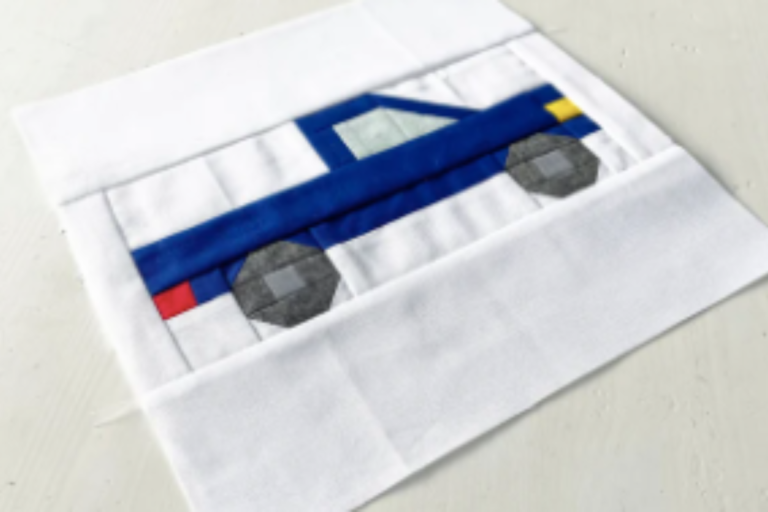
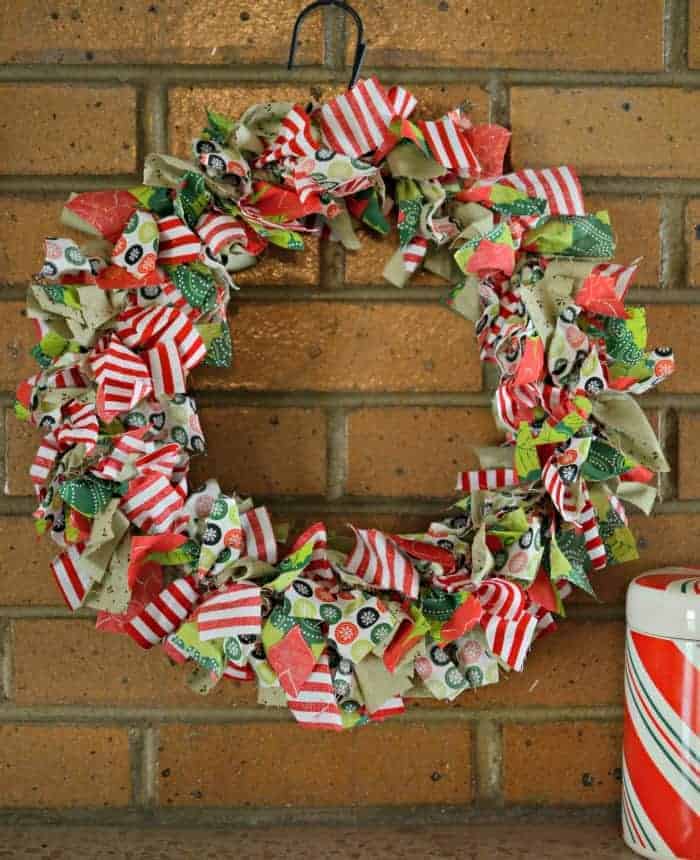
Other easy sewing projects
If you enjoyed this corner bookmark pattern, here are 2 other beginner sewing projects that you can do with less than 1/2 yard of fabric and without any trouble.
Other Sewing Resources:
If you are new to sewing, we recommend that you start by learning the basics and starting with a simple project like the potholder.
Start with:
Fabric Giveaway
Enter our monthly fabric giveaway. Simply complete the tasks daily and you will be entered into the drawing. Winner will be randomly drawn on the first day of the month and notified via email


14 Comments