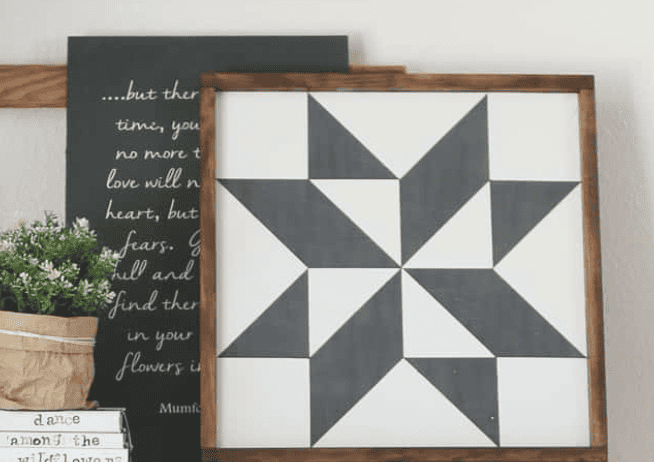
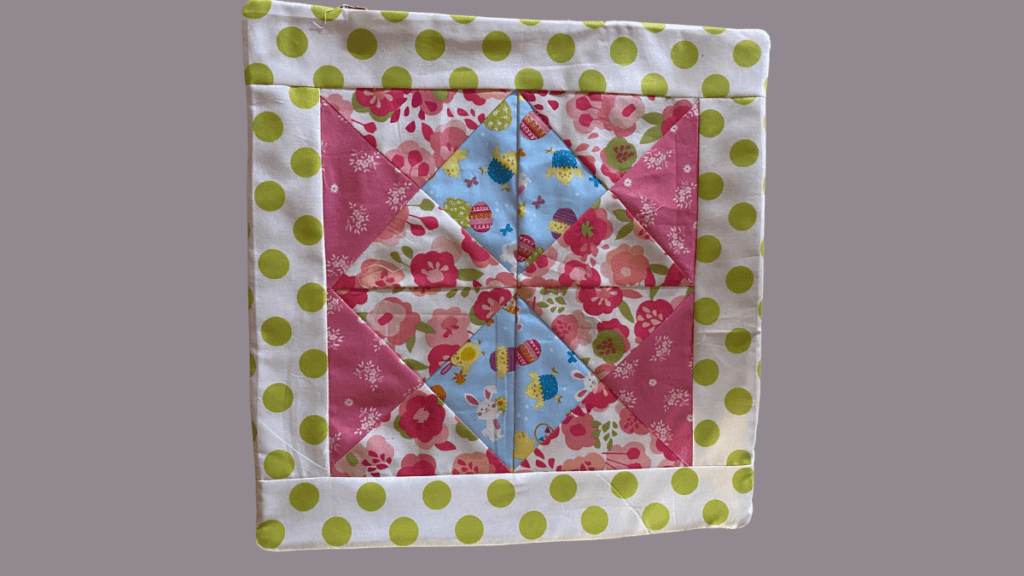
Easy 15×15″ Easter Quilt Pattern-Cute Mini Quilt Patterns
Looking for a fun and festive project to celebrate the arrival of spring? Look no further than our delightful 15×15″ Easter quilt pattern!
This mini quilt is the perfect way to add a touch of seasonal charm to your home decor.
With its manageable size and straightforward construction, this project can be easily completed in just one weekend, making it an ideal choice for both novice and experienced quilters alike.
Plus, with the option to customize the colors and fabrics, you can create a one-of-a-kind piece that perfectly suits your style.
Join us as we dive into the details of this adorable Easter quilt pattern and get ready to add a pop of fun and cheer to your space!
Make sure and download the PDF to get over 10 photos of all the steps.
Sewing Supplies:
Quilt Designer
Huge thanks to Melissa Mortenson from Polkadot Chair, who designed this wall quilt. You’re gonna adore how simple it is to make. It should take 1–2 hours to complete.
Cut out Fabric

Cut out the following pieces
- 1 square 6 1/2” x 6 1/2” from Fabric A
- 1 square 6 1/2” x 6 1/2” from Fabric B
- 2 squares 6 1/2” x 6 1/2” from Fabric C
To create the border you need:
- 2 strips 2 1/2” x 10 1/2”
- 2 strips 2 1/2” x 14 1/2”
- Quilt back that is 15” x 15”.
- Batting square 15” x 15”
Easter Quilt Pattern Instructions:
Draw a diagonal line across the back of each one of Fabric C using a fabric pen.
With the right sides together, pin one of your Fabric C to 1 Fabric A and the other one to Fabric B.
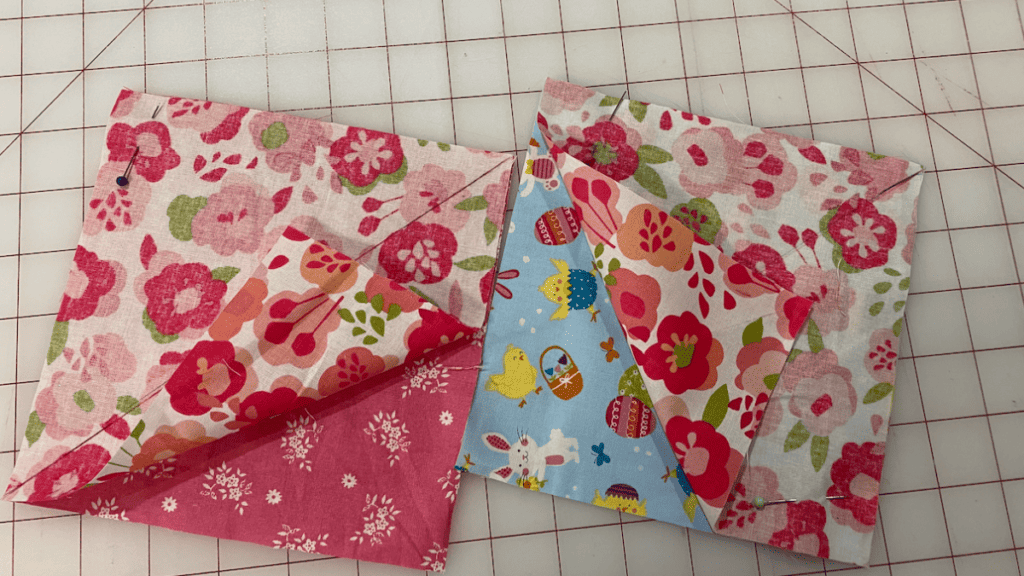
Sew 1/4″ sew allowance from your diagonal mark on each side. So you should have 2 seams and make sure and back stitch beginning and end to hold your fabric in place.
Next, you are going to cut along your pen marks, giving you 4 triangles.
Additionally, press your seams toward the darker fabric in your triangles.
Next Steps:
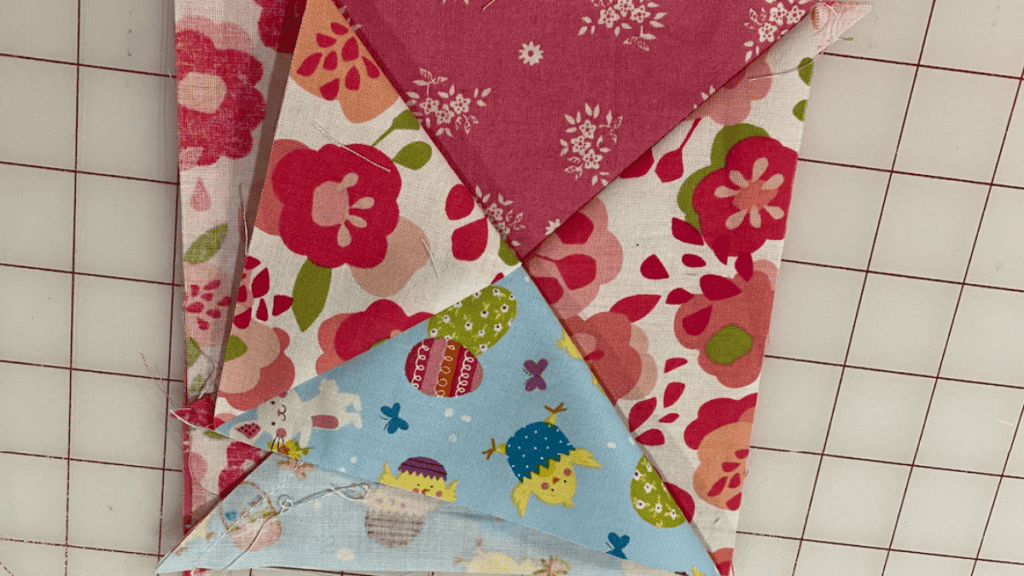
Take your fabric that has Fabric B and C and do another diagonal line on both of them. Next, you will put them right sides together with each of your other fabrics.
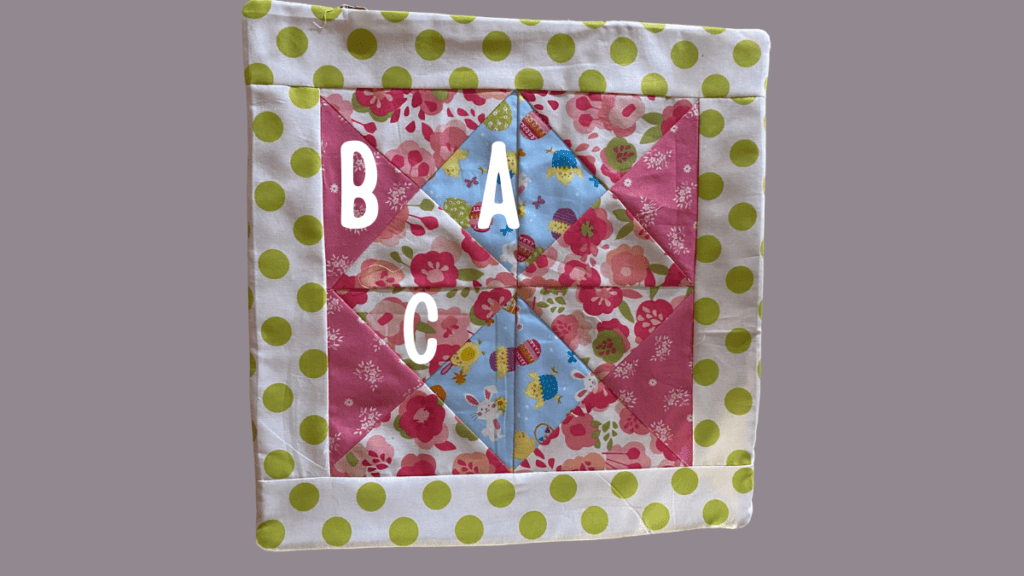
You will repeat what you did above, sewing 1/4″ seam allowance on both sides of your diagonal line and then cut in the middle giving you 4 squares total. Here’s a photo of what they should look like.
Connect Your Squares
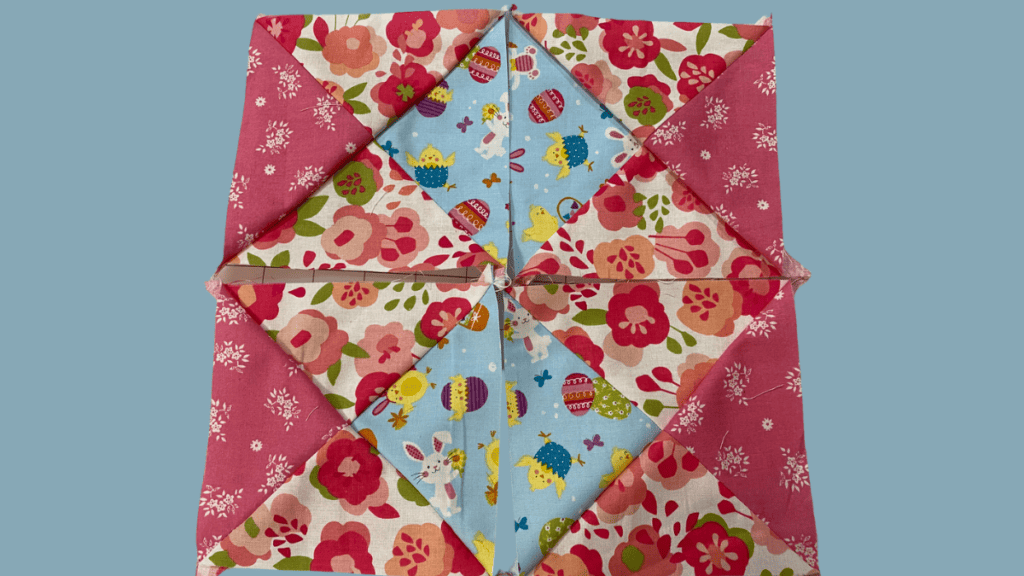
Now you want to connect your square first from left to right connect 2 squares and then do the other 2 squares and then connect those together.
So, you should have 1 solid piece. You will want to trim off any excess and square up your quilt piece. Don’t forget to iron your seams in 1 direction.
Add Your Border
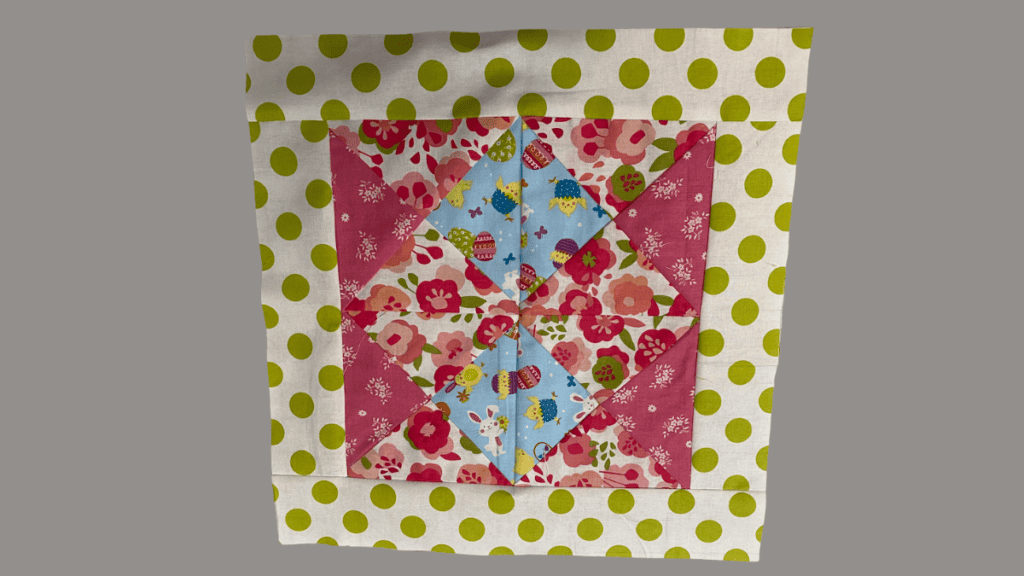
Now you want to add the shorter border first sewing a 1/4″ seam allowance and then add your next 2 borders again sewing 1/4″ seam allowance. Press your seams and trim up any excess.
We choose to keep this simple. You will attach your binding to your back fabric using quilt adhesive. You can see a video on June Taylor quilt glue here.
Finish Your Quilt
With the right sides together, you want to clip or pin your pieces and sew around your quilt with a 1/4″ seam allowance, making sure to leave a 1 1/2-2″ opening on one side in the middle.
Once sewn, turn your pieces and iron. I turned in my raw edges about 1/4″ or until closed and ironed in place. I then top stitched around the quilt
You can either use your quilting machine to quilt, use a decorative stitch on your machine to make designs to hold everything in place, or stitch in the ditch along your pieces. I did the 3rd.
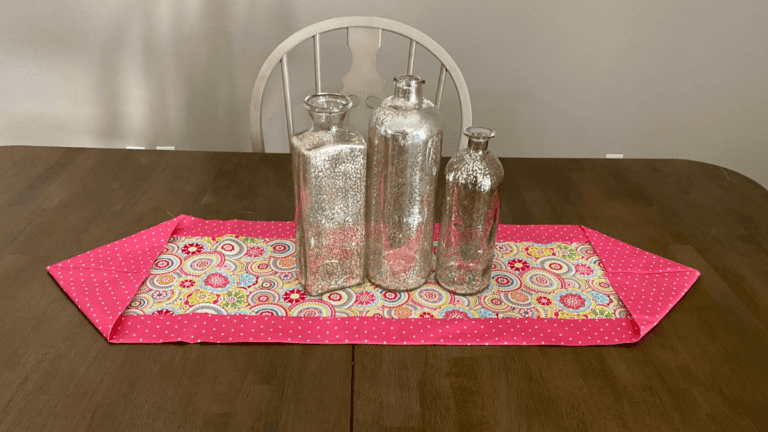
Now you have a wall hanging or a square table runner that looks so cute on a table.
If you love applique you could easily add an Easter egg, bunny applique to this Easter quilt pattern and make it even cuter. I would add those to the design before finishing the quilt to make it easier.
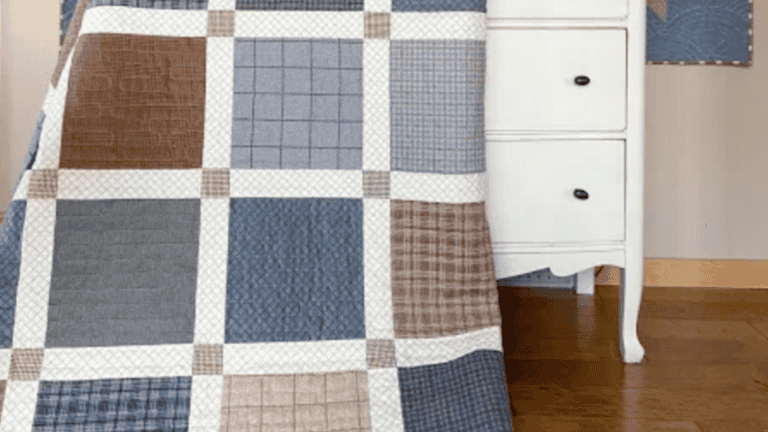
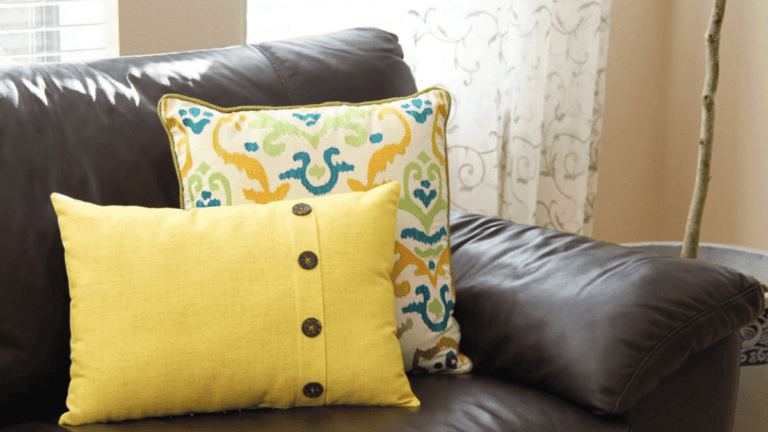
Free Quilt Patterns
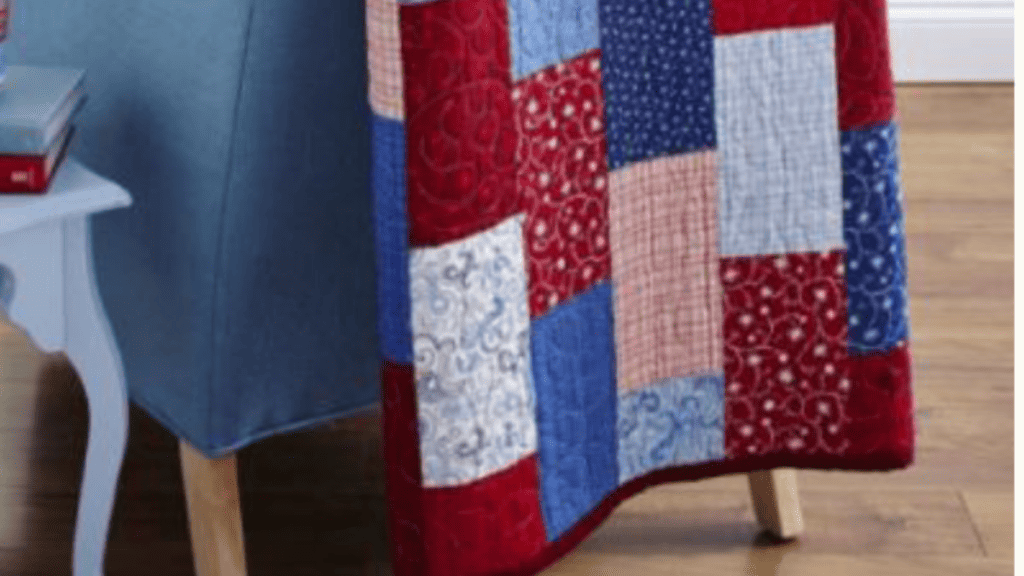
If you are looking for easy free patterns, some of our favorites are
Our plan is to do a new mini quilt pattern each month. We will announce that in email, plus we send out super fun sewing projects and quilt patterns each day. Make sure you are on there.
Fabric Giveaway
Enter our monthly fabric giveaway. Simply complete the tasks daily and you will be entered into the drawing. Winner will be randomly drawn on the first day of the month and notified via email