DIY Hobo bag pattern: super easy and versatile
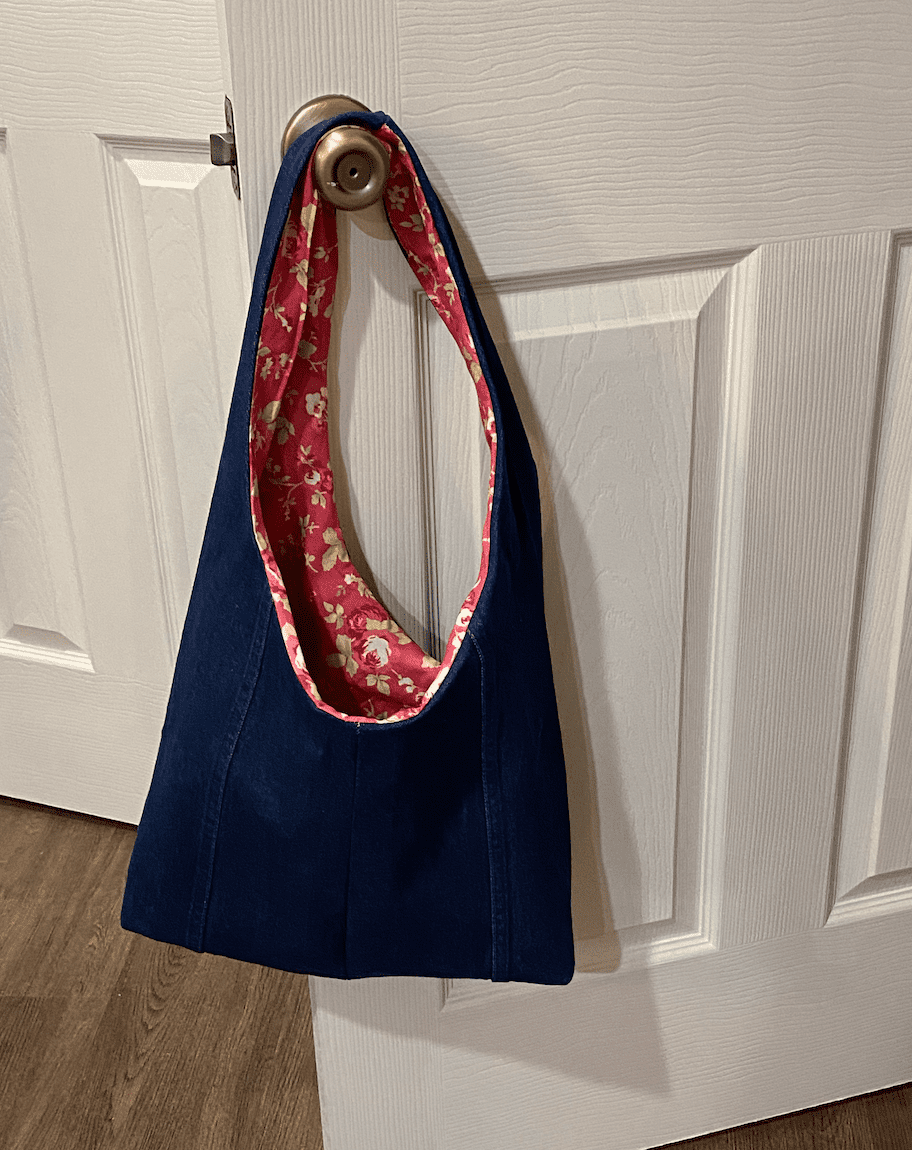
Are you on the lookout for a stylish bag that can carry all your essentials and add a touch of chic to your outfit? Look no further than the Hobo bag pattern!
This versatile and practical bag design is the perfect bag for your everyday needs. Whether you’re running errands, commuting to work, or heading out for a weekend adventure, the hobo bag is a must-have accessory.
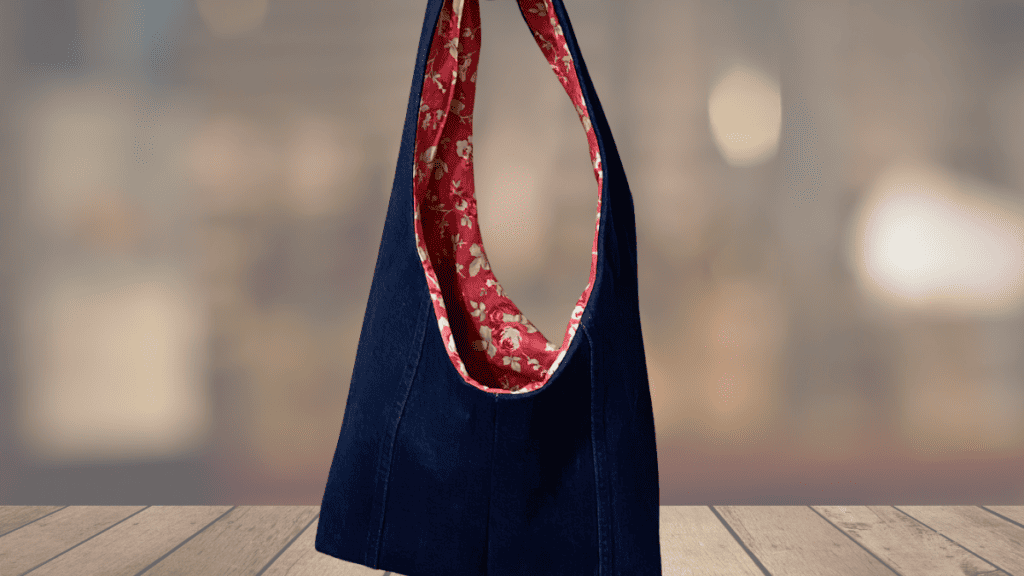
If you love DIY projects, you’ll enjoy making your own hobo bag using the hobo bag pattern. With a wide range of fabrics and colors to choose from, you can customize your hobo bag to match your personal style.
Plus, the next time someone compliments your bag, you can proudly say, “Thanks, I made it myself!”
In this blog post, we’ll take a closer look at the hobo bag pattern, why it’s the perfect bag for everyday use, and how you can make your own. So, grab your sewing machine, and let’s get started!
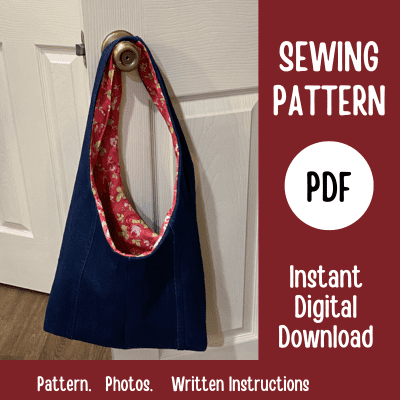
Hobo Bag PDF
the pattern includes the templates, video tutorial and written tutorial with more photos.

Our outer bag is a pair of jeans we bought at our local thrift store. You will cut the legs off right below the pocket.
The inner lining is a yard of fabric if your fabric measures 44” inches wide. That includes enough to create the inner pocket.
Hobo bag pattern supplies
- Sewing machine
- Heavy Duty Sewing Machine Needle 100/16
- Scissors
- Rotary cutter
- Fabric Cutting Mat
- Beginner’s sewing kit
- White thread
- Medium weight fusible iron on interfacing
- Fabric 44inch wide
- Wrangler jeans
- Magnetic clasps buttons
- Bone folder to make edges crisp
- Fabric Marking Pens
- Iron
- Ironing Board
Hobo bag pattern instructions
Your inside lining needs to be prewashed because the denim jeans have already been washed and have shrunk if they are used.
Cut the hobo bag pattern making sure the side that says fold is on the fold line of your recycled jeans. You will want to cut 1 set from each leg. Your jeans should be wrong side together.
Next cut the pattern from your lining fabric again making sure your fabric is folded and you have the seam on the fold.
When working with denim you will need a needle specific for denim. Our Needle sewing guide gives you the size you need (100/16). You can simply use another type of fabric which is actually easier to work with.
You will want to do your lining first and do all of those pieces and then switch your needle and sew your denim pieces.
With right sides together sew 1 side piece of your lining together making sure to backstich at the beginning and end.
Next you will want to iron those seams making sure they are laying flat. While at your iron get your pocket ready to sew.
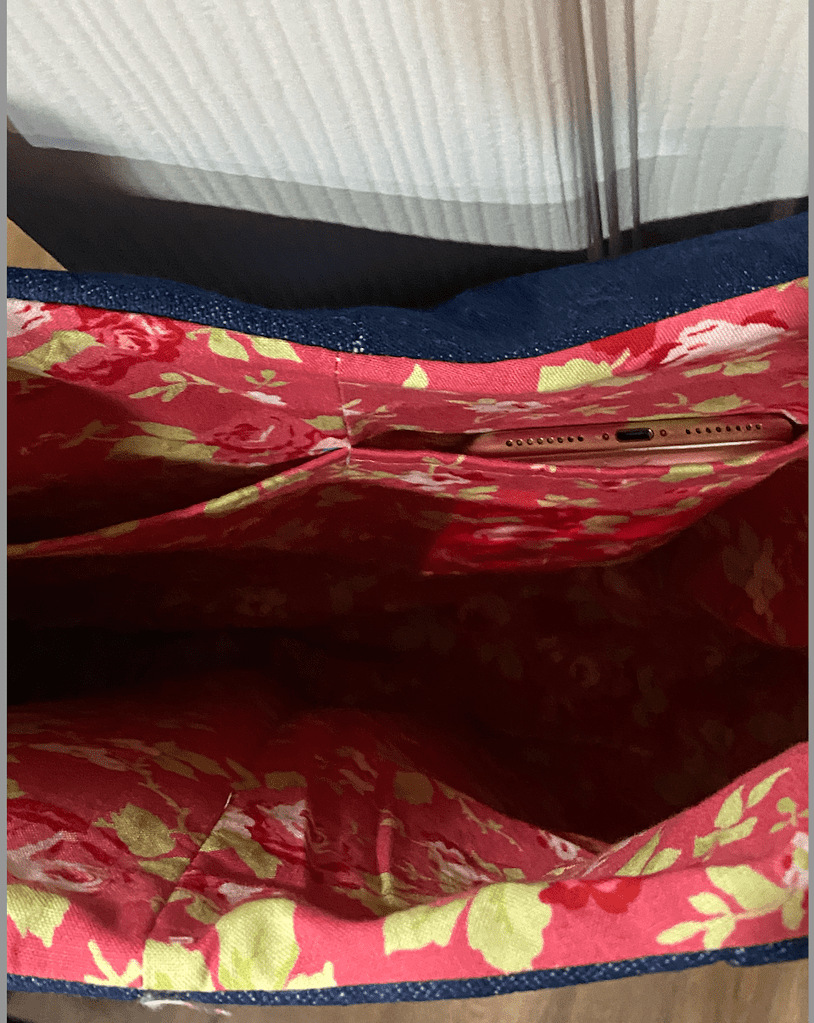
Your pocket measures 8×10”. The top of the pocket should be folded twice ⅜” while your other sides are folded only once.
Take and sew the top edge and after doing that find the center of your pocket and match that seam to the seam of your lining.
Pin your pocket to the right side of your lining and sew around all 3 outer edges and down the center seam creating 2 pockets.
Next sew your other side again with right sides together. Make sure and iron your seams open.
Now sew the bottom of the bag leaving a 2” opening in the middle which you will use later to pull your outer fabric through. Iron your seams open
Next, make a boxed seam which you will find on the video at 6:08. Simply sew across with a ⅜ seam allowance.
Hobo bag pattern outer layer
Now it’s time to do the same with your outer fabric which is our recyclyed jeans. You are doing the same exact steps except for the bottom which is just sewn closed.
You MUST change your needle or you will bend your needle as this is a heavy fabric. We have a YouTube video that shows what happens when you use the wrong needle.
With right sides together sew 1 side of your denim together making sure to backstich at the beginning and end.
Next you will want to iron those seams making sure they are laying flat. Denim is hard to iron so take your time and try not to burn yourself.
Next sew your other side again with right sides together. Make sure and iron your seams open.
Now sew the bottom. Iron your seams open again.
Next, make a boxed seam which you will find on the video at 8:40. Simply sew across with a ⅜ seam allowance.
Assembly of Hobo bag
Turn your denim inside out with wrong sides facing each other. Place inside your lining pieces matching your seams.
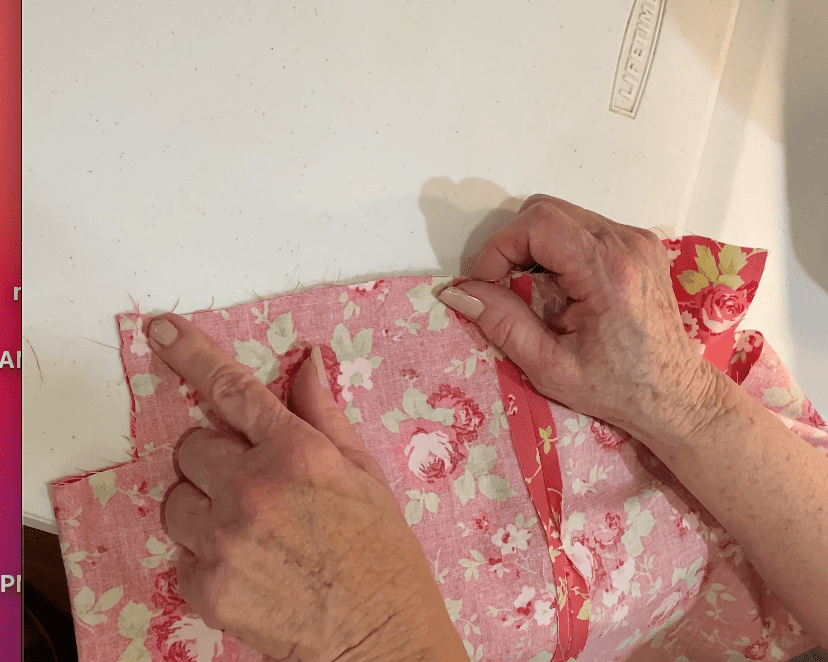
Use sewing pins or clips to attach the inside of your bag and lining and handle. Make sure and leave the top of your handle and inside open (around 2 inches) See the photo below.
Sew these pieces together and then pull the denim through the opening of the lining. You will also want to pull through your handles in the opening up top.
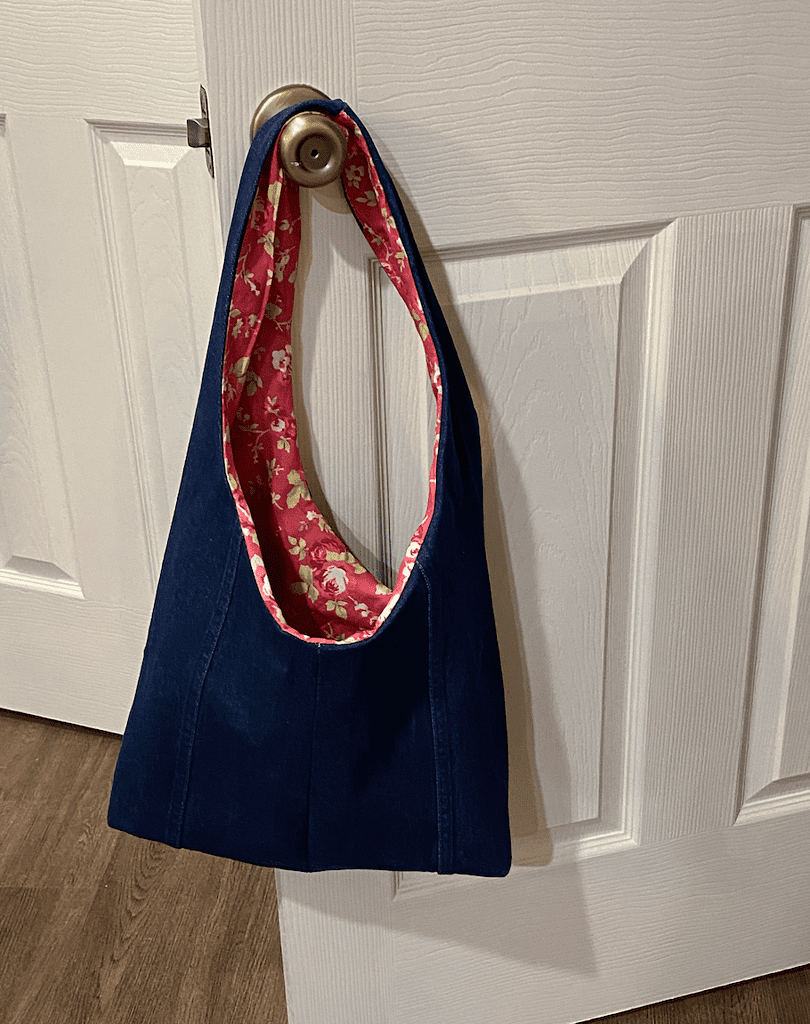
To finish your handles pin your right sides together and sew across. After sewing you will want to fold over raw edges and top stitch around the entire bag.
Don’t forget also to sew the inside lining bottom opening again folding under the raw edges and topstitching.
To keep your bag closed you will want to attach magnetic snaps for a magnetic snap closure or you can do a zipper pull using zipper tape.
We didn’t do that on this bag but honestly wish we had. We added magnetic snaps after finishing the bag.
If you would rather have a reversible hobo bag (double-sided bag) simply don’t attach a pocket to the finished product. You could also put a pocket piece on the exterior of the bag if you wanted so both sides have a pocket.
Full video tutorial of the hobo bag
Other Sewing Resources:
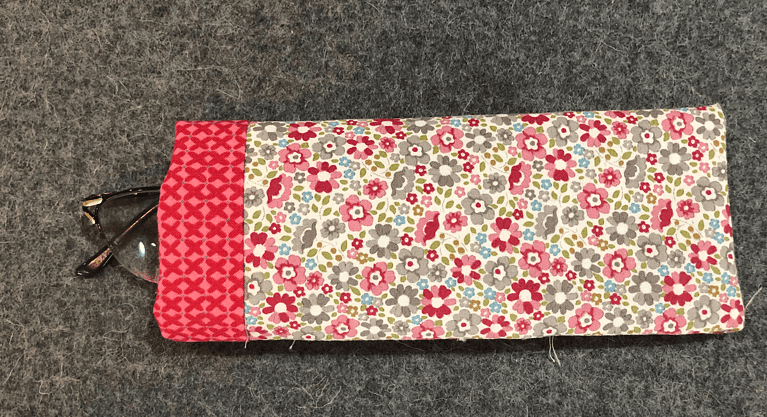
If you are new to sewing, we recommend that you start by learning the basics and starting with a simple project like the potholder.
Start with:
Fabric Giveaway
Enter our monthly fabric giveaway. Simply complete the tasks daily and you will be entered into the drawing. Winner will be randomly drawn on the first day of the month and notified via email


9 Comments