Easy Eyeglasses case pattern with PDF tutorial
Are you tired of constantly misplacing your eyeglasses, reading glasses or sunglasses? Well, we have a great idea for you – an eyeglasses case pattern! Not only is it a practical solution to the problem, but it also makes for a great gift.
Sunglass cases are great for keeping your glasses protected, but they can be easily misplaced or forgotten.
With an eyeglasses case holder, you can keep your glasses in a designated spot, so they are always easy to find.
This holder can be made with basic sewing skills (no need to be an advanced sewist) a sewing machine, and it makes for a great handmade gift.
Imagine gifting someone a personalized eyeglasses case holder that they can use every day. It’s a thoughtful gesture that they will appreciate for years to come.
In this blog post, we will show you how to create your own eyeglasses case holder, step-by-step. It’s a fun and easy project that anyone can do, even if you’re new to sewing. So let’s get started and make something special!
Eyeglasses case pattern supplies
- Sewing machine
- Scissors
- Rotary cutter
- Fabric Cutting Mat
- Iron
- Table top ironing board
- Beginner’s sewing kit
- White thread
- Pinking shears
- Cotton batting
- Fabric (or use your fabric stash)
- Sewing Pins
- Sewing Clips
- Fabric Marking Pens
- Bone folder to make edges crisp

Eyeglasses case instructions
You can simply use the gorgeous fabric scraps you have lying around. The good news is it doesn’t take much fabric. I love this easy tutorial and love using contrasting fabrics instead of just a solid color for the case.
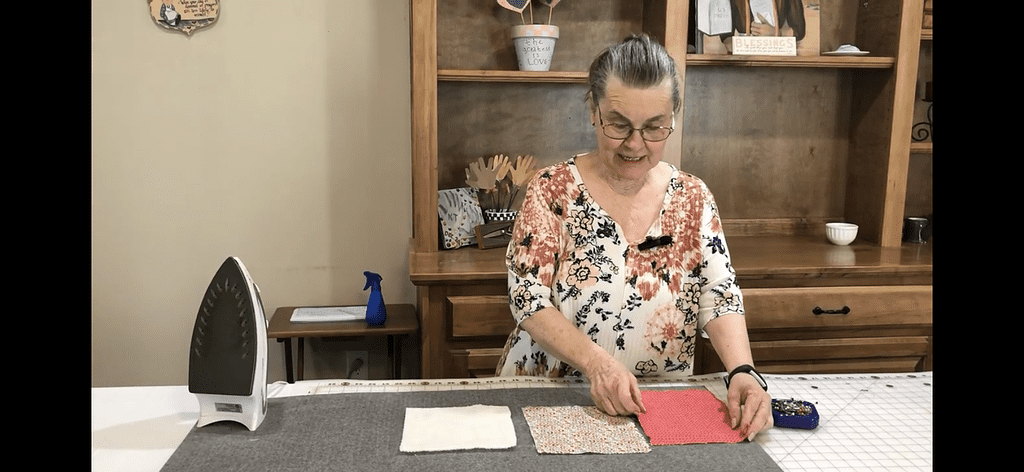
Step1: Cut your pieces
Piece 1: 7x 7½ “ (front piece) Piece 2: 7x 91/2 “ (lining side) and a piece of batting 7×7” (you can use fusible fleece or flex foam)
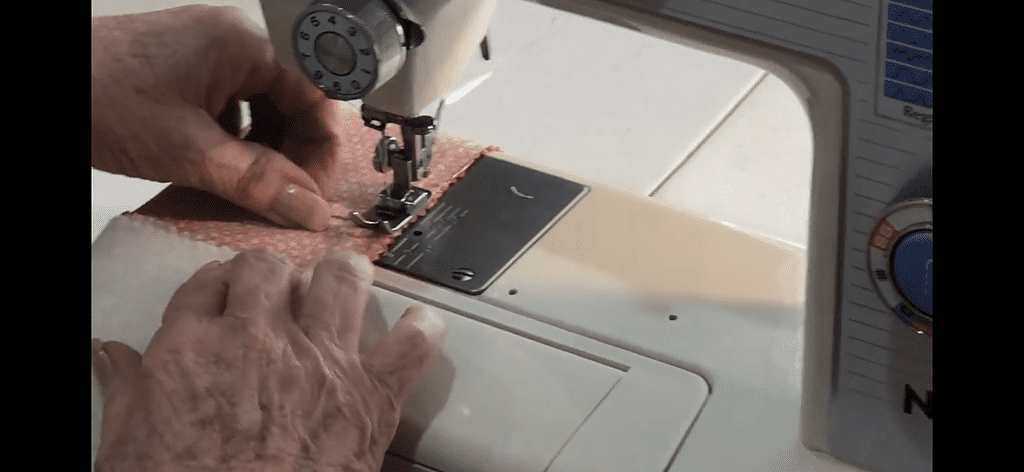
Step 2: Place your main fabric pieces together with right side together, making sure your batting is on top and sew 1 inch seam allowance from the top.
Step 3: Lay out your holder with the lining fabric on one side (longer piece) and the batting and outside piece on the other end. Press this seam.
Step 4: Turn your eyeglasses case over and line up your raw edges on the bottom edges. Make sure and iron again, setting your seams.
Step 5: Open the case again and turn lengthwise making sure you have right sides together, matching your seams, and use sewing clips to hold your edges and side seam in place.
Step 6: Sew all the way around, leaving a small opening in the middle, so you can turn your fabric, so your wrong sides will be facing each other.
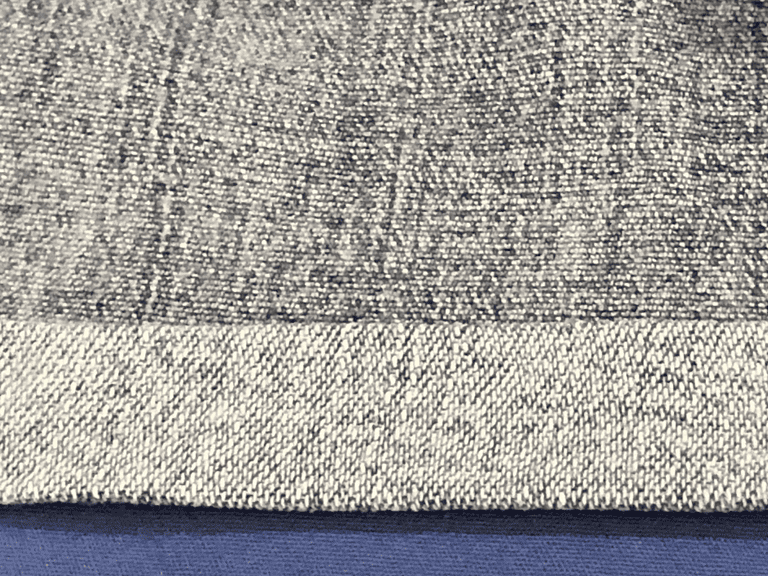
Step 7: The next to last step is to turn the eyeglasses case to where the right sides are showing. Use a bone folder to poke out your corners and seams, making all the edges crisp and not a rounded edge.
Step 8: The last thing you need to do is turn under the edges where you turned and top stitch that top edge
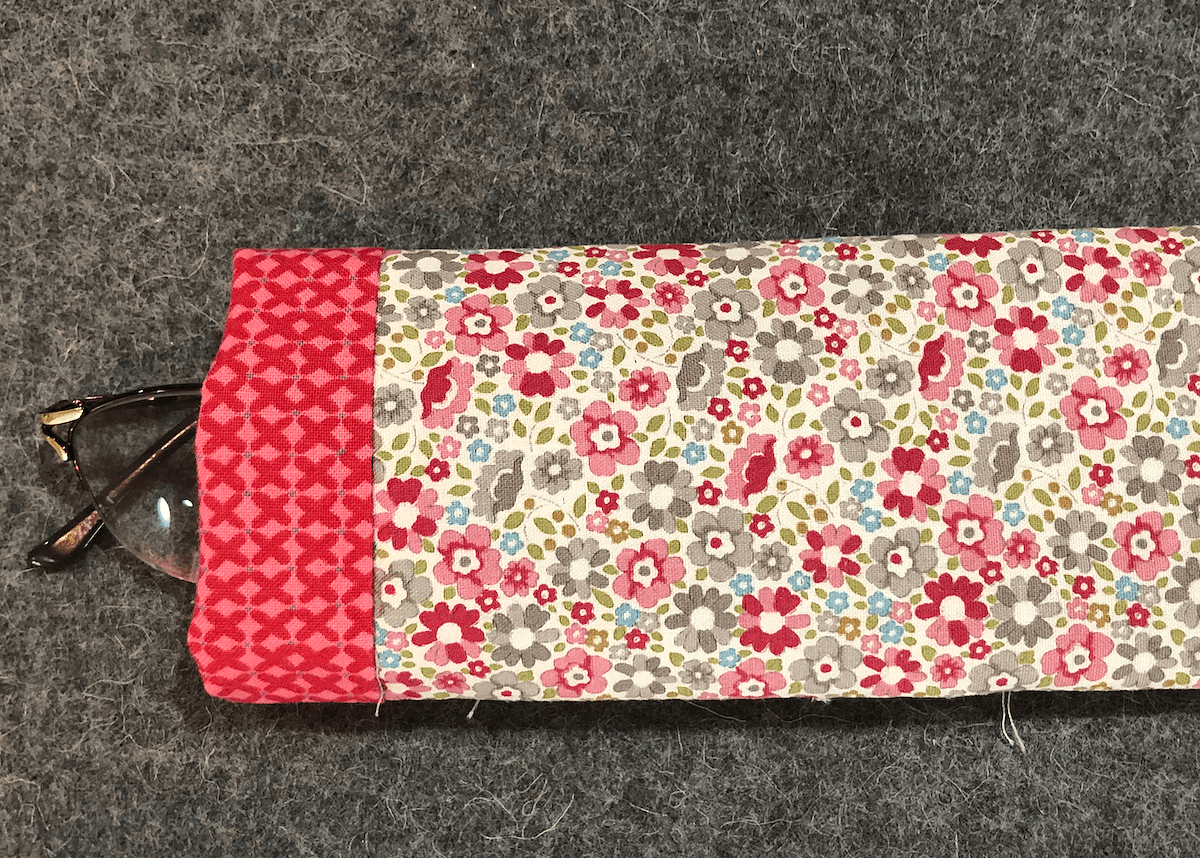
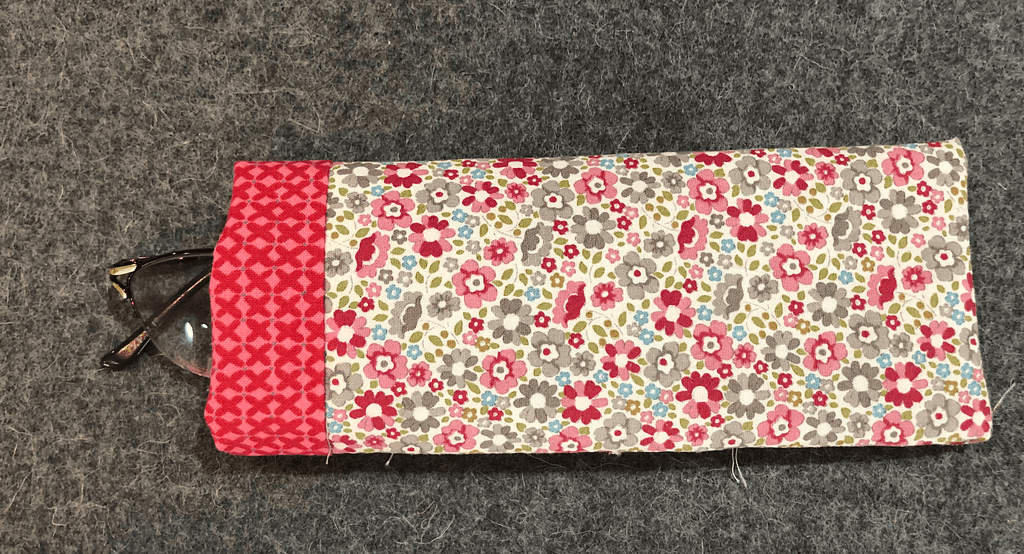
Step 9: Put your lining inside, making sure to leave about ½-1” as the decorative portion.
You can add a magnetic snap to the top of the case if you are afraid your glasses will fall out.
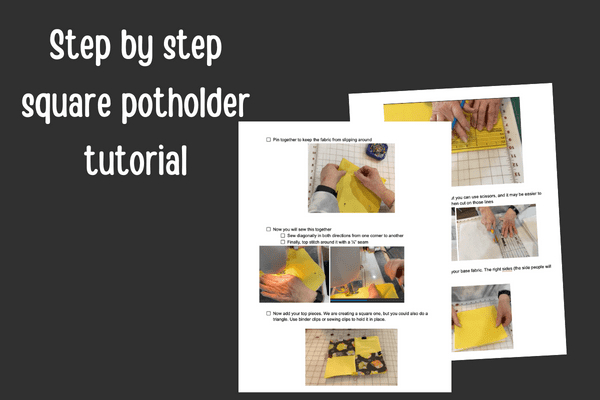
I hope you loved this DIY glasses case and that the step-by-step instructions were helpful. The PDF tutorial has full-color photos along with the instructions and video all in 1 document. This really does make a perfect gift.
Video

Easy Sewing Patterns
Here are our top 5 easy sewing patterns
FREE sewing pattern
Fabric Giveaway
Enter our monthly fabric giveaway. Simply complete the tasks daily and you will be entered into the drawing. Winner will be randomly drawn on the first day of the month and notified via email