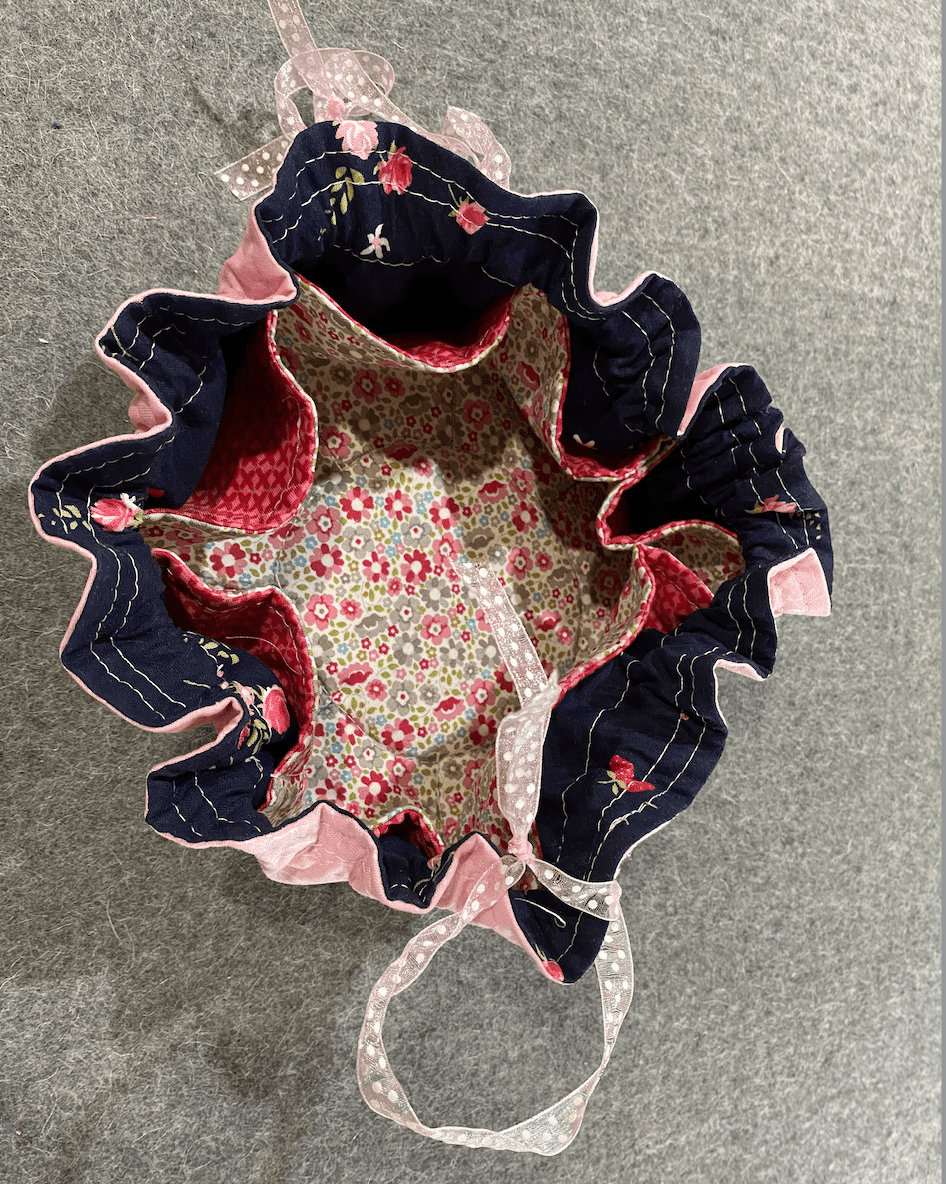
Drawstring makeup bag easy sewing tutorial
I can’t wait to show you this cute drawstring makeup bag. Drawstring bags are such a great alternative to zipper pouches makeup bags.
If you need a new cosmetic bag, this is a great tutorial. It also makes a great gift. So grab your sewing machine and let’s make this DIY drawstring makeup bag.
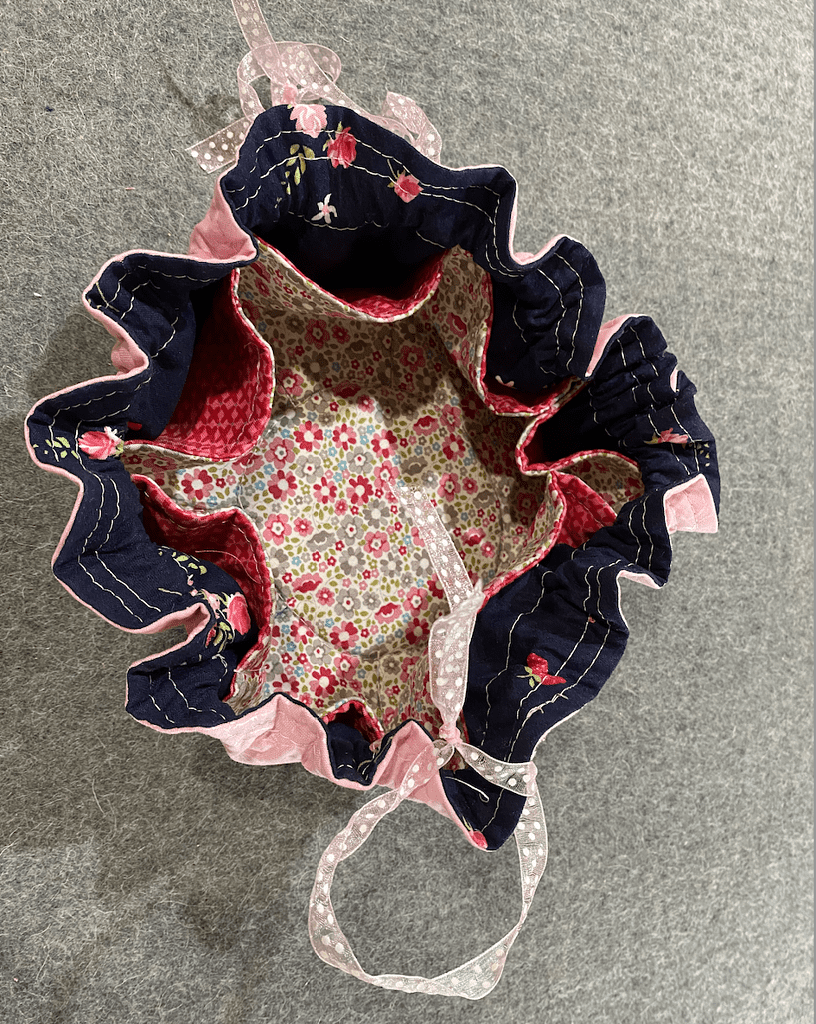
This drawstring pouch was created with 4 fabrics, but you can use as many colors as you want. Grab your favorite fabrics and decide if you want a fun fabric with an accent piece or simply to have everything in 1 color.
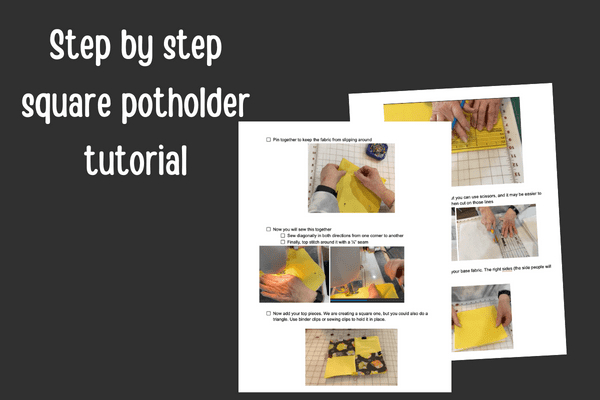
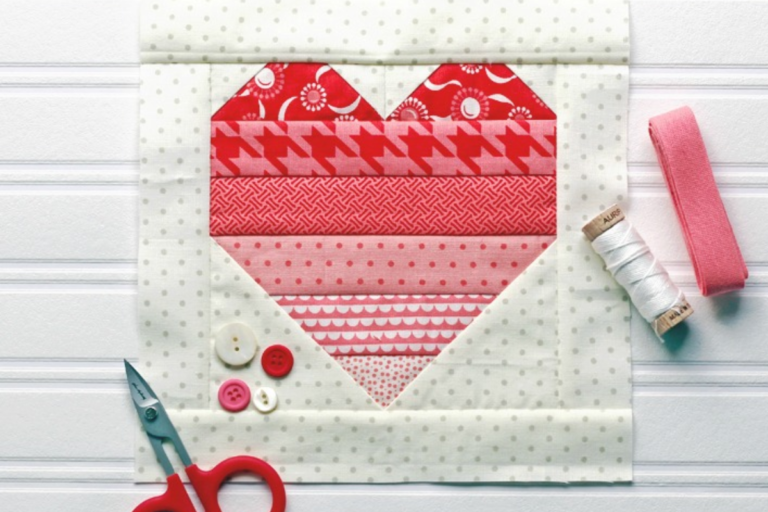
If this is your first time sewing, I would recommend you start with an easier project like our free potholder tutorial.
Drawstring makeup bag supplies
- Sewing machine
- Scissors
- Rotary cutter
- Fabric Cutting Mat
- Iron
- Table top ironing board
- Beginner’s sewing kit
- White thread
- Pinking shears
- Medium weight fusible iron on interfacing
- Fabric (or use your fabric stash)
- Fat Quarter Bundles
- Fusible foam
- Ribbon
- Sewing Pins
- Sewing Clips
- Fabric Marking Pens
- Bone folder to make edges crisp
As an affiliate, I may receive a small commission from Amazon when you purchase a product through one of my affiliate links. This comes at no extra cost to you and helps support creating more content for the blog.
By using my affiliate links, you are helping to support my work and allowing me to continue to provide valuable content for my readers.
I only recommend products that I truly believe in and have used or researched extensively, so you can feel confident in your purchases.

Drawstring makeup bag instructions
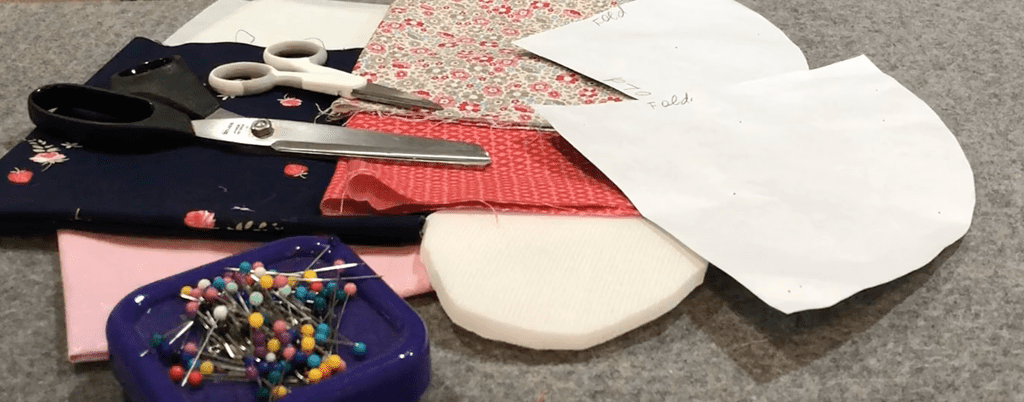
Your outer fabric is made from a 15×15 inch square (2 squares) and your inner circle (lining pieces) is made from a 12×12 inch circle.
Using the pattern, you are going to cut out your circle by placing the pattern on the fold after you fold your fabric twice with the raw edges facing each other.
When you are finished, you should have two large circles and two small circles.
Also, make sure you cut out a piece of interfacing for a large and small circle. You will want to iron your interfacing to each circle (1 large and 1 small)
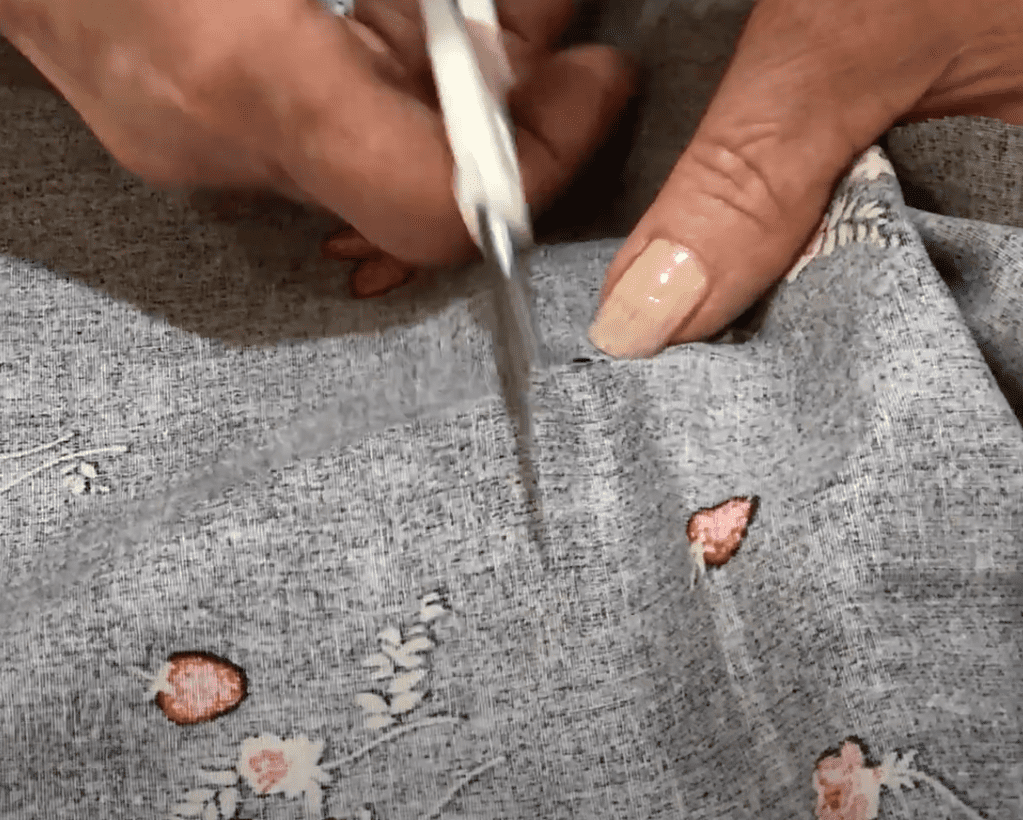
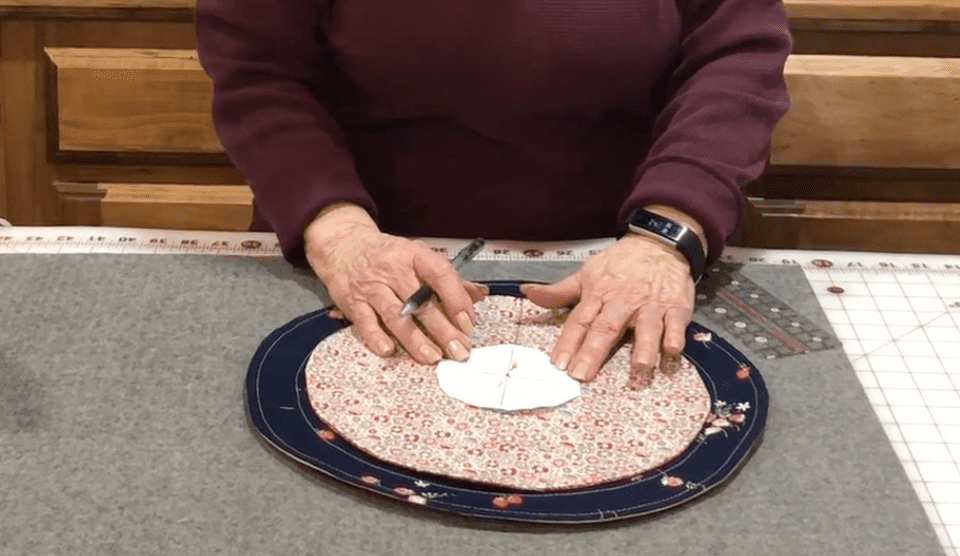
Next, you will fold your large circle in half, right sides together, and mark the center with a notch point using your scissors on the outside of the circle.
On your second large circle, you are going to double fold and clip it in the center, You will then cut an opening by cutting about ¼” going in all 4 directions.
Next, put the right sides together and put your sewing clips on and sew ¼ “ around your large circles.
Because you clipped the middle, you can now pull your right sides out again. Now take your bone folder or blunt scissors and go around your circle, making sure all your edges are crisp.
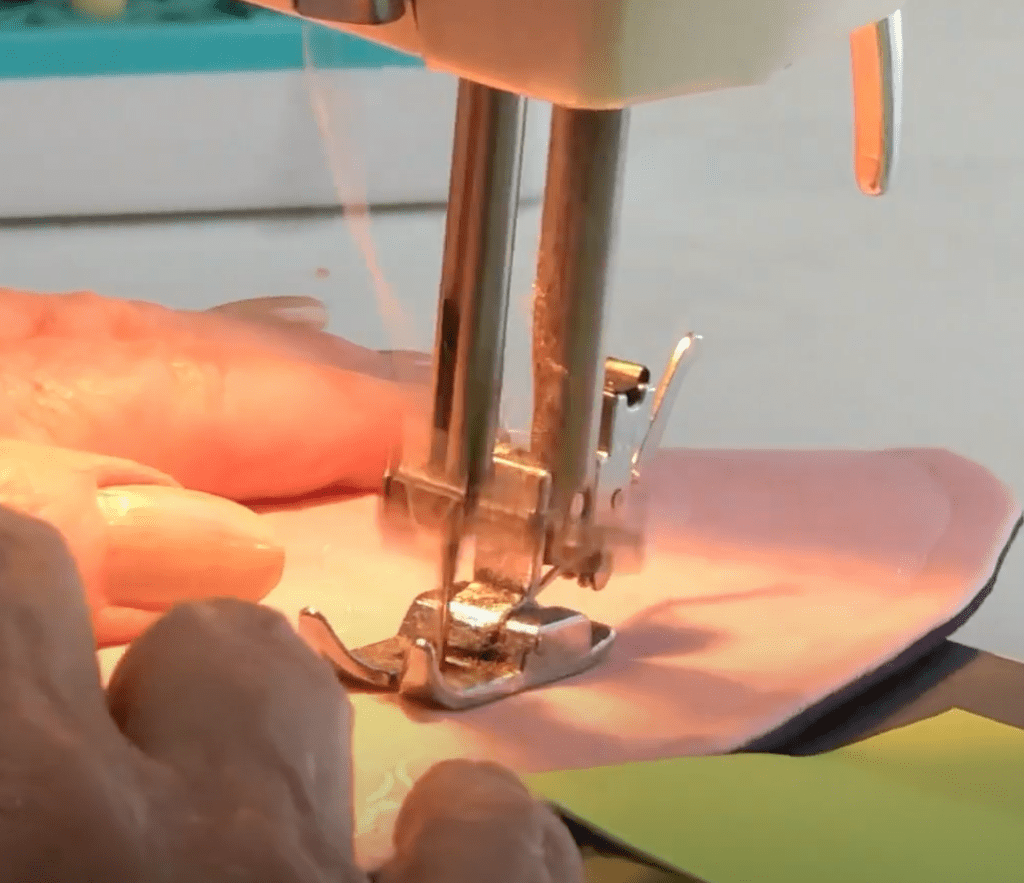
After you have your edges done, take your iron and press your large circle. Then head over to your sewing machine and sew ¼ inch seam allowance.
Next, sew a 1” seam allowance all the way around to create a drawstring casing. You will see in the video I measured 1 inch and then put a sticky note on my machine to guide me.
In that same circle after sewing, fold it twice and put a sewing pin in the center to mark it. Open up your circle and mark the middle where your small hole is using a fabric marker pen.
Take your flexible fusible flex foam with the sticky side down and slide it into your circle. Get it to the center of your large circle. You will iron it in place after you find the center.
Put Fray check around the edges you cut on the outer piece you cut to create a seal and keep it from fraying.
Next, you will do the same thing to your small circles as above. You do not, however, need to do a 1-inch seam allowance as the ribbon only goes through the outside circle.
After you top stitch your ¼-inch seam allowance use the pattern from the tutorial to mark the pockets. You will also want to mark around the circle to make it easier to sew.
Now you want to sew each line starting in the middle and finishing at the edge of the inner fabric. Make sure and backstitch as you begin and end to keep your pockets from coming loose on your drawstring makeup bag.
Now it’s time to make the drawstring opening for the ribbon to go through. Simply cut an opening slit in the top fabric, making sure not to cut the bottom. Leave a space open enough that you will be able to get two pieces of ribbon through there.
After attaching a safety pin to your ribbon and work it through your 1-inch opening until it comes to the other side. You will then do that with the other ribbon, starting on the opposite side. It is easier if it lays flat as you move the ribbon through, as it tends to bunch up.
I found this easier to do using my flat mat as the cosmetics bag wants to bunch up as you insert the ribbon through the opening of your drawstring makeup bag.
After you have your ribbon through, add some fray check to your openings to keep the seams from ripping. Now, you will also want to tie off your ribbon or place a cord stopper, which you can find at your local dollar store or retail store.
Now you are able to place your makeup in your drawstring makeup bag and use it daily or for travel.
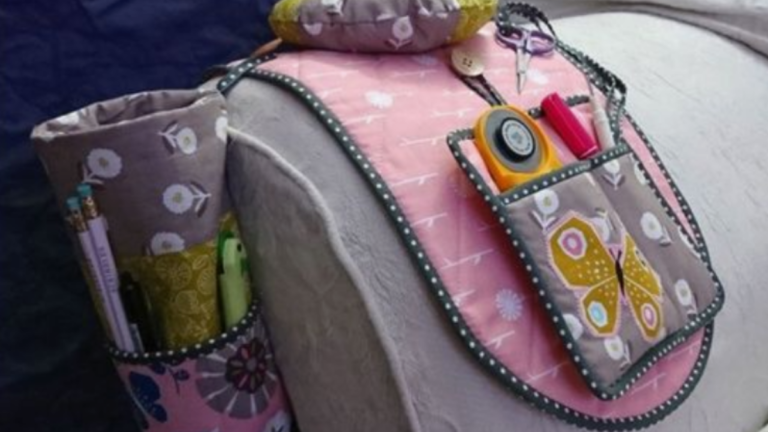
I hope you had fun making this drawstring makeup bag tutorial. This is such a great project that anyone would love to get as a gift. I love that the pocket holds makeup and hair accessories If you make the makeup bag pattern, please share it on social media and tag me at Nana Sews.
Drawstring makeup bag video
For other easy sewing projects, check out these tutorials
For more video tutorials, check out my YouTube channel.
Free patterns
Fabric Giveaway
Enter our monthly fabric giveaway. Simply complete the tasks daily and you will be entered into the drawing. Winner will be randomly drawn on the first day of the month and notified via email

One Comment