Easy Braided Rag Rug in 1 Hour
I was looking for a new rug for my bathroom and came across a similar photo on Pinterest. As any good crafter, I decided I could make a braided rag rug.
I love the end result, but you will want to follow my recommendations.
This project took about an hour after I changed my needle size and put on the walking foot. I am saving you a ton of time with the tips I am putting in here. You can download the PDF Version below.
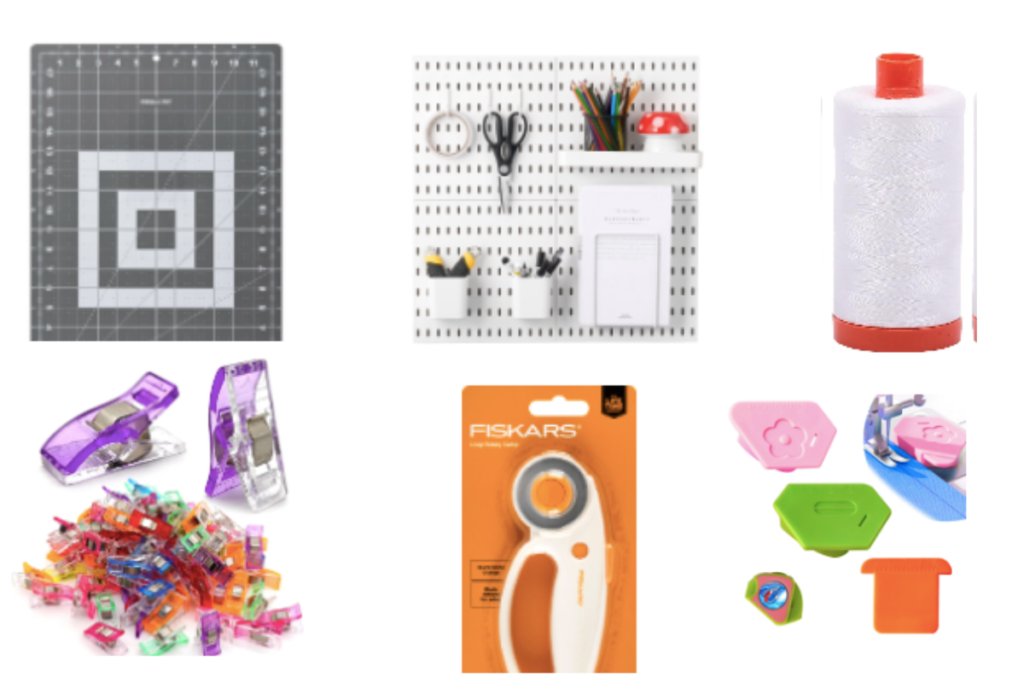
Sewing Supplies:
Sewing Supplies:
Things to Note:
First, you will want a walking foot. I tried this with a regular sewing foot and it was super difficult. The walking foot made it a lot easier.
Second, you must do a 14 sized needle. I broke 2 regular sewing needles before changing to a 14 and it was a game changer.
Third, make sure and use a towel that isn’t super thick. It’s harder to sew through. We looked at a ton of different materials to use as the bottom.
Cotton and woven fabric was too slippery. If you are using it in the bathroom, you need a material that doesn’t slip.
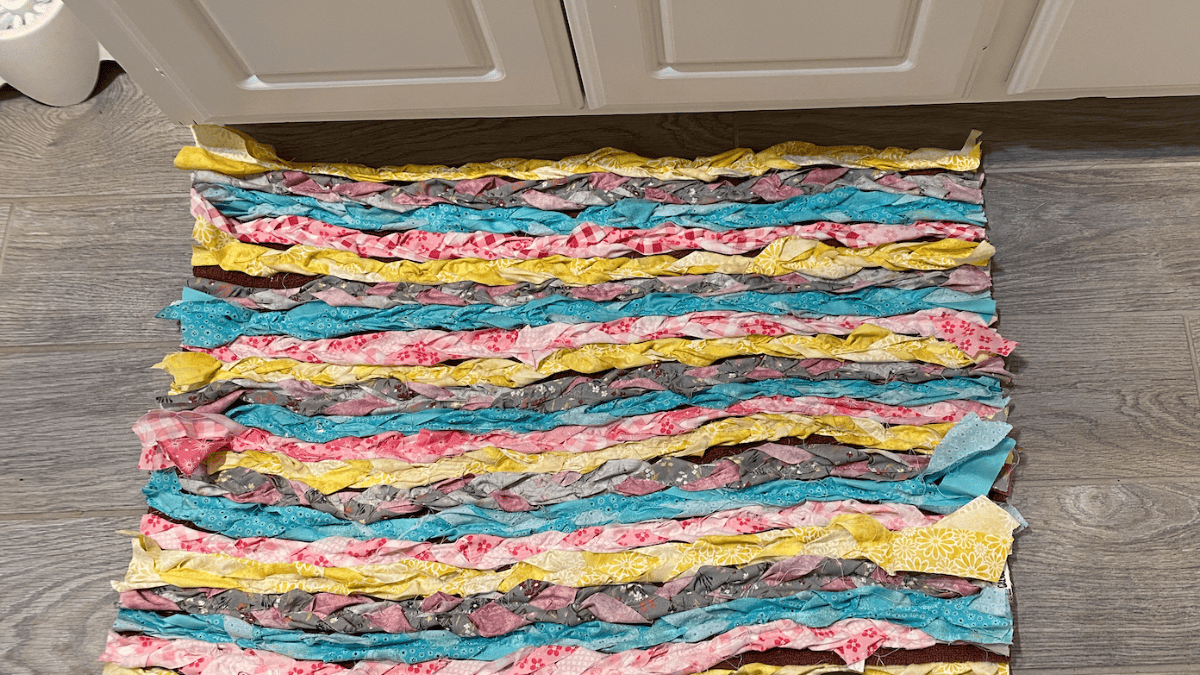
Braided Rag Rug Instructions

You want to pick either 3 of the same colors or the same color palate. You will cut your fabric 1 1/2″ wide and WOF.
To make it easy, you want to sew one end with all the right sides of the fabric facing you. Yu will take and braid the strips of fabric just like you would hair.
Furthermore, to keep your pieces together after you braid, use your sewing clips to clip the ends together. You need 6 braided pieces of each color combo.
Sew Your Braided Rag Rug
Now is the time to sew your braided rag rug. Don’t forget to add your walking foot and change out your needle.
First, you want to figure out your pattern. Lay your towel down and decide how you want the strips to lay.
I did a pattern of each color but you could also do 3 of the same color combo across until you reach the end.
Second, you will start with 1 strip on the edge of your towel. You will zig zag all the way down your strip of fabric. Leave about 1/4-1/2″ of fabric for fridges when finished.

NOTE: The foot will get stuck in the braid, so go slow and watch your fabric. You will also need to assist the fabric moving by pulling on the back of the towel.
Third, you will continue sewing your strips in the pattern you want until you have sewn all your strips. Don’t forget to take your time and go slowly if needed.
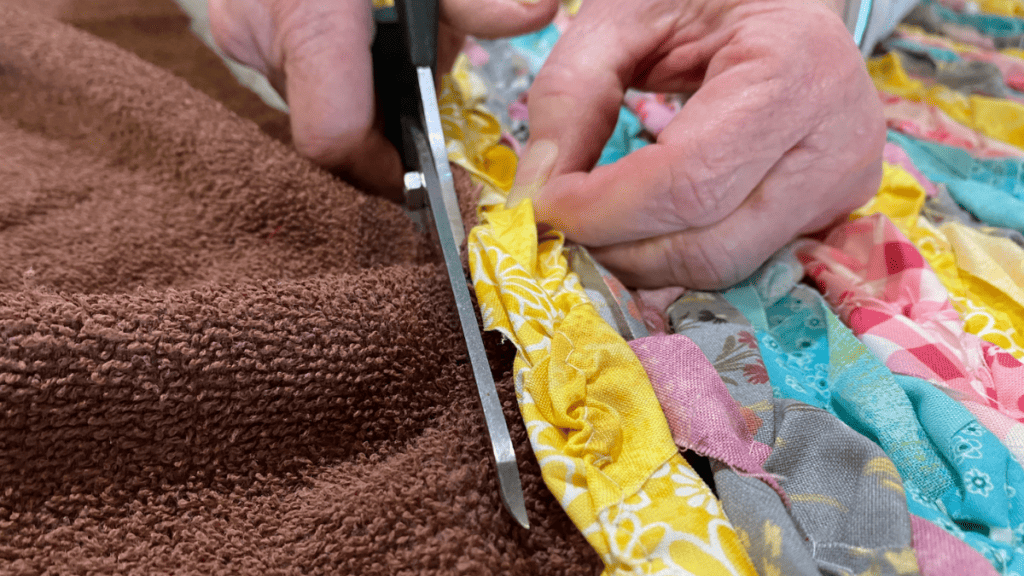
Finally, you want to cut the excess. You can use scissors or a really sharp rotary cutter. I cut both ends leaving some of the unsewn fabric for the fringes.
Then you want to cut the towel off that you don’t use. I used a pair of scissors to finish it. The rug turned out super cute but I would say this is not a beginner sewing project.
Sewing Pattern

Beginner Sewing Projects
If you are looking for some easier sewing projects, we recommend looking at all the beginner sewing projects above. Here are a few of our favorites.
Fabric Giveaway
Enter our monthly fabric giveaway. Simply complete the tasks daily and you will be entered into the drawing. Winner will be randomly drawn on the first day of the month and notified via email