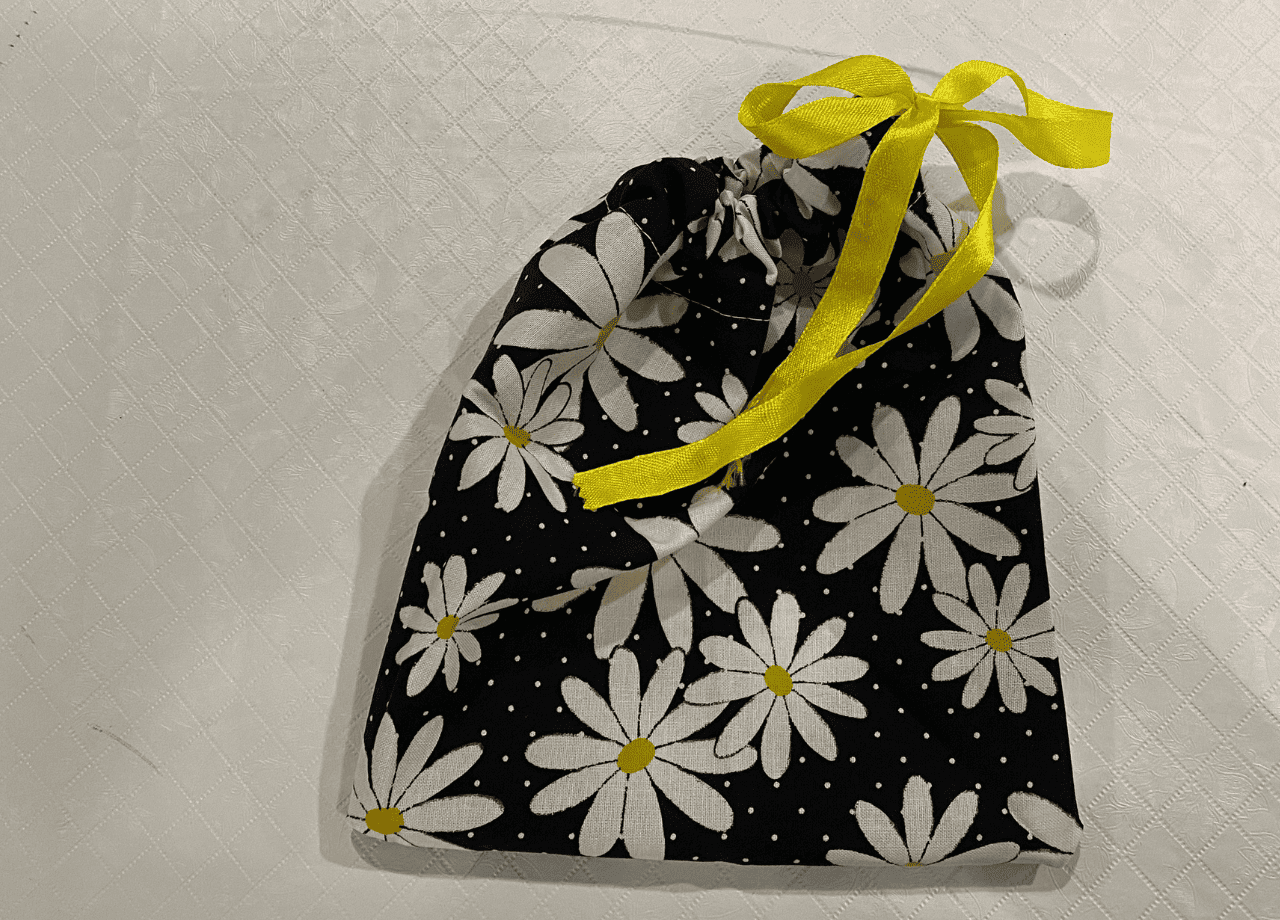
How To Make a Drawstring Bag Easy In 10 Minutes
Today, I am teaching you how to make a drawstring bag. You can never have too many of these simple drawstring bag.
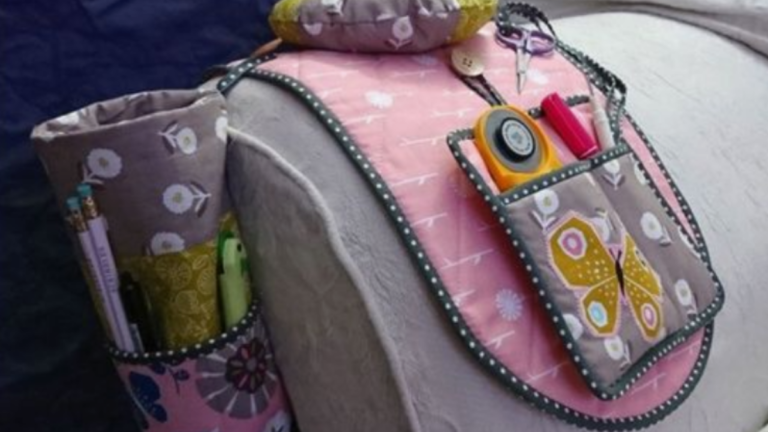
You can use the small ones to hold change or jewelry, and larger ones can hold shoes when traveling. Another creative idea is to use it as a project bag for your sewing to keep everything organized.
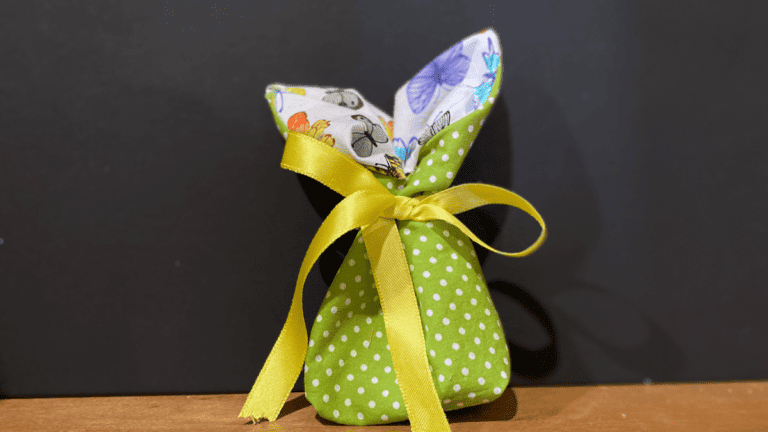
Additionally, you can use it for Christmas gifts or birthday gifts, putting that special gift in the bag. Simply create the right size to create your homemade gift bags.
No matter what you use your drawstring bag for, you can use a fat quarter and make this easy project in less than 15 minutes.
Win a Fat quarter bundle of fabric on our giveaway page.
Ready to get started? We are not doing French seams in this version, but you can see how to do a French seam. That is a great option for this easy drawstring bag.
Today we are going to use a fat quarter and 25″ of ribbon. You can simply adjust your sizes depending on if you want a small bag or a larger bag for your DIY drawstring bag.
For other free patterns, make sure and sign up for our sewing/quilting library. There are easy sewing projects that can be made with excess fabric. The best part is that the projects are for beginners and advanced sewers and quilters.
If you want to save this tutorial to use later, we are happy to send it to your inbox. Simply sign up for the sewing class library, and you will find the tutorial on how to make a drawstring bag.
Supplies for Drawstring Bag Tutorial
- Sewing Machine
- Magnetic Seam Guide (helps you sew straight lines)
- Thread
- Rotary Cutter
- Cutting Mat
- Quilting Ruler
- Ribbon
- Fat Quarters
How to Make a Drawstring Bag
Begin by cutting off any selvage edges from the wrong side of the fabric. I love using my rotary cutter and quilting ruler on a cutting mat to make sure the fabric is straight. This will result in an approximately 18″ x 22″ rectangle of fabric pieces.

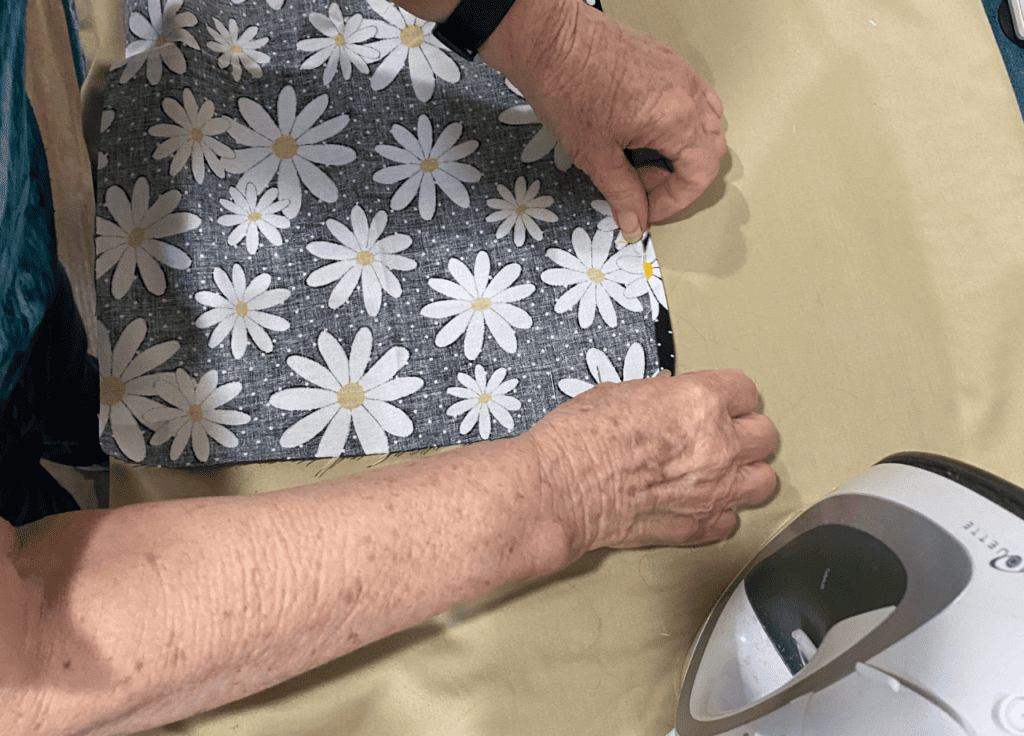
The measurements don’t have to be precise. Next, fold down the top edge of the piece of fabric by about ½″ using your quilting ruler, press it with your iron to create a crease, and then proceed to sew it in place.
Take the fat quarter and fold it in half width-wise, ensuring that the right sides are together. Proceed to sew the bottom of the bag and side edges together, using a ⅜ inch seam allowance. Remember to stop and backstitch approximately 4″ from the top to leave an opening.
The opening will create the casing pieces to help you get the drawstring cord through to close your drawstring bag. PS Great job learning how to make a drawstring bag.
Flatten the side seams allowance by pressing it open, including the 4″ portion that remains unsewn. Take care to sew these edges down securely.
Begin at the top of one side, pivot around ¼″ below the opening, and perform a backstitch once at the bottom corners.
Next, then continue sewing up the other side to complete the process at the ends of the drawstring bag. This helps reinforce the drawstring closure.
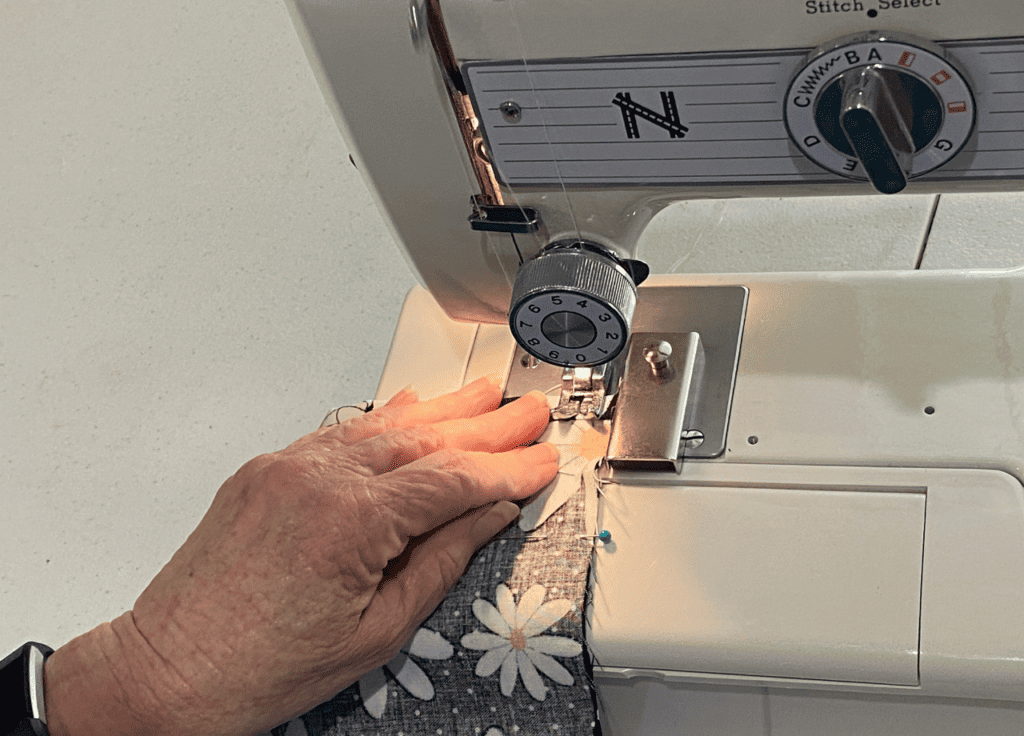
Fold the top edge down by 2″ and carefully pin it in place. Proceed to sew this folded flap all around your drawstring bag to create a casing for the drawstring.
You can stitch directly on top of the existing stitching from the hemmed edge. Continue sewing all the way around the long edges of the fat quarter drawstring bag to complete the casing.
After that, I sewed around the top edge of the bag, maintaining a distance of about ¼″ away from the edge. I liked this step when I was learning how to make a drawstring bag.
This step was taken to provide the bag with a more polished and finished appearance. This is completely optional and if you are in a hurry you don’t have to do this to the outer fabric.
You can if you want to do a boxed corner using the corner pieces of fabric. We didn’t do that in this tutorial, but it is easy to do on the bottom seam. You will definitely see this in other tutorials on how to make a drawstring bag.
In the next step, now it’s time to turn your bag right sides so that the wrong sides are inside and put your ribbon in your drawstring casing.
At the end of your ribbon put a safety pin and pull your ribbon through the top of the bag.
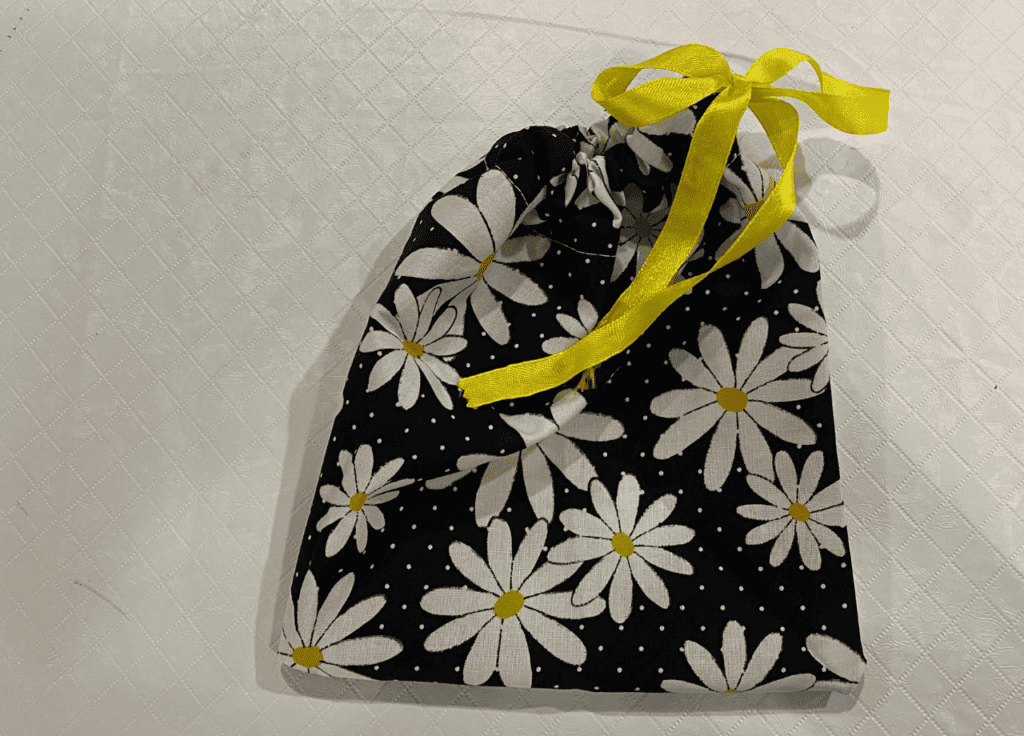
Cut off any excess ribbon making sure to leave enough ribbon that when fully open it doesn’t disappear into your finished bag. I also like tying a knot on the end of the ribbon at the top of your bag.
Learning how to make a drawstring bag gives you so many options. Fabric drawstring bags in different colors
Sizes for Drawstring Bag Pattern
As you can see you can make your own drawstring bags in various sizes. Smaller bags are perfect for coins or jewelry but you can make a larger one for laundry.
The perfect accessory for college students who bring bags of laundry home for mom to do, but don’t have space for large laundry baskets.
- Small drawstring bag pattern – 5×6″
- Medium drawstring bag pattern – 7×8″
- Large drawstring bag pattern – 11×13″
- Extra large drawstring bag pattern – 20×26″
Uses For Drawstring Bag
Small bags can be used for coins, tooth fairy bags, or keeping your jewelry safe in your home or when traveling.
Medium-sized bags: Great for produce or to use as reusable gift bags. Teachers love this size to hold things in their classrooms. For young children, it’s great for Legos or Barbie items that tend to be scattered all over the house.
Large-size bag: Great for carrying items to the beach, especially if you use waterproof fabric or lining fabric that is waterproof. You can also use them as packing bags for travel or to put shoes in to protect them or when traveling.
Extra large bags: Great for laundry or sporting equipment. Use heavier fabric depending on use. They are great for laundry especially if you use waterproof fabric simply wash the bag with your laundry.
I hope that you learned how to make a drawstring bag. These unlined drawstring bags are so versatile for small items to really big items that need storage.
It’s the perfect project if this is your first time sewing or if you have been sewing for a while.
Fabric Giveaway
Enter our monthly fabric giveaway. Simply complete the tasks daily and you will be entered into the drawing. Winner will be randomly drawn on the first day of the month and notified via email


4 Comments