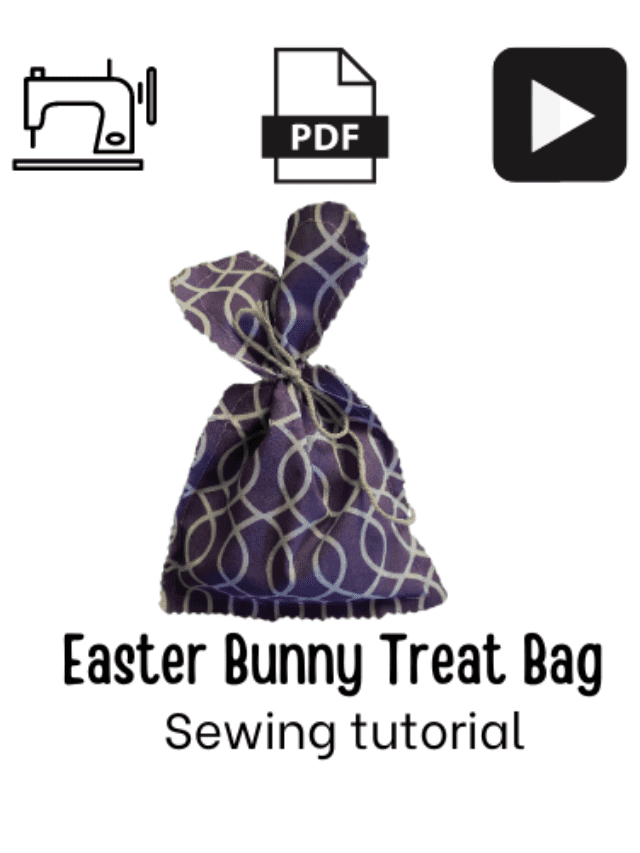
Adorable Felt Easter Bunny – DIY Tutorial
This Felt Easter bunny is so simple to make. All you need is some fabric and scissors and is the perfect Easter decor for any home or as a gift. Here’s how to do it.
Easter Bunny treat bag supplies
- Sewing machine
- Scissors
- Beginner’s sewing kit https://amzn.to/3SVruGZ
- White thread https://amzn.to/3F0dA0A
- Pinking shears https://amzn.to/3msinS8
- Cotton Fabric Squares Precut Fabric Square Sheets https://amzn.to/3ISzynl
- Felt
- Polyester filling
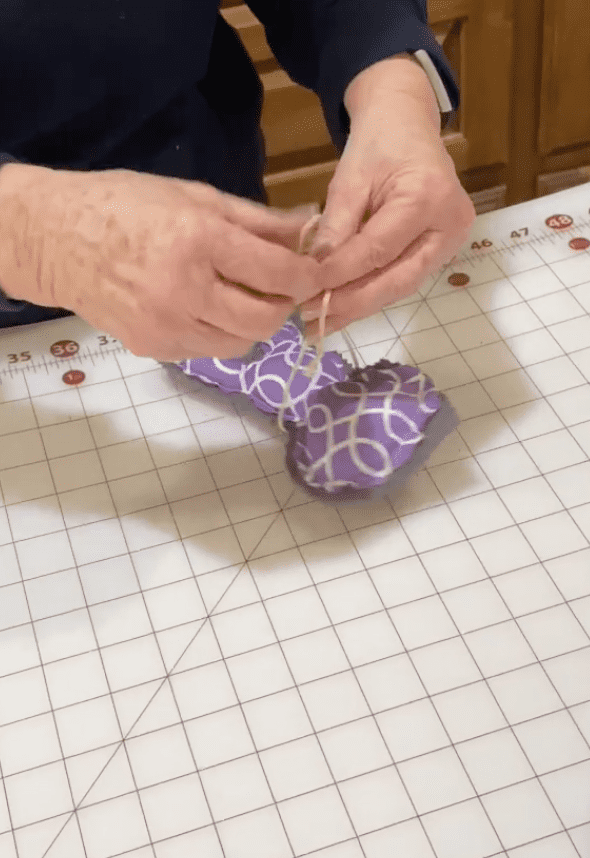
- Twine
- Tutorial
Felt Easter Bunny instructions
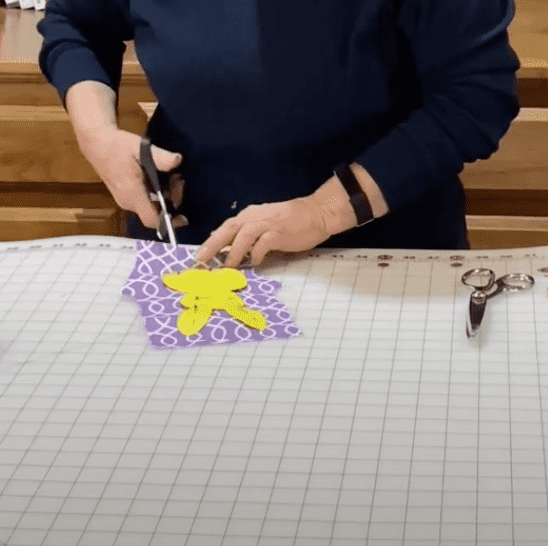
First, you want to cut out the pattern after you iron your material. Make sure and don’t use your fabric scissors to cut paper.
Second, Pin your pattern to your fabric and cut out your Easter bunny. You should have 1 piece.
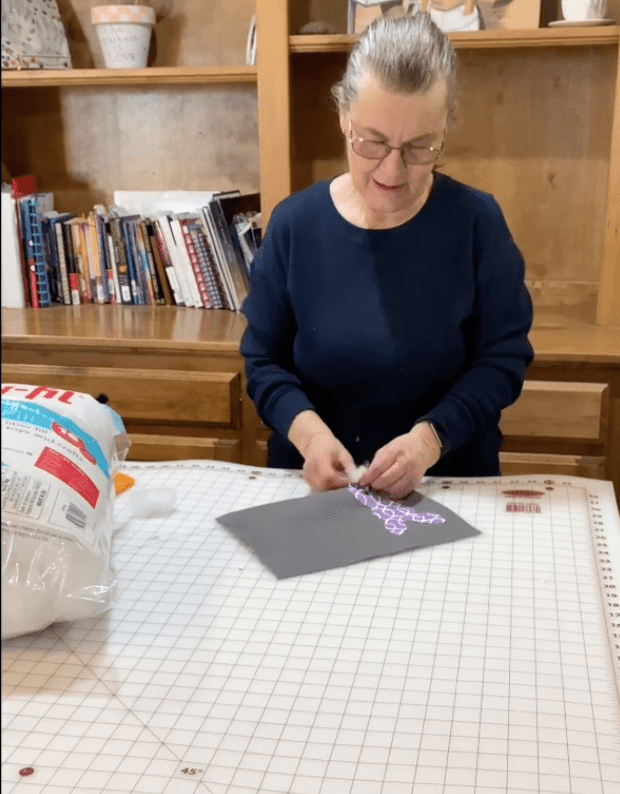
Next, pin your bunny to your felt square. You can use sewing clips or sewing pins to do this. Leave room to sew 1/4″ around your felt Easter bunny.
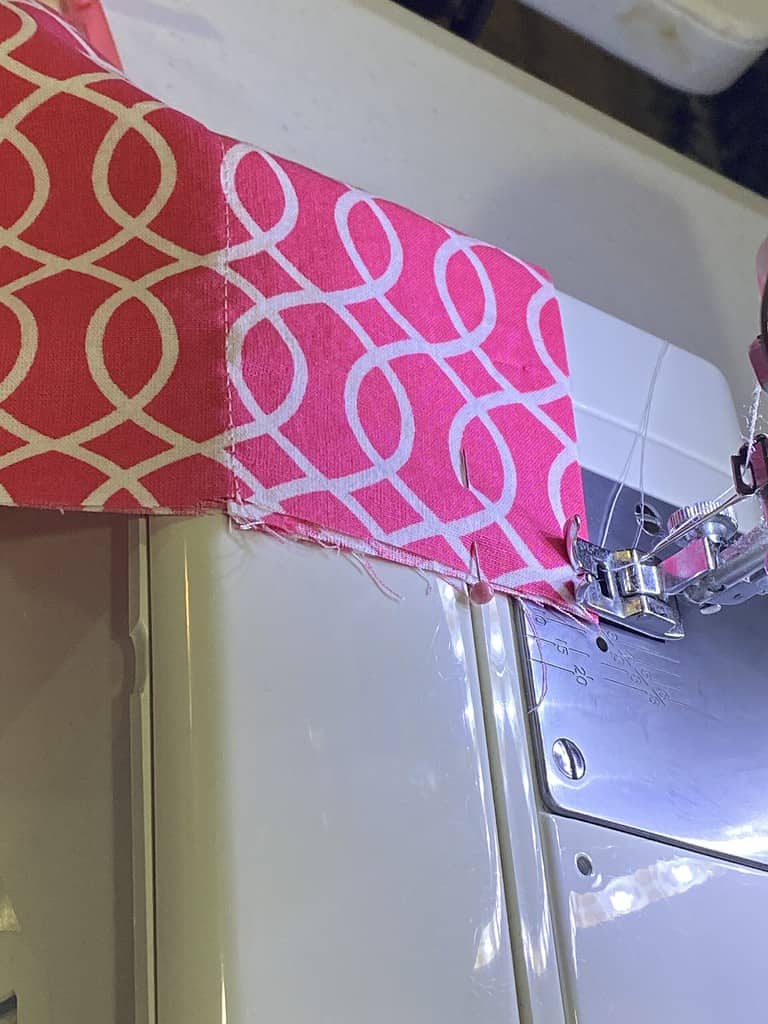
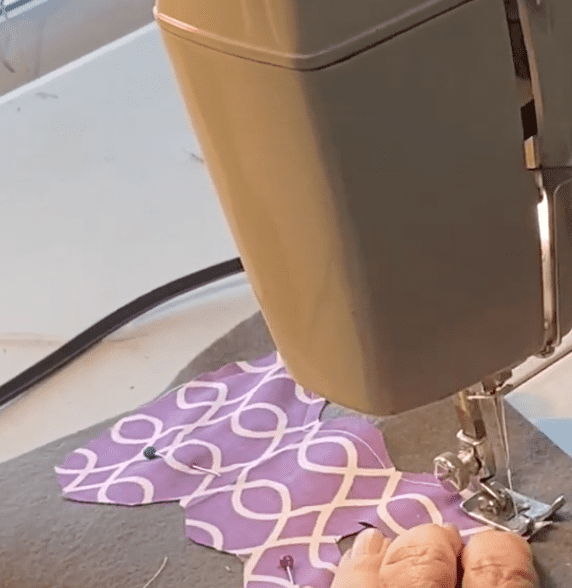
Sew around your Easter bunny leaving the bottom open to put the Polyester filling. If you are a beginner sewer, check out our Brother vs singer sewing machine comparison. Both are great options.
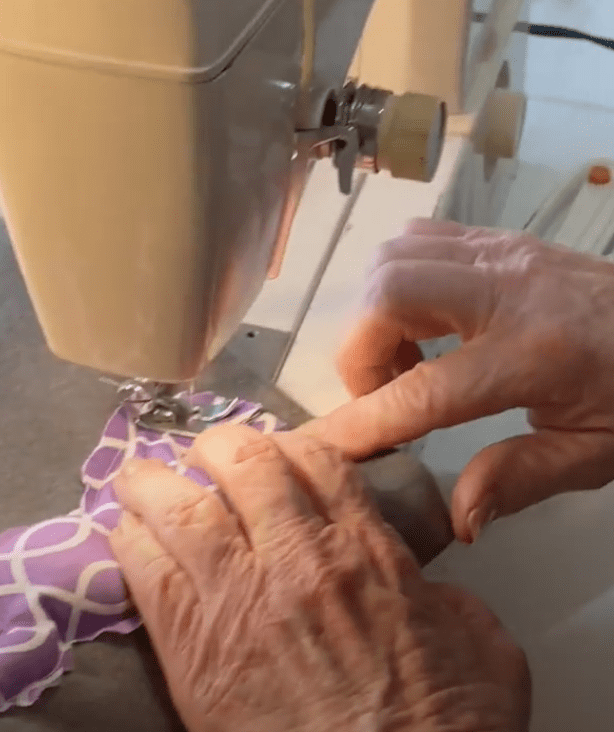
Add your filling and sew across the bottom to close up your bunny.

Finally, use your pinking shears to cut out your Felt Easter bunny.
Felt bunny video tutorial
Easy sewing patterns
Check out all of our patterns available to sew
Fabric Giveaway
Enter our monthly fabric giveaway. Simply complete the tasks daily and you will be entered into the drawing. Winner will be randomly drawn on the first day of the month and notified via email