
Easy Simple Sewing Pattern For Egg Gathering Apron
Create your own custom-made apron using our free sewing pattern for egg gathering apron that your backyard chickens will love.
You can also use this free apron pattern for a kitchen apron or an apron for Dad to use while grilling. These free patterns come in an adult-size apron and a child’s size apron.
They are so easy to make, you will end up making several. They truly make a great gift and are the perfect project no matter your skill level.

First, we need to gather our materials and cut out our pattern and then get to sewing. Ready? Meet me at the sewing machine.
As an affiliate, I may receive a small commission from Amazon when you purchase a product through one of my affiliate links.
This commission comes at no extra cost to you and helps support the time and effort that goes into creating content for my blog. By using my affiliate links, you are helping to support my work and allowing me to continue to provide valuable content for my readers.
I only recommend products that I truly believe in and have used or researched extensively, so you can feel confident in your purchases.
Table of Contents
Supplies for a sewing pattern for egg gathering apron
- Scissors or Rotary cutter
- Sewing Machine
- Cotton fabric (you need 1 yard for the egg apron and 1/2 yard for the pocket and ties)
- Quilt ruler
- Fabric Cutting Mat
- Thread
- Sewing pins
- Sewing Clips
- Bone folder
- Fabric Marking Pens
- Iron
- Ironing Board
- Magnetic Sewing Pin Holder
- Sewing machine chair
- Paper for pattern
Now that you have your supplies, we are ready to create your egg gathering apron.
Directions for a sewing pattern for egg gathering apron
Main Apron
The first thing you want to do is create your sewing pattern for egg gathering apron You will want to use brown paper or wrapping paper as using computer paper is difficult.
Simply pick up some paper at your local dollar store, or we have linked an option with free shipping above.
Second, after your pattern is cut out, you want to put raw edges together, making sure you folded your fabric in half. If your fabric is wrinkled, you will want to iron before folding it.
Third, you are going to create the crease in your fold so that it is easier to create this easy project. When you get your crease in, grab your pattern.
Fourth, you are going to place the long side of your pattern on the fold. You want to use sewing pins to attach the pattern to your fabric so that it stays in all the right places as you cut.
Finally, cut out the pattern using your fabric scissors. You will see if you open it that you have a full apron, and now we can create the deep pockets for our fresh eggs and tie the strap.
Apron Straps
For the next step, we are going to put the finishing touches on our deep pockets and ties.
First, you want to iron your fabric by placing your salvage edges together with the wrong side of each touching the other.
Second, for the Apron Ties for your sewing pattern for egg gathering apron you will cut three 3″ strips from the bottom of your fabric to your folded crease. Note that you may need to straighten your edges before doing so.
After you have cut your straps, you want to cut out your pocket strip.
Apron Pocket
Your sewing pattern for egg gathering apron calls for you to create a pocket, so cut an eight-inch pocket strip from the bottom of your fabric to your crease.
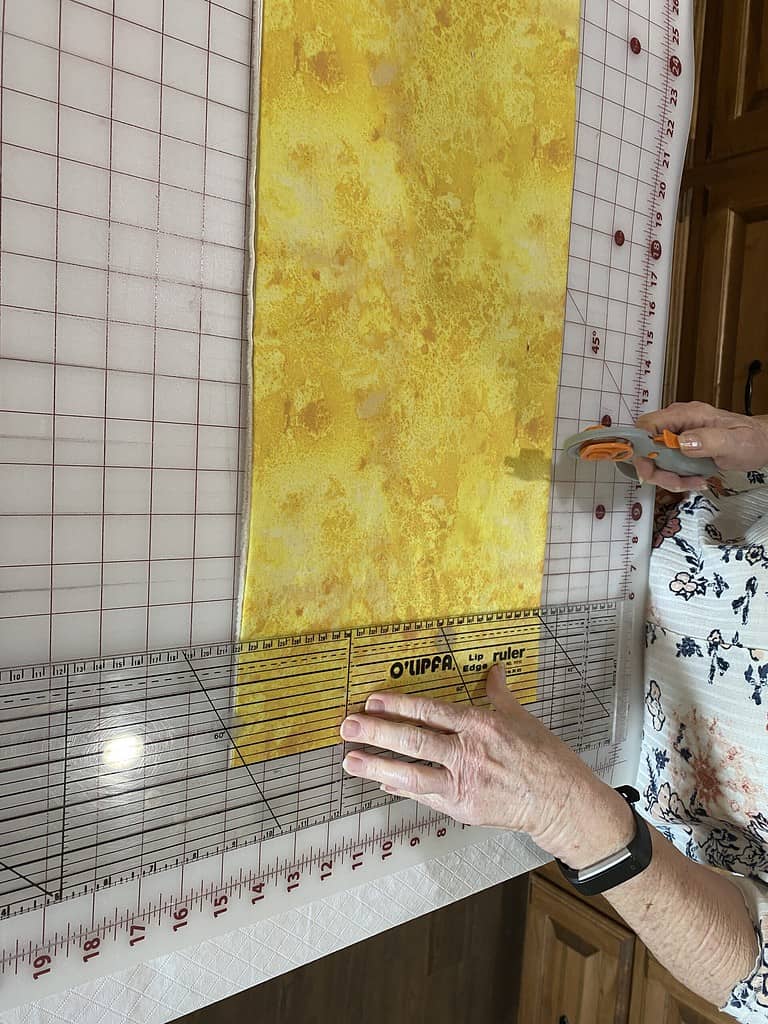
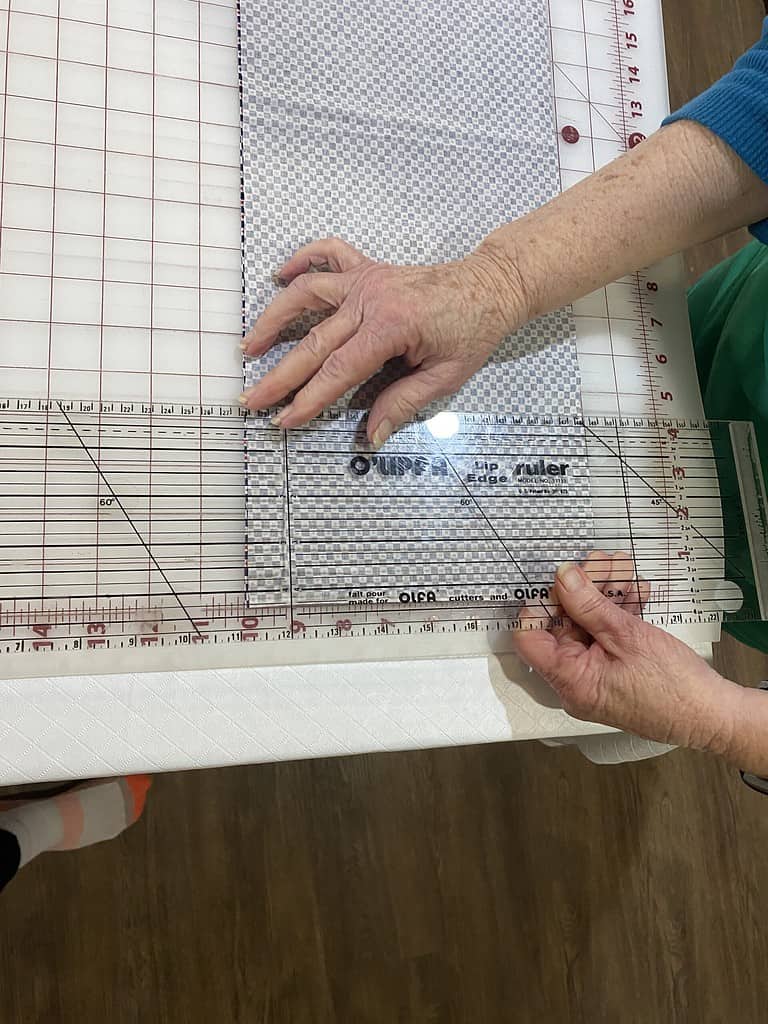
Next, you will open that up and cut your fabric at the crease line. Use a quilter’s ruler to make sure that the line is straight.
Finally, take and put your right sides together, making sure your salvage edges are lined up together. Using a ruler, cut 4″ off these 2 pieces.
Assembly of Egg Gathering Apron
Apron Hem Casing
Next part of your sewing pattern for egg gathering apron is to start by creating the hem at the top of the apron and bottom of the apron. You want to turn your fabric towards the wrong side about 1/4 of an inch at the top and bottom.
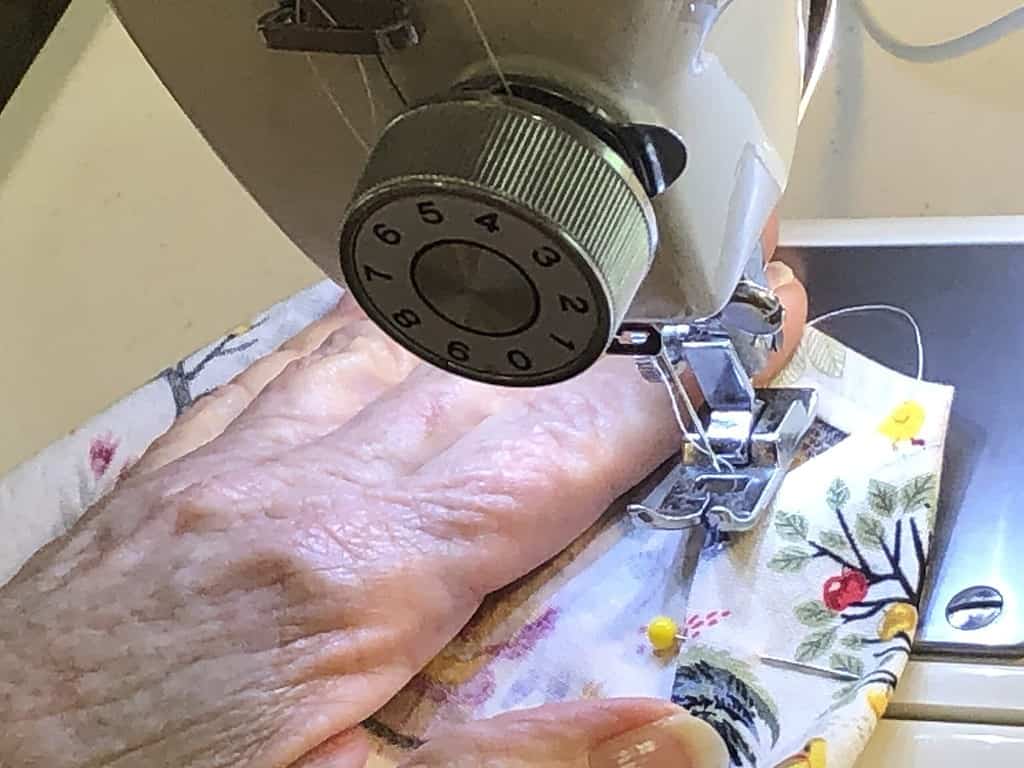
Watch the video to see how to do this. You will then want to turn it again and top stitch across both the top edge and bottom edge.
Next, you want to do the same on each long edge. Turn over 1/4″ and iron and turn again and top stitch on the edge. Now you can move one to making your ties and casing.
To make the casing, you want at the corner of each piece measure 1.5″ and mark with a sewing pin. Then fold and iron in place. Now open that seam and fold down 1/4 inch and iron.
Finally, you want to fold back to the original fold and iron. You will do this to both sides of your iron.
PS the casing is where your tie will go through so you can tie your apron. You will want to sew along the edges, creating a casing for your tie straps
Apron Pocket
As you follow along in your sewing pattern for egg gathering apron, you should already have the right sides together, sew all the way around your pocket, leaving about a 1″ opening at the top, so you can put your fabric through. Use about a 1/4″ seam allowance.
Next, trim your corners and turn so that right sides are facing out. Make sure you don’t cut your stitches. I use a bone folder to help get all my edges out nicely and make sure all my side seams are lined up.
Additionally, head to your iron and iron your entire pocket flat. You will want to tuck in the opening and iron that in place, so it stays when you sew it.
After ironing, take your pocket, and on the edge that is open sew 1/4″ seam and you can add a decorative stitch by sewing another 1/4″ seam allowance from the previous stitch.
Apron Ties
Your custom egg-gathering apron needs some ties to stay on so cut off any salvage edges on your 3 strips and then sew each one to the other creating 1 long strip, making sure you sew with the right sides together. Use a 1/4″ seam allowance to sew each end together.
Next, open up your seams and press down. Start by taking your fabric and folding in half-length wise and iron.
Do that all the way down the piece. When you get to the bottom, fold the bottom up about 1/4″ and fold in half again. You want to do this on each end, so you have no raw edges showing.
Furthermore, open the strap and fold each half to the center and iron in place. You will then refold on the original seam you had.
You should have a skinnier apron tie. Now head over to the sewing machine and top stitch around all 3 edges.
How to attach your pocket and apron ties
Your sewing pattern for egg gathering apron has egg pockets and ties, so now it’s time to put the final pieces together. If you are ready, let’s get started.
First, you are going to fold your apron in half, making sure you have a good crease. You can iron it if you need.
You also want to fold your pocket in half again, ironing it to get a good crease.
Second, measure about 4 inches from the top of your apron, making sure the back of the apron is on the table. You want to match your creases of your pocket and apron. You want to pin the pocket to your apron.

Third, you are going to sew the pocket to the apron along the edge. You want to leave the top open and make sure and back stitch several times as there will be a lot of stress on those seams so that will help strengthen them.
If you want 2 pockets, sew down the crease again back stitching at the top and bottom.
Finally, take your ties and put a safety pin on each end and pull through your casing down each side.
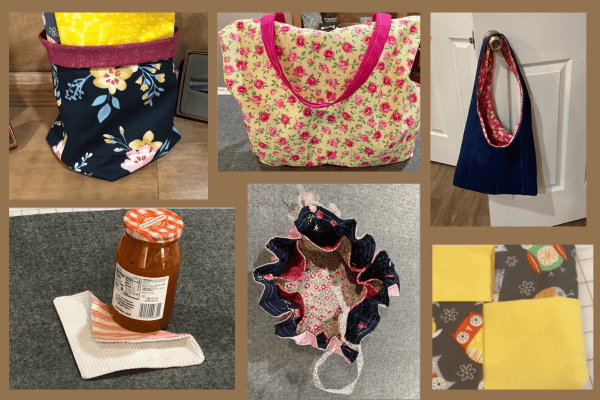
Congrats, you made an egg-cellent apron. Now you have your own egg gathering apron for your backyard chicken eggs.
Don’t forget to download the sewing pattern for egg gathering apron in the sewing library.
Other Sewing Resources:
If you are new to sewing, we recommend that you start by learning the basics and starting with a simple project like the potholder.
Start with:
Fabric Giveaway
Enter our monthly fabric giveaway. Simply complete the tasks daily and you will be entered into the drawing. Winner will be randomly drawn on the first day of the month and notified via email


2 Comments