
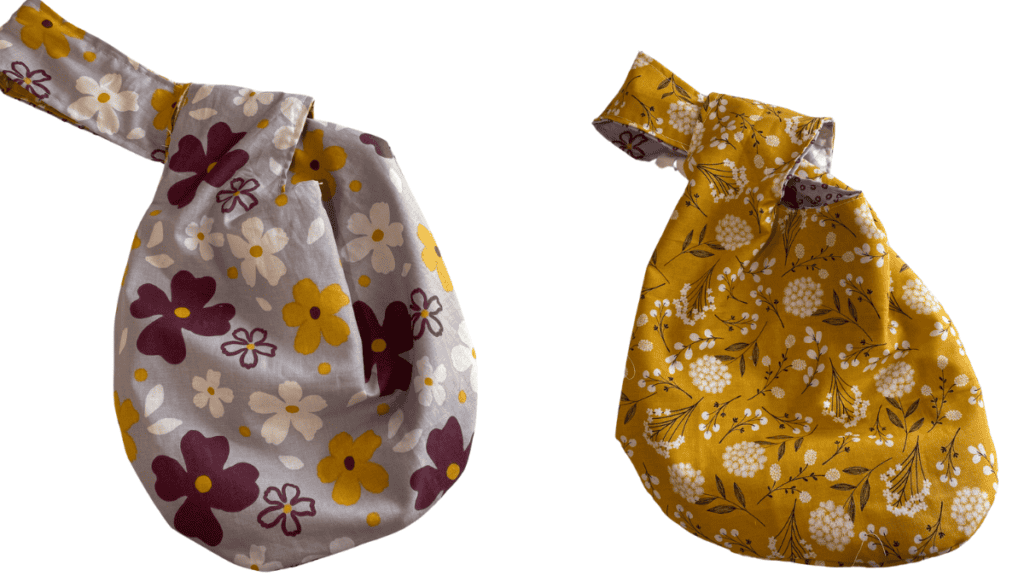
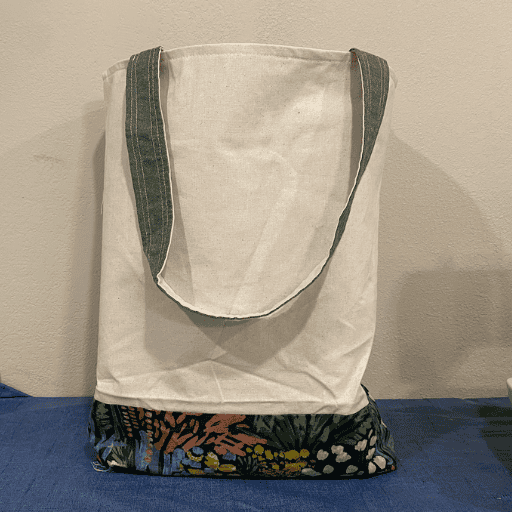
Easy Japanese Knot Bag Pattern
This Japanese Knot bag pattern is super fun to make. You can make this reversible bag using fat quarters and definitely in a few hours.
You will love how easy it is and how cute it is. You can download the pattern piece for the bag in our library so you can print the paper pattern and get the full PDF link.
This is a small bag that measures 11 inches x 15.5 inches. It’s great for everyday use but it can also be made for a special night out to put your essential in the bag.
Win a Fat quarter bundle of fabric on our giveaway page.
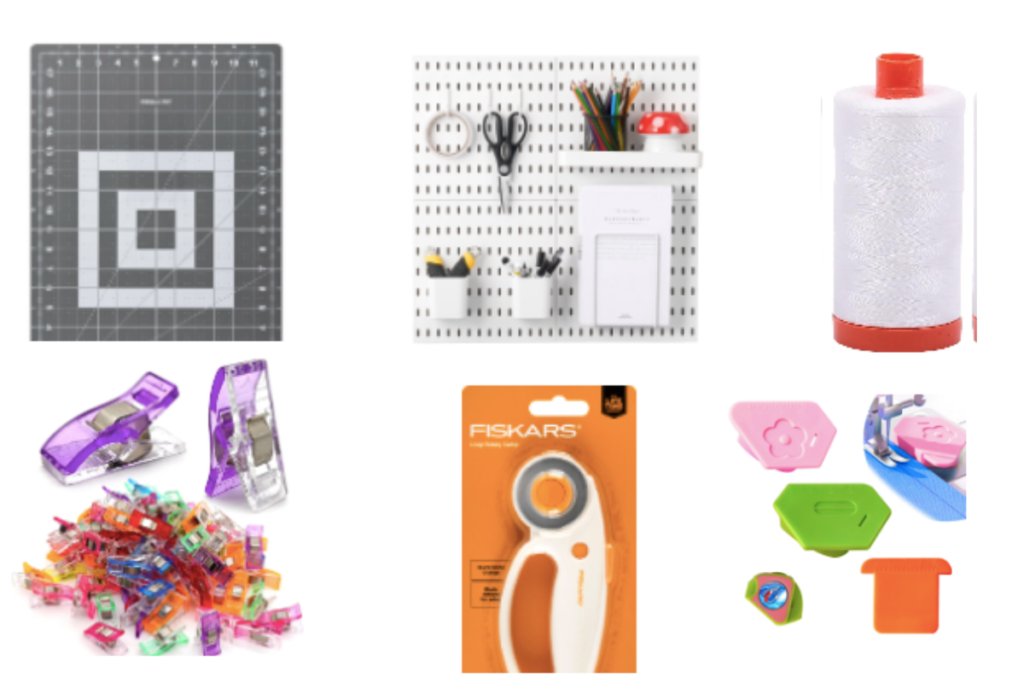
Sewing Supplies:
PDF Pattern
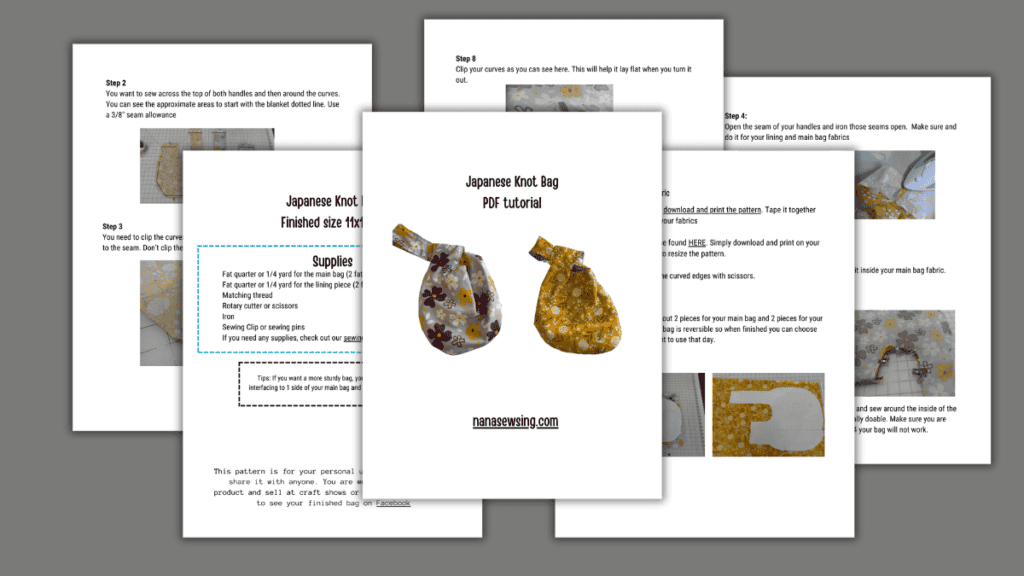
We have a printable PDF version of the pattern that is full of instructions and a ton of photos to help you create this amazing bag. You get an instant download of the pattern to help you make your own bag.
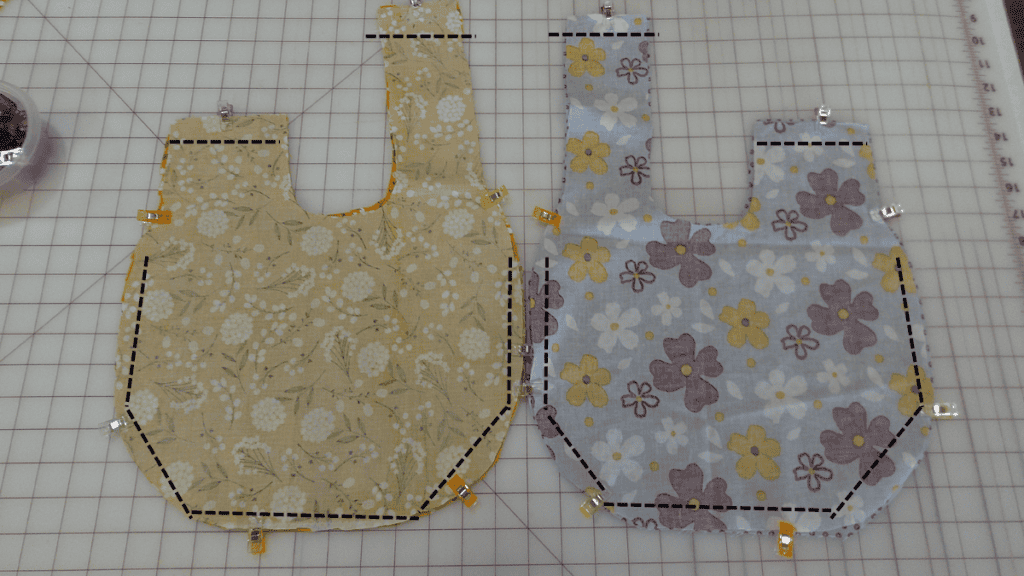
Cut Fabrics
First, you need to download the pieces to use for cutting out your pieces in our sewing library. You need to tape your pieces together and then cut out 4 pieces: 2 for your lining fabric and 2 for your main bag.
Fat quarters are perfect for this beginner sewing project as they coordinate well and are the perfect size.
Make sure you are cutting either 2 wrong sides of each or 2 right sides of each so that your own Japanese knot bags work out well.
Assemble Your Japanese Knot Bag Pattern
Arrange the fabric pieces, placing them atop each other with their wrong side facing upward. Ensure alignment of the raw edges and fasten them together using pins or clips.
With a seam allowance of 3/8 inch (1cm), commence stitching the two layers together. Start just beneath one handle and proceed along the bottom curve until reaching the opposite side. Cease stitching below the second handle.
Proceed to stitch the top edges of each bag handles.
Repeat the entire procedure with the second set of fabric pieces.
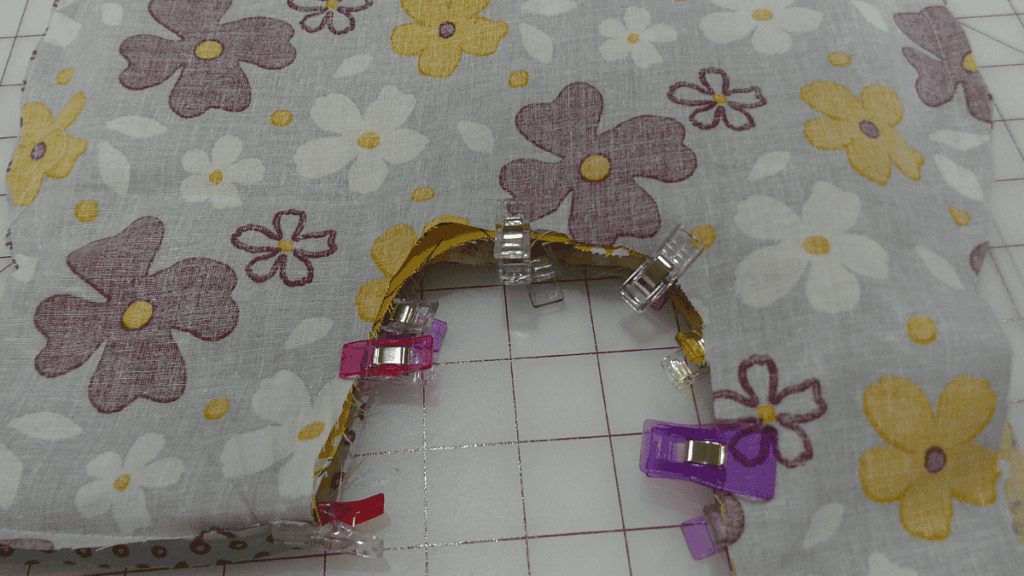
Clip Your Curves
Alright, so what you want to do is clip curves of the fabric piece making small notches. Just keep them about half an inch apart.
After that, flip one of the fabric pieces inside out. Then, slide that inside-out piece into the other fabric piece. It’s really that each. This really is an easy sewing project.
Alright, when you’ve got both sets of fabric pieces lined up, make sure they’re all snug together and use some pins or clips to hold everything in place. But here’s the trick: don’t join all four layers together!
Leave a gap between the two sets, or else you’ll accidentally sew the bag shut. We don’t want that!
Sew Your Bag
Okay, head over to your sewing machine. With a 3/8 inch (1cm) seam allowance, start stitching along the curve between the handles of the bag.
Just be careful not to sew through all four layers at once – we want to keep that gap open.
Next up, we’re gonna do a little prep work on those handles. Make some shallow cuts about half an inch (1-1.5 cm) apart along the inside curve of each handle.
This’ll help them lay flat when we turn everything right side out later on.
Now for the fun part! Flip the whole knot bag inside-out through the opening at the handle. You might find that one fabric layer tries to escape from the other – no worries, just gently tuck them back into place.
Once everything’s turned right side out, give it a good press to flatten everything out nicely. This will help with the final product steps.
Top stitch Your Finished Bag
Alright, time for some top stitching action! Take your bag back over to your sewing machine.
You are going to sew along the inside curve between the handles, but be extra careful not to accidentally seal the bag shut.
Start your stitch from the top corner of one handle and sew all the way to the top corner of the other handle. We’re almost there!
Now, for the final touches! You just need to sew up those outer edges of each handle that are still raw and unstitched.
Finish Your Japanese Knot Bag Pattern
First, fold each raw edge inwards for about half an inch. Give them a good press with your iron to flatten them out nicely, then secure everything in place with some pins or sewing clips.
Once that’s done, it’s time for some more top stitching! Sew along the outer edge of each handle, starting from the top corner and stitching all the way down to the beginning of the bottom seam.
Just be careful not to accidentally sew the handles shut as you go. And there you have it – your knot bag is ready to rock and roll!
If you used 2 separate colors, then you have a reversible knot bag. You get to decide if you want to show off your outer fabric or lining pieces.
These make great gifts. My niece walked in as we finished the reusable bag and put the short strap around her wrist. She then said she wanted to make one.
This is such a great beginner sewing projects as she is definitely a beginner sewer and can easily make this functional bag.
If you love beginner sewing projects, you will be glad to know that we have an entire library of beginner sewing projects.
Beginner Sewing Projects
See beginner sewing projects library
Some of our favorite beginner sewing projects include the following:
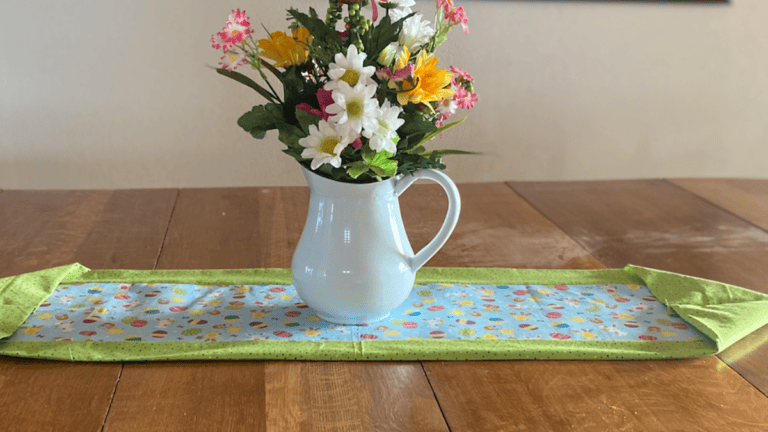
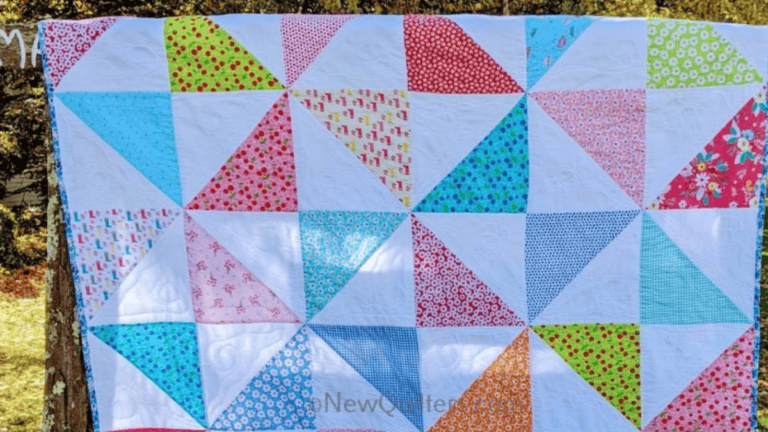
Fabric bookmark (super light weight bookmark for your favorite book)
Fabric basket (includes different sizes)
Fabric Giveaway
Enter our monthly fabric giveaway. Simply complete the tasks daily and you will be entered into the drawing. Winner will be randomly drawn on the first day of the month and notified via email


One Comment