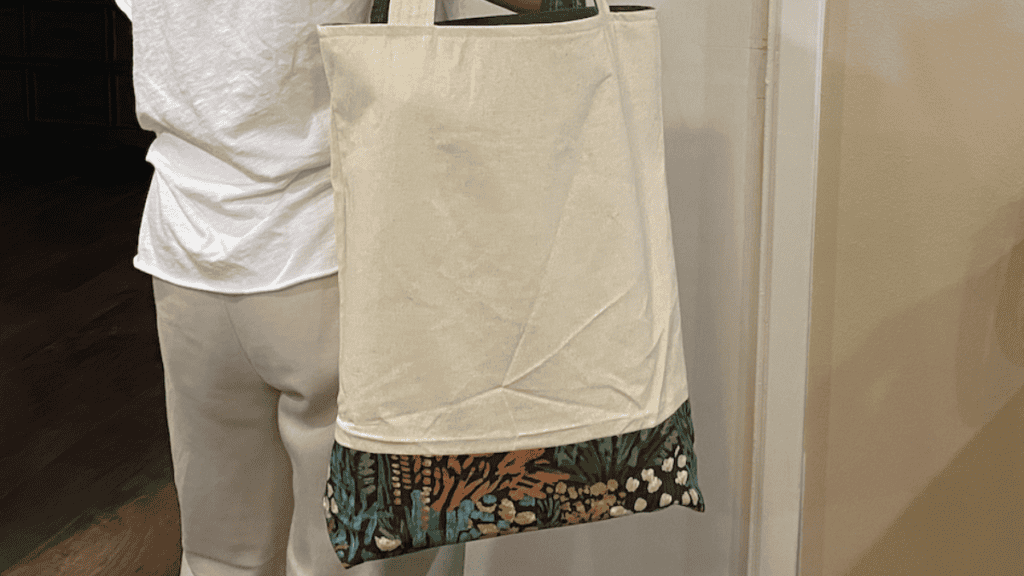
Cute and Easy Canvas Tote Bag Pattern You Will Use Often
My sweet niece popped her head into my sewing room and asked how hard it would be to make a canvas tote bag pattern.
I found a really simple pattern and sent her off to Hobby Lobby to find some duck cloth fabric.
She found really cute fabric and wanted to learn how to sew. It took a little longer than if I was making it myself, but she learned a ton, had a blast and made a super cute canvas tote bag pattern.
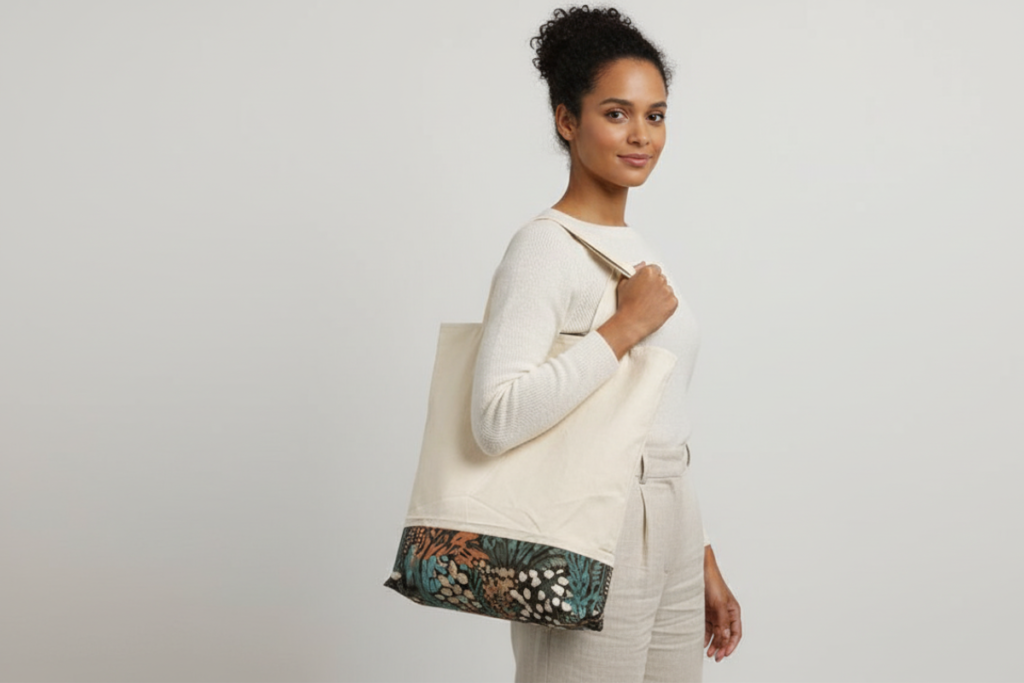
Whether you are a beginner sewer or simply looking for a simple tote bag that will hold bulky items, this canvas tote bag pattern is perfect for you.
Win a Fat quarter bundle of fabric on our giveaway page.
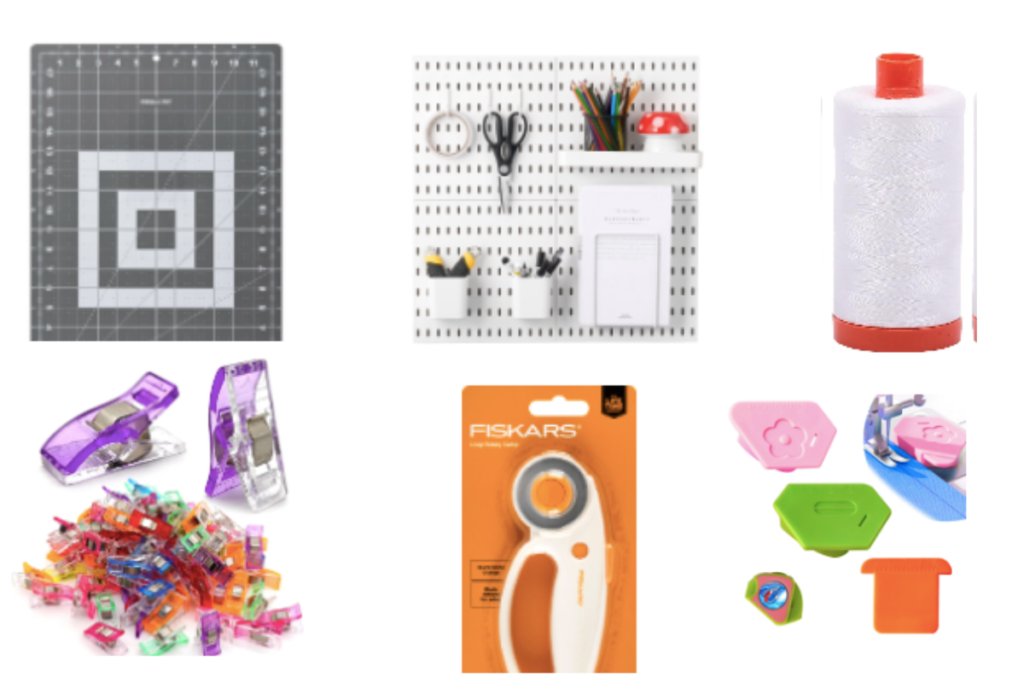
Sewing Supplies:
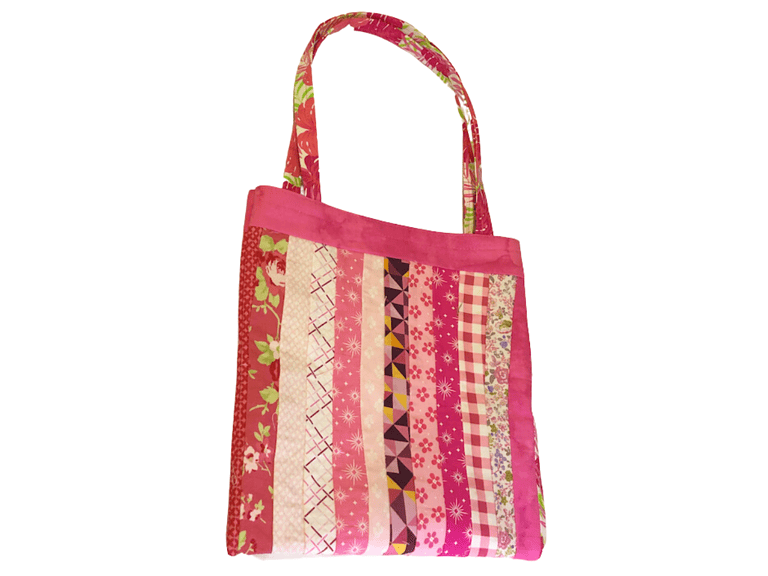
PDF Of Canvas Tote Bag Pattern
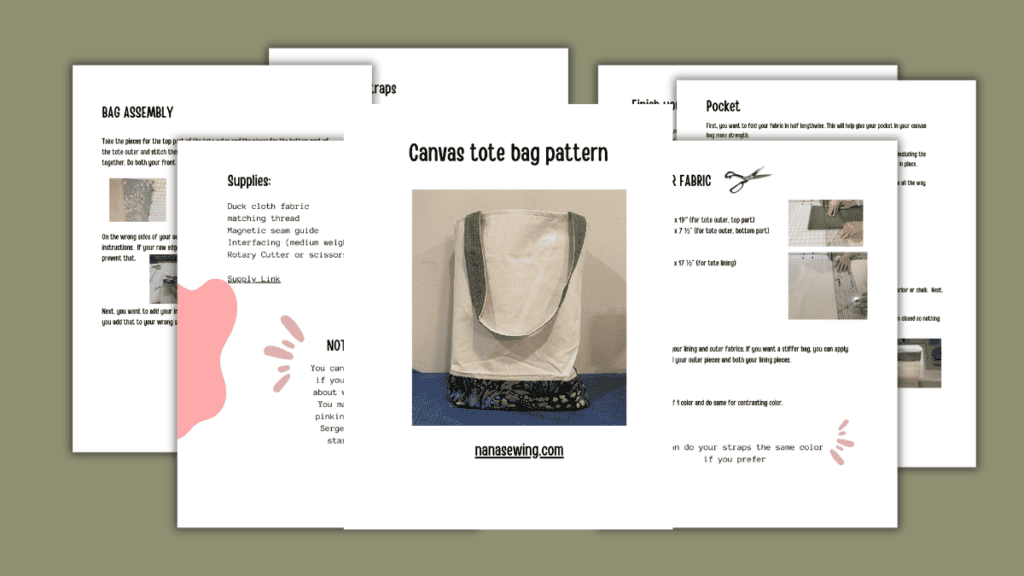
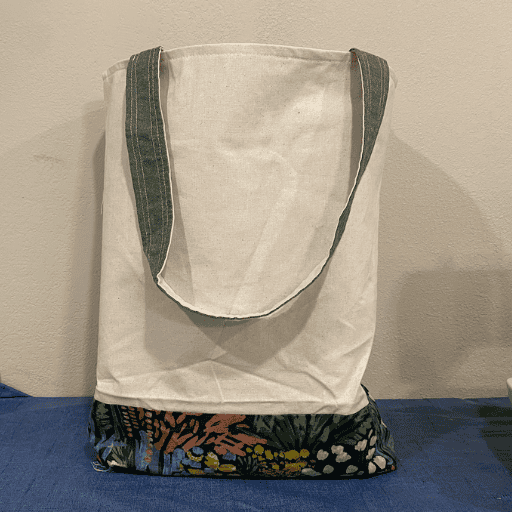
Photo Credit: Nanasewing.com
Cut Fabric
You need to cut a few pieces of fabric out.
Outer fabrics:
- 2 rectangles 16″ x 19″ (for tote outer, top part)
- 2 rectangles 19″ x 7 ½” (for tote outer, bottom part)
Lining Fabric:
2 rectangles 21″ x 17 ½” (for tote lining)
19″ x 20″
Interfacing:
Cut a piece for your lining and outer fabrics. If you want a stiffer bag, you can apply interfacing to all your outer pieces and both your lining pieces.
Straps
(2) 28” x 2 ½” of 1 color and do same for contrasting color.
How to Assemble Your Canvas Tote Bag Pattern
Outer Pieces
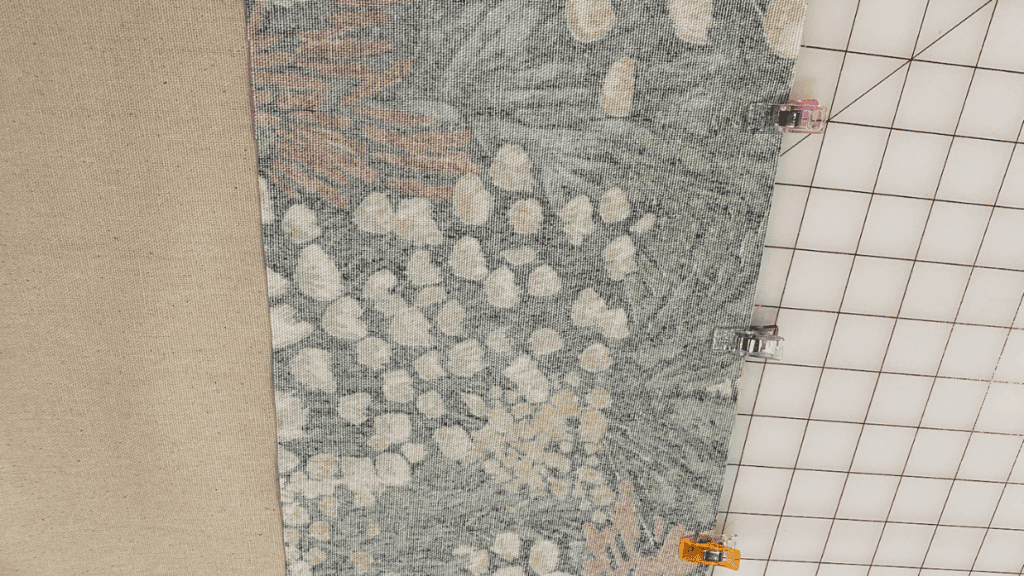
Take the pieces for the top part of the tote outer and the pieces for the bottom part of the tote outer and stitch them together using a ½” seam allowance with right sides together. Do both your front and back sides of the bag.
On the wrong sides of your outer pieces, apply your interfacing per the manufacturer’s instructions. If your raw edges are still fraying, you can use your pinking shears to prevent that.
Next, you want to add your interfacing to both pieces of your lining fabric. Make sure you add that to your wrong sides.
She definitely wanted a pocket inside her DIY canvas tote bag. She is using her bag for grocery shopping in a few stores that don’t have bags available. I asked her what she needed to put in her pockets.
First, she carries her wallet, a book that has her grocery list and of course her keys and a pen. I love that with any pocket, you can actually make them fit what you typically need.
First, you want to fold your fabric in half lengthwise. This will help give your pocket in your canvas bag more strength.
To create your pocket, you want to head over to your iron and on all your side seams including the long edge, you want to turn under a 1/4 inch and then another 1/4 inch and iron that in place.
Using your clips or pins, hold that in place. You will then sew a 1/4 inch seam allowance all the way around your pocket (same if you are doing exterior pockets).
When finished, go in and do a 1/2 seam allowance catching the edge of your pocket hem so that you have a double seam all the way around your pocket. I have included photos in the PDF version.
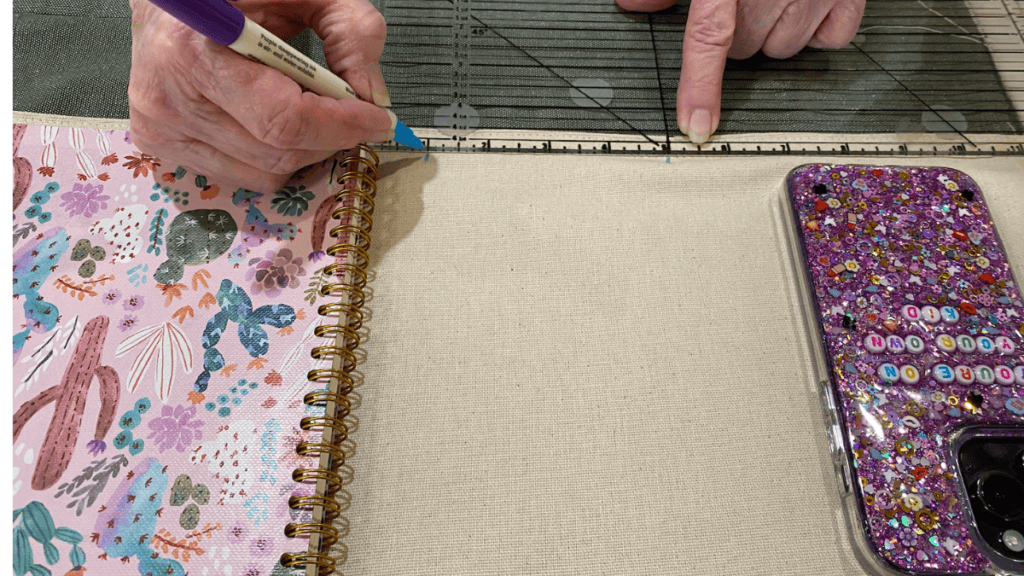
We laid out her notebook, wallet and keys and divided her pockets by the size she would use most of the time. You will want to do the same with your pocket before adding it to the inside of the bag.
Now, divide your pockets into the sizes that you want and mark them with a fabric marker or chalk. Next, position the pocket 5″ from the top of your lining and center with your lining fabric.
Head over to your sewing machine and sew straight down your lines to create your pockets in this easy tote bag pattern. Make sure and back stitch a few times at the top and bottom of each line to give it more security.
You also want to make sure your pocket is opening the right direction and do a top stitch across the bottom of the pocket.
Create Your Straps
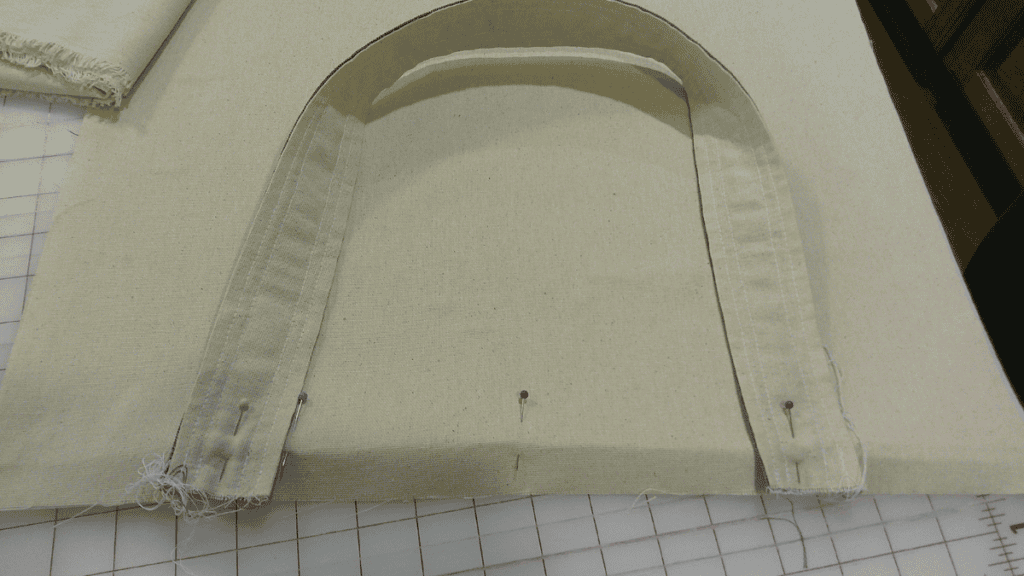
There are so many ways to make straps, but with a canvas tote bag pattern that will be holding groceries the last thing you want is to be walking out of the store and having your straps break. This will prevent that.
With the right sides together, you want to place one piece of both colors together, and then you will sew 1/4 ” seam allowance down one side and then 1/4 ” seam allowance down the same side.
You will have a long tube with openings at both ends. Take and turn your tube so that right sides are facing you. Head to your iron and iron your pattern pieces so that the seams are flat.
Now you want to top stitch a 1/4 seam allowance all the way around each strap and then a 3/8″ seam allowance on the same strap. You will have 2 sets of stitching on each strap. Do the same on the other side.
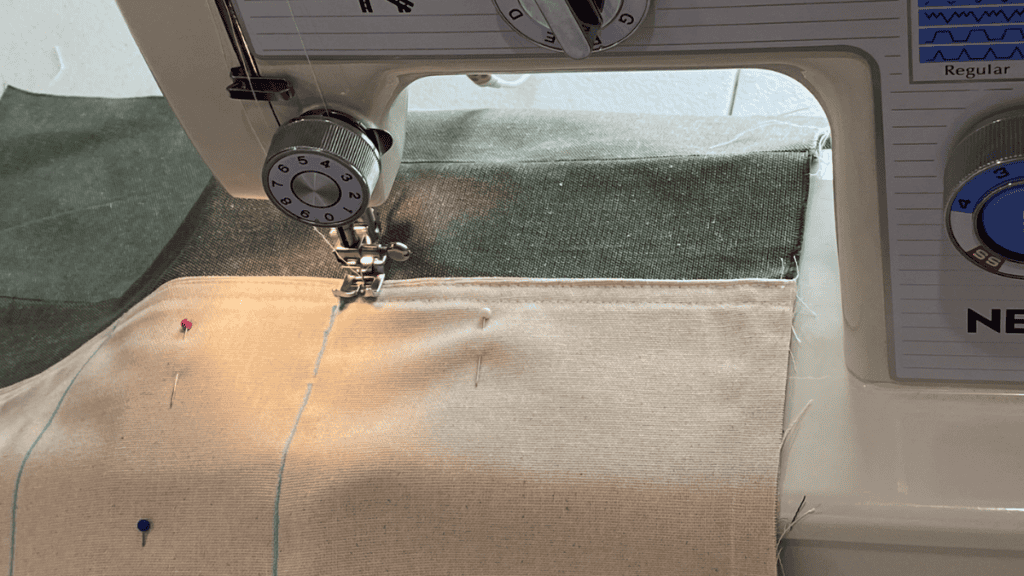
You will now want to attach those to the right side of the outside of your bag (the inside of the outer fabric). We pinned each raw edge 4 inches from the middle of the bag body.
Then you will sew across the top of your bag, making sure you back stitch back and forth across the straps as that is where your heavy load will be when using the shopping bag. Do the same for the other side.
In the bottom of the bag, cut out a 2″ square on all your outer and lining pieces. You will create this boxed corner in just a few steps from now. Keep following the step-by-step instructions.
Outside of Bag and Lining
With right sides together, you are going to sew a 1/2″ seam allowance down the sides. So, you will do your 2 outside fabrics and then sew your 2 lining fabrics. Then you will iron the seams open.
If your material is unraveling, you will want to use fray check or like we did our pinking shears to ensure the bag doesn’t unravel anymore. Some fabric is worth more than others, and you can simply tell by looking at your fabrics.
Boxed Corners
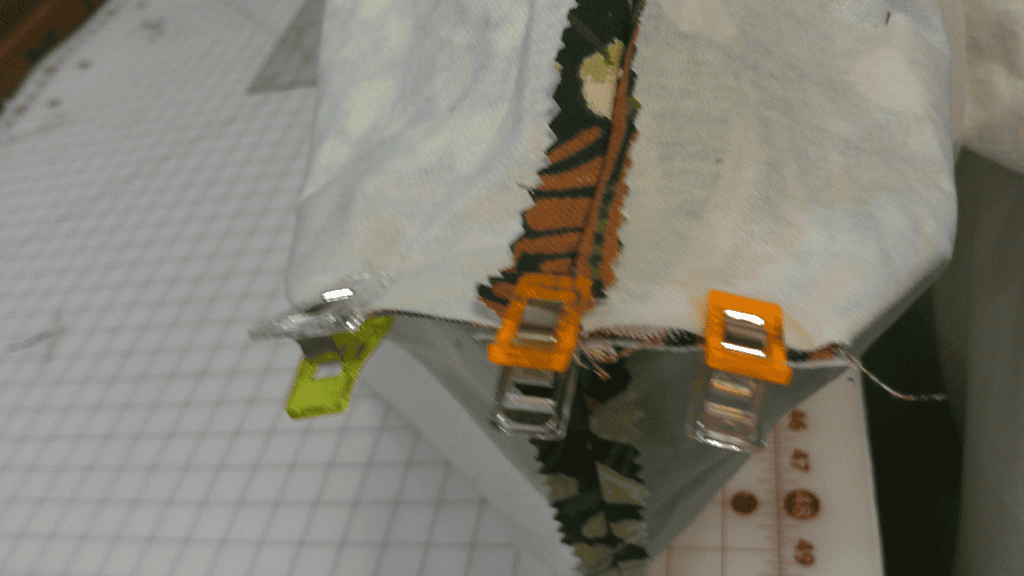
For your bag to have a flat bottom and to have more space at the bottom, we need to create a boxed corner. It’s super easy to do.
Where you ironed your seam, you are going to open that up laying it flat and clip the 2 pieces together. You will do that for each corner. You will sew a 3/8 seam allowance across the heavyweight fabric and then trim that close to the seam.
Just make sure you don’t cut your seams.
Finish your Canvas Tote Bag Pattern
You are nearly finished with your canvas tote bag pattern. Just a few more steps.
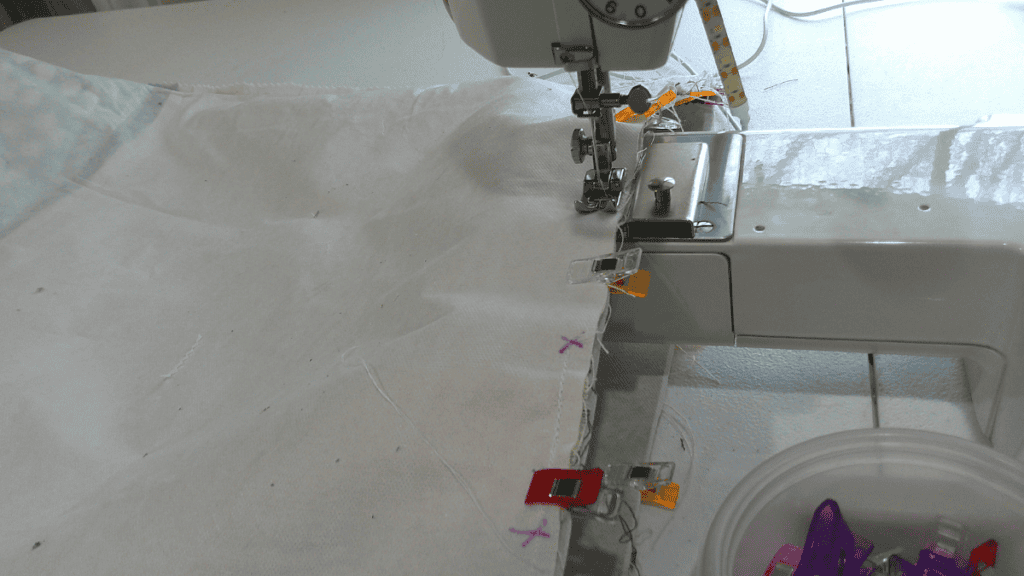
You need to turn your lining inside out so that the right side is seen. You will place that inside your bag and line up your seams with the outside of the bag. The next step is to sew around the top of the bags using a 1/2 seam allowance.
You will want to leave a 2-3 inch area open so that you can turn your bag.
When finished, you can now pull your bag through the opening and stuff your lining inside your bag. Take your bag over the iron and iron your seams. You will then want to top stitch around the edge, making sure you close up your opening.
The best thing is if you love outer pockets you can easily add 1 or 2 to your outside fabric when you are doing your straps. This DIY tote bag is a perfect alternative for plastic bags and can easily be made in different sizes.
Just remember that when you use heavier fabrics, you will want to use a larger needle. If not, you are likely to break a needle.
For more pattern bags, we have an entire library and are adding more this month.
Bag Patterns
See all of our tote bag patterns.
Here are a few of our favorites:
Fabric Giveaway
Enter our monthly fabric giveaway. Simply complete the tasks daily and you will be entered into the drawing. Winner will be randomly drawn on the first day of the month and notified via email

2 Comments