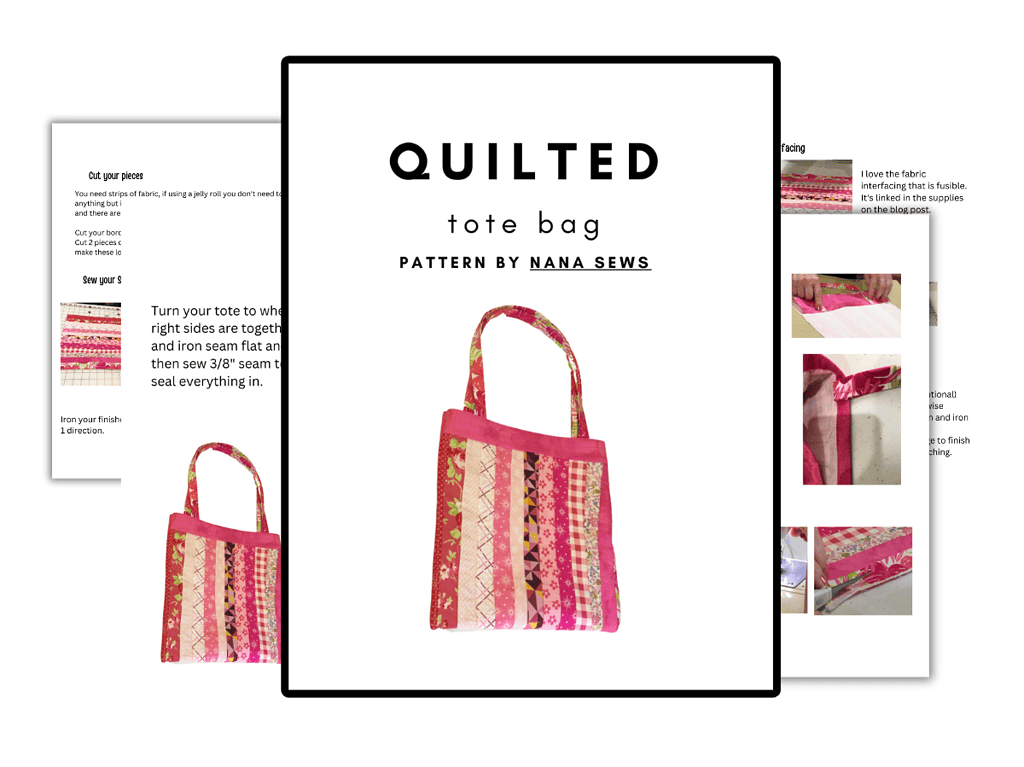
Easy Quilted Tote Bag Pattern: In 11 Steps
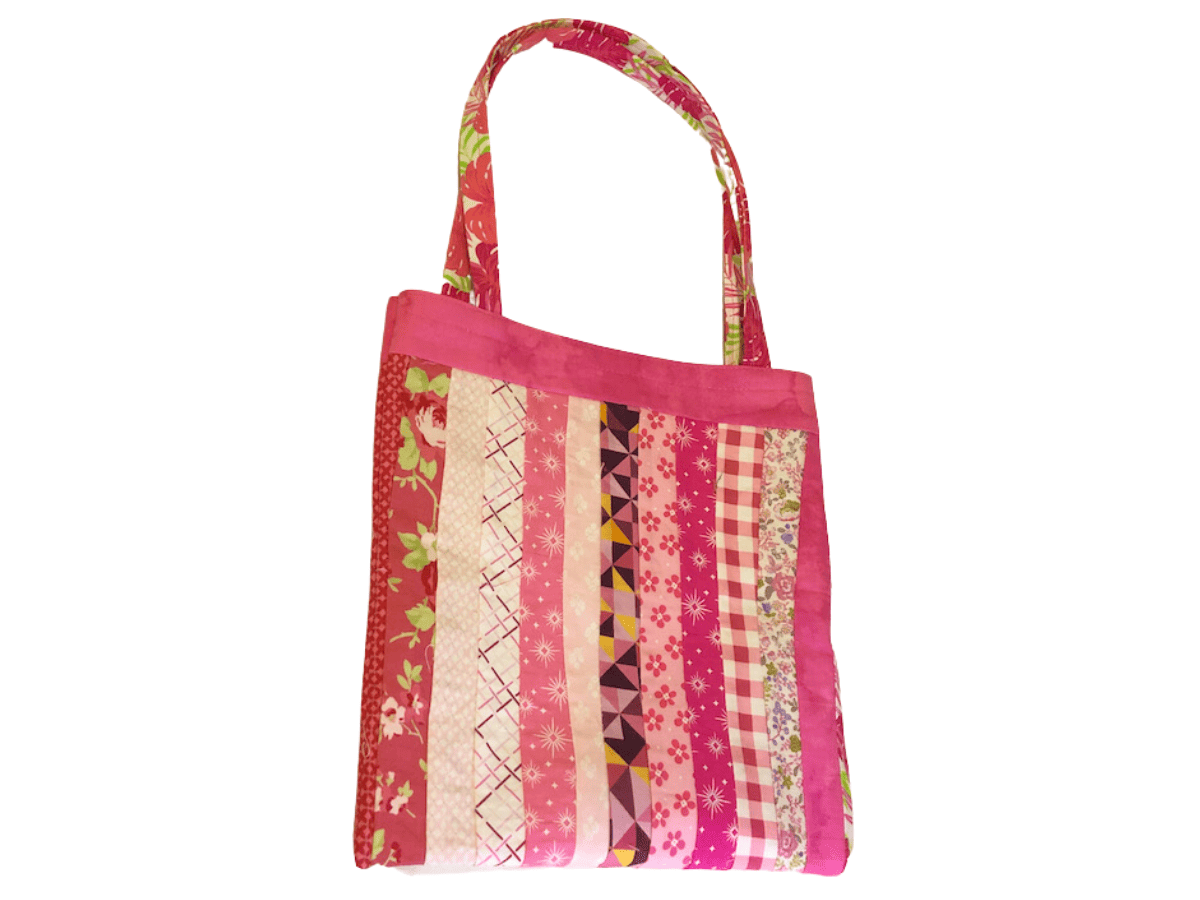
Do you love using tote bags for carrying things or at the grocery store instead of plastic? This quilted tote bag pattern can be made into a smaller bag as we did or simply add to it and make it bigger.
We used a French seam to make the bag stronger for everyday use. If you haven’t done a French seam, it isn’t as hard as it looks or sounds.
Download the Full instruction in our VIP Sewing/Quilting library
Supplies for Quilted Tote Bag
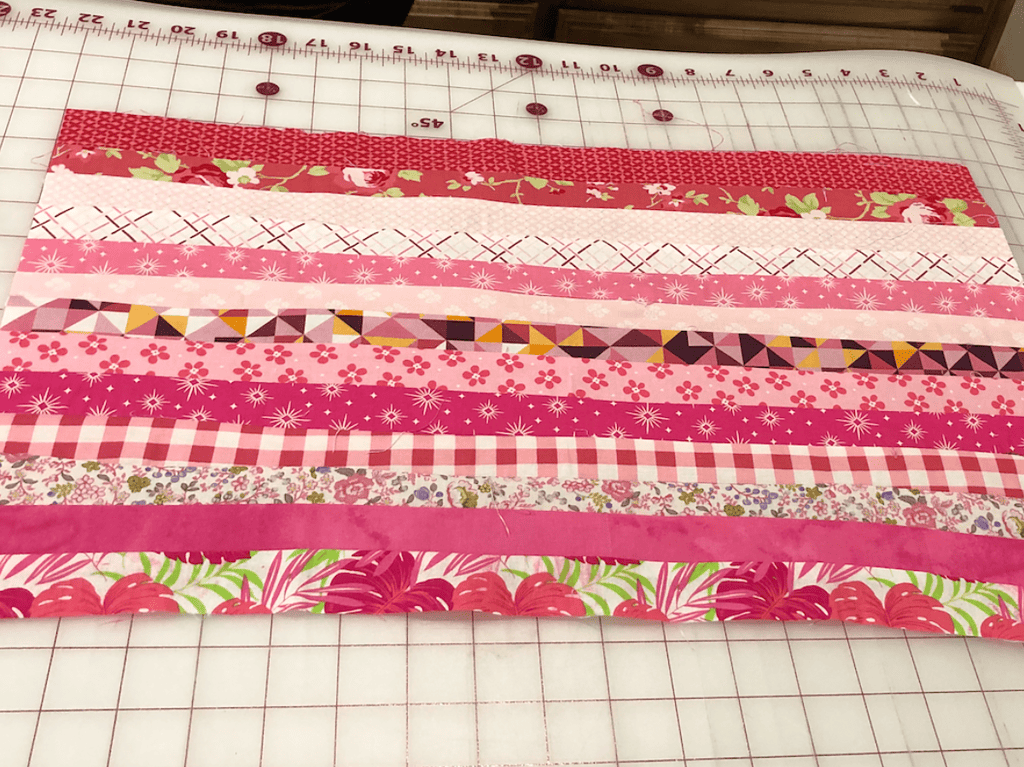
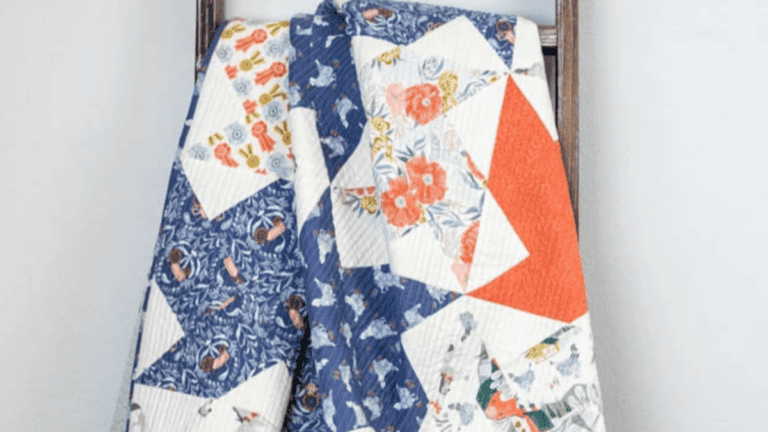
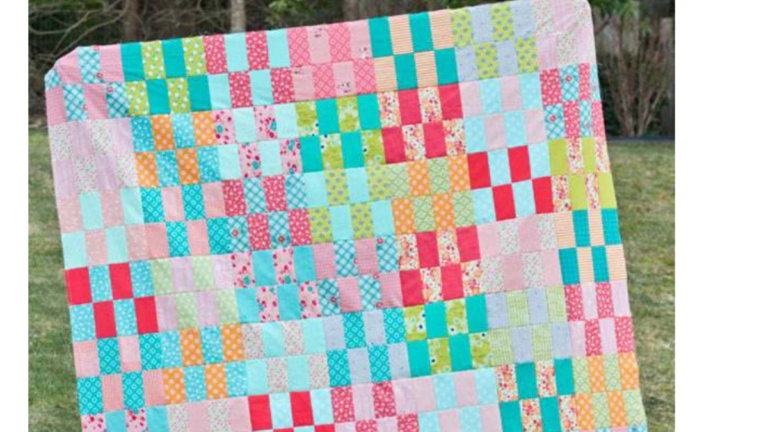
- Fabric for strips (Jelly rolls work well): we used 13 different patterns
- Fabric for the top border
- Fabric for handle
- Matching Thread
- Sewing Machine
- Bone Folder
- Medium weight interfacing
Directions for Quilted Tote Bag
You want to cut your strips 1.5 x 23″. If you are using Jelly Roll fabric, you would simply have fewer strips as the fabric is wider. Also cut your border, which is 3″ wide x 13″. Your handles are 2.5″ by 22″. If you want longer handles, simply add to the 2nd number.
Second, sew your strips using a scant seam or 1/4″ seam. Continue until all your strips are sewn together.
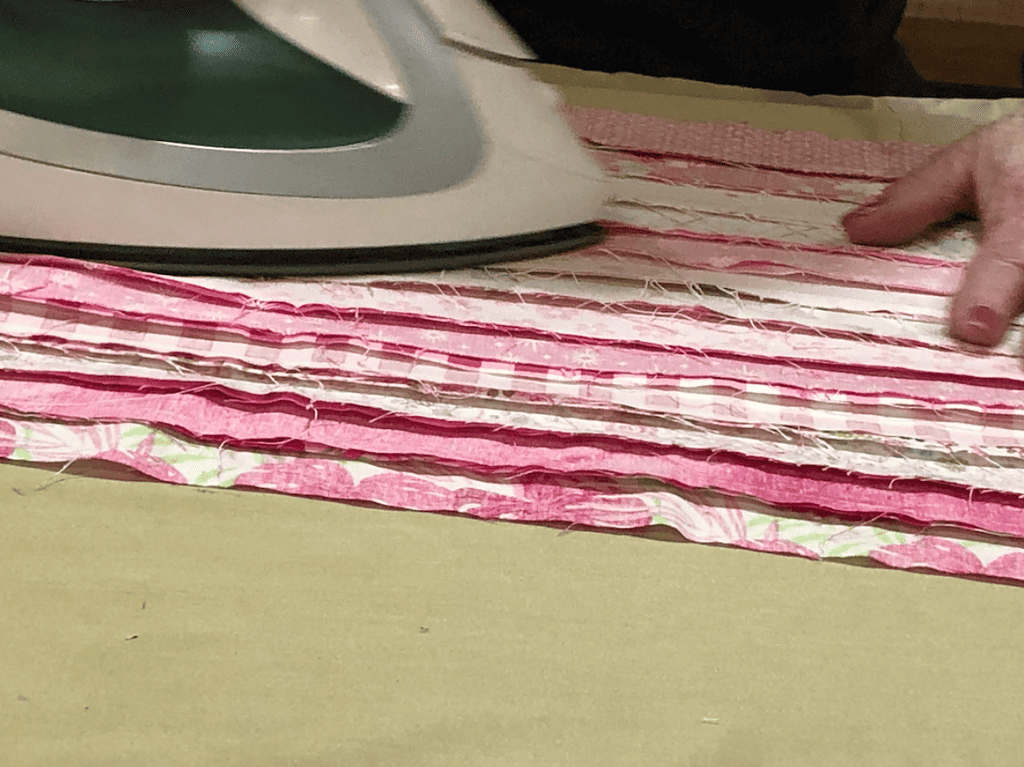
Third, you want to iron your pieces. If you are new to quilting, you want to iron your seams in one direction. This helps your seams lie flat. You do not want to iron them open as you do in clothing.
Fourth, you are going to square up your fabric pieces, making and fold them in half and square up again.
Fifth, add interfacing to your pieces. While you are doing that, add interfacing to your handle piece. This will help with stability.
Next, you want to sew your handles. Fold each handle in half and iron, and then fold each half to the center. You will then iron your pieces, so you have a fold and the inside edges are folded and not raw edges.
Sew down the long side of each handle, making sure to catch both edges. Give it one final ironing.
Now it’s time to attach your border to your strips. With the right sides together, you will want to sew all the way around using a 1/4″ seam allowance. Iron your seams towards the border unless it’s a very light color then you would iron it towards the darker color.
Time to attach your handles. You want to fold down the top 1/2″ seam using your seam gauge and attach your handles about 3″ in from the raw edges on each top piece.
Additionally, you may want to stitch your handles at this point to hold them in place. You will then fold it another 1/2″ You want to sew that on the bottom edge making sure you catch the handle seams again.
Next, you will flip up that seam and stitch around the top. Make sure your handles are turned as you want them and not twisted if you don’t you will be needing your seam ripper.
Time for French Seams. With the wrong sides together, sew a 1/4″ seam allowance down each side. Take and trim your seam allowance as close as you can to your seams without cutting them.
Next, you want to turn your pieces after you finish and iron your seams flat. We have a video on how to do a French seam.
To finish it up, you want to sew a 3/8″ seam allowance with your right sides together. That’s how easy a French seam is.

You now have a super cute quilted tote bag that measures 11″ x 11″ excluding the straps. Let us know in the comments what you are going to use yours for.
The full tutorial is available in our VIP sewing library.
Fabric Giveaway
Enter our monthly fabric giveaway. Simply complete the tasks daily and you will be entered into the drawing. Winner will be randomly drawn on the first day of the month and notified via email

5 Comments