
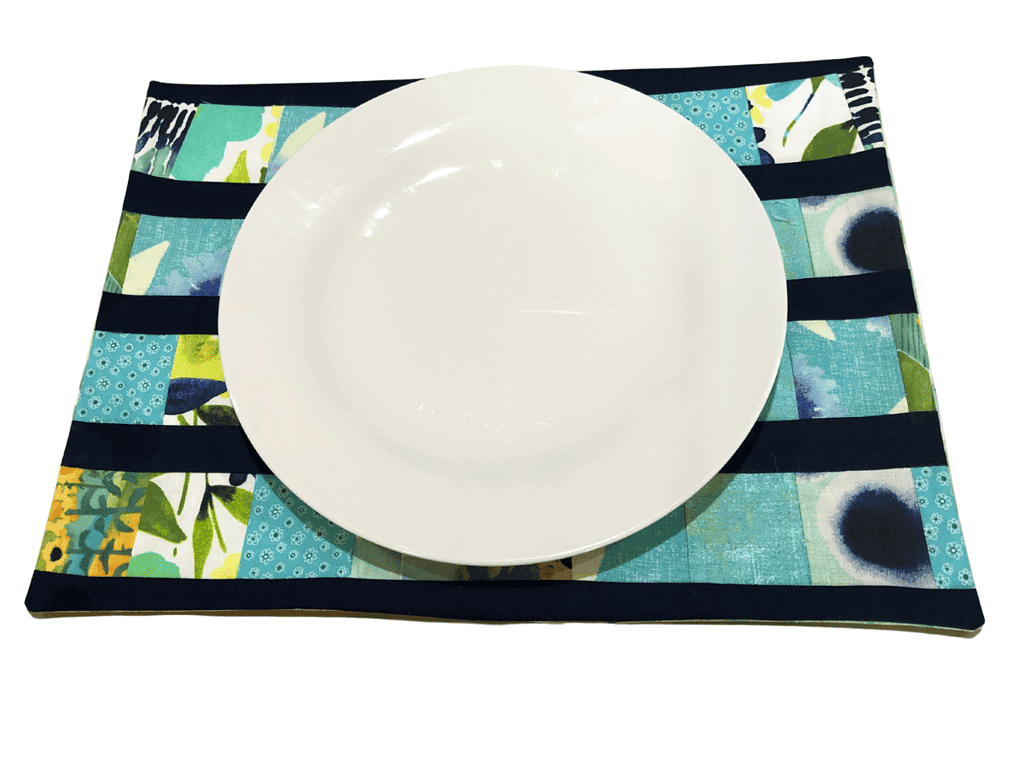
Easy Quilted Placemat Patterns in 1 hour
When was the last time you updated your placemats? Is it time to refresh your placemats?
These quilted placemat patterns can be used with scrap fabrics or with less than a yard of fabric with multiple patterns.
It’s the perfect quilting pattern for beginners or someone with a ton of fabric scraps that wants an easy afternoon project for the weekend.
.

Supplies for Quilted Placemat Patterns
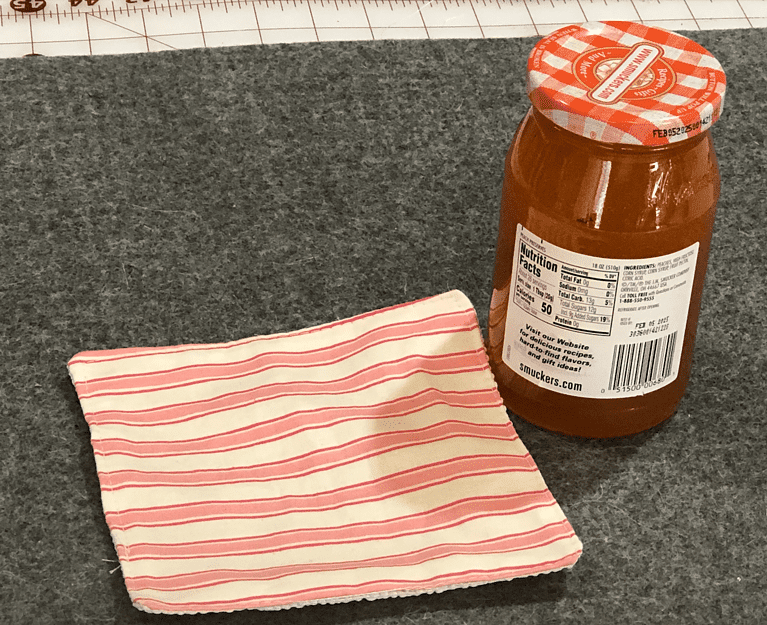
Traditionally, placemats have been commonly made ranging from 12 to 14 inches in width and 16 to 20 inches in length.
We made the smaller size. so if you do a bigger placemat you will need to increase the length of your fabric strips and backing. Truly make this your own and have it fit your needs in your kitchen.
- 5 patterns of fabric
- Backing
- Solid fabric for strips
- Insul bright (optional) for heat protection on table
- Medium Weight Interfacing (Choose this if your table doesn’t need protected)
- Sewing Machine
- Matching Thread
- Bone Folder
- Magnetic Seam guide
Directions for Quilted Placemat Patterns:
Cut your fabric:
- As you will see in the PDF, you need ten 2.5×2.5″ squares of varying patterns for each row and you need a total of 4 rows for the smaller placemat.
- Cut a strip of solid fabric 1.5″ x the length of your placemat. I recommend making it slightly larger and cutting off the excess.
- Cut your backing 1/2 inch larger in width and length than your desired size.
Sew your strips
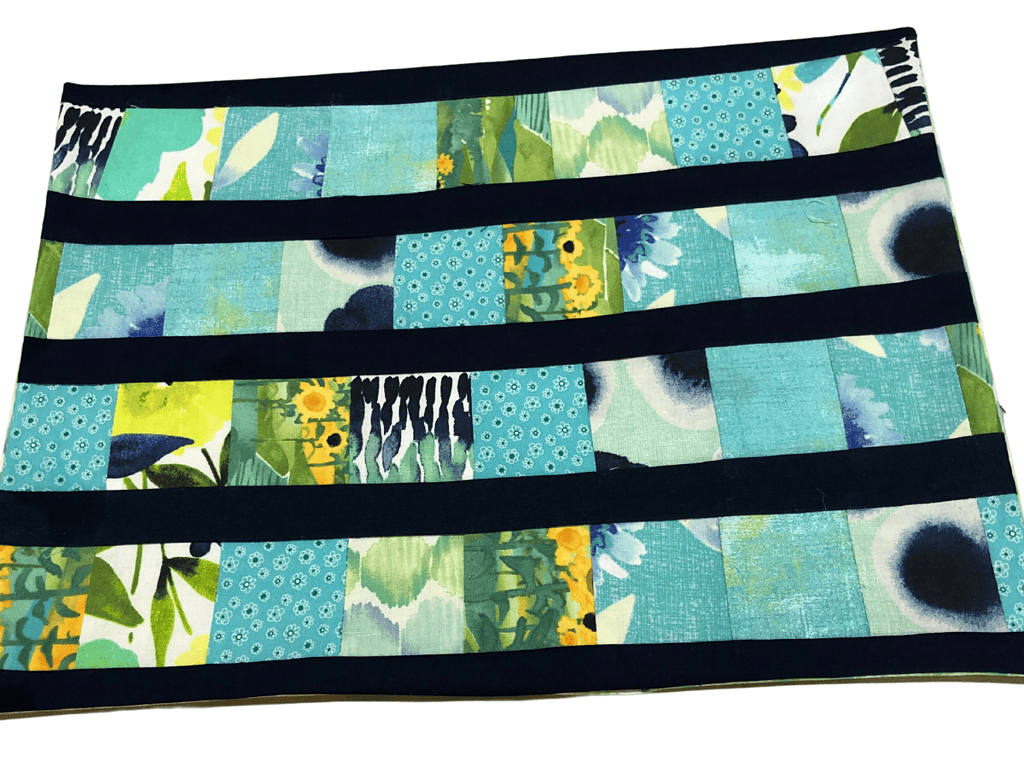
You want to take your 2.5×2.5″ squares and sew 10 in a row. Use a 1/4″ seam allowance and then iron your seams, all going in one direction. Repeat this for all 4 rows. I do love using my magnetic seam guide as it helps me keep my lines super straight.
Put your Quilted Placemat together
Now comes the fun part. Simply sew a row of patterns to a row of solid fabric. Do this until your rows are all completed. You should have a solid on the top and bottom, although make it how you love it.
Second, you want to iron your pieces, ironing all your seams in the same direction. You don’t want to iron your seams open like in clothing. it’s a big difference between sewing clothing and quilting.
Third, you need to make sure and square up all your pieces. I find using a cutting mat with lines helps with this.
Fourth, you want to put insul bright if you want the heat to stay off your table, or simply add some medium weight interfacing. Now it’s ready for your backing.
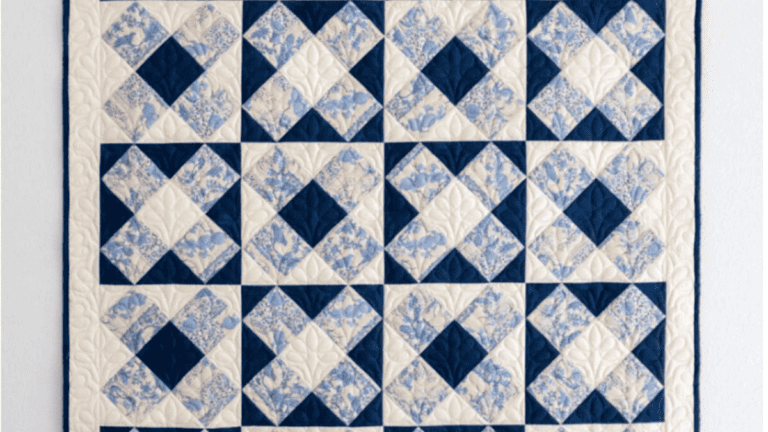
Easy Sewing Patterns
Here are our top 5 easy sewing patterns
Add your backing to your quilted placemat
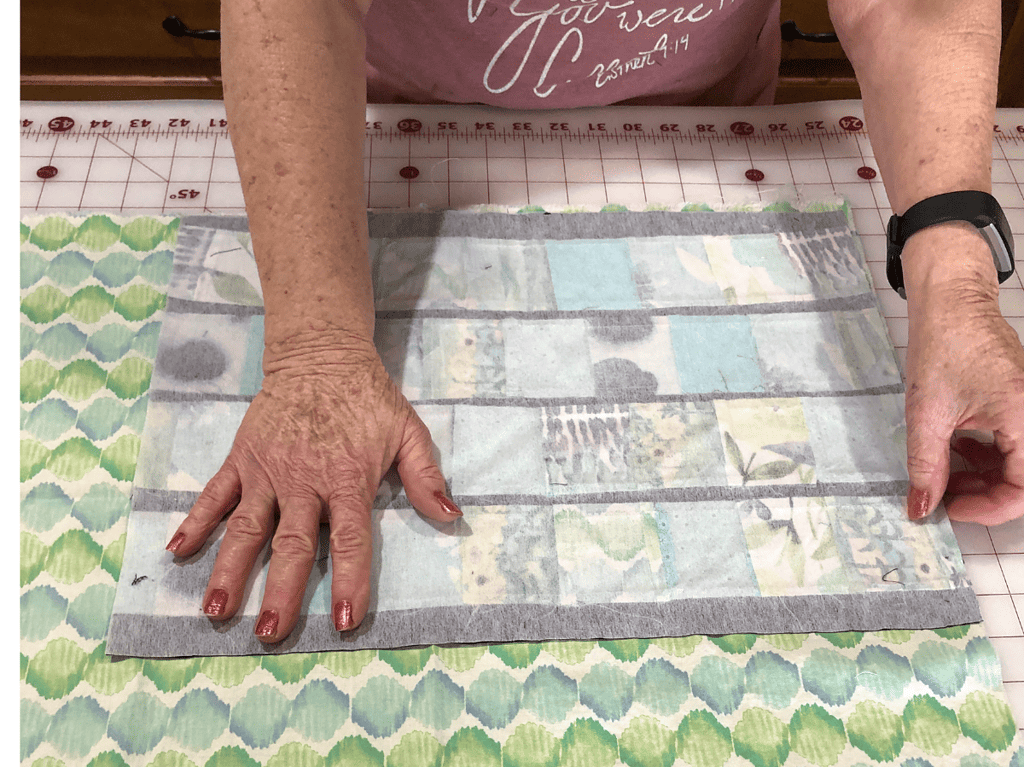
Follow the directions for your quilted placemat patterns and sew your backing to the front with the right sides together. Leave a 2-4″ opening and when finished pull your pieces out so that the right sides are facing you.
Top stitch around your placemat making sure to close up the opening and just like that you have finished your quilted placemat pattern.
Additional Quilting (optional)
You can sew down your lines using a decorative stitch, or if you have a long-arm quilting machine, you can create designs throughout your placemat.

Fabric Giveaway
Enter our monthly fabric giveaway. Simply complete the tasks daily and you will be entered into the drawing. Winner will be randomly drawn on the first day of the month and notified via email


One Comment