Easy Rice Heating Pad DIY: Make Boo Boos Feel Better Fast
Had a boo-boo lately? Today we are doing an easy sewing tutorial, making a rice heating pad DIY style. It can also be used for cold.
When my kids were younger they were constantly looking for a boo-boo bag. This is the perfect size for small boo-boos. You can heat it in the microwave or keep some in the freezer.
As an affiliate, I may receive a small commission from Amazon when you purchase a product through one of my affiliate links.
This commission comes at no extra cost to you and helps support the time and effort that goes into creating content for my blog. By using my affiliate links, you are helping to support my work and allowing me to continue to provide valuable content for my readers.
I only recommend products that I truly believe in and have used or researched extensively, so you can feel confident in your purchases.
Table of Contents
Supplies needed for rice heating pad DIY:
- Sewing machine
- Scissors
- Rotary cutter
- Fabric Cutting Mat
- Quilt ruler
- 2 pieces of cotton fabric for the outside main fabric
- Sewing pins
- Sewing Clips
- Bone folder
- Iron
- Ironing Board
Directions for rice heating pad DIY:
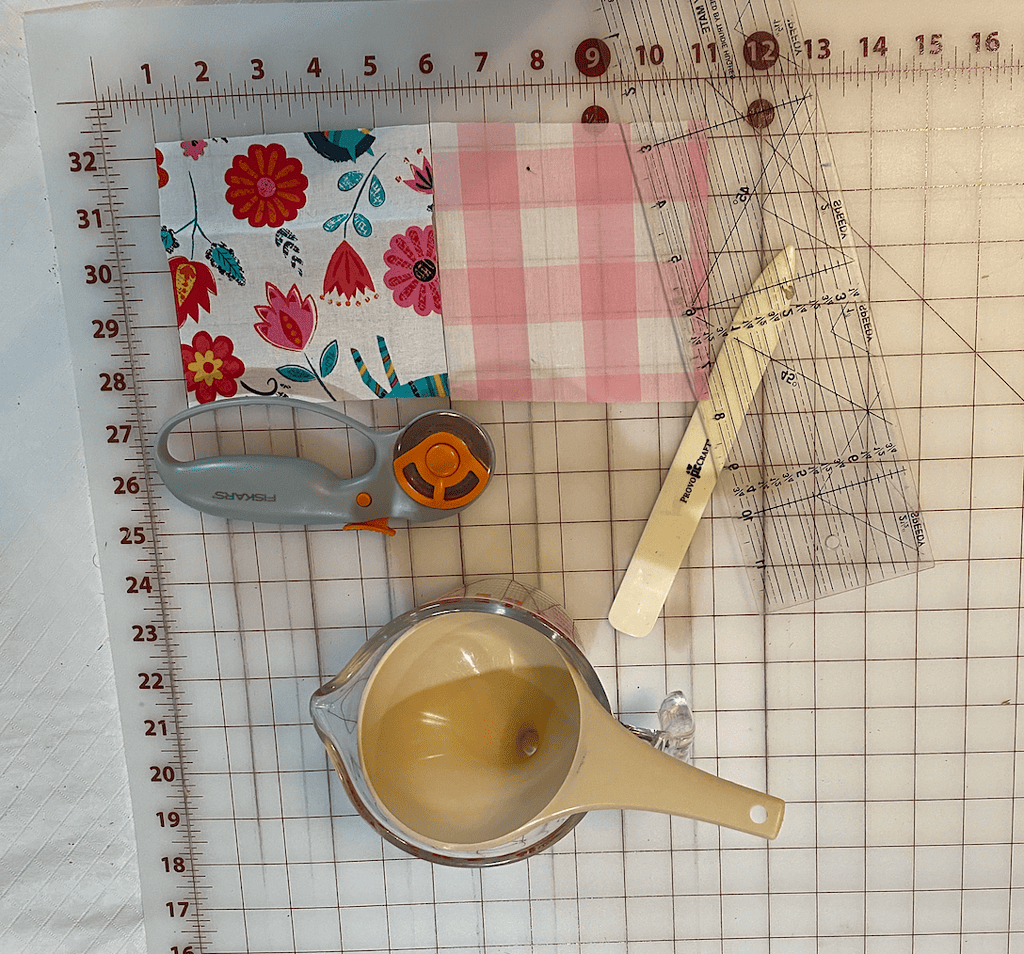
Cut your fabric 6×6 “. You need 2 pieces, 1 for the front and 1 for the back. You can use the same cotton fabric for the front and back, or do a contrasting color. (Note: You can make a bigger bag or even make it into a rectangle. Adjust your measurements accordingly)
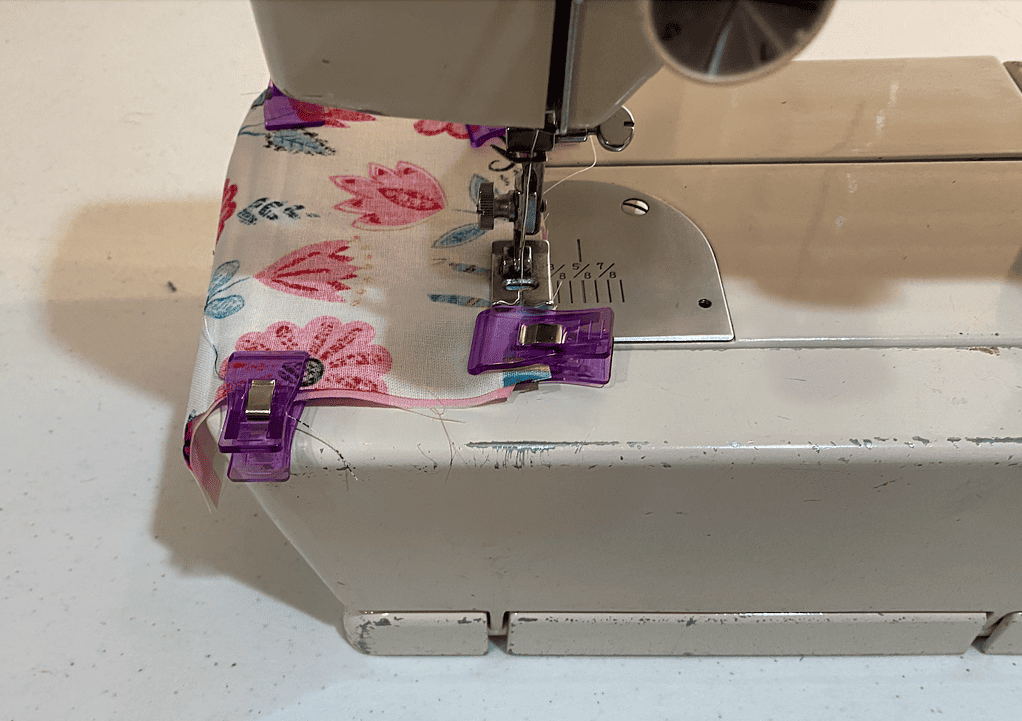
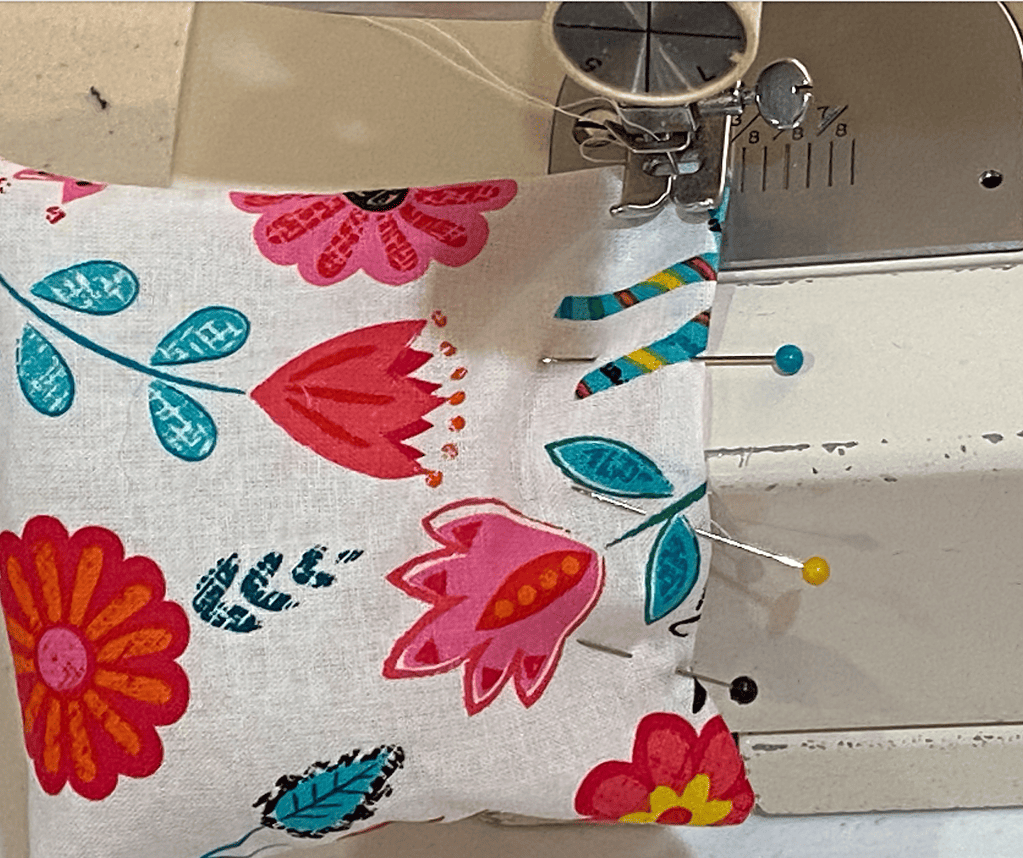
Put the right sides together and sew around using a 1/4-inch seam allowance. Make sure and leave an opening of about 1 inch to turn your 2 pieces right sides out.
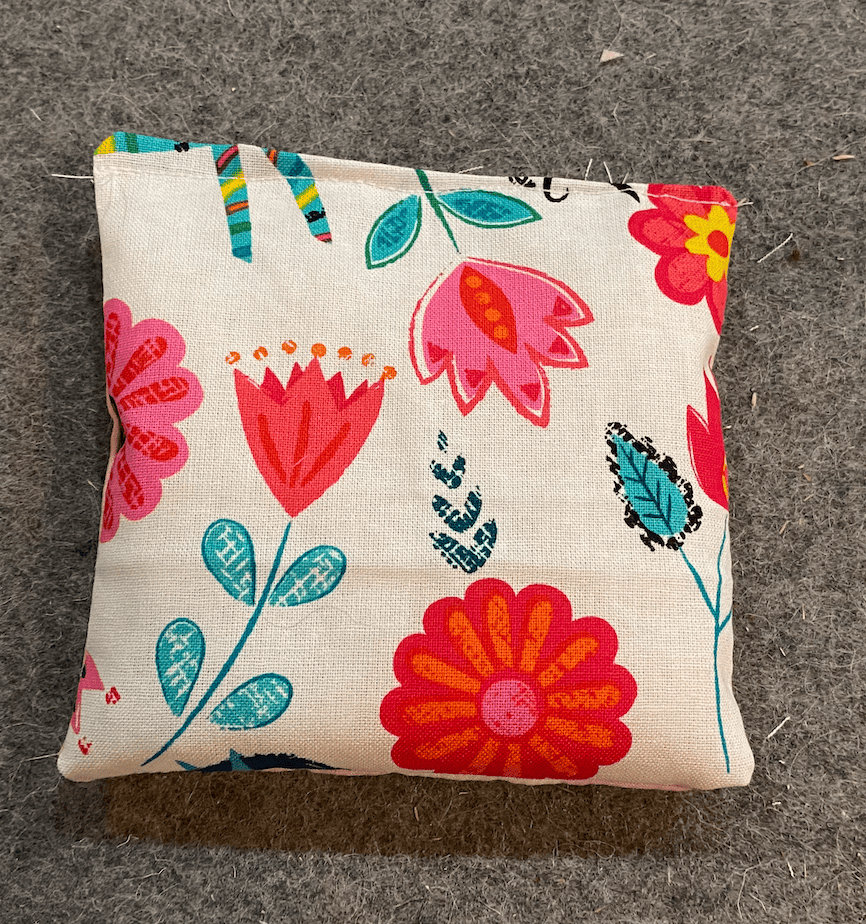
Turn your pieces so that the right sides are showing (pretty side of fabric) and use a bone folder to poke your corners and edges.
Now fill with rice to about 3/4 of the way full. Don’t overfill because it will make closing difficult and rice will break your needle if it hits it if you close the opening with a sewing machine.
After you fill your rice heating pad DIY with rice, you can either stitch it closed manually with a thread and needle or use your sewing machine.
I did it with a sewing machine and just made sure I made sure the rice was below my sewing line.
How to use your Rice Heating Pad DIY
If you are using it as a heating pad, place it in the microwave for about 30 seconds. Place on area hurting on top of a towel or scrap fabrics.
You may need to do it longer, but these are small bags and the rice does heat up quickly. You want the bag to be warm but not scolding. It can burn you, so please be careful.
If you are using it as a cold pack, place it in the freezer and again use a towel or fabric to protect your skin when you are using it as a cold pack.

Other Sewing Tutorials
We have an entire library with sewing tutorials, including this one. You will find PDFs you can download. Simply get access to the Sewing Library and find a tutorial you want to try. I also let my email list know when new tutorials are released before anyone else.
A few of our favorites tutorials:
Other Sewing Resources:
If you are new to sewing, we recommend that you start by learning the basics and starting with a simple project like the potholder.
Start with:
Fabric Giveaway
Enter our monthly fabric giveaway. Simply complete the tasks daily and you will be entered into the drawing. Winner will be randomly drawn on the first day of the month and notified via email