How to Sew a Button in 10 Minutes or Less with easy steps
Mastering the art of learning how to sew on a button is an essential skill that every adult and teenager should possess.

Inevitably, buttons tend to loosen or detach from pants or shirts, making it crucial to be capable of replacing them.
Today, you will swiftly acquire the knowledge needed to sew on a button by following a few simple steps.
Table of Contents
Supplies you need to sew a button:
Steps on How to Sew a Button
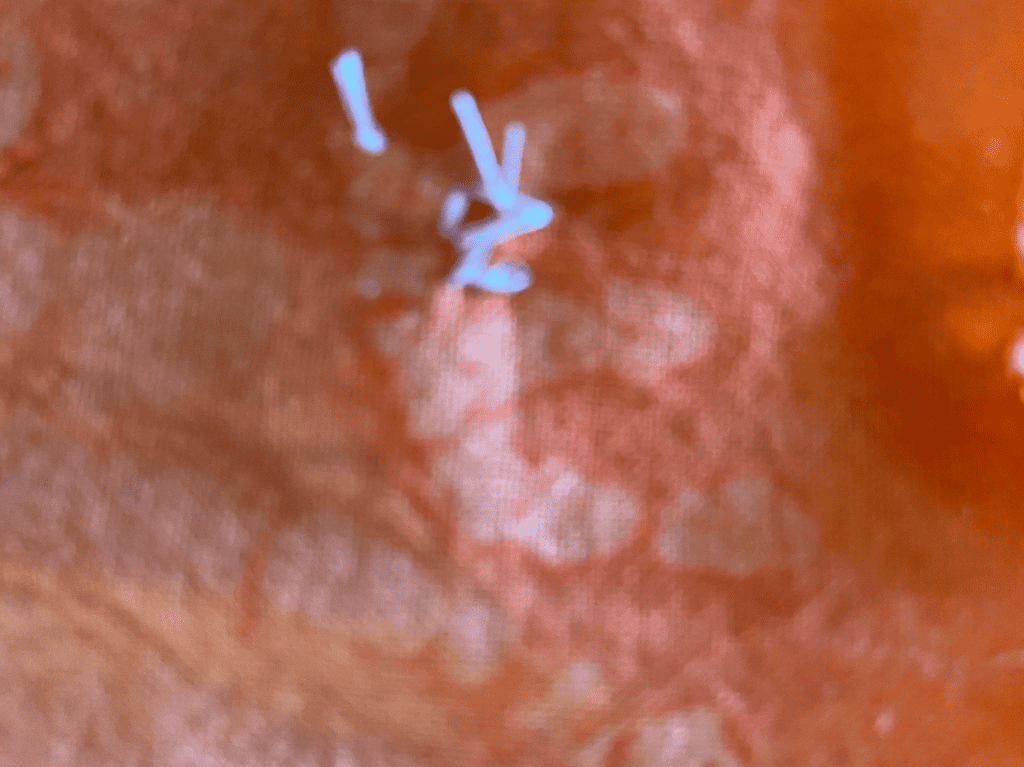
We are going to show you 2 different button types includes a 4 hole button, 2 hole button and how to sew a button on pants.
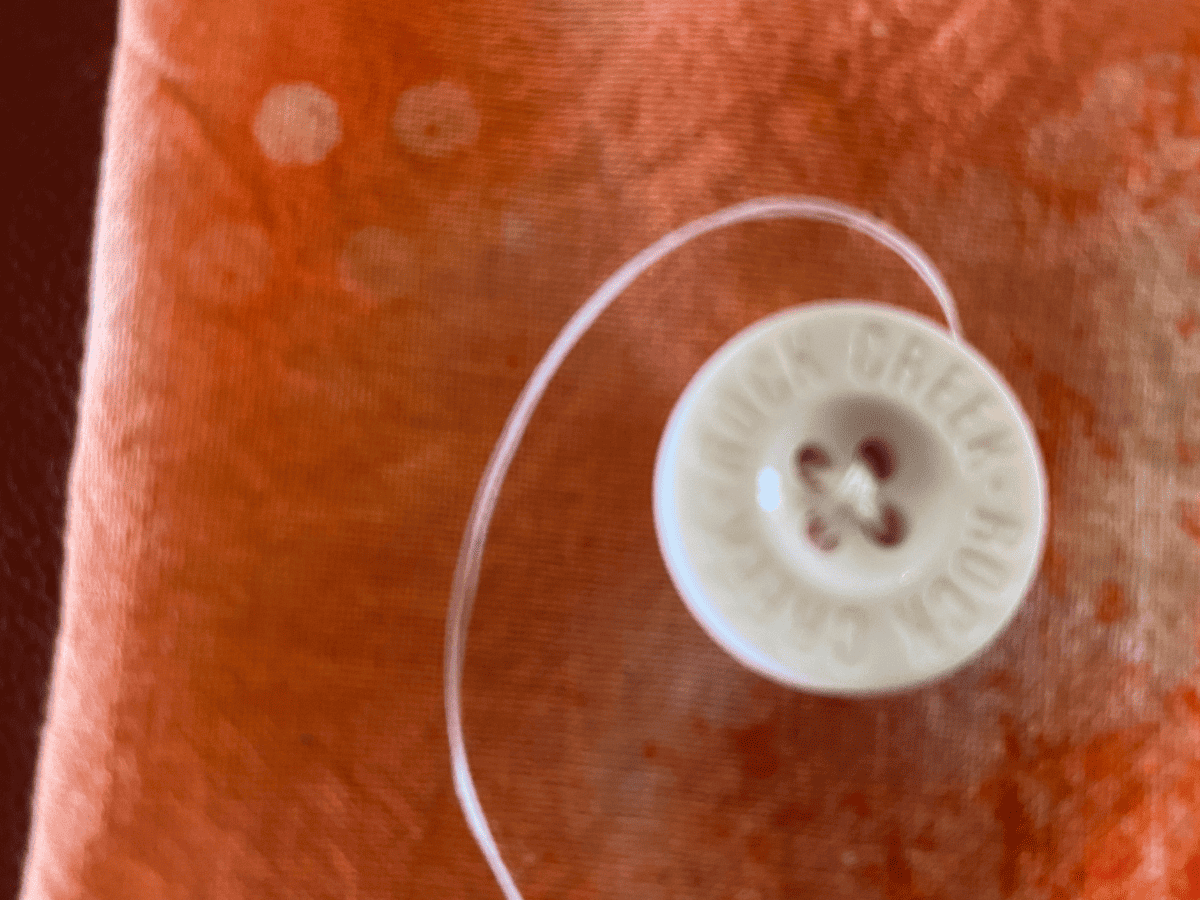
Four-hole button on an outfit
Replacing a 4-hole button can’t be done on a sewing machine, so you will want to learn how to sew a button. The first thing you need to do is get the button that fell off or a new button, find a sewing needle that you will use that is sharp and find matching thread.
If you can see where the old button was, you want to realign the button you are replacing. If you can’t see it, align the buttonhole and the other side of the clothing and mark the middle of your button hold using a fabric marker.

You will want to align the button in the middle unless you need to make the button fit looser or tighter.
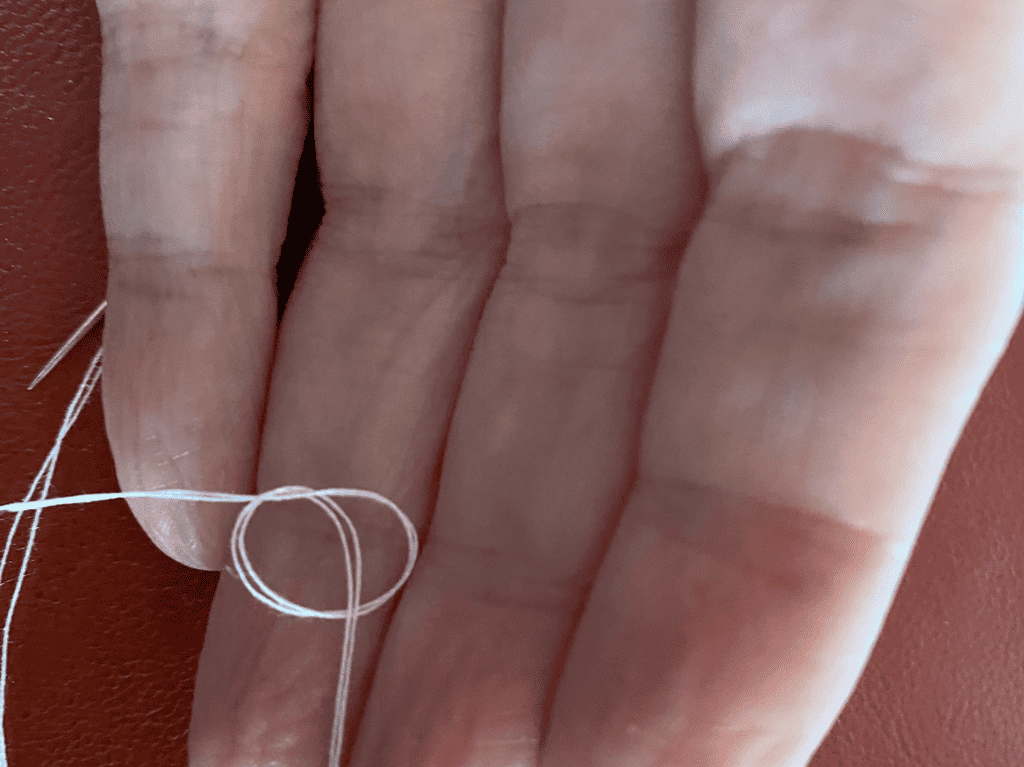
Cut a single thread around 24 inches of thread and pull it through the eye of the needle and make sure your thread is doubled.
If you struggle to thread the needle, use a needle threader. It makes it easy to thread your needle. You can also cut your thread at a slant or wet the tip of your thread just slightly to make it easier to thread through your needle.
Furthermore, you want to tie off the bottom after you have doubled your thread and cut off any excess thread close of your knot.
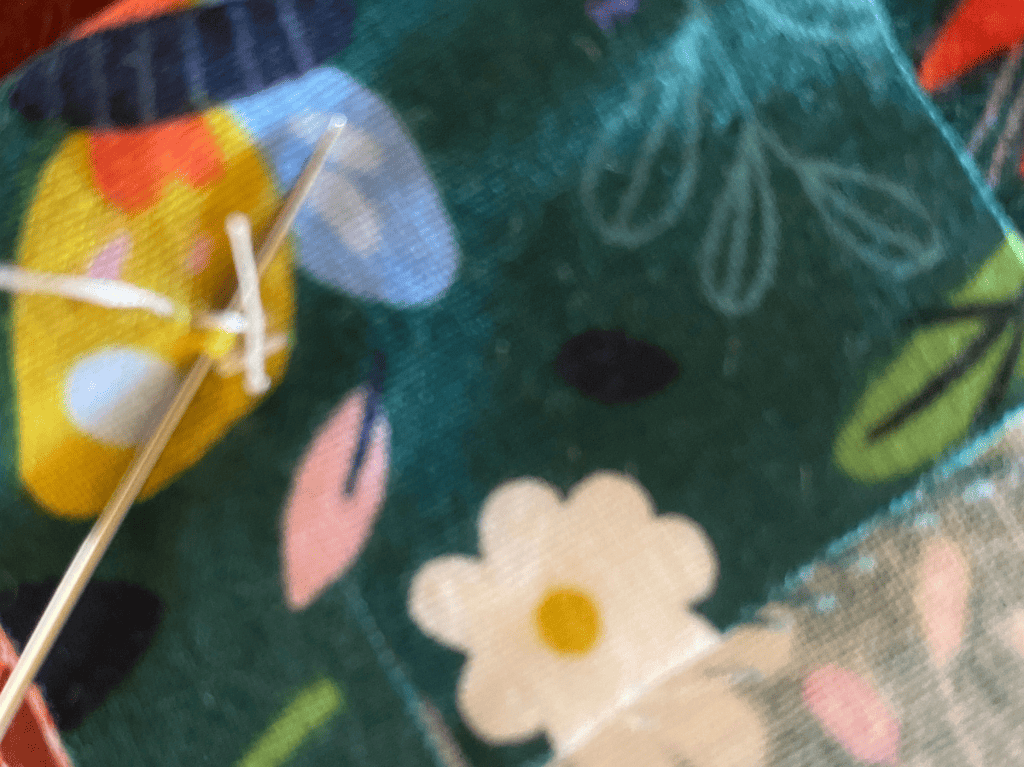
Starting from the underside of the fabric, you want to go through the first hole as your first stitch and then go to the opposite hole, catercorner. Then do the opposite sides. You will want to do this for multiple stitches.
Your button should be secure and the holes of the button should have several layers of thread.
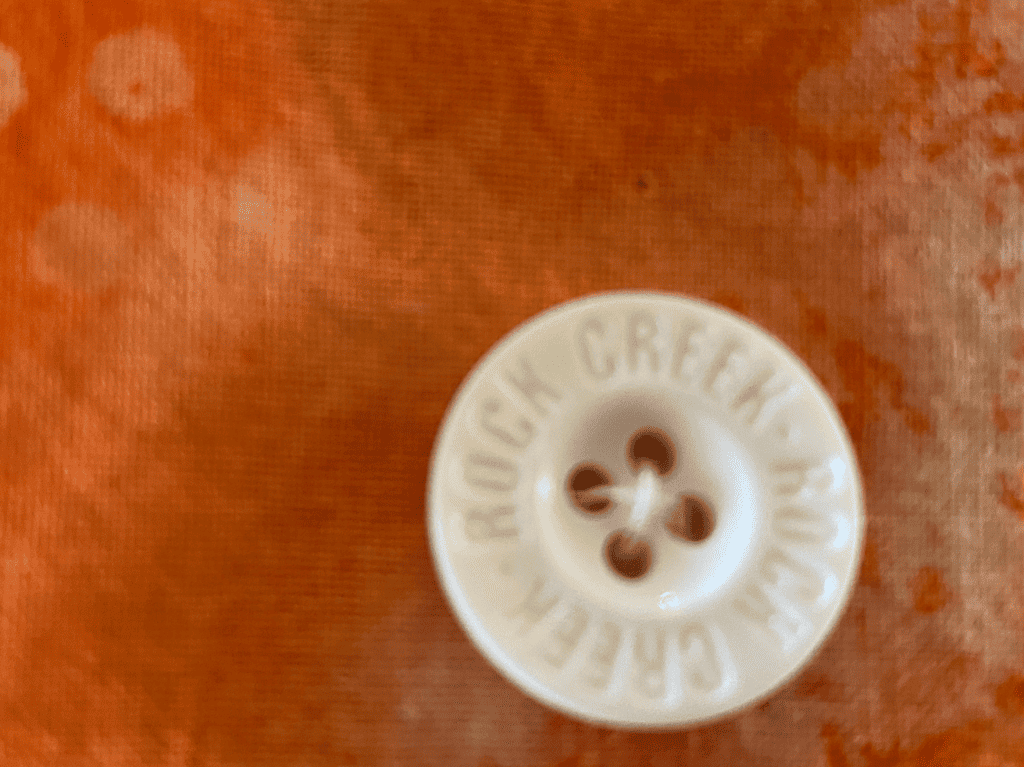
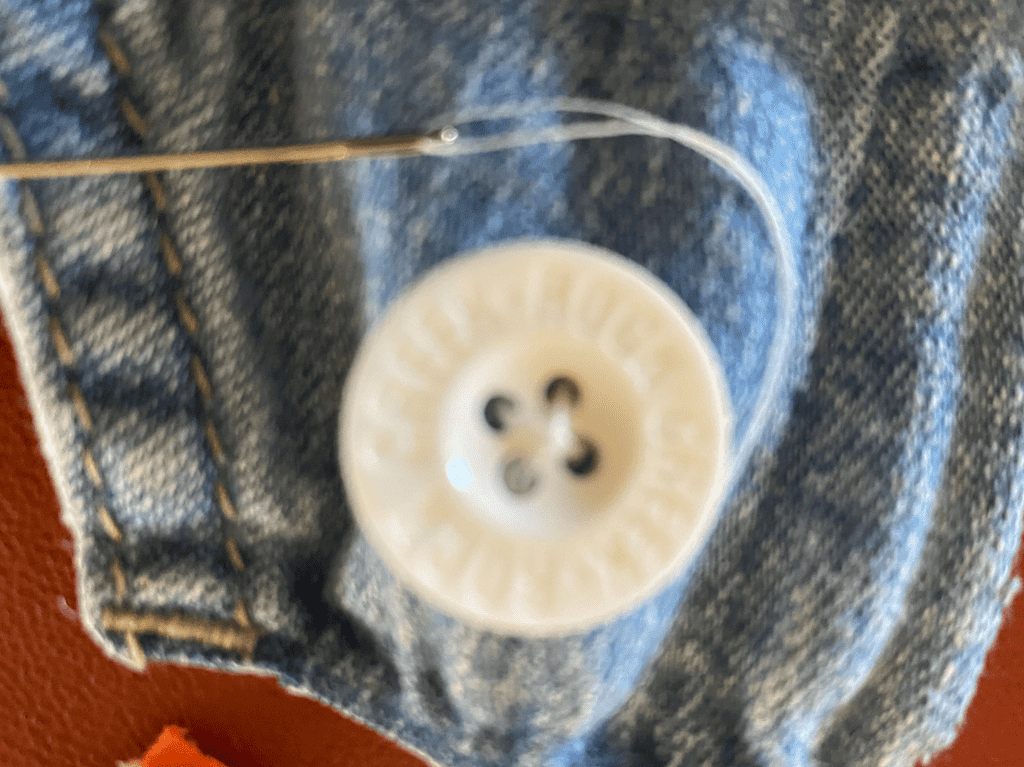
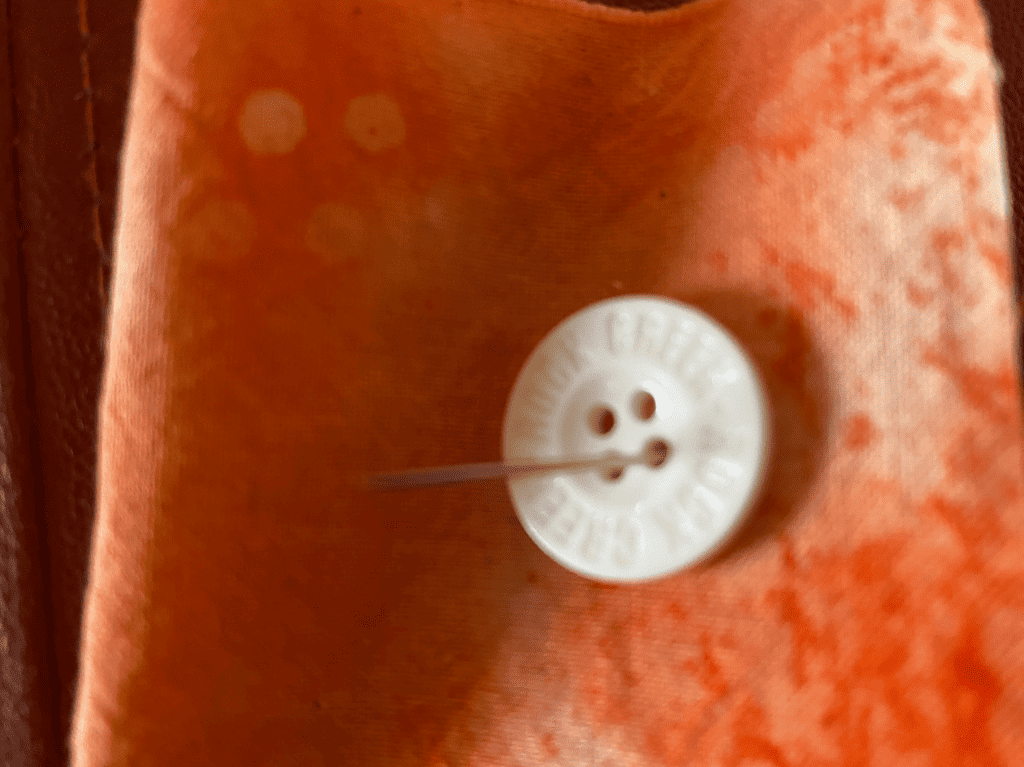
Next, you want to bring the needle up from the backside of the fabric and instead of going through the hole, you want to wrap the thread around the top of the button 2–3 times. Then take it back through the fabric to the back of the fabric of your garment.

The next step is to go through the back stitches back and forth covering the stitch width and then tie off your thread by making a knot. This is the best way to strengthen your button.
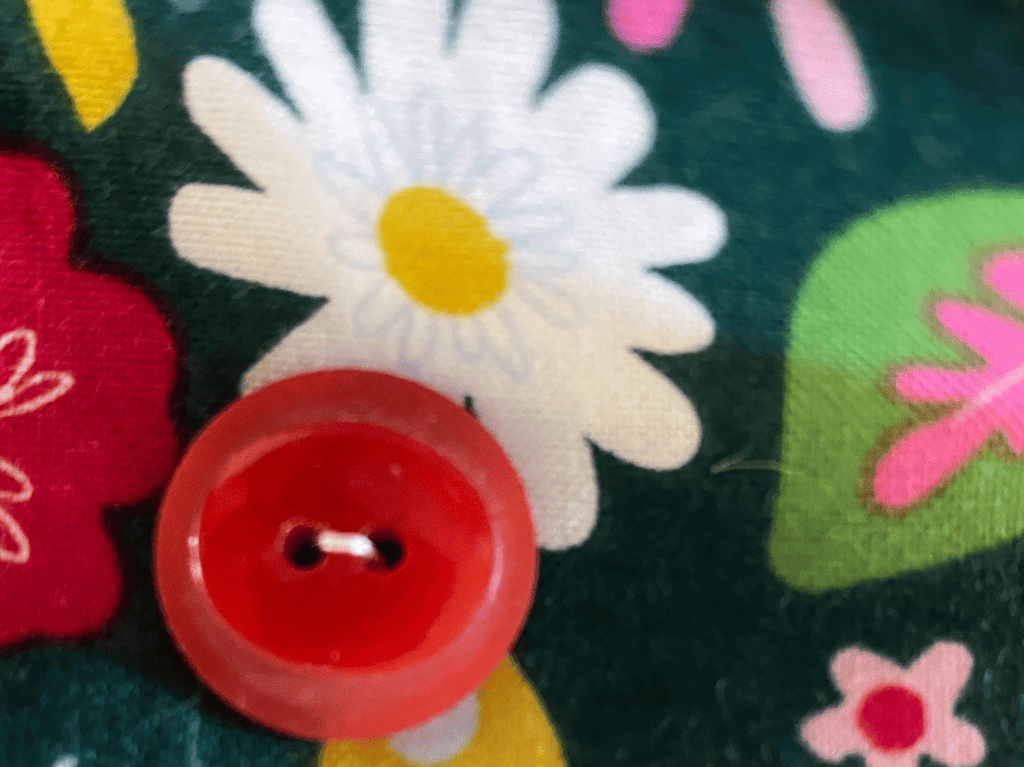
Two-hole Button
This type of button can be sewn with just a few simple steps. Just like above, you are going to thread your sewing needle with your index finger and make sure you do a knot at the ends of the thread after you double your thread.
Starting at the back of the fabric, the first step is to push your needle from the back side of the fabric through the first hole and then push it through the second hole going through the ride side of the fabric to the back and repeat this for 5–7 times. You want a tight bundle.
Going through the wrong side of your fabric, instead of going through a button hole, you want to wrap around the button 2–3 times and then push your double thread through the right side of the fabric to the back and make a few small loop through the back fabric and use your needle to make a small knot. Use your scissors to cut the excess fabric.
How to Sew a Button on Pants
The easy way to sew a button on pants is to follow the instructions above . You want to make sure line up your button hole with your replacement button. Make sure and do a market spot of the middle of your button hole where you want your button to fit. Your button placement is crucial so that your pants fit.
Make sure also that you do a tight knot on the back of the fabric so that your small buttons don’t fall off when you button your pants. Pants are typically heavier fabric so you may need heavier thread and don’t forget to doubled-over thread.

Pictures of How to Sew a Button
Here are the easy steps to sew your button using small stitches. This step-by-step guide will help you learn how to sew a button, even with different kinds of buttons.
Sewing buttons is not difficult. knowing these basic sewing skills can help you save money and time by doing it yourself.
It just takes a little bit of practice and the step-by-step tutorial to have a quick fix for your dress shirt, a shirt button, or pant buttons.
- Align your button
2. Take your thread from the back of the fabric and go from corner to corner and sew your button to your fabric

3. After your button is secure, wrap your thread around the button 2-3 times and then pull again to the back of your garment.
4. Go through the back stitches a few times and then make a loop and tie off and trim any excess thread
Free Monthly Sewing Class
Each month, we also have an online sewing class. Every 3rd Friday and Saturday, we have a project not found in our library or on YouTube.
Each class is unique and available for 24 hours. We send out the links via email and in our Facebook group. See the upcoming class by going here. VIPs get the PDF of instructions and lifetime access to the free tutorial.
Other Sewing Resources:
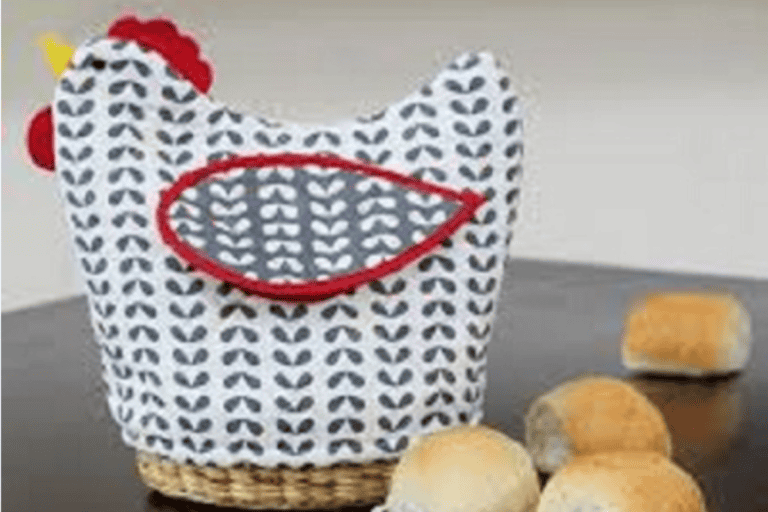
If you are new to sewing, we recommend that you start by learning the basics and starting with a simple project like the potholder.
Start with:
Fabric Giveaway
Enter our monthly fabric giveaway. Simply complete the tasks daily and you will be entered into the drawing. Winner will be randomly drawn on the first day of the month and notified via email


One Comment