Quilted Hot pads-The perfect way to protect your table
These reversible quilted hot pads are beautiful and so much fun to make. You can use a fat quarter from Walmart or Amazon or pieces of fabric and tailor it to your taste.
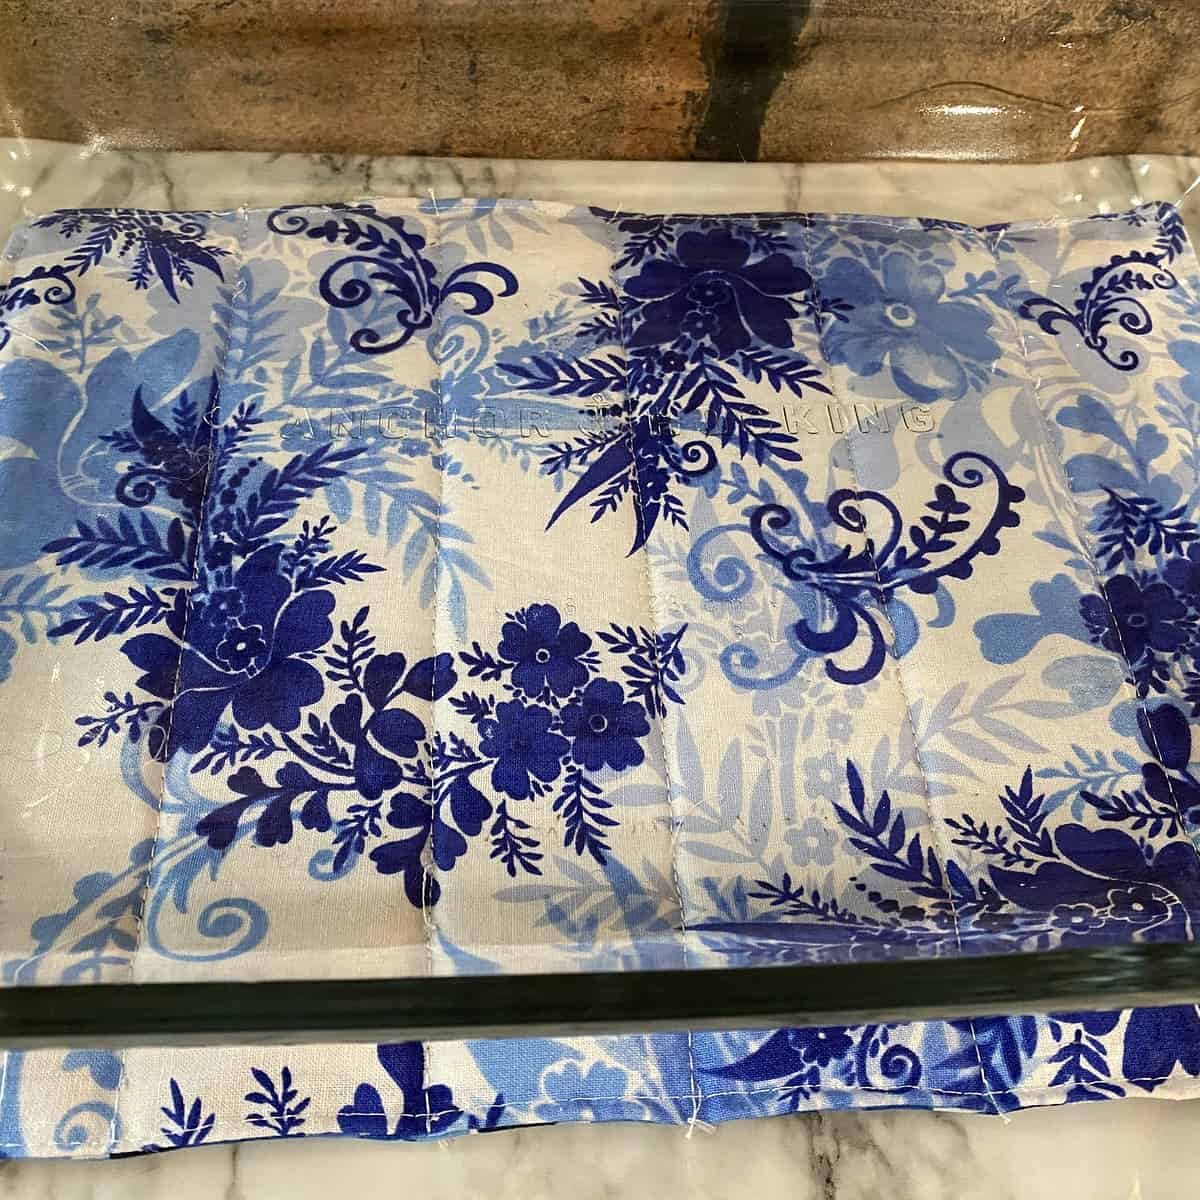
These quilted hot pads are the perfect size for a 9×13″ casserole dish or 2 glass dishes.

Table of Contents
Supplies for Quilted Hot Pads
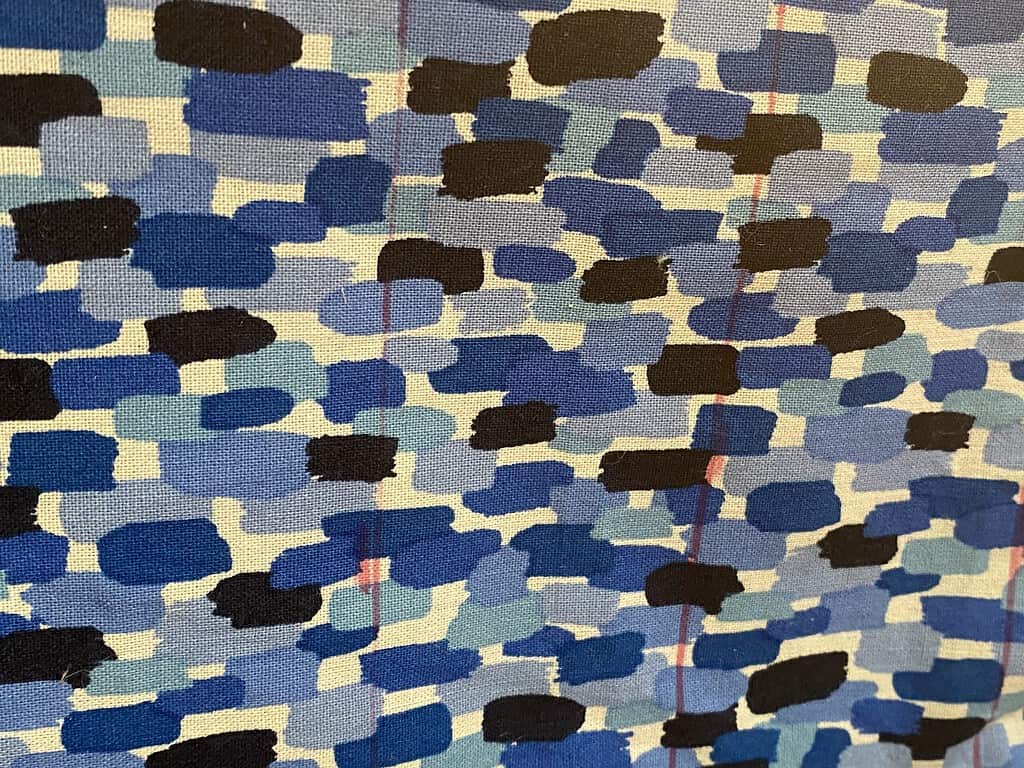
- Fat Quarters (we used 2 fabrics for our)
- insul bright to keep hot dishes from burning you
- Cotton thread (this is a special thread)
- Cotton batting
- Fabric marker
- Sewing Machine
- Scissors or rotary cutter
- Walking foot for your machine
- Quilter’s ruler
- Iron
- Ironing board
Instructions for Quilted Hot Pads
- Begin by cutting your fabric to 10×14″. Measure and mark the fabric with a ruler, and then cut it to the exact dimensions you need.
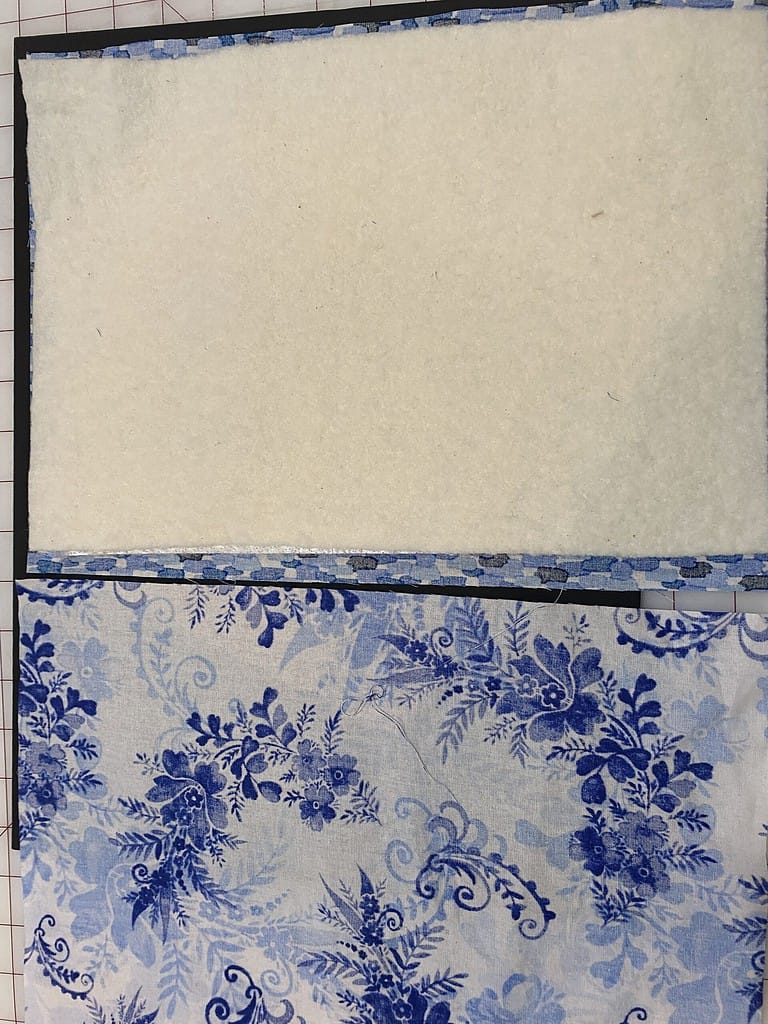
- Next, cut your insul bright batting and quilt batting to 9 by 13″. It’s important to have your batting and insul bright batting slightly smaller to make it easier to turn, and it lays better when in use.
- On one piece of fabric, use your ruler to mark a 1/2-inch seam allowance all the way around the raw edges. This will help you sew the pieces together evenly.
- Using a dot of glue or bias tape, attach your insulbright and quilt batting to the marked fabric piece. Make sure they are centered and secure.
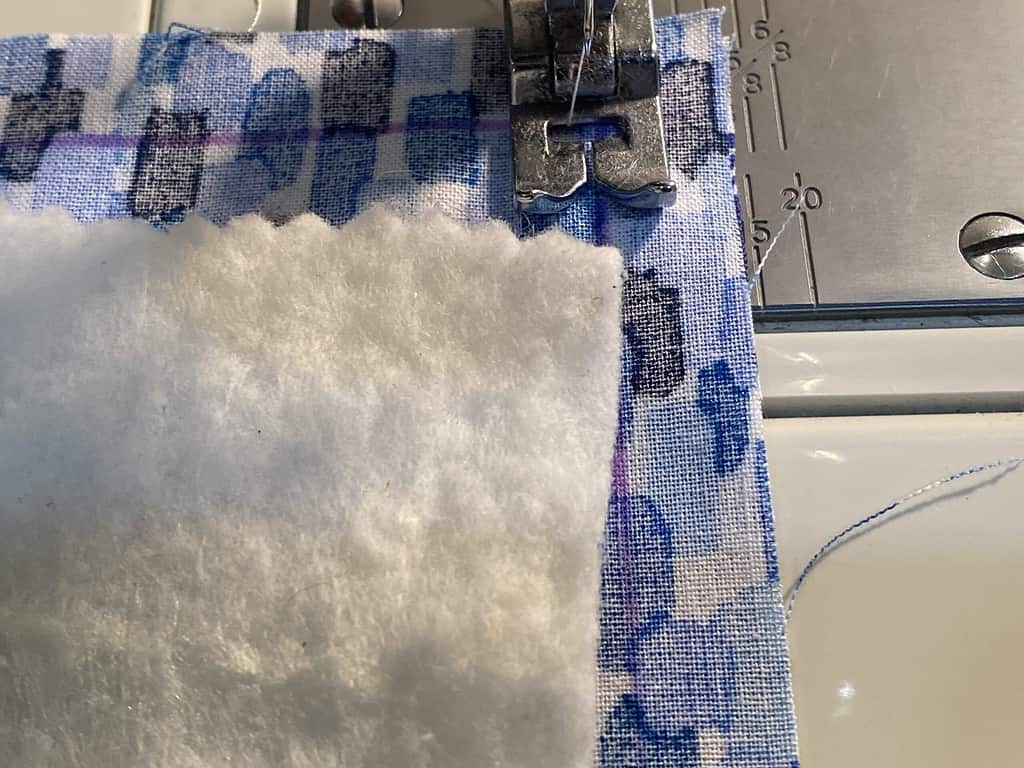
- With the right sides of your fabric facing each other, sew around the edges, leaving a 3/4-1″ opening. This opening will allow you to turn the project right side out.
- Carefully turn your project right side out, and use an iron to close up the seams where the opening was left.
- Attach your walking foot to your sewing machine, and sew all the way around the outside edge of the top of the hot pad, using a 1/4″ seam allowance.
- Using a fabric marker, draw a line down the center of your hot pad. Then, draw lines 2 inches on either side of the center line, until you reach the end of the hot pad.
- Top stitch each line, making sure to back stitch at the beginning and end of each line. You can also choose to sew diagonal lines if you prefer that look.
- Once you’ve finished sewing the lines, iron your hot pad to remove any remaining fabric marker lines. Your finished product should be a beautiful, quilted hot pads that’s both functional and stylish.
Directions for caring for your Quilted Hot Pads
Maintaining the quality of our quilted hot pads is essential to keep them looking new and fresh for a longer period of time. The good news is, with this great project taking care of it is so easy! You can effortlessly toss it in the washing machine and dryer, without any concerns of shrinkage or damage.
Even after multiple washes, the fabric remains in excellent condition, maintaining its original shape, color, and texture. In fact, the durability of this item is truly remarkable, as it withstands the rigors of regular use and cleaning with ease.
Other uses for your Quilted Hot pads
Table runner
Another option is to use it as an oversized hot pad during the holiday season or make it longer and use as a table runner for daily use. . With all the cooking and baking that goes on during this time of year, having a reliable and durable hot pad is a must.
This fabric is perfect for the job as it is thick and sturdy enough to protect your countertops and tables from hot pots, pans, and baking dishes. Plus, its large size means you can use it for bigger dishes, making it a practical and functional addition to your kitchen.
Extra large hot pads
These are perfect for your kitchen countertops to protect them, but also keep food warm in hot pots without taking up burner space. You can simply make different sizes depending on the size of your kitchen and your needs.
We have also used the same concept with a change in quilting lines to make square hot pads with a hanging loop. We will post that tutorial soon.
So, the next time you need a little bit of protection for your casserole dishes or hot pots, these quilted hot pads are the answer. They also make a great gift idea for Xmas gifts or great gifts for birthdays or Mother’s Day. Simply use different colors that match your friends’ decor. They will love the love you put into this handmade gift.
There is a printable version of this tutorial in our sewing pattern library. This is our private library where you find all the tutorials. Simply fill in your info and receive an email to the library.
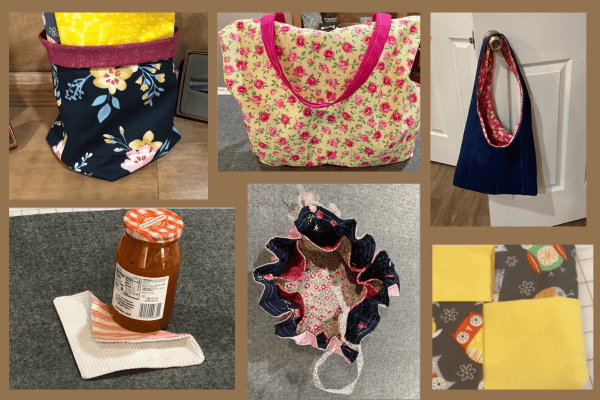
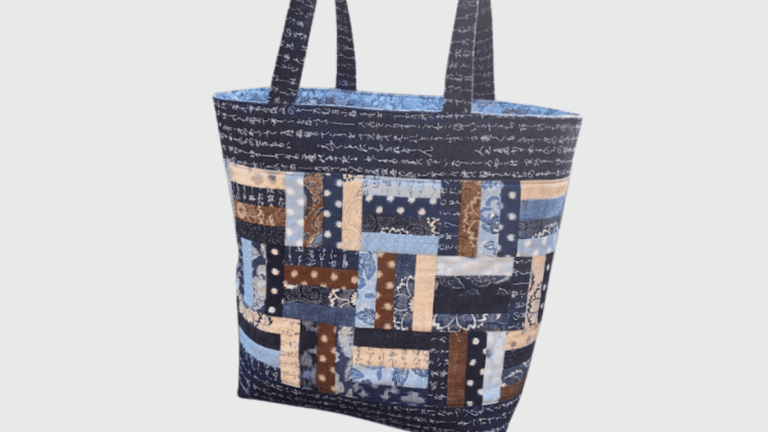
Current tutorials in Nana’s Sewing Pattern Library:
- Pot Holder
- Hobo Bag
- Tote Bag
Fabric Giveaway
Enter our monthly fabric giveaway. Simply complete the tasks daily and you will be entered into the drawing. Winner will be randomly drawn on the first day of the month and notified via email

One Comment