How to Hem Pants Without Sewing Easily in 10 Minutes
Discovering the ideal pair of pants only to realize they are excessively long can be disheartening. We have you covered and soon enough you will be wearing your new pants.
However, worry not! In just six simple steps, you can learn how to hem your pants without sewing. By following the instructions below, you can swiftly resolve this issue with a speedy fix.
All you’ll need is some Heat N Bond Iron-on adhesive Hem, and within a mere ten minutes, your problem will be solved.
Grab your supplies:
- Seaming gauge or ruler
- Heat N Bond Hem tape
- Pair of pants
- Steam iron
- Scissors
- Rotary cutter
- tailor’s chalk
How to hem pants without sewing step-by-step instructions
Prior to starting, it is important to take a few preparatory steps. Begin by washing your dress pants without the use of fabric softener.
Additionally, if you have any extra fabric available, it is advisable to test a strip before proceeding. These precautions will ensure optimal results for your hemming adventure.
Step 1: Preheat your iron
To ensure the successful application of the hem tape and maintain the integrity of your new pant hems, there are two crucial steps to follow.
First, adjust your iron to the silk setting, as this is the appropriate heat level for the hem tape.
Additionally, remember to turn off the steam function on your iron. It is vital to avoid using steam during this process, as it may interfere with the effectiveness of the hem tape.
By adhering to these two simple steps, you can ensure that your pant hems stay securely in place.
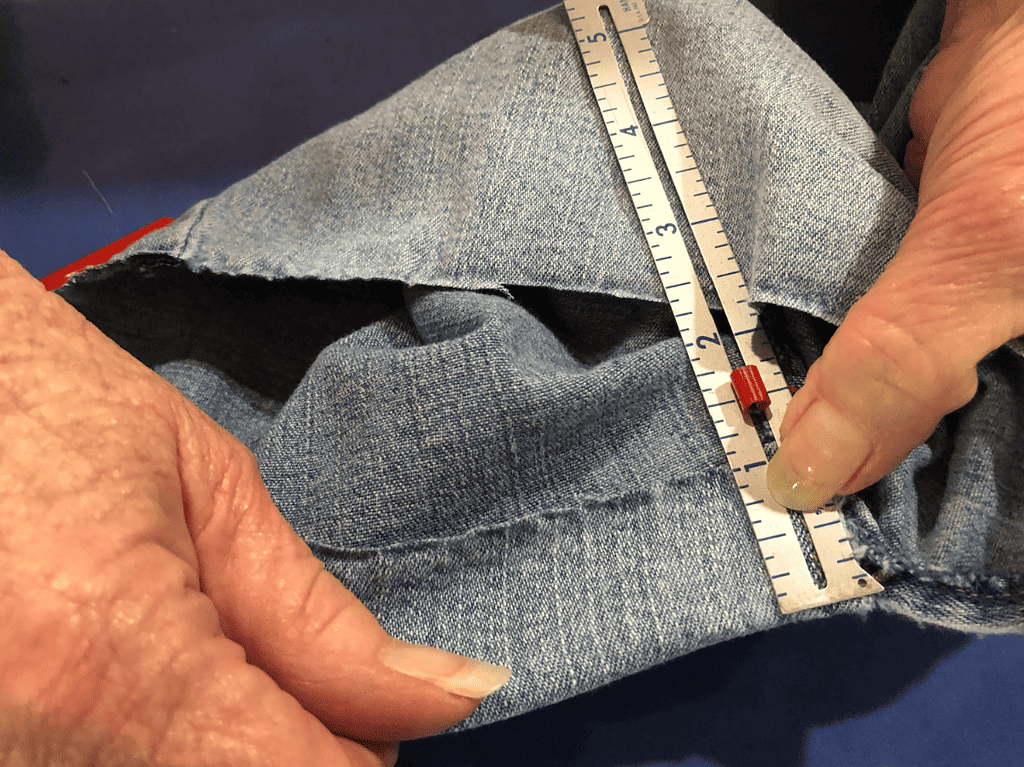
Step 2: Measure for your fold line
For this particular step, it is advisable to seek assistance from someone. Stand in front of a full-length mirror, preferably with a helper.
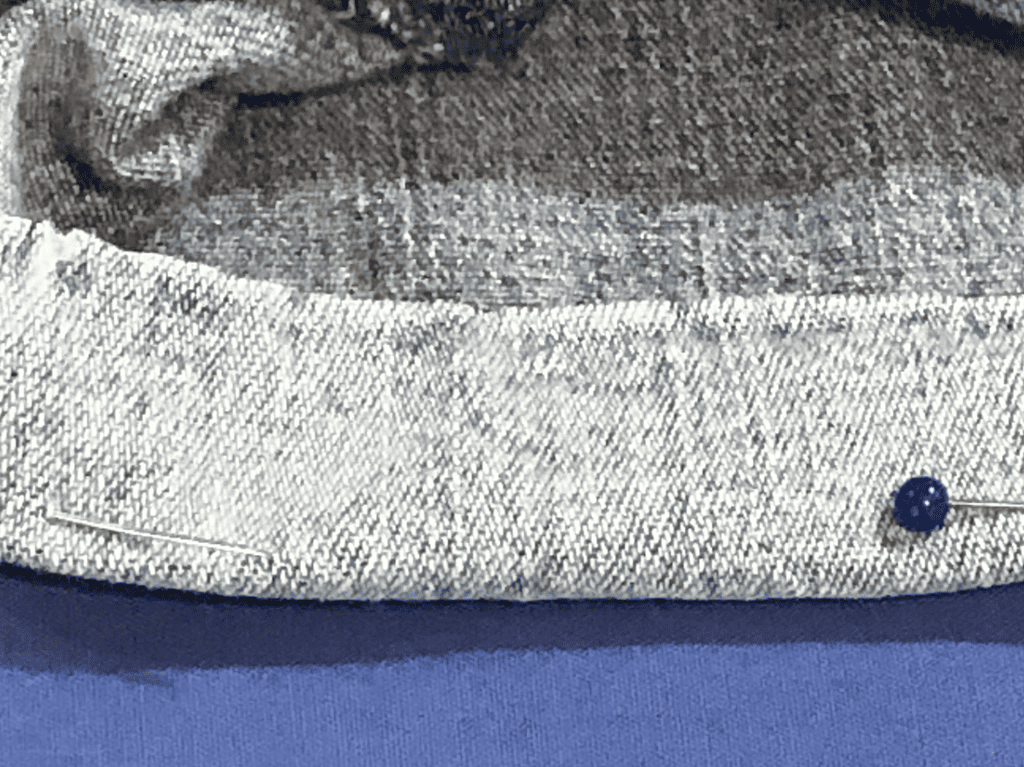
With tailor’s chalk or a fabric marker, mark the desired placement of the bottom of the pant leg on your leg. It is essential to wear the shoes you intend to pair with these pants during this process.
Once you have determined the appropriate length, mark it consistently all the way around, including the inside of the pants.
You may utilize safety pins or straight pins as an alternative method for marking the desired length. This meticulous marking process will ensure accuracy and precision when hemming your pants.
Step 3: Cut off excess fabric
When preparing to fold up the pant legs, it is recommended to leave around 1/2 to 1 inch of excess fabric.
However, if the original hem exceeds the new hemline by several inches, you may need to use scissors or a rotary cutter to trim off some of the excess fabric from the bottom of the pants.
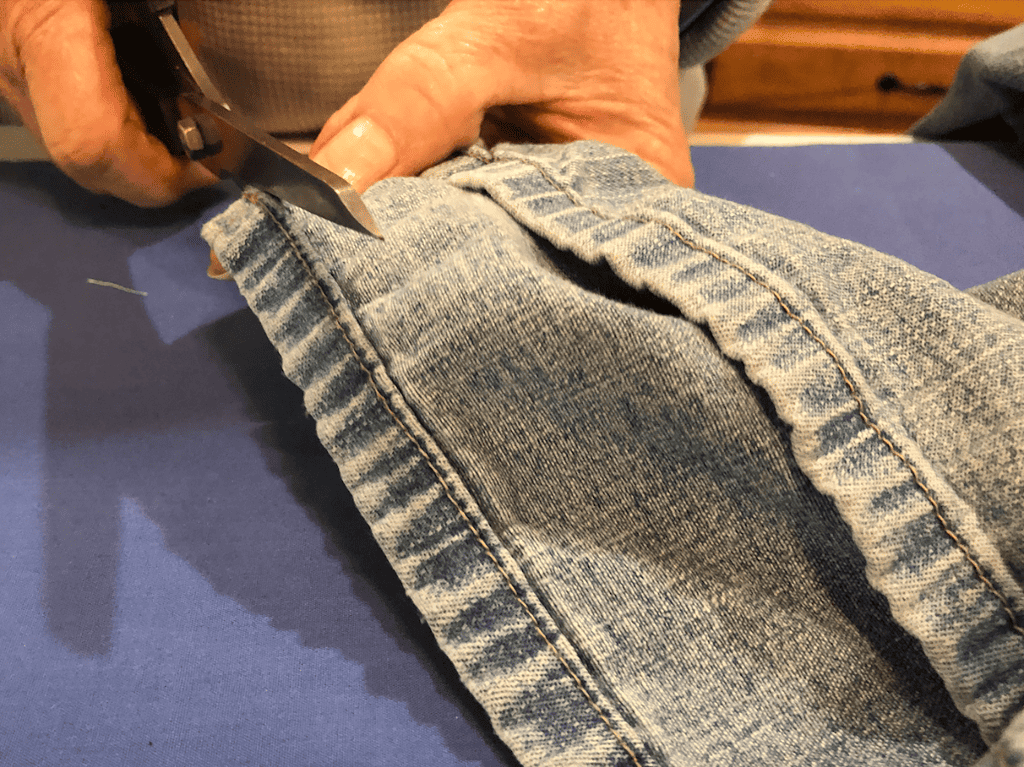
In the case where the adjustment needed is not as significant, you can make use of a seam ripper to carefully remove the previous straight stitch along the fabric pieces. This step allows for a clean and precise hemming process, ensuring that your pants will be perfectly tailored to the desired length.
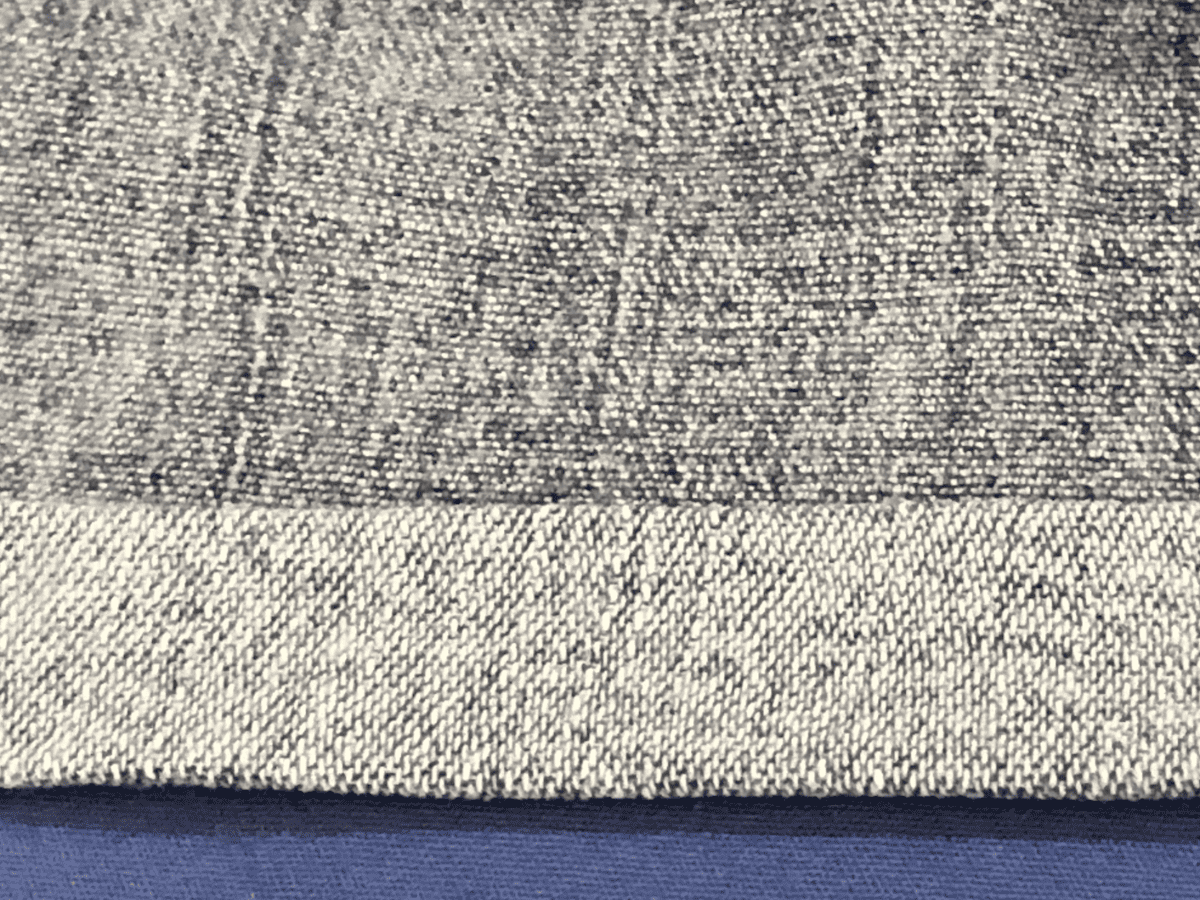
Step 4: Create your hem
Position yourself at an ironing board and proceed to fold the right side of your hem up to the desired length for your intended folded hem.
Without employing the hem tape at this stage, utilize your household iron to carefully press the folded fabric into place. By doing so, you are ensuring that the fabric adheres neatly without the assistance of hem tape.
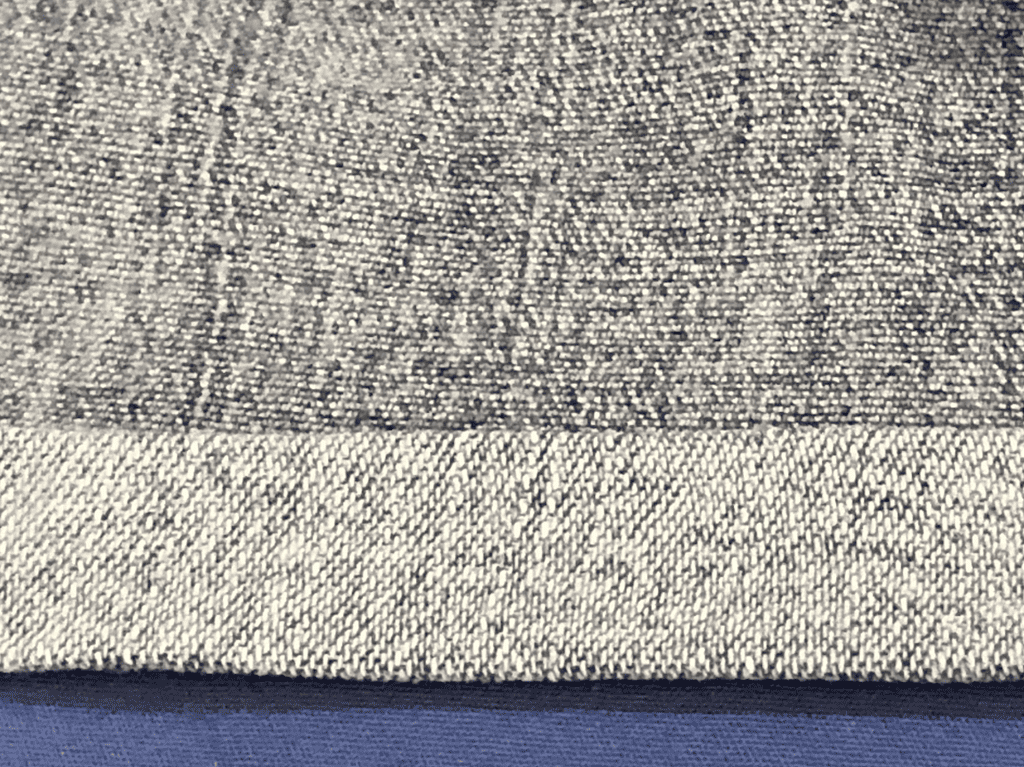
After completing the initial folding, proceed by folding the bottom edges of both pant legs by 1/4 inch, utilizing a hem gauge or tape measure to maintain accuracy. Once folded, employ your iron once again to press the folded edges firmly.
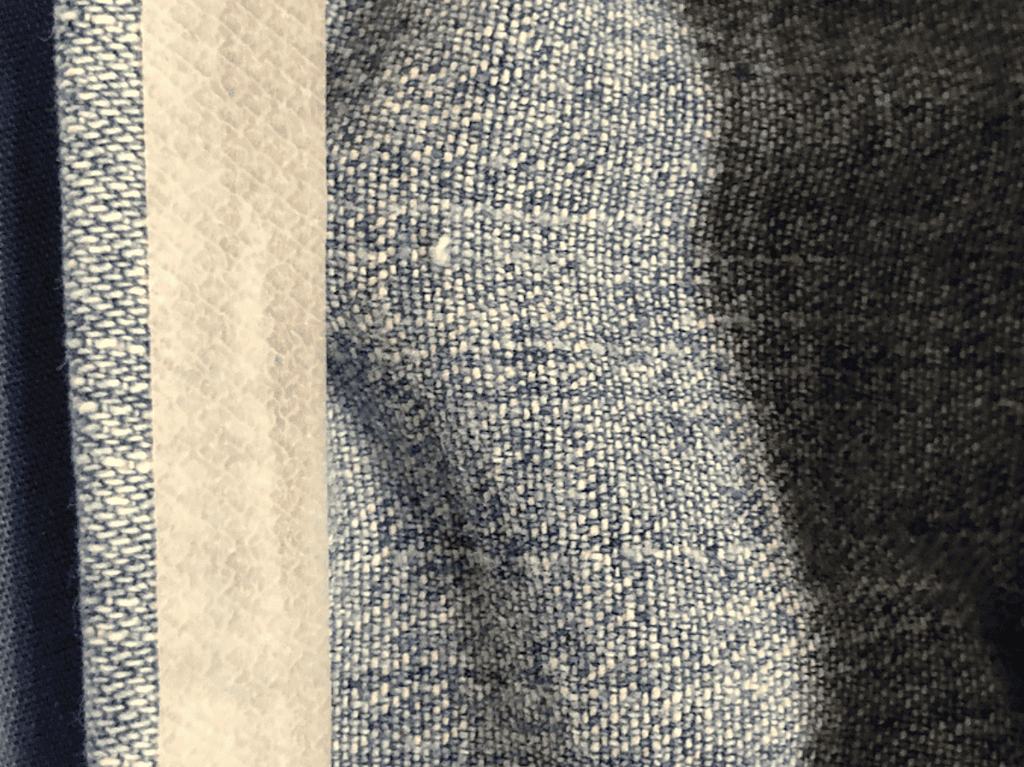
Now, it’s time to introduce the sewing tape. Place the sewing tape, rough side down, precisely on the 1/4 inch seam allowance.
Apply the iron to the tape, pressing it for approximately 1 to 3 seconds. Repeat this process along the entire length of both pant legs, ensuring that the sewing tape adheres securely. This will create a strong bond, effectively securing the folded hems in place.

It is essential to note that hem bonds created with sewing tape are intended to be permanent fabric bonds.
However, the duration for which you hold the iron down may vary depending on the type of fabric you are working with.
For stiffer or heavier fabrics, you might need to apply slightly more pressure and hold the iron down for a longer duration to ensure a secure bond.
This adjustment allows for optimal adhesion, ensuring that your hems stay firmly in place, even with fabrics that present more resistance.
Permanent Hem options
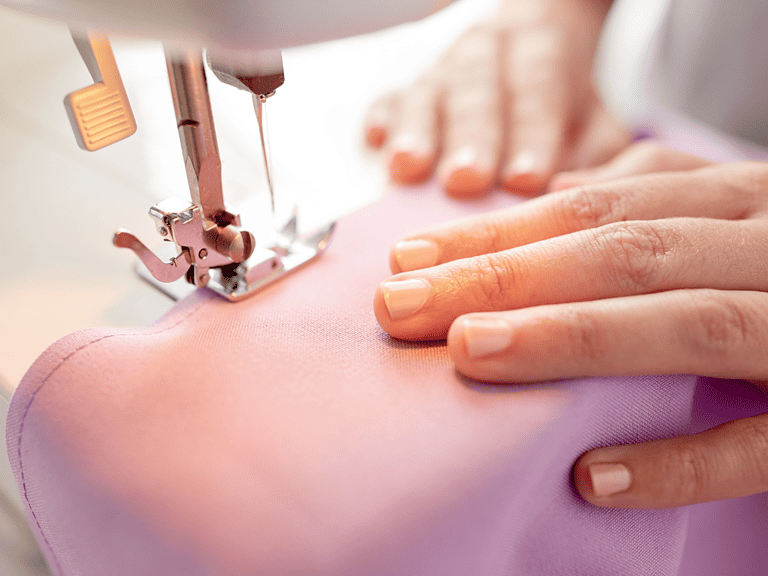
If you’re looking for a more permanent hem on your new pair of jeans, you can follow a similar process of measuring and preparing the pants as mentioned before. However, instead of using hem tape, you will employ your sewing machine to create a secure hem.
After measuring and marking the desired length, fold the fabric up to the marked hemline and secure it in place using pins or clips.
Then, using a straight stitch or zigzag stitch on your sewing machine, carefully sew along the folded edge to create a strong and durable hem. Another option is to use a blind hem stitch, which provides a nearly invisible finish on the outside of the garment.
By utilizing your sewing machine and selecting the appropriate stitch, you can achieve a more long-lasting hem on your jeans.
This method ensures that the hem will withstand regular wear and washing, providing a reliable and professional-looking result.
If you discover a pair of pants that you adore but don’t have the ideal length, there are two excellent methods to consider for creating a new hem.
The first approach involves utilizing a sewing machine to hem the pants, while the second option involves learning how to hem pants without sewing, by employing the appropriate hemming tape.
Other Sewing Resources:
If you are new to sewing, we recommend that you start by learning the basics and starting with a simple project like the potholder.
Start with:
Fabric Giveaway
Enter our monthly fabric giveaway. Simply complete the tasks daily and you will be entered into the drawing. Winner will be randomly drawn on the first day of the month and notified via email