How to Sew a Pillowcase
Learn how to sew a pillowcase in just a few simple steps because who doesn’t need a few pillowcases to make your bed nice and cozy? Let’s get started with this easy tutorial using both the burrito method and a French seam.
Supplies You Need to Learn How to Sew a Pillowcase
Directions on How to Sew a Pillowcase
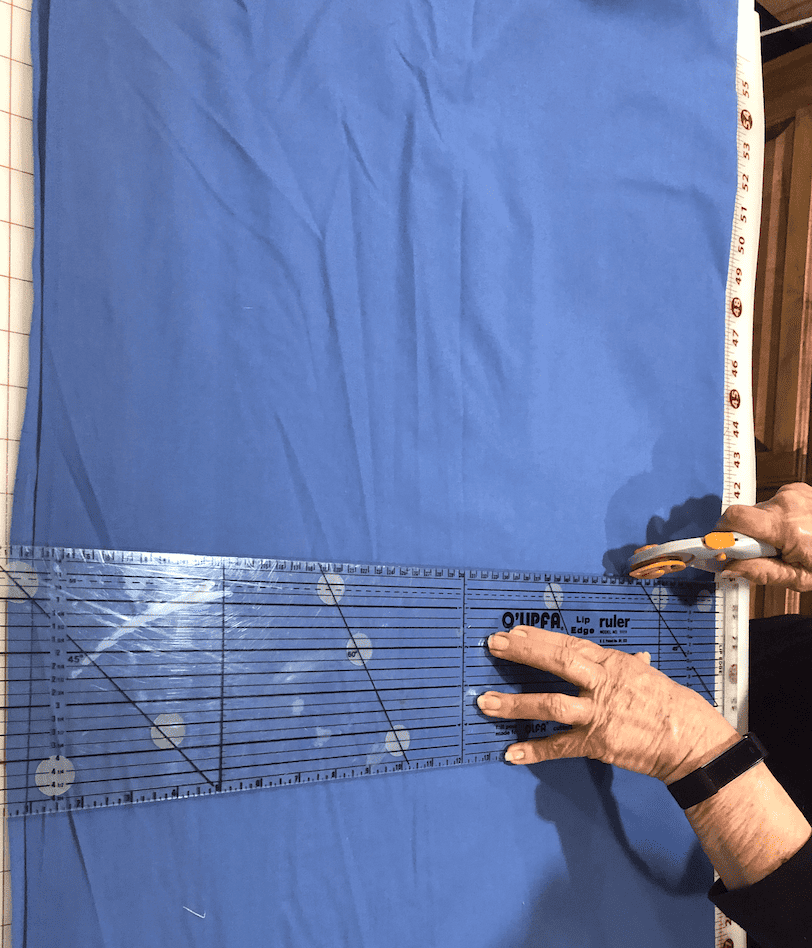
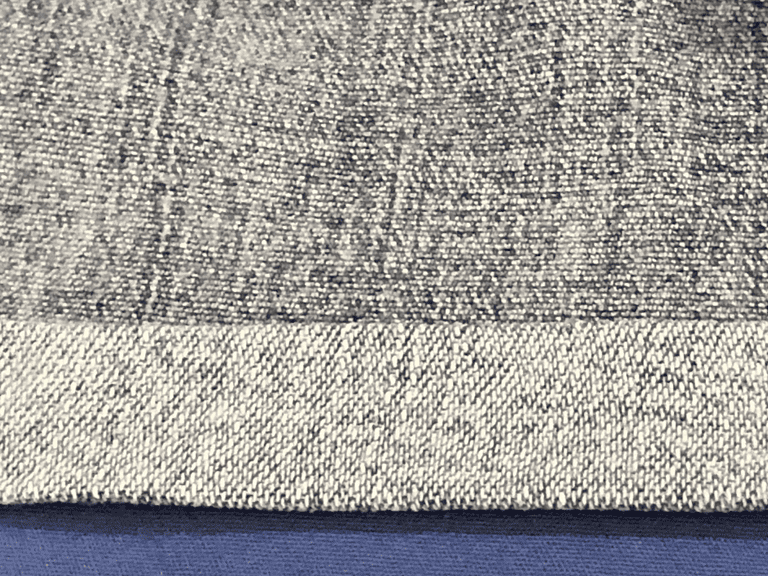
First, you need to cut your pieces. Here are the measurements depending on your pillowcase sizes:
Standard size pillowcase:
- Main fabric: 40″ by 23″
- Cuff fabric: 42″ by 13″
- Accent, optional: 42″ by 2″
Queen Size pillowcase:
- Main fabric: 42″ by 26″
- Cuff fabric: 42″ by 13″
- Accent, optional: 42″ by 2″
King Size pillowcase:
- Main fabric: 42″ by 30″
- Cuff fabric: 42″ by 13″
- Accent, optional: 42″ by 2″
How to Sew a Pillowcase Using the Burrito Method
Sew Your Fabric
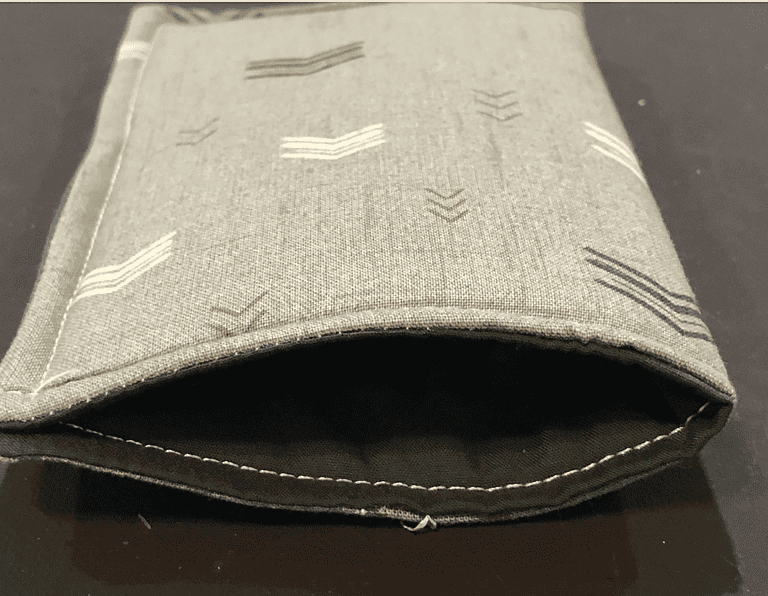
The burrito method is a great way to make a simple pillowcase while making sure your raw edges don’t fray on our own pillowcases.
On the top, you want to pin your optional decorative piece to your top raw edge with your right side facing up (pretty side) Now place your cuff right side up making the edges.
Next, you want to pin your different fabrics, having your pins go perpendicular. You will have 2–3 pieces of fabric pinned together.
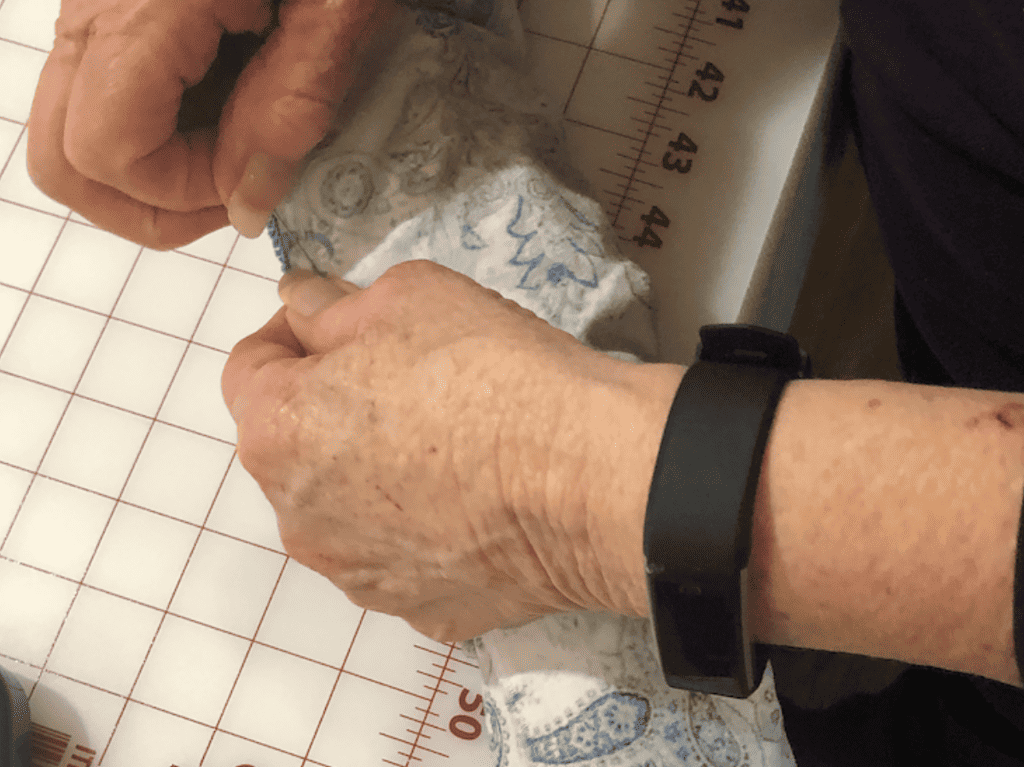
Next, you want to flip the bottom edge of the cuff fabric up to expose your cotton fabric for your standard pillowcase.
Roll your main fabric up near the top edge of the cuff and then flip the cuff fabric back down and grab the whole thing making sure to grip what’s inside and then you will flip the layers of fabric and tuck it back again.
You will then place your pieces of fabric on the top raw edge now and then using your sewing pins you will pin it going up and down. Make sure to catch all the fabrics.
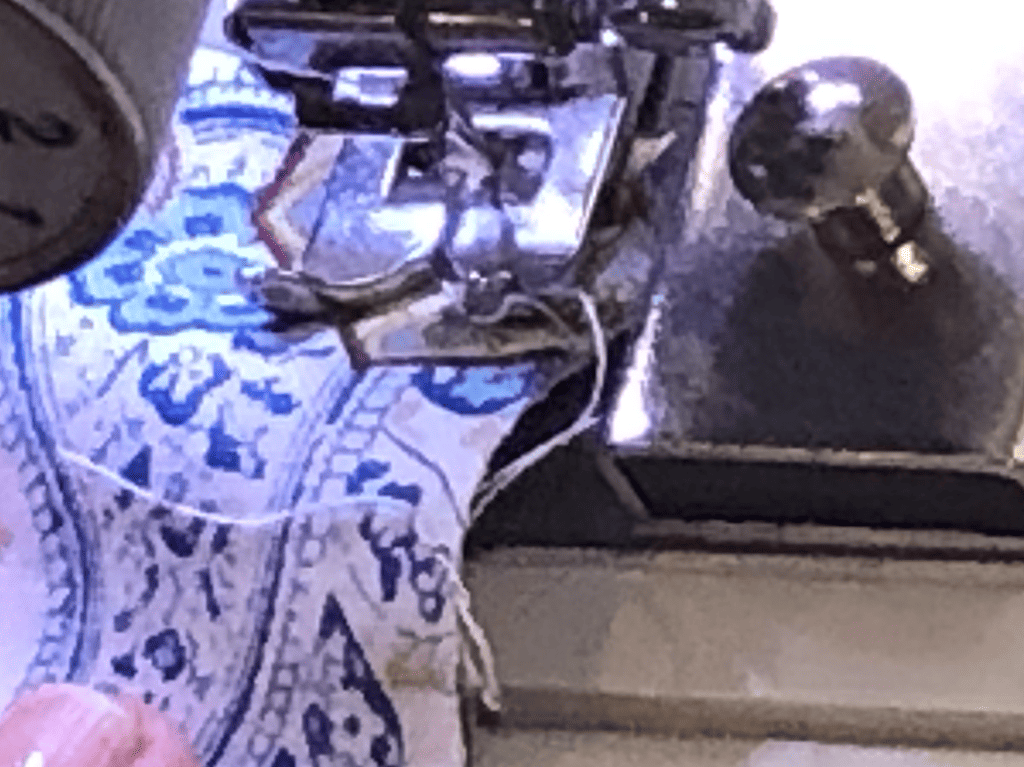
Sew your side seams with a 1/4 inch seam allowance down the pinned edge, making sure you don’t sew over any of your sewing pins.

Pull your fabric through
Now that you have your burrito sewn, you want to pull all your fabric through. You may need to trim fabric on the left side or right side if you have extra fabric hanging on the sides on the edge of the pillowcase.

How to Sew a Pillowcase Using a French Seam
French seams create no raw seams on your pillowcase seams and is so easy to do.
With the wrong sides together, you want to make sure the seams of your DIY pillowcases are pulled out and flattened. You may need to iron your pillow cover to help you do this.
With the wrong sides together, you want to sew a 1/4 inch seam allowance down a straight line from the top of your cuff to the bottom of the pillowcase using a regular straight stitch.
Next, you want to trim right up to the edge of your seam, making sure you don’t cut your seams.
Reverse the pillowcase and ensure the edges are neatly pressed. Secure the edges of the recently sewn pillowcase with pins. Now, it’s time to sew over the edges once again, enclosing the trimmed seam allowance.
Once you’ve securely pinned the two edges, sew along them at a distance of 3/8″, remembering to backstitch at the start and end of your stitching lines.
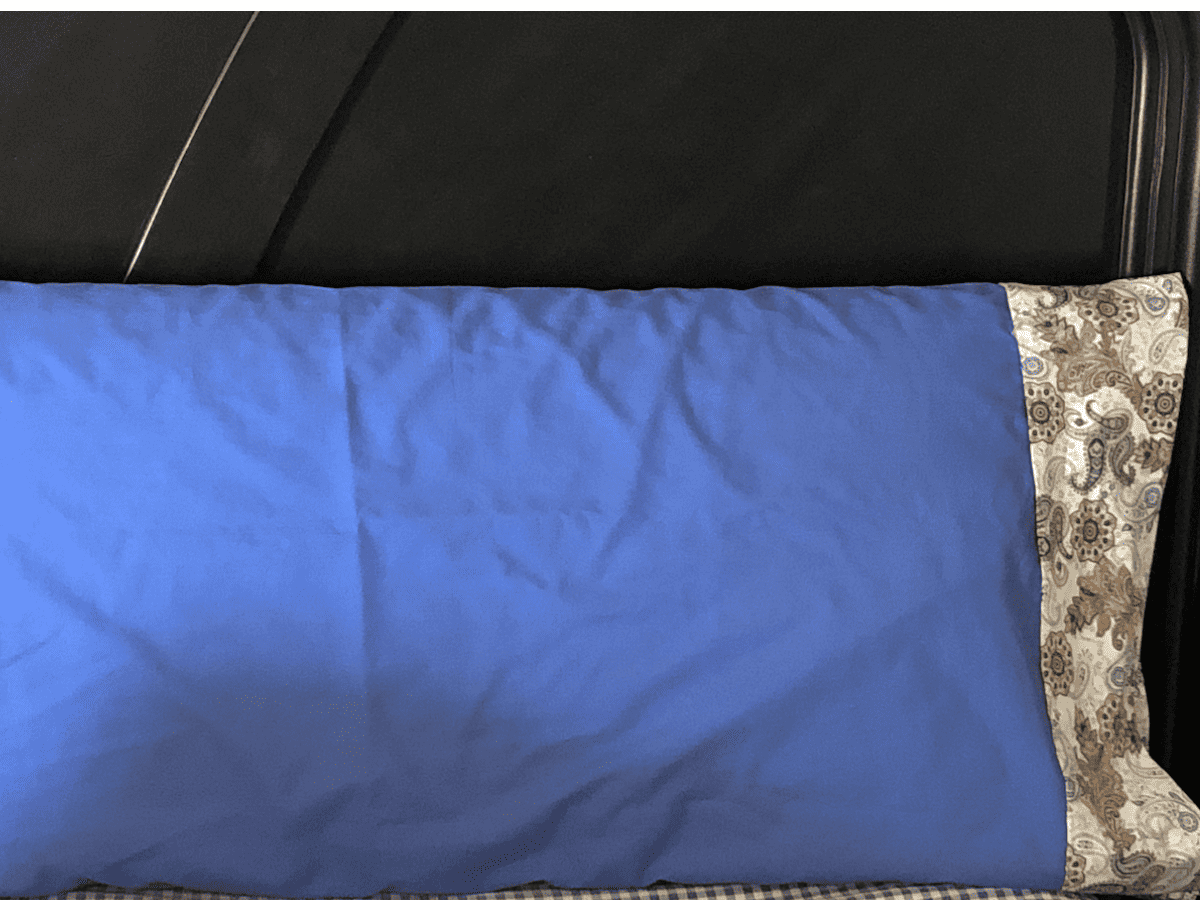
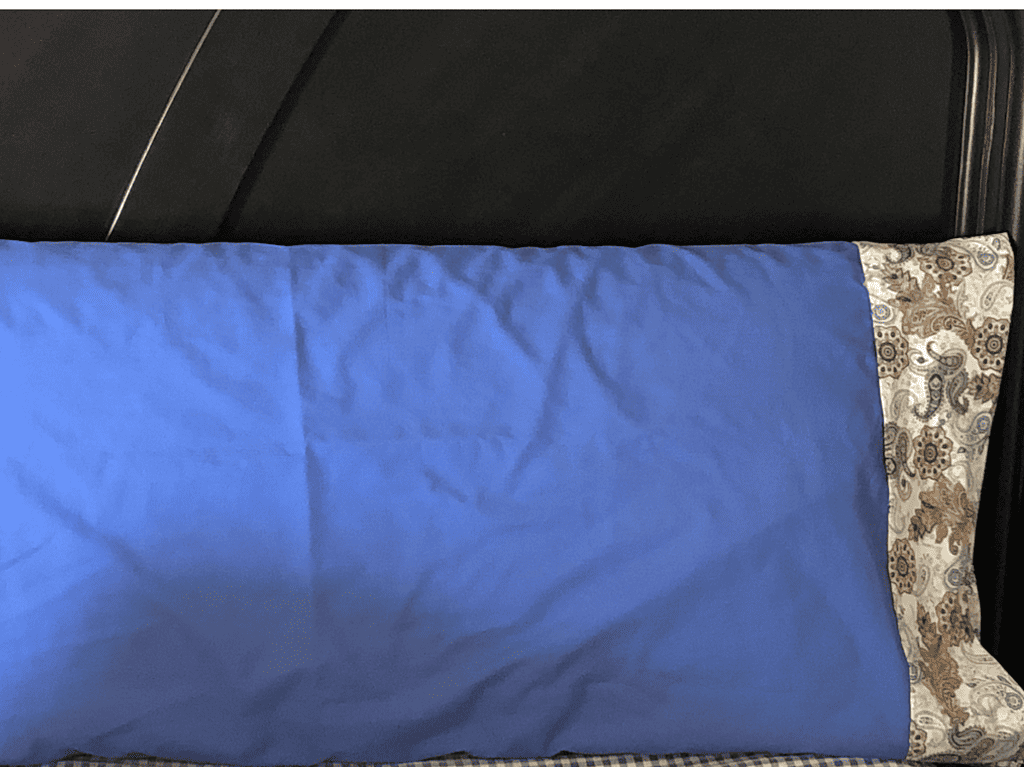
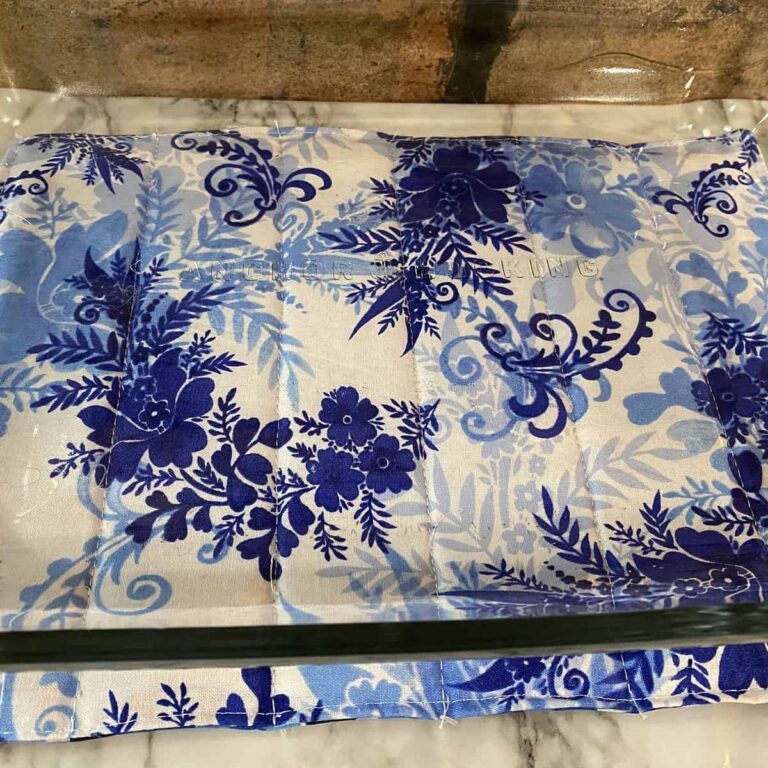
Now simply turn your pillow case inside out, and you can see that your straight seams are encased. You now have a finished pillowcase and can have sweet dreams tonight while sleeping on your new pillowcase.
When you learn how to sew a pillowcase, you have a great gift for someone or a simple sewing project to spruce up your new pillows.
Simply get a yard of fabric for 2 easy pillowcases and have fun making a great project with fun fabric. If using it at home, simply add your standard-size pillows or whatever size pillows are specific to your pillowcases.
Access more easy step-by-step tutorial in our sewing library. You will definitely find your next friendly sewing projects from our list of available PDF tutorials.

Other Sewing Resources:
If you are new to sewing, we recommend that you start by learning the basics and starting with a simple project like the potholder.
Start with:
Fabric Giveaway
Enter our monthly fabric giveaway. Simply complete the tasks daily and you will be entered into the drawing. Winner will be randomly drawn on the first day of the month and notified via email


One Comment