
How to Hang a Quilt: 5 Easy Methods Anyone Can Use
Whether you were given a beautiful handmade quilt or you finally finished that beautiful quilt, it’s now time to figure out how to hang a quilt without a quilt sleeve.
We have you covered with several ways below on how to hang a quilt whether it happens to be larger quilts, mini quilts without ruining the back of your quilt and without a hanging sleeve.
Table of Contents
Before You Learn How to Hang a Quilt On The Wall
Before we figure out how there are a few things to consider.
How much does it weigh?
Large quilts tend to weigh more and if you use lighter quilt hangers it’s an easy way to end up tearing the front of the quilt or top of the quilt. That would be horrible.
How much sunlight will it get?
The sun can bleach out the raw edges and, depending on how it hits your quilt, large parts of the quilt.
Again, you would hate to see any damage to your beautiful quilts.
The solution is to make sure you display your quilt in a place where you know it won’t be getting direct sunlight for the entire width of the quilt.
Quilt Hangers for Walls
Here are the most common ways to learn how to hang a quilt on the wall.
If you have other suggestions, please leave them in the comments, so we can all learn.
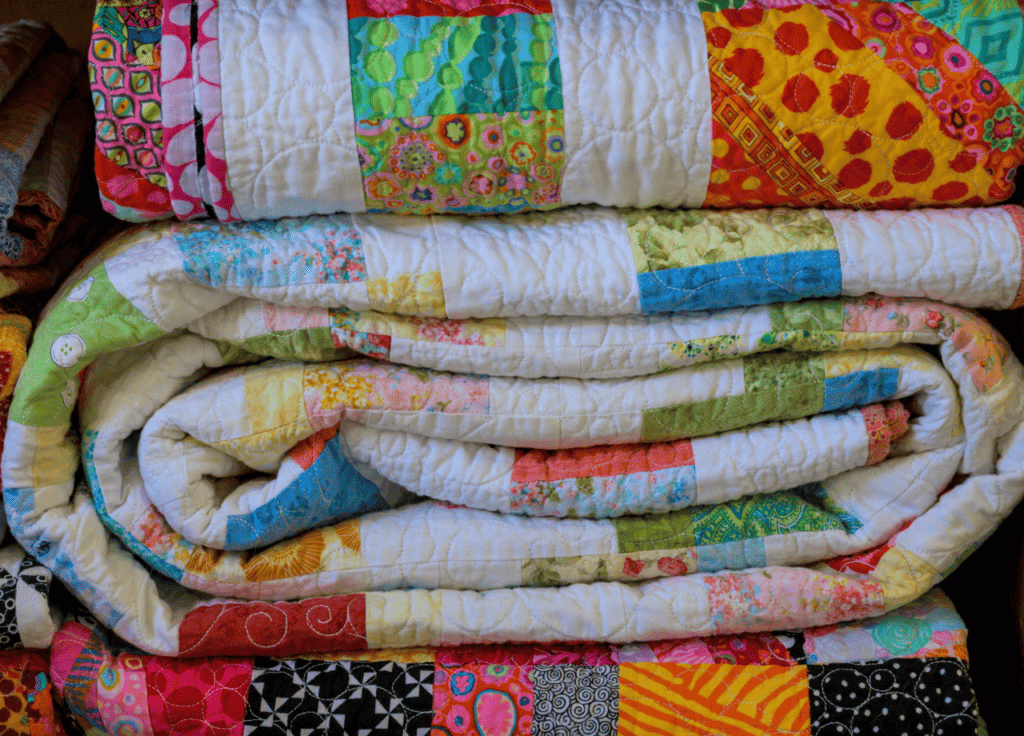
Quilts are the easiest way to add wall art in a living room or bedroom, with the back of the quilt on the wall.
Quilt Clamps
Quilt clamps are affixed to your wall, evenly distributed along the top of your quilt, and then fastened securely.
The method of learning how to hang a quilt varies in different ways, with some clamps utilizing springs (akin to a chip clip) for fixation, while others are tightened or loosened manually using a screw mechanism.
These clamps and clips are accessible in a range of wood finishes, and for a more ornamental touch, there are diverse metal alternatives offered in a variety of shapes to complement your interior design.
You can find quilt clamps possibly at a hardware store or eBay, but we also love getting them from Amazon and have linked our favorite below.
Additionally, you can attach them to the wall using screws or Command Strips (adhesive strips), which provide a gentler alternative.

Using these creates effortless rotation of your quilt, enabling you to admire both of its sides.
So, here’s the deal with quilt clamps. They’re handy and all, but there are a couple of downsides to keep in mind.
First off, they’ve got to be lined up perfectly straight to work their magic, and that’s not always a walk in the park.
I mean, I’ve had my fair share of struggles, especially when I’m the one playing handyman, measuring, and screwing things in by myself.
And let’s talk about how to hang a quilt – it’s a bit of a tricky dance.
You see, heavy quilts can be extremely heavy and bulky, and if you’re not careful, their weight might just yank them right out of those clamps.
So, if you’re switching out or deciding how to hang a quilt, wrangle up a couple of friends to lend a hand – trust me on this one.
Oh, and another thing, these clamps aren’t exactly shy.
Nope, when they’re up on the wall, they’re out there for everyone to see. Now, that might not be your jam if you’re all about just gazing at your quilt without any distractions.
Most of these clamps are all wooden and quite nice-looking, but it’s worth mulling over if you’re an aesthetics aficionado.
And hey, speaking of hanging stuff, ever heard of those long wooden quilt hangers?
They’re like the big siblings of those small clamps, just made of wood and chunkier.
I’ve given these a shot too, and let me tell you, they’re a bit of a puzzle to get a heavy quilt to stay put.
Plan on enlisting a couple of buddies to help you play “hold the quilt” – it’s a tag-team effort, believe me. They are not my favorite method when it comes to quilt hangs.
Thumb Tacks and Push Pins
This might surprise you, but these are very effective to hold the top edge of your quilt to the wall. It’s the perfect way to learn how to hang a quilt
This is a super handy trick and preferred method, especially if you’re in a rental or just don’t want to mess with the walls.
Using a pushpin or thumbtack is like a low-key wall-friendly move – minimal damage, no drama. Honestly, it’s my go-to choice because it’s so darn simple and speedy.
It was the first way I learned how to hang a quilt on my walls.
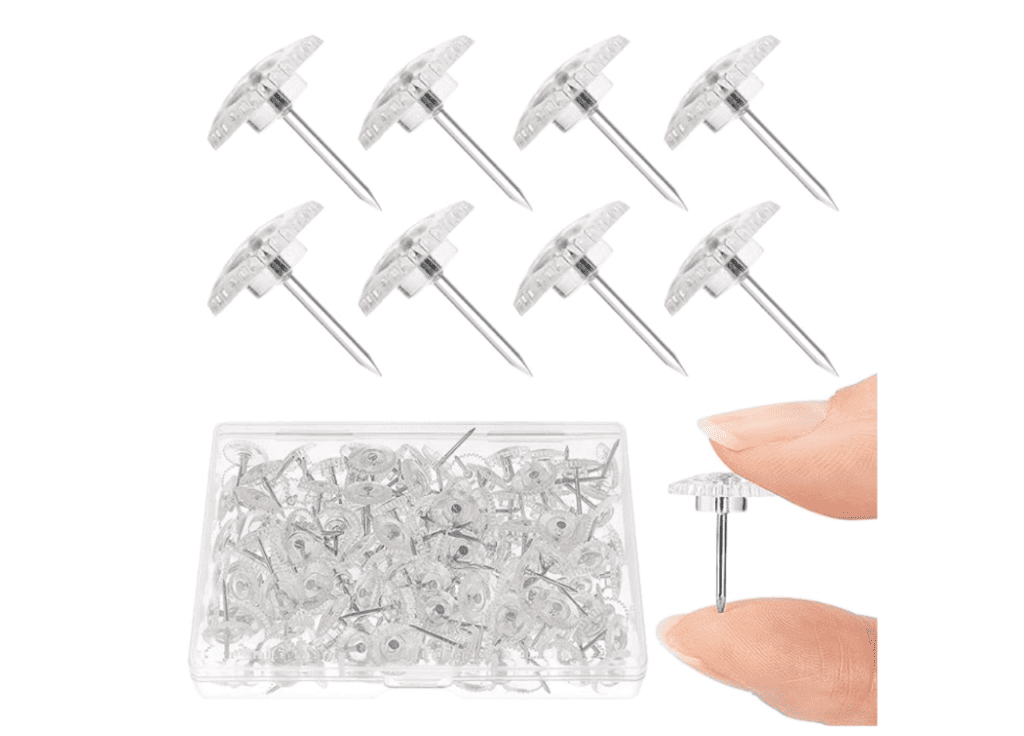
So, here’s the drill: grab a handful of those pins and enlist a buddy to help you out.
You’re gonna space those pins along the quilt’s top edge, and keep ’em evenly spaced from the ceiling.
I’ve got a neat trick for you – using a piece of paper to eyeball the spacing works like a charm and takes no time at all.
Now, here’s the scoop – those pins will go through the piece of fabric.
Yep, they’re a bit thicker than your everyday safety pin or sewing needle.
If that thought sends shivers down your spine, no worries, this method might not be your cup of tea. Just keepin’ it real!
This method is perfect for smaller quilts, as it’s a great way to display it without needing a permanent structure screwed into the wall.
You may also want to pick up a few extra containers, depending on the different sizes of the quilt top especially if this is the first time learning how to hang a quilt.
Obviously, the bigger the size and the weight of the quilt, you will need more thumb tacks and push pins.
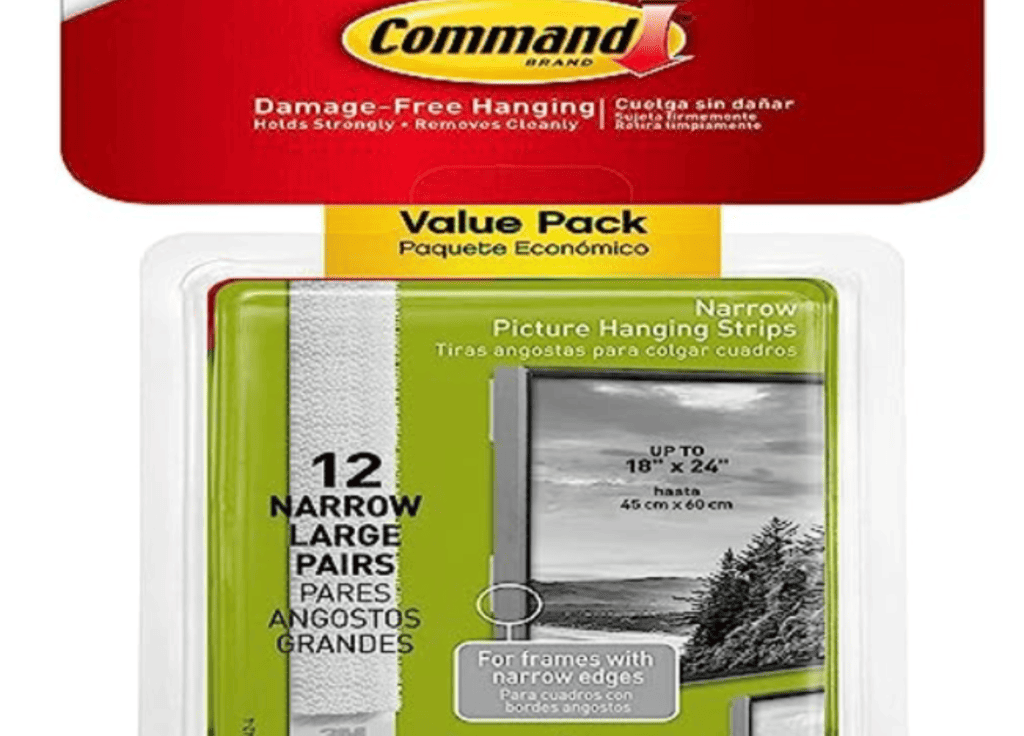
Command Strips for Fabric and Clothespins
I have seen this method used, but haven’t personally used it. You can easily get this at your local home improvement store or at Amazon below.
So here’s a cool way to learn how to hang a quilt using some everyday stuff.
You’re gonna need those nifty adhesive strips, like those Command Strips we all know, and a clever twist – adding more of that sticky magic to the back of a clothespin.
Now, why’s this method a winner? Well, imagine you’re all about changing up your quilts to match different holidays or vibes in your home.
This trick’s your ticket – swapping quilts is as easy as pie. Just unclip and clip, and you’re in business with a fresh look.
Now, you might be thinking, “Hey, this sounds kinda like those quilt clamps.” You’re onto something!
It’s like a DIY remix of that idea. So, here’s your shopping list: wooden clothespins, those narrow Command Picture Hanging Strips, a level to keep things straight, rubbing alcohol (yep, you heard right), and of course, your awesome quilt.
Time to get hang your first quilt.
The major benefit of using Command Strips, as opposed to other methods, is that you can easily readjust the edges of the quilt if you have difficulty making things exactly level.
It makes learning how to hang a quilt easy for anyone.
You can repeatedly move the second piece of the strip (the one that will attach the clothespin) up or down on your wall until everything is aligned properly.
Alright, let’s break it down step by step:
1. First things first, grab those Command Strips and match up the two sides.
Push ’em together until they click into place. Easy peasy.
2. Now, peel the paper off one side of the Command Strip and stick it right onto a clothespin.
Give it a good press, hold on tight for about 30 seconds – that’s gonna make sure the sticky stuff sticks.
3. Time to prep the stage! Grab some rubbing alcohol and give that wall a clean swipe where your quilt is gonna hang.
This sets the stage for a solid bond with the Command Strip.
4. Keep those two strips connected, peel off the other paper liner, and give that strip a serious press onto the wall.
Hold it tight for at least 30 seconds – no half-hearted efforts here! This is just part of learning how to hang a quilt.
5. Repeat the magic for the rest of your clothespins. Even, spacing is the name of the game.
Think about it like this: one at each end of your quilt, and maybe 1 or 2 more in the middle if your quilt’s playing it large.
6. And hey, don’t forget your level! As you go along, make sure those pins are standing tall and straight.
Adjust as needed to keep that picture-perfect look.
Now, here comes the waiting game: give those Command Strips at least an hour to do their thing.
You’re waiting for them to cure, both on the wall and the clothespins.
Trust me, it’s worth the patience. If you rush things and hang up your quilt too soon, you might end up with a surprise fall – and that’s a start-from-scratch situation you’d want to avoid.
Alright, now that you’ve played the waiting game for about an hour, it’s time to take a victory lap – you have learned how to hang a quilt and soak in the satisfaction!
Oh, and here’s another trick up my sleeve. Ever tried those trusty Command hooks?
Here’s a neat twist: stick ’em on the backside of your quilt, and then secure things with some good ol’ safety pins.
It works like a charm, especially for those cute mini quilts. Give it a shot!
Corner Pockets or Triangle Corners
Here’s a classic and straightforward method for learning how to hang a quilt.
It’s all about those corner triangles that you sew by hand – they’re like the anchors for a hanging bar like a dowel rod.
Slide that rod into those pockets, and voilà, your quilt stays all smooth and flat at the top.
You’ll need a wooden dowel that matches the quilt’s length, and a nifty tip: get it a bit longer and have the folks at the hardware store trim it down to fit perfectly inside those triangle corners.
Oh, and here’s a little shortcut if you’re into it: you can actually sew those triangles using a sewing machine, just make sure to add them before you put on the binding.
It’s a go-to move, especially for hanging up small quilts.
Here are the Step-by-step instructions on how to create them:
1. Grab that square and fold it right in half diagonally – like a quilt origami!
2. Time for some heat action – give it a good ironing.
3. Pop those nicely ironed squares into the corners at the top back of your quilt.
Think of them as the secret sauce on how to hang a quilt.
4. Get sewing! Follow those edges and stitch ’em up, but remember, go for a bit less than a quarter-inch so your stitches stay low-key.
5. Now, stitching superheroes, unite! Sew your binding on like you normally would.
This crafty move will neatly hide those corner pocket stitches.
6. Drumroll, please – the grand finale! Hang up your masterpiece using a dowel rod or hanging rod.
Slide ’em in between each of those clever triangles.
Here is a video on how to make them if you are visual like me.
Drapery Rod
So, here’s the scoop on this method: it might take a smidgen more time at the beginning to get that rod up when learning how to hang a quilt.
But guess what? Once it’s up, it’s there for the long haul, and the real beauty is how effortlessly you can swap out quilts whenever the mood strikes.
Oh, and just a little insider info: I’ve got a bunch of quilter buddies who swear by this method – it’s like their secret weapon.
Now, before you dive in, here’s the plan: grab your measuring tape and size up your quilt and the space on your design wall.
That’ll tell you exactly what length of curtain rod is gonna work its magic.
Here’s the cool part – this trick isn’t just for the small fries. Nope, it’s a superstar move for showing off those big, impressive quilts too.
That rod’s built tough, ready to handle the weight and stretch of those quilt edges. And guess what? The fun doesn’t stop there.
You can totally up your game by picking out a swanky, decorative rod that displays how to hang a quilt.
It’s like adding an extra sprinkle of charm to your hanging quilt display.
So, yeah, you’re not just hanging a quilt, you’re creating a mini masterpiece on your wall.

Step-by-step tutorial:
1. First up, work your drapery magic and hang that rod up.
2. Now, here’s where the fun starts. Grab those drapery rings or clips that come with the rod.
They’re like your trusty sidekicks in this quilt-hanging adventure.
3. The best way is to hook those clips onto the rod.
You can either slide them on (if they’re detachable) or keep ’em right on the rod – your call.
And that’s the whole shebang! When you’re itching for a quilt switcheroo, it’s as easy as unclipping and sliding off.
Then, up goes the next quilt in line. Voilà, you’re a quilt display master!
Quilt Ladder
A quilt is a labor intensive project and displaying them with special care is such a beautiful way to show off your masterpiece.
If you are thinking all of this might be too much effort, I love a quilt ladder.
It’s great for a more rustic look, although some are very modern.
It’s a traditional way to display a quilt.
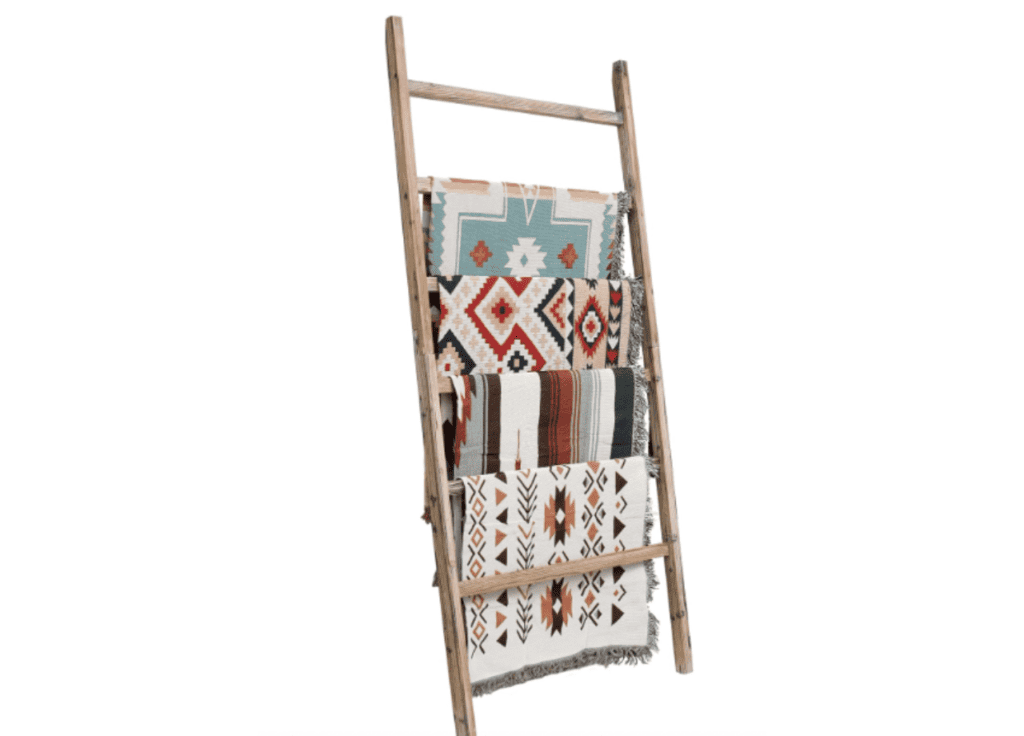
Simply lean it up against where you want to create a quilted wall and fold your quilt to where the wrong sides aren’t showing and hang your quilt on the rings of the ladder.
Free Quilt Patterns
Here are our current free quilt patterns.
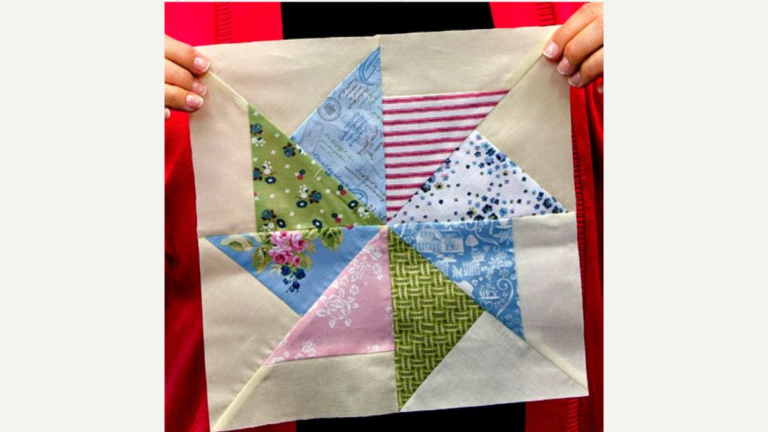
Jelly Roll Quilt Patterns
See the Jelly roll quilt patterns
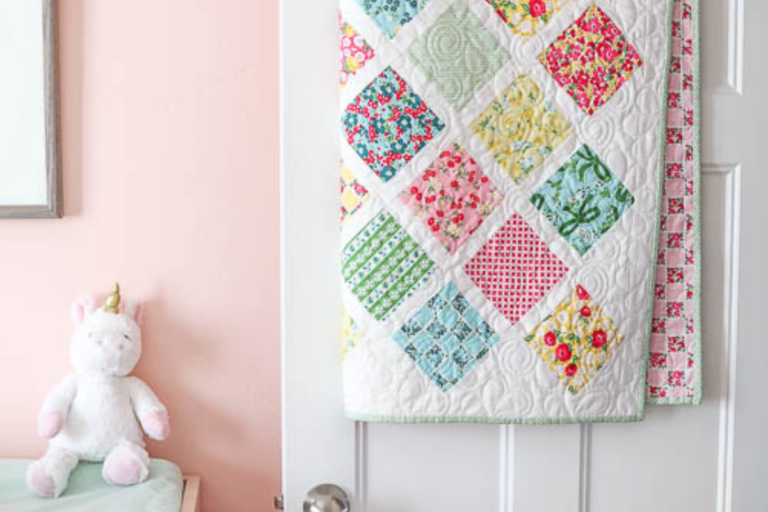
Baby Quilt Patterns
Every new momma would love these baby quilt patterns
Depending on the size quilt you want to display, there are several different ways to display them on your wall.
Keep in mind the weight of your quilt, the size of your quilt and where the sun hits during the day.
Fabric Giveaway
Enter our monthly fabric giveaway. Simply complete the tasks daily and you will be entered into the drawing. Winner will be randomly drawn on the first day of the month and notified via email


instead of using thumbtacks/pushpins to hang a quilt, use a used machine needle. Hole in quilt and in the wall is smaller – practically invisible – and the head/top part of the needle is less visible than the pin-head. Use a hammer to insert the needle, but they can usually be pulled out by hand. If the needle breaks, you can discard it knowing that you did your part in recycling.