Easy Baby Quilt
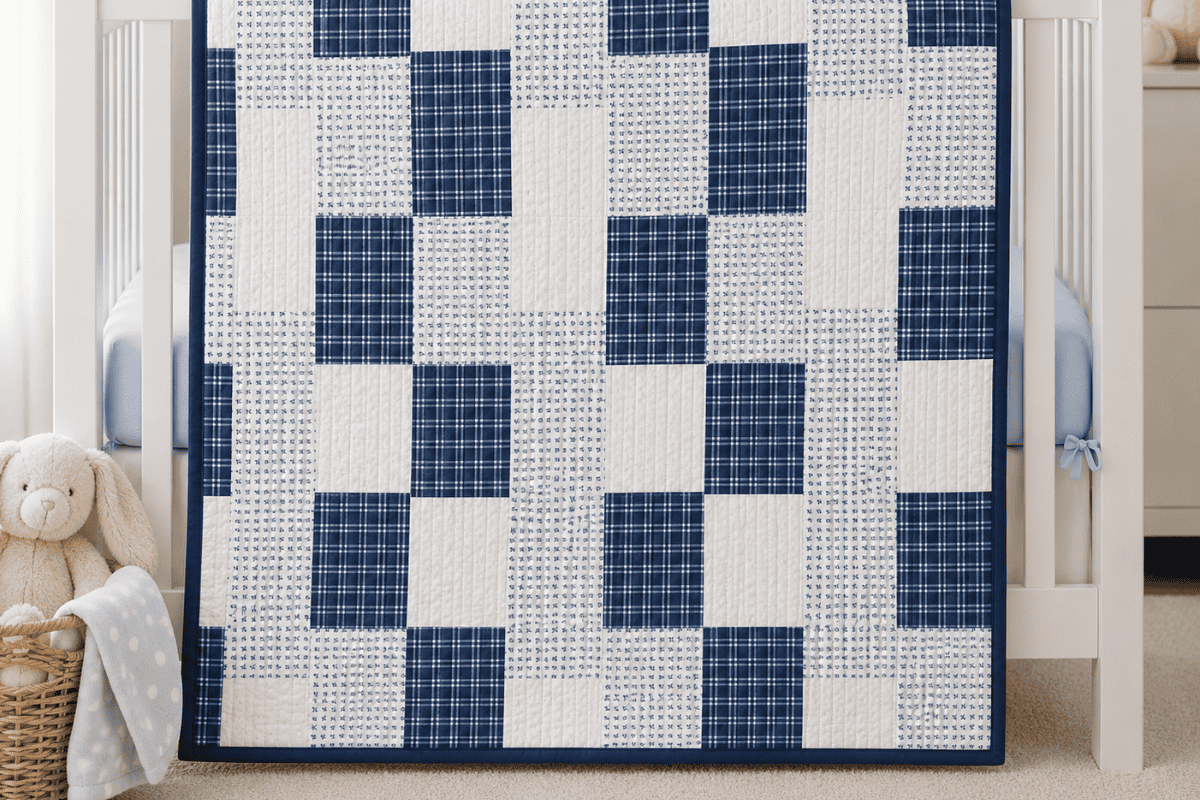
If you’re looking for a simple quilt that’s perfect for beginners, this Easy Baby Quilt is a wonderful weekend project. Made using just 12 large quilt blocks, this design comes together quickly while creating a beautiful modern look that’s perfect for a nursery or baby shower gift.
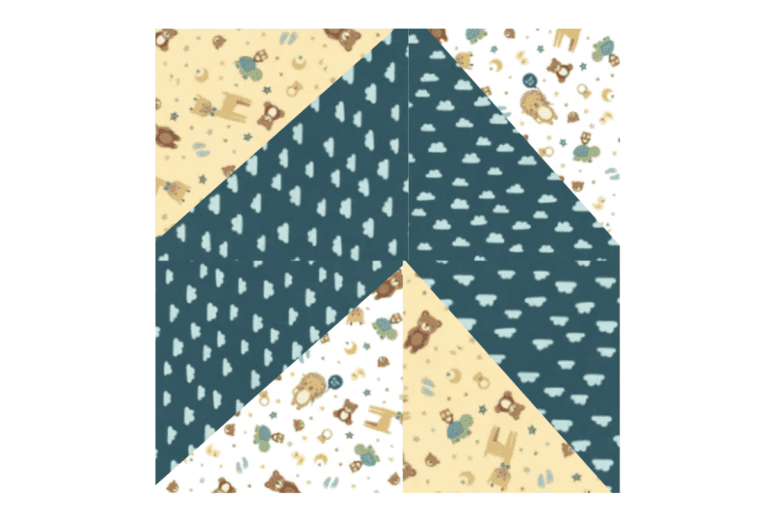
Each quilt block measures 12½” x 12½” unfinished (12″ x 12″ finished), making this an excellent pattern for confident beginners who want to practice accurate piecing without sewing hundreds of tiny pieces. The alternating navy plaid, soft white, and delicate blue print fabrics create a timeless design that’s perfect for baby boys, but you can easily customize the colors for any nursery.
Since there are only 12 blocks, you’ll spend less time cutting and more time sewing. The large blocks also make this a great charity quilt pattern or last-minute handmade baby gift.
Whether you’re sewing your very first quilt or simply need a fast project between larger quilts, this easy baby quilt is sure to become a favorite.
Fabric Giveaway
Enter our monthly fabric giveaway. Simply complete the tasks daily and you will be entered into the drawing. Winner will be randomly drawn on the first day of the month and notified via email
Finished Quilt Size
Approximately 36″ x 48″. You can easily add more blocks across and down for a bigger quilt.
Perfect for:
- Baby shower gifts
- Nursery décor
- Tummy time
- Toddler blankets
Skill Level
Beginner
Materials
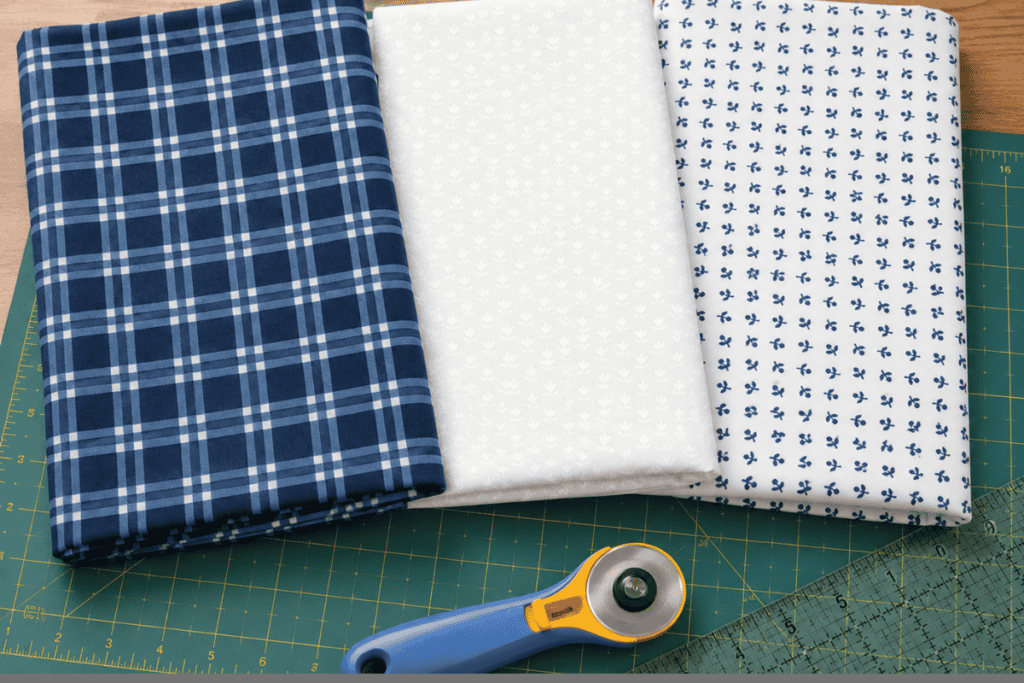
- 12 completed quilt blocks measuring 12½” x 12½” (3 fabrics)
- 3 yards backing fabric
- 40″ x 52″ batting
- ½ yard binding fabric
- Coordinating thread
Pattern PDF
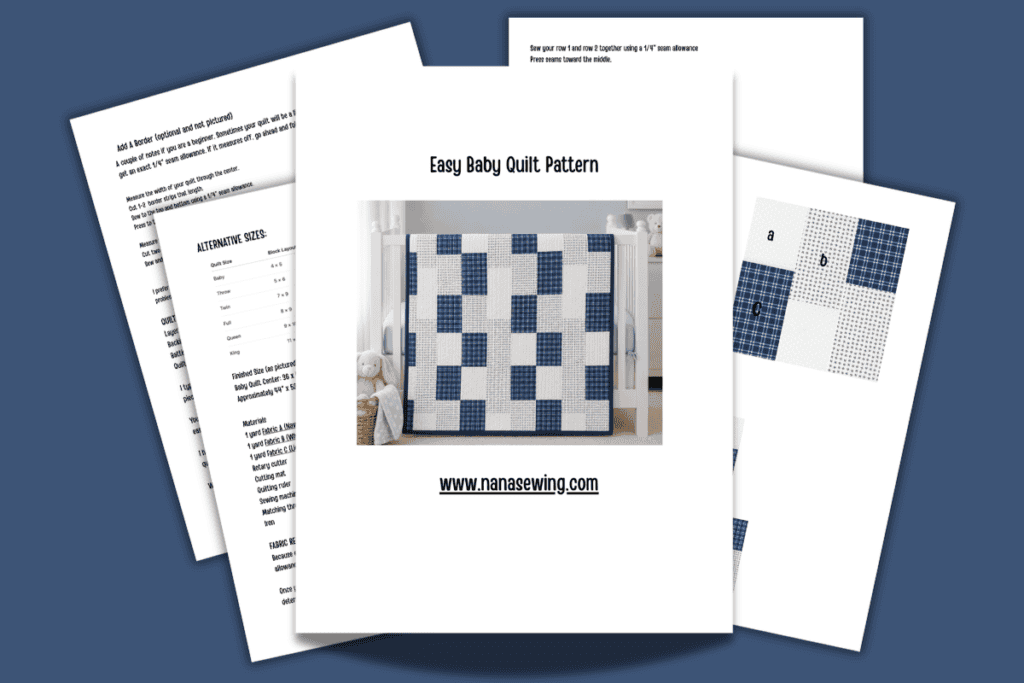
Easy Baby Quilt Block Instructions
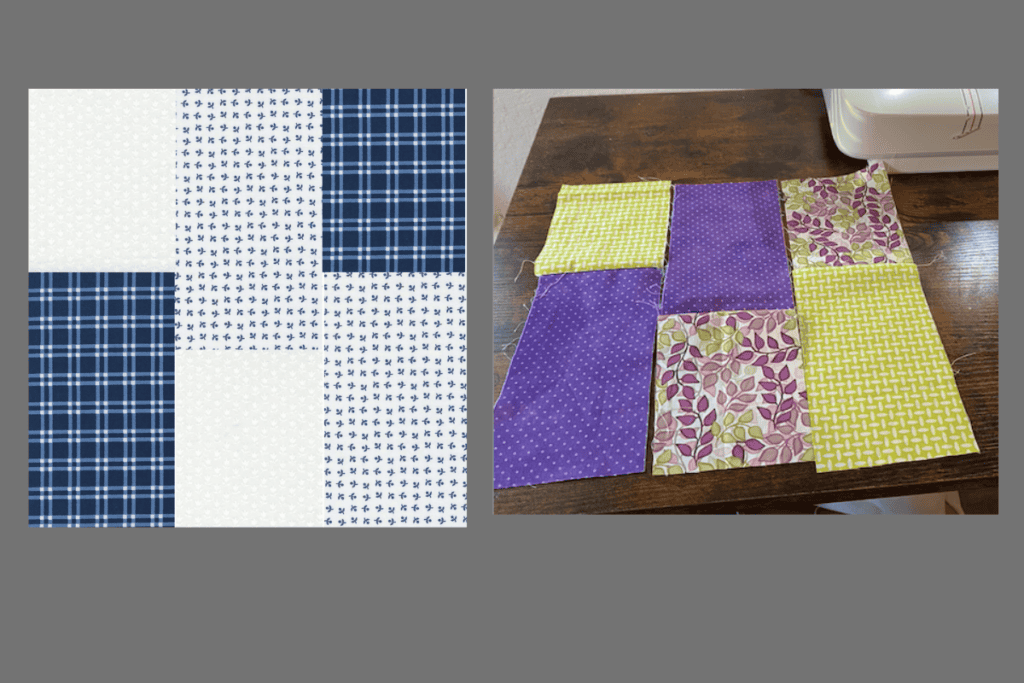
You can pick 2 or 3 fabrics. I like the look of 3 fabrics so that is what I have done with all of my blocks.
You want to figure out your fabrics and then cut your rectangles. Here are your measurements:
Small rectangles
4½” × 5½” (you need 3 per quilt block and 36 total for a baby quilt that measures 36 x 48″)
Longer Rectangles
4 1/2″ x 7 1/2″ (you need 3 per quilt block and 36 total for a baby quilt that measures 36 x 48″)
How to Sew the Quilt Block
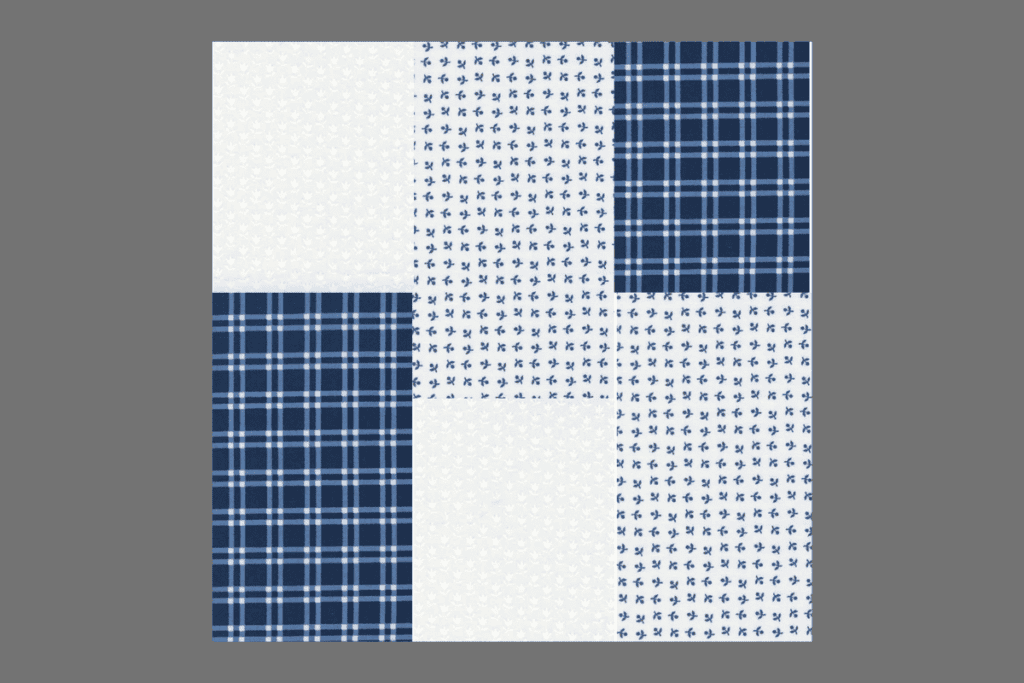
Step 1: Arrange the Fabrics
Lay out your six rectangles on a flat surface until you’re happy with the arrangement. Mixing the three fabrics creates the staggered rectangle design, so don’t be afraid to rotate or swap fabrics until you find a layout you love.
Step 2: Sew the Three Vertical Rows
Working one column at a time, place the shorter rectangle and longer rectangle right sides together, aligning the 4½-inch edges.
Sew the pieces together using a ¼-inch seam allowance. Repeat for the remaining two columns until all three vertical rows are complete.
Press the seams open or toward the darker fabric, depending on your preference.
Step 3: Join the First Two Rows
Place the left and center rows right sides together, matching the top and bottom edges. Pin or clip the seam where the rectangles meet to keep everything aligned.
Sew the rows together using a ¼-inch seam allowance, then press the seam.
Step 4: Attach the Final Row
Place the remaining row right sides together with the center section. Match the top and bottom edges and pin before sewing.
Using a ¼-inch seam allowance, sew the final row in place.
Press the finished block well and square it up if needed. Your completed quilt block should measure 12½ inches x 12½ inches, ready to be sewn into your quilt top.
Tip
For the best results, use an accurate ¼-inch seam allowance throughout the project and press after every seam. Taking a few extra moments to line up the rows before sewing will help your finished block come together neatly.
How to Sew your Easy Baby Quilt
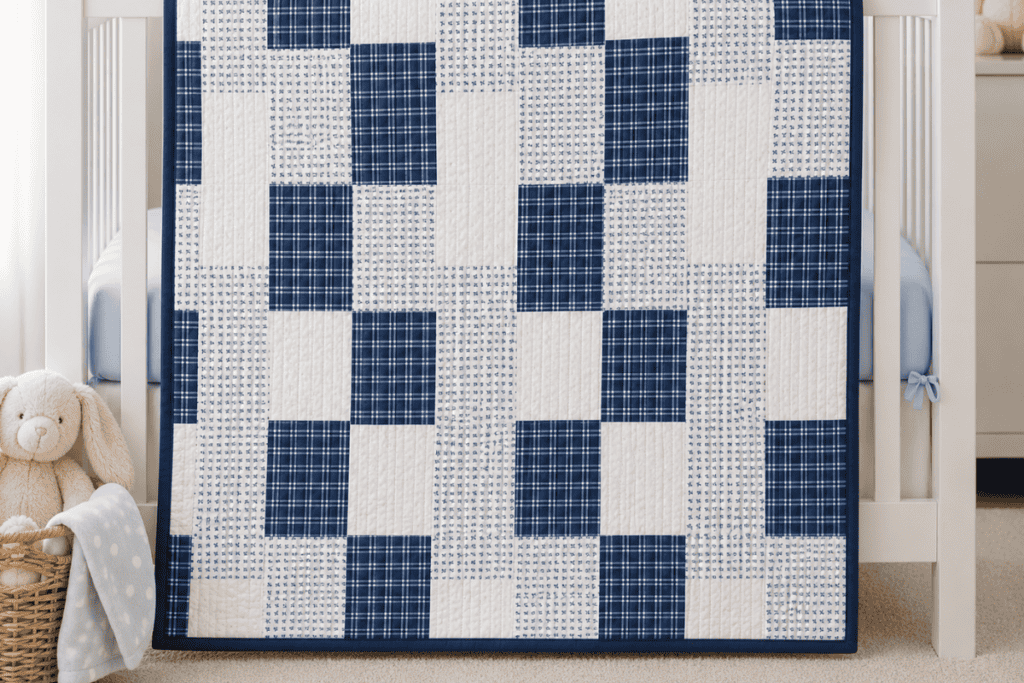
Once you’ve completed all 12 quilt blocks, it’s time to assemble your quilt top. This simple layout uses 3 blocks across and 4 blocks down, creating a finished baby quilt that measures approximately 36″ x 48″.
Step 1: Arrange the Quilt Blocks
Lay out your 12½” x 12½” unfinished quilt blocks on a large table or design wall in the following arrangement:
- 3 blocks across
- 4 blocks down
Take a step back and make any adjustments until you’re happy with the overall layout. Rotating a few blocks can create additional movement and visual interest.
Step 2: Sew the Rows
Working one row at a time, place the first two blocks in the row right sides together and sew using a ¼-inch seam allowance. Add the third block to complete the row.
Repeat until all four rows have been sewn.
Press the seams in alternating directions to help the seams nest when joining the rows.
Step 3: Join the Rows
Place the first and second rows right sides together, matching the seams carefully and pinning where needed. Sew using a ¼-inch seam allowance.
Continue adding one row at a time until all four rows have been joined to complete the quilt top.
Press the finished quilt top well.
Step 4: Create the Quilt Sandwich
Layer the quilt in the following order:
- Quilt backing (right side facing down)
- Quilt batting
- Quilt top (right side facing up)
Smooth out any wrinkles and baste the layers together using your preferred method, such as safety pins, spray basting, or hand basting.
Need help figuring out how much backing fabric to buy? Use my Quilt Backing Calculator to quickly determine the amount of fabric you’ll need based on your quilt size.
Step 5: Quilt the Layers Together
Quilt the three layers using your favorite quilting design. Straight-line quilting, diagonal lines, or a simple meandering stitch are all great choices for this beginner-friendly quilt.
Once quilting is complete, trim away any excess batting and backing so all edges are even.
Step 6: Add the Navy Binding
Finish the quilt by sewing navy binding around all four edges. Attach the binding to the front of the quilt using a ¼-inch seam allowance, then fold it over to the back and stitch it in place by hand or machine for a clean, polished finish.
Not sure how much binding fabric you’ll need? My Quilt Binding Calculator makes it easy to calculate the correct amount of binding for any quilt size.
Frequently Asked Questions
What size is the finished baby quilt?
The finished quilt measures approximately 36″ x 48″, making it the perfect size for a crib, stroller, tummy time, or as a thoughtful baby shower gift.
What size are the quilt blocks?
Each quilt block measures 12½” x 12½” unfinished and 12″ x 12″ finished once sewn into the quilt
How many quilt blocks do I need?
You’ll need 12 quilt blocks arranged in 3 blocks across and 4 blocks down to complete the quilt.
Is this an easy quilt for beginners?
Yes! This pattern is designed with beginners in mind. The blocks are made from simple rectangles, and the quilt top is assembled by sewing one row at a time before joining the rows together.
Can I use different fabrics?
Absolutely! This pattern looks great with baby prints, florals, holiday fabrics, modern solids, or even scrap fabrics. Choose three coordinating fabrics for each block or mix and match fabrics throughout the quilt for a scrappy look.
What batting should I use?
A low-loft cotton or cotton-blend batting is a great choice for baby quilts. It provides warmth without adding too much bulk and is easy to quilt on a home sewing machine.
What quilting design works best?
Simple quilting designs are perfect for this quilt. Some popular options include:
- Straight-line quilting
- Diagonal quilting
- Wavy lines
- Meandering or stipple quilting
- Echo quilting around the seams
Choose a quilting design that complements the modern rectangle layout.
How much backing fabric do I need?
The amount of backing fabric depends on the width of the fabric you purchase and whether you plan to piece the backing.
To make it easy, use my Quilt Backing Calculator to determine exactly how much backing fabric you’ll need for your quilt.
How much binding fabric do I need?
The amount of binding varies depending on your quilt size and the width of your binding strips.
My Quilt Binding Calculator will quickly calculate how much binding fabric you’ll need, helping you avoid buying too much or running short.
Do I need to prewash my fabric?
Prewashing is optional. Many quilters prefer to wash fabrics that are dark or highly saturated to help prevent color bleeding. If you choose not to prewash, consider using a color catcher in the first wash after the quilt is finished.
Fabric Giveaway
Enter our monthly fabric giveaway. Simply complete the tasks daily and you will be entered into the drawing. Winner will be randomly drawn on the first day of the month and notified via email