Simple Tote Pattern
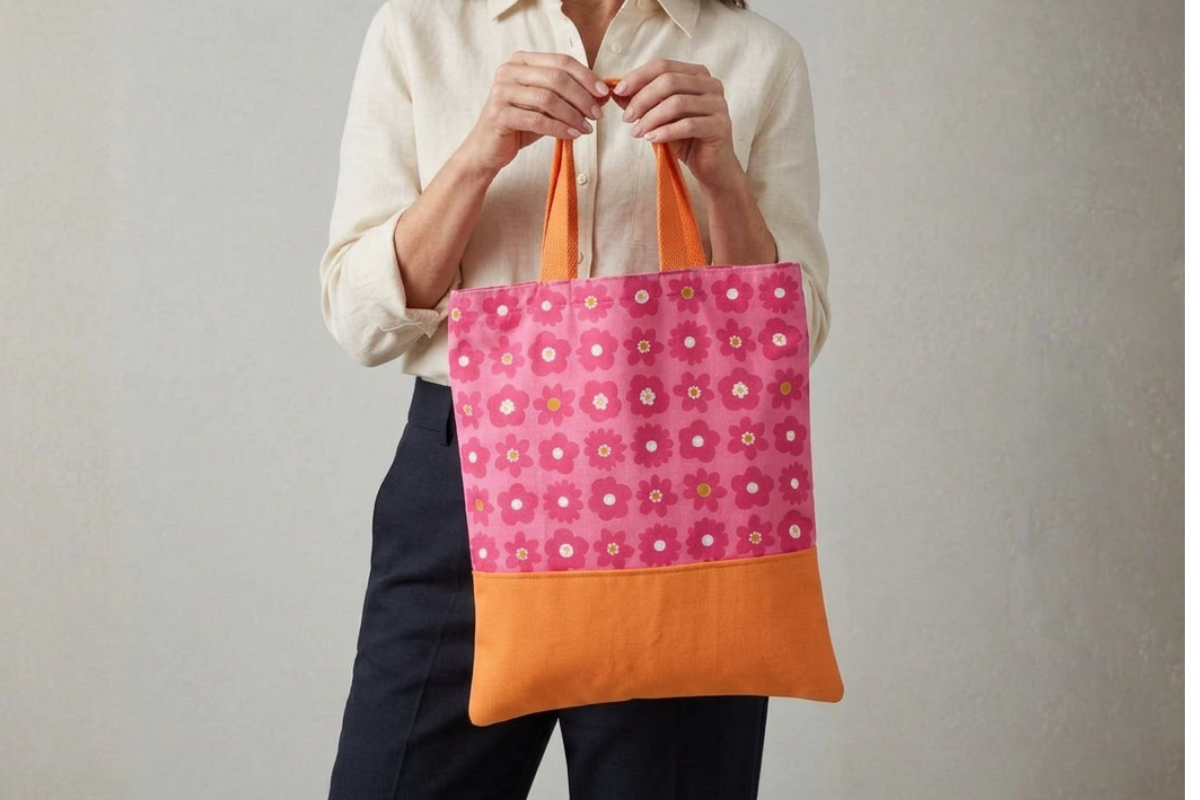
Looking for an easy sewing project that is both practical and stylish? This simple tote pattern is a great project for beginners and experienced sewists alike. With just a few pieces of fabric and basic sewing skills, you can create a useful tote that’s perfect for shopping, carrying books, taking to the market, or using as an everyday bag.
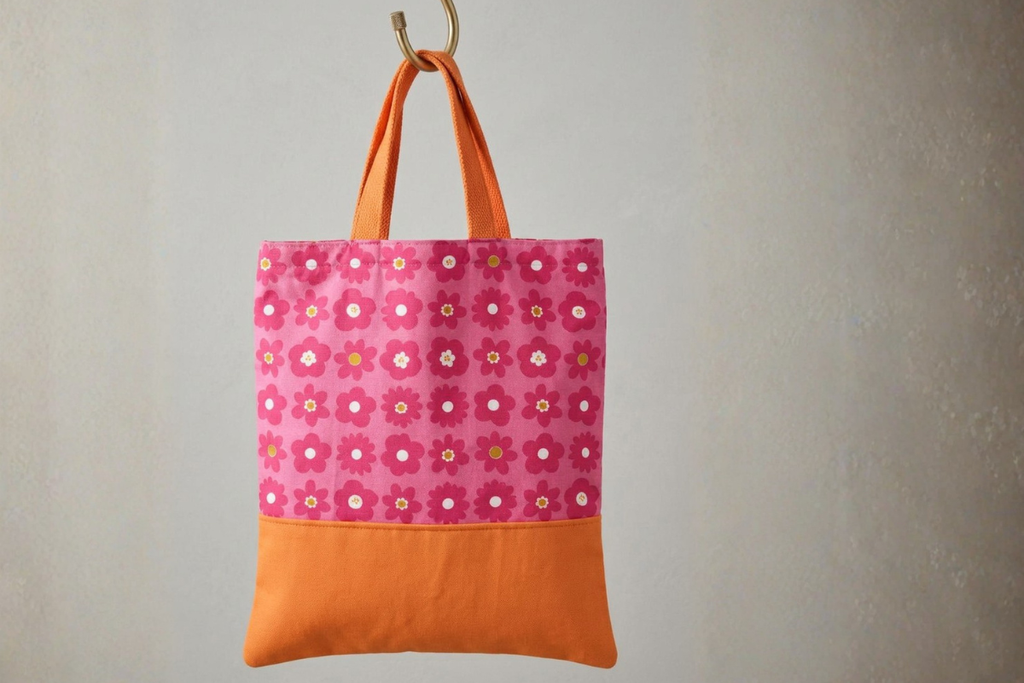
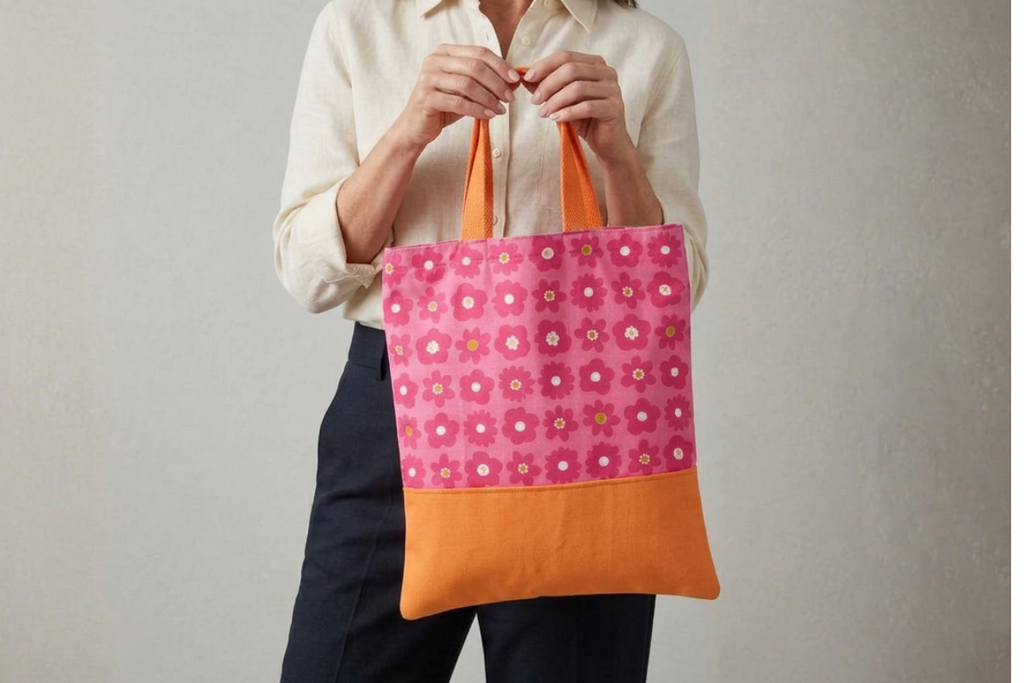
This tote features a fun two-fabric design, with a pretty floral fabric on the upper portion and a coordinating solid fabric along the bottom. The contrasting bottom adds interest while also giving the bag a sturdy, finished look. You can easily customize your tote by choosing your favorite fabric combinations.
This project is also a wonderful way to use up fabric from your stash. Try quilting cotton, canvas, or another medium-weight woven fabric depending on how sturdy you want your finished bag to be.
The construction is straightforward, making this a great beginner sewing project. Once you’ve made one, you’ll probably want to make several for yourself, friends, and family!
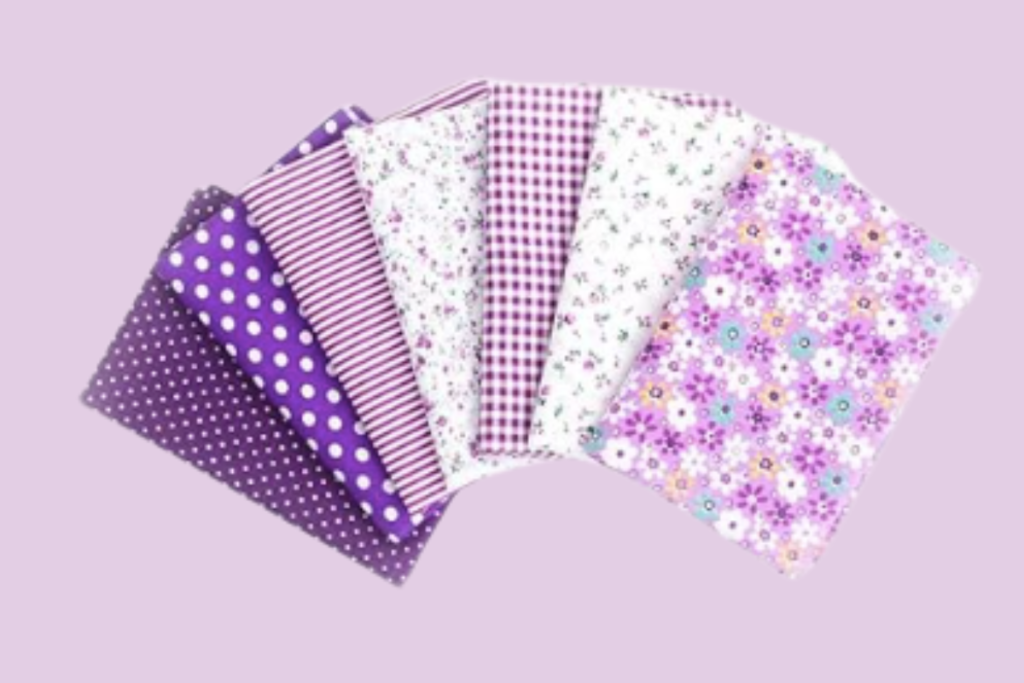
Win a Fat quarter bundle of fabric on our giveaway page.
Materials for Simple Tote Pattern
- 5/8 yard of cotton or canvas fabric for top
- 5/8 yard of cotton or canvas fabric for bottom and handles
- Pins or clips
Seam Allowance
All seam allowances are 1/2″ unless I state otherwise.
Directions for Simple Tote Pattern
Here are simple directions for the simple tote pattern. If you have questions please ask in our private community.
Cut Your fabric
- Cut your top panel 14″ x 33″
- Cut your Bottom panel 14″ x 11″
- Cut 2 handles measures 4″ wide x 21″ tall (if you prefer having it over the shoulder make the handles make them taller)
Make Your Handles
- On the wrong side of fabric fold your handle in half and press. Open the fabric and press each edge to the center and press again.
- You want to stitch the three open sides of the handle close to the edge beginning on one short side make sure that you’re catching all of your layers of fabric. As always make sure that you back stitch when you start and finish.
- You will now repeat the same process to make your second handle.
Prepare the Bottom Panel
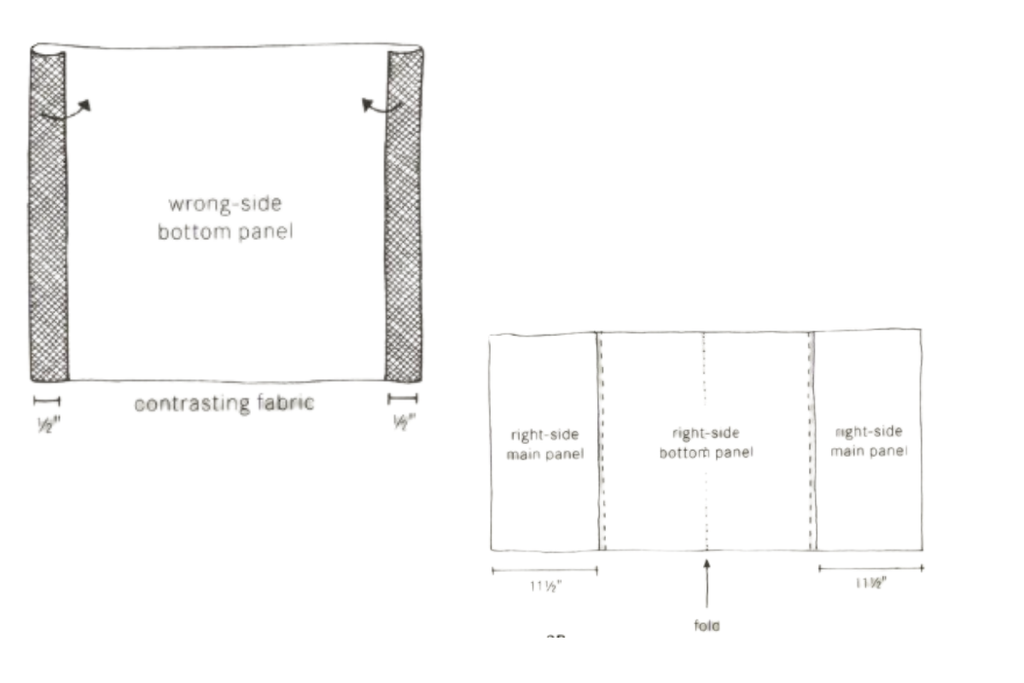
Place the bottom panel with the wrong side facing up. On both 14″ sides, fold the fabric 1/2″ toward the center and press well. These folded edges will create the finished top edges of the bottom panel.
Next, fold the bottom panel in half with the right sides together, matching the folded edges. Press along the fold to create a crease.
Open the panel back up and place it right side up. Set it aside until you are ready to attach it to the tote.
Tip: Since you are using a 1/2″ seam allowance, be sure your folds and seams are pressed accurately for a neat, professional finish.
Prepare and Attach the Bottom Panel
- Fold the main panel in half with the wrong sides together, matching the two 14″ sides.
- Press along the fold to create a center crease.
- Open the main panel and lay it right side up.
- Place the prepared bottom panel right side up on top of the main panel.
- Match the center creases of both pieces.
- Align the raw side edges of the bottom panel with the sides of the main panel. Pin in place.
Attach the Bottom Panel
Keeping the center creases aligned, edge stitch along both finished edges of the bottom panel.
Make sure your stitching goes through all layers of fabric so the bottom panel is securely attached.
Sew the Tote Together
- Fold the tote in half along the center crease with right sides together.
- Make sure the bottom panel is still lined up correctly.
- Match the raw side edges and pin them together.
- Using a 1/2″ seam allowance, sew down one side from the bottom folded edge to the top raw edge. Backstitch at the beginning and end.
- Repeat on the other side.
- Press both side seams open.
Finish the Tote
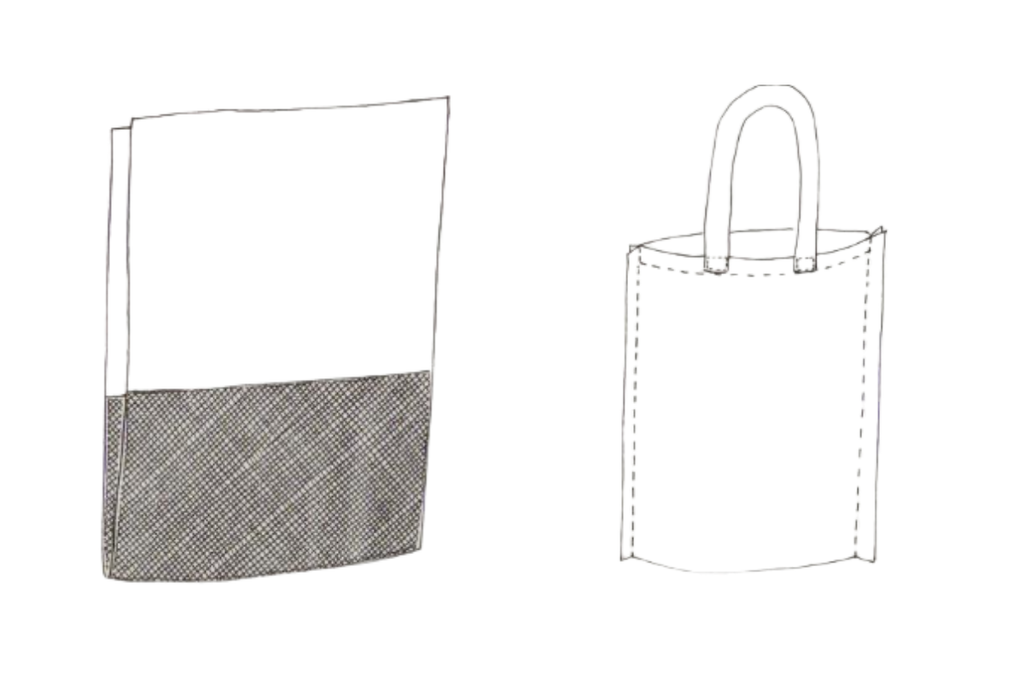
A. Finish the Top Edge
With the tote wrong side out, fold the top raw edge 1/2″ toward the inside and press.
Fold the top edge over another 1″ and press again.
Stitch along the folded edge using a 7/8″ seam allowance, making sure your stitching goes through all layers.
B. Position the Handles
- Choose one side of the tote for the first handle.
- Measure 4″ in from each side seam and mark these two points with pins.
- Place the ends of the handle inside the tote.
- Position the bottom edge of the handle 1″ below the finished top edge of the tote.
- Line up the outside edges of the handle with your pins.
- Make sure the handle is not twisted.
C. Sew the Handle in Place
With the wrong side of the tote facing you, stitch the handle securely to the tote by sewing a rectangle around the end of the handle.
- Start along the bottom edge of the handle and stitch toward the side.
- At the corner, leave the needle down, lift the presser foot, and turn the tote 90°.
- Stitch up the side, stopping just before the top edge.
- Turn the tote 90° again and stitch across the top.
- Turn once more and stitch down the remaining side to complete the rectangle.
For extra strength and a decorative touch, stitch an X inside the rectangle.
D. Attach the Second Handle
Repeat Steps B and C on the opposite side of the tote to attach the second handle.
E. Finish
Turn the tote right side out and give it a final press.
Your simple tote pattern is finished and ready to use!
Simple Tote Pattern FAQ
Is this tote bag easy to sew?
Yes! This is a simple tote pattern that is suitable for beginners who are comfortable with basic straight-line sewing.
What fabric should I use?
Quilting cotton works well for a lightweight tote. For a sturdier bag, use canvas or another medium-weight woven fabric.
Can I use different fabrics?
Absolutely! Mixing prints and solids is a great way to personalize your tote.
Can I make the tote larger or smaller?
Yes. You can adjust the dimensions of the pattern pieces to create a tote in the size you need.
Is this a good scrap fabric project?
Yes! The contrasting bottom section is a great opportunity to use leftover fabric from your stash.
Fabric Giveaway
Enter our monthly fabric giveaway. Simply complete the tasks daily and you will be entered into the drawing. Winner will be randomly drawn on the first day of the month and notified via email