Free Plastic Bag Holder Sewing Pattern
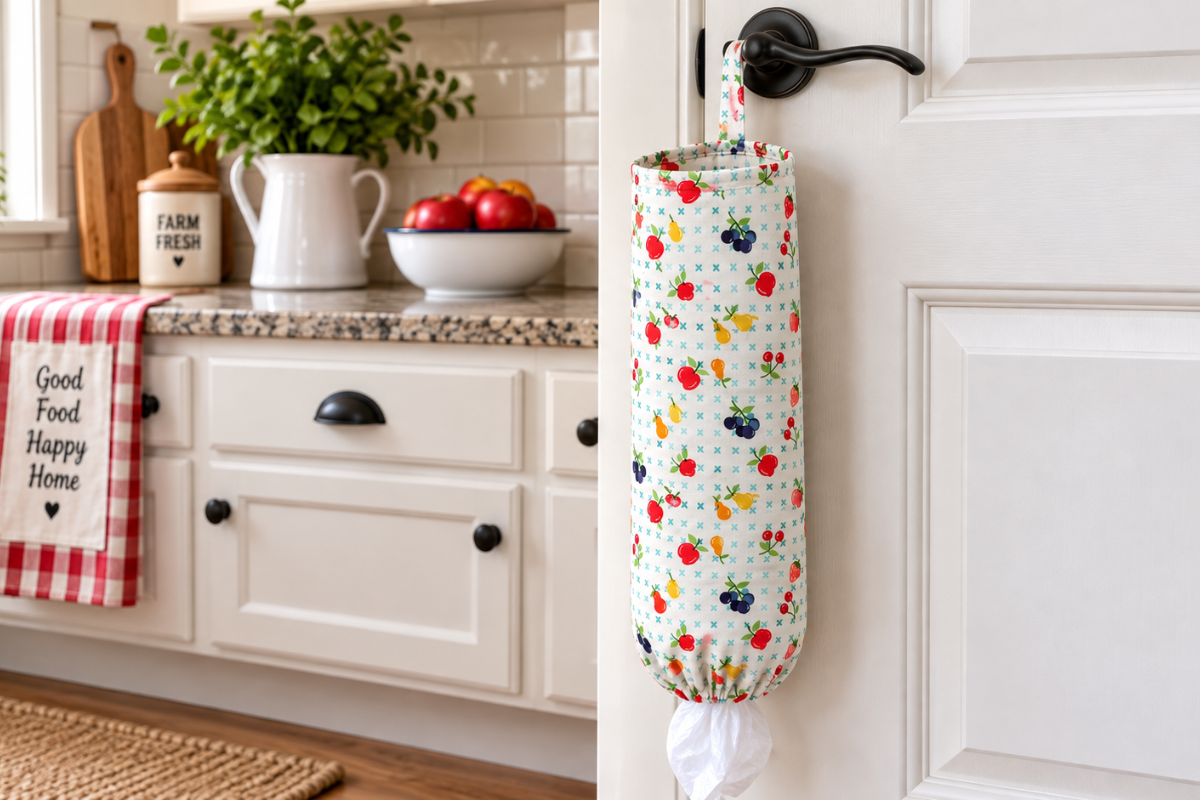
Make a handy free plastic bag holder with just one piece of fabric and a small piece of elastic. This easy sewing project is perfect for using up pretty cotton fabric scraps and makes a useful addition to your kitchen, pantry, laundry room, or closet.
The finished bag holder has an elastic opening at the bottom, making it easy to add and remove plastic bags as needed. Add a simple ribbon loop at the top so you can hang it from a hook or cabinet door handle.
Win a Fat quarter bundle of fabric on our giveaway page.
Materials for Free Plastic Bag Holder
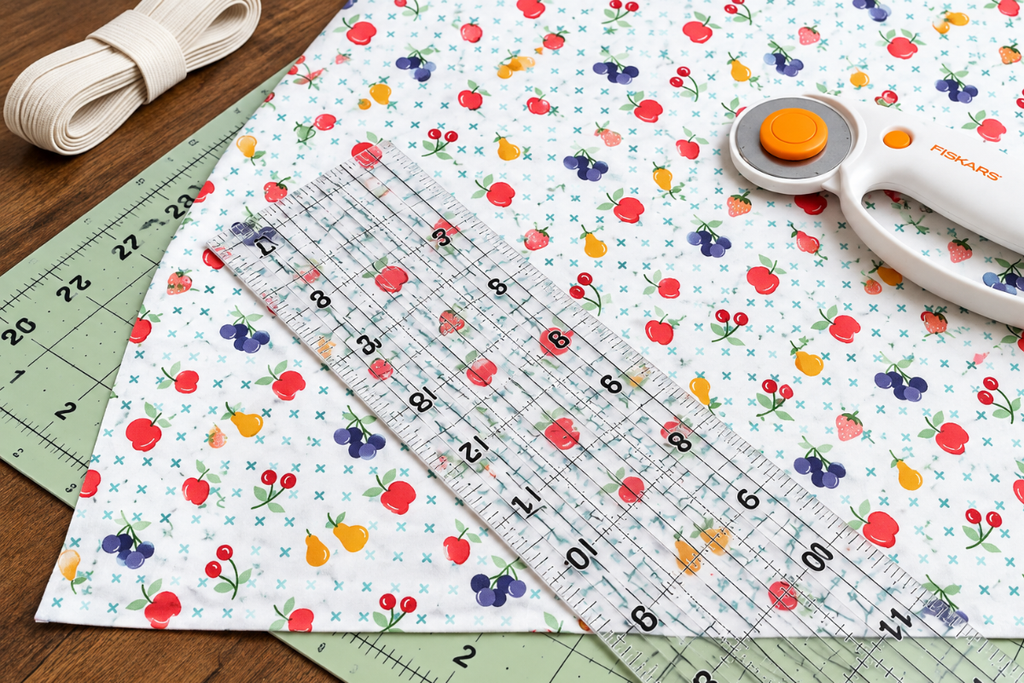
- 1 piece of cotton fabric, 18″ × 21″
- 7″ piece of elastic (1/4″ wide)
- Small piece of fabric for a ribbon for the hanging loop
- Sewing machine
- Thread
- Iron
- Pins or sewing clips
- Safety pin
- Fabric scissors
Step 1: Cut Your Fabric
Cut your fabric to 18″ × 21″.
For this project, the 18″ sides will become the top and bottom openings of your plastic bag holder.
Step 2: Finish the Top and Bottom Edges
On each 18″ side, fold the fabric 3/4″ toward the wrong side of the fabric.
Press the folds with an iron, then secure them with pins or sewing clips.
Sew along each folded edge using a 1/2″ seam allowance.
Important: Backstitch at the beginning and end of each seam to secure your stitches.
One of these openings will eventually hold the elastic.
Step 3: Sew the Lengthwise Seam
Fold the fabric in half lengthwise, with right sides together.
Line up the long edges and pin or clip them together.
Sew the long edge using a 1/4″ seam allowance.
Do not sew across the bottom opening. You need to leave this area accessible so you can insert the elastic.
Backstitch at the beginning and end of your seam.
Step 4: Add the Elastic
Cut a piece of elastic 7″ long.
Attach a safety pin to one end of the elastic.
Feed the safety pin through the opening in the casing and gently pull the elastic all the way through.
When the elastic comes through the other side, secure both ends with pins or clips so the elastic doesn’t disappear back inside the casing.
Tip
Leave a small amount of elastic sticking out of the casing while you work. This makes it much easier to keep hold of it.
Step 5: Secure the Elastic
Once the elastic is positioned correctly, finish sewing the casing with your 1/4″ seam allowance.
Sew carefully over the elastic at both ends to secure it firmly in place.
Backstitch several times over the elastic so it won’t pull loose with use.
Step 6: Add the Hanging Loop
Cut a piece of ribbon to create a hanging loop.
You can also make your own fabric loop if you prefer. If you’re following the video tutorial, use the loop method shown there.
Attach the loop to the lengthwise seam at the top of the bag holder.
Stitch securely, as this loop will support the weight of the bag holder when it is filled.
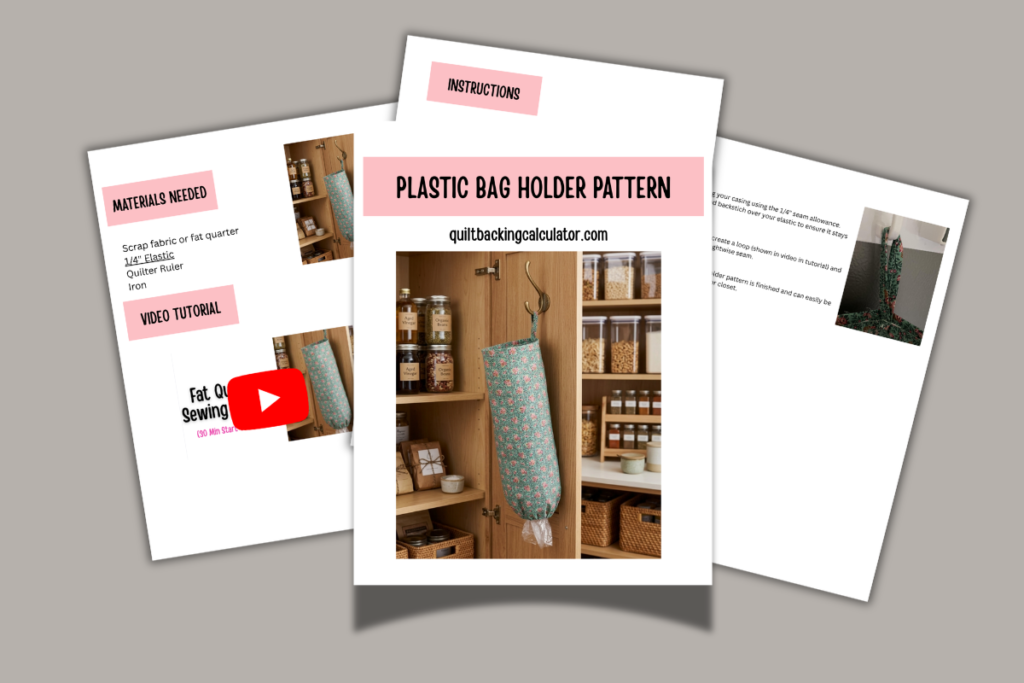
Free Plastic Bag Holder PDF
Your Plastic Bag Holder Is Finished!
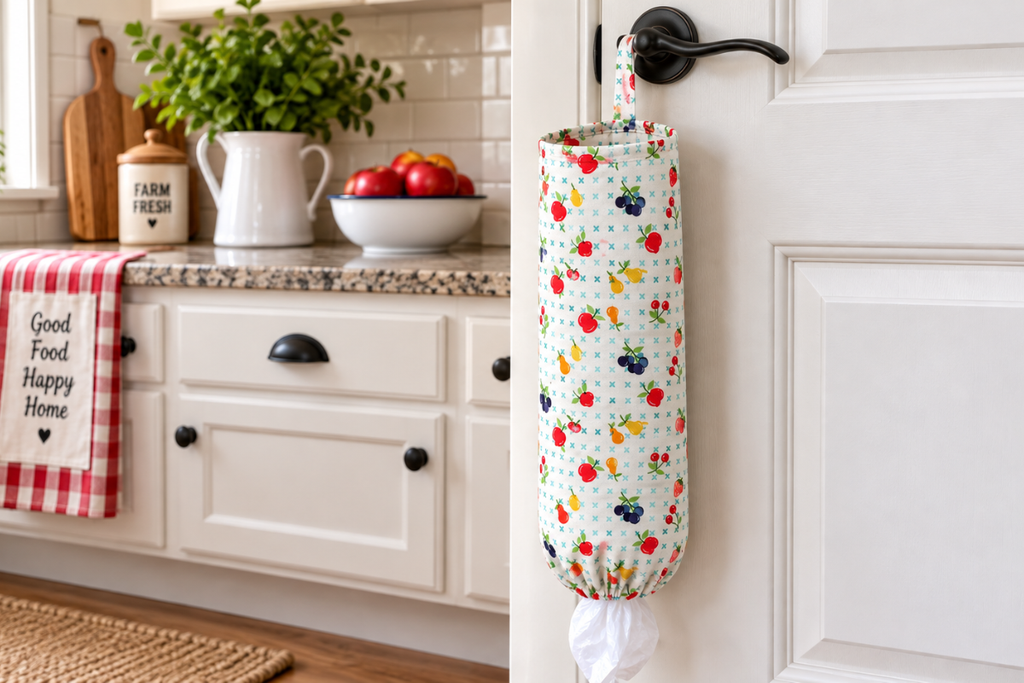
Turn your bag holder right side out and give it a final press if needed.
Your finished free plastic bag holder is perfect for keeping plastic grocery bags, produce bags, or even small trash bags neatly contained.
Hang it in your pantry, kitchen, laundry room, or closet where it’s easy to reach.
Video Tutorial for Free Plastic Bag Holder
Fabric Giveaway
Enter our monthly fabric giveaway. Simply complete the tasks daily and you will be entered into the drawing. Winner will be randomly drawn on the first day of the month and notified via email