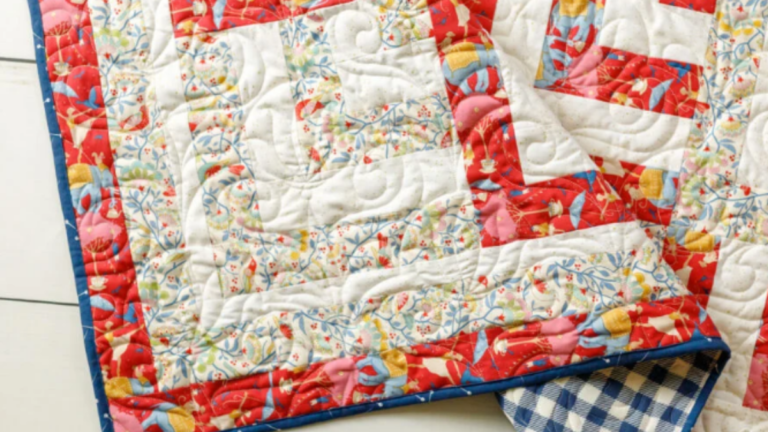
Easy Jelly Roll Quilt
I love this easy Jelly roll Quilt. You can make it any size you want by simply adding more strips both horizontal and vertically. I check the size of a mattress and then simply add about 5 inches to all sizes so it drapes well over a bed.
I made a twin size quilt and it took 2 jelly roll packages to get it the right size.
Win a Fat quarter bundle of fabric on our giveaway page.
Easy Jelly Roll Quilt Video Tutorial
Prepare your Strips
You will want to get your fabric out of the package and iron all your pieces. I took the pieces and sorted them by colors. You will want to cut your strips 8″.
You can do this to every single strip or do as I did and pile 4 or more together and cut them with your rotary cutter. Don’t throw away your excess strips, you will use them later on your easy jelly roll quilt.
For a twin size bed, I needed 8 strips sewn together. I used my sorted fabrics and sewed 8 together creating long strips.
I then went to the iron and ironed the seams all going the same directions.
Create Your Panels
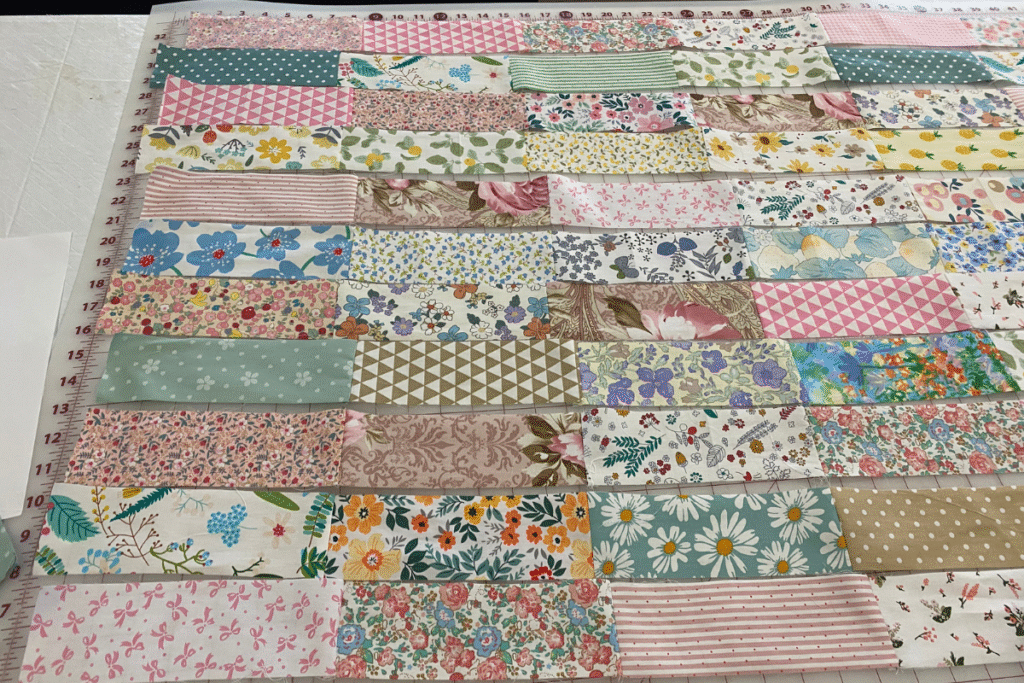
You are going to take and sew all your strips together. However, if you don’t want to match all your seams (I hate matching) cut strips 2, 4, and 6 inches long. You will lay out your strips and decide which color order you want for your easy Jelly Roll Quilt
I did a regular strip, the next strip I added the 2″ strip, the 3rd strip I added a 4″ strip and the 4th strip I add a 6″ strip. I then repeated the same pattern until it was as long as I needed.
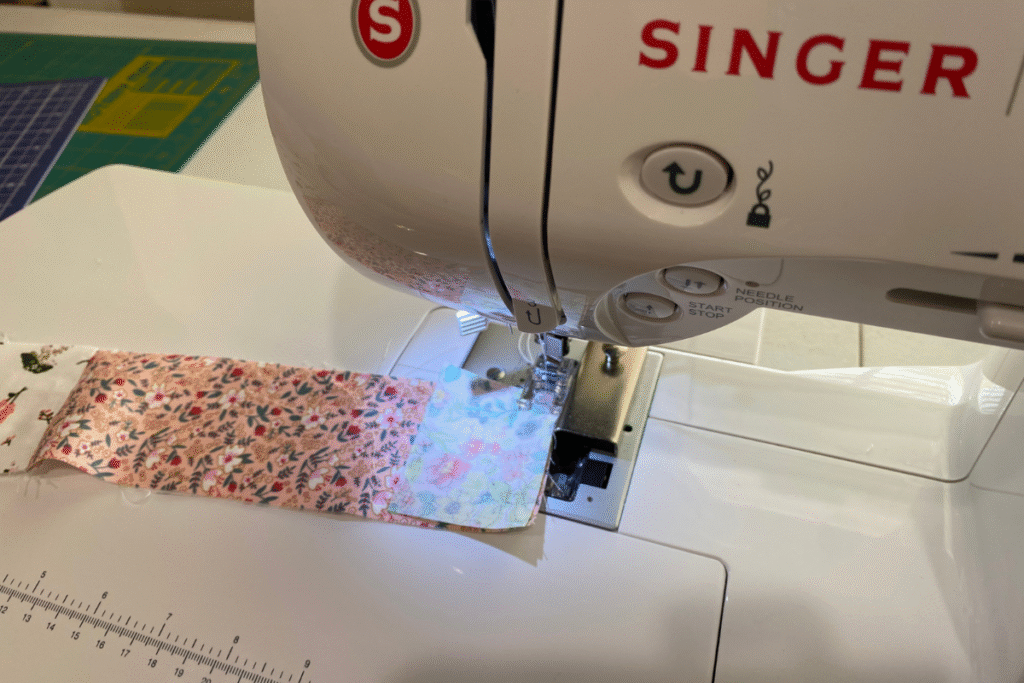
Sew 4 strips together and create a panel. Once you have all your panels sewn then sew your larger panels to each other. I did iron after creating the panel to make sure every seam was laying down the same way.
Straighten Your Quilt Ends
If you have mismatched your seams, you will have an end that definitely needs to be straightened. Before you cut, make sure and double check your sizes. Now is the time to add more strips to the end if your width is off.
Straighten all your sides and get ready for your batting.
Place your finished quilt top right side down and baste your batting. I used a spray adhesive as I feel like it is easier to hold everything in place.
Backing and Binding
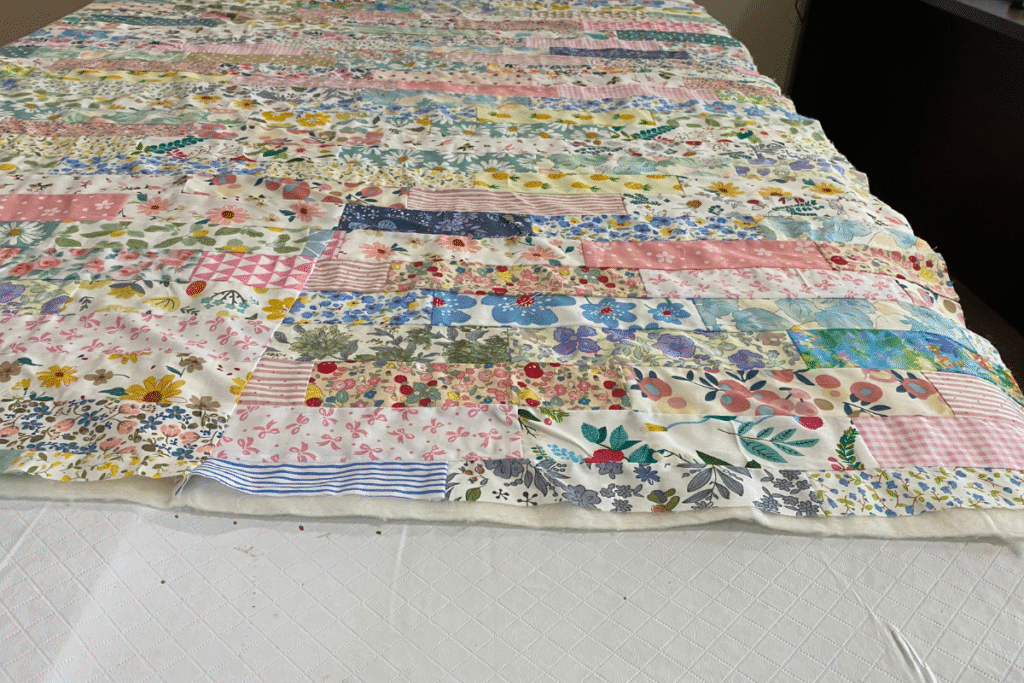
I got 108″ fabric at Hobby Lobby. I added it to the batting and I chose not to do a binding. I simply closed it up with right sides together. I left about a 6″ opening and turned the quilt and then top stitched all the way around the quilt closing everything up.
This is such an easy Jelly Roll Quilt. You simply adjust your strips depending on the size quilt you are making. Make sure and share your finished quilt on Facebook.
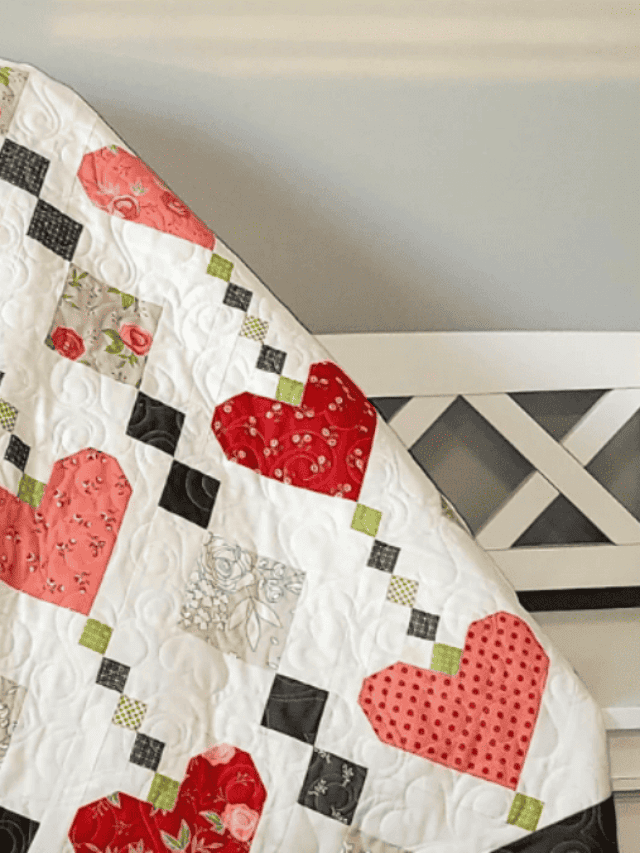
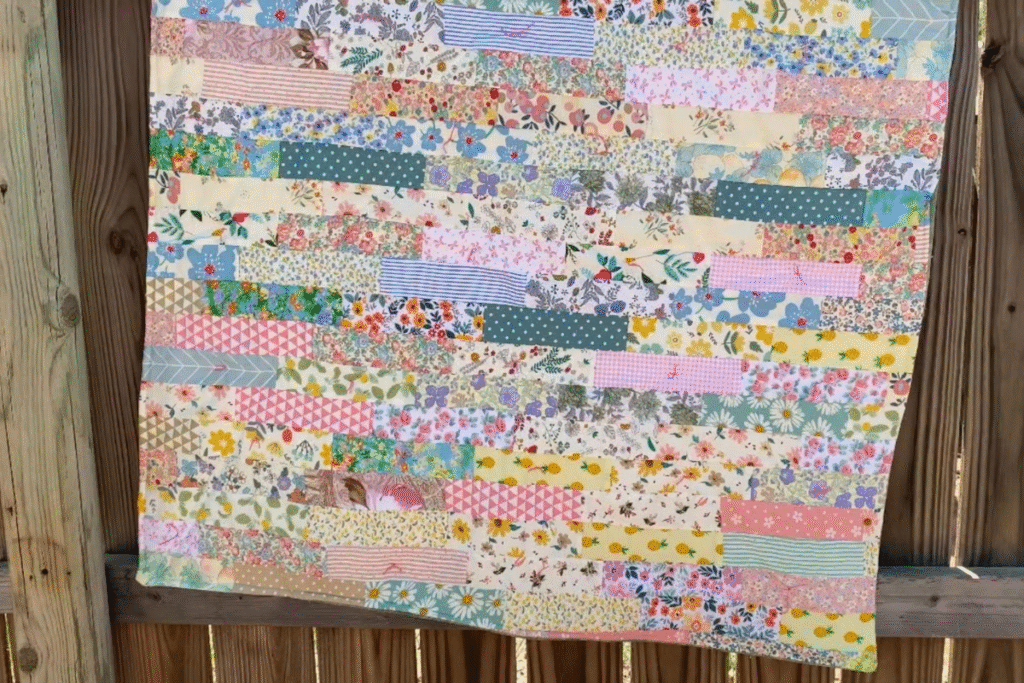
Finished Easy Jell Roll Quilt
Here’s the finished look. I hand tied the quilt to finish it off. I have a video on it.
Fabric Giveaway
Enter our monthly fabric giveaway. Simply complete the tasks daily and you will be entered into the drawing. Winner will be randomly drawn on the first day of the month and notified via email