July 4th Free Quilt Block Patterns: Easy and Fun
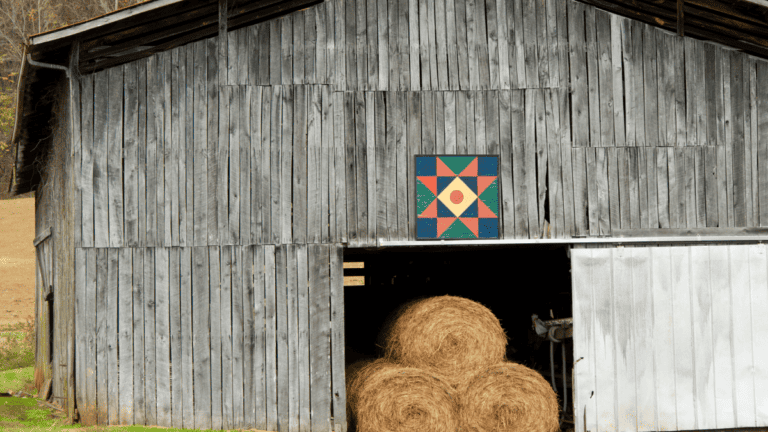
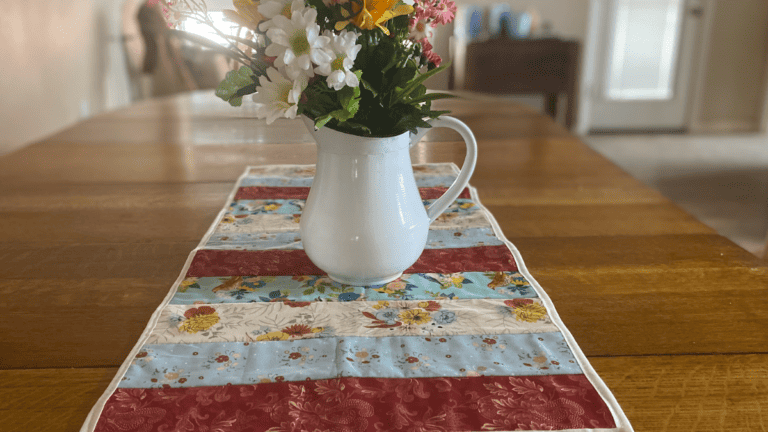
A quilt block with a flag doesn’t have to be July 4th, but they are so much fun this time of the year. This July 4th free quilt block patterns is a perfect addition to your July 4th decor.
You can simply make the block pattern and frame or make several blocks and create a mini to king-size quilt.
If you have only sewn clothes or home decor, quilting doesn’t require any fancy sewing machines. It’s simply putting strips or blocks of fabric together to create a beautiful picture.
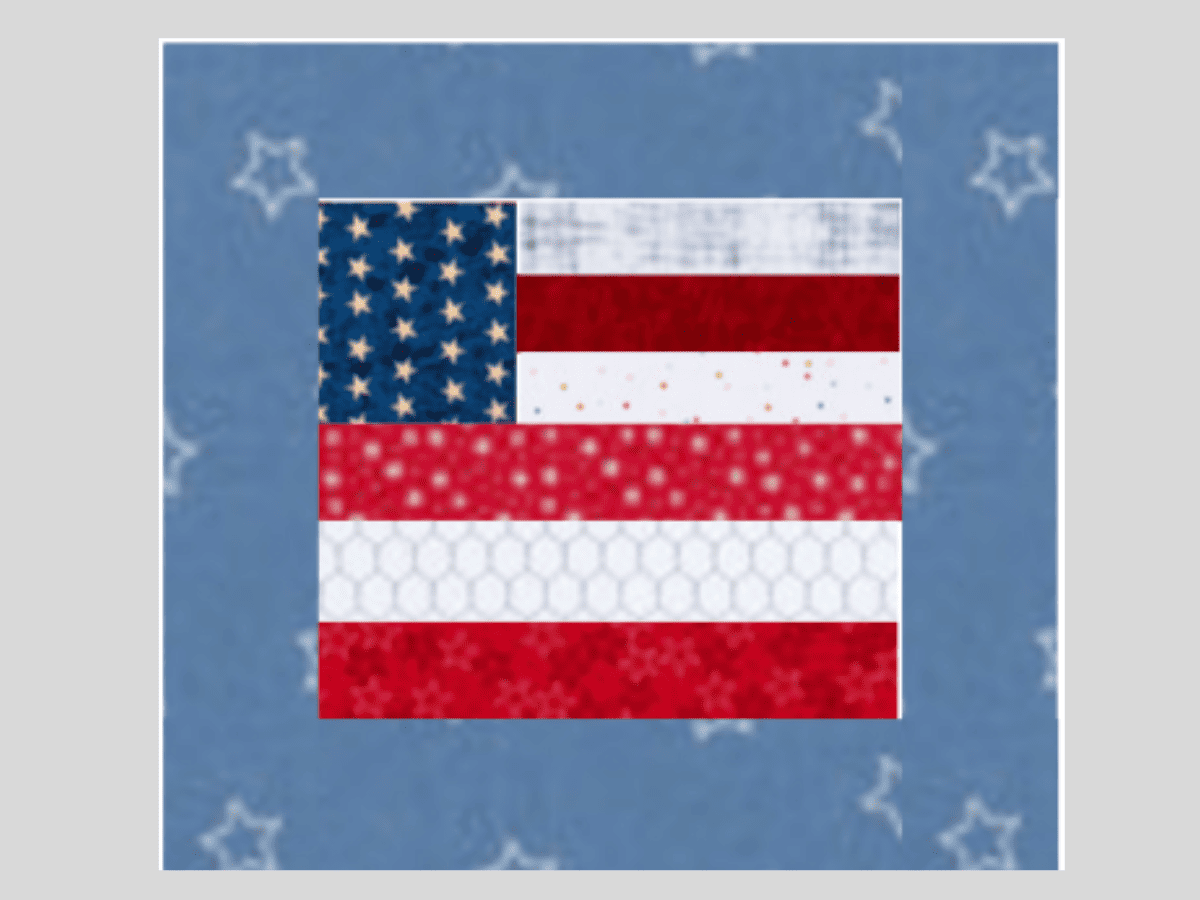
Here’s a photo of this month’s free quilt block. You can download the PDF pattern from the sewing library.

Table of Contents
Supplies for July 4th Free Quilt Block Patterns
- Red/White star fabric
- Blue star fabric
- 3 red fabrics
- 3 white fabrics
- Border fabric
- Sewing Machine
- Backing (optional)
- Magnetic guide for machine
- Rotary Cutter or Scissors
- Cutting Mat
- Quilting ruler
Directions for July 4th Free Quilt Block Patterns
Cut your pieces
- One 3½” square blue fabric
- One strip of 1½” x 3½” red fabric
- Two strips, 1½” x 6½” red fabric
- Two strips, 1½” x 3½” cream or white fabric
- One strip, 1½” x 6½” cream or white fabric
- Two strips, 1½” x 6½” background fabric
- Two strips, 1½” x 8½” background fabric
Sew your pieces
I have numbered each piece to help you as you start to put your pieces together. Each seam is a 1/4″ seam allowance, and you will want to press after each time you sew.
You will always set your seam by pressing the seam you have just sewn and then press the seam towards the darker color. That helps keep your seam from showing through on lighter fabric.

Sew your strip 1 to 2. Make sure you set your seam and then press your seam towards #2. You will always press your seam towards the darker seam.
Now attach seam 1/2 to 3 again with a 1/4″ seam allowance and set your seam and press the seam towards the red fabric.
Furthermore, you are now ready to sew the strip 4 to 5 making sure you set the seam and then press it towards the red fabric and then sew the 4/5 to #6 strip using a 1/4″ seam allowance.
I do love using the sewing magnet because it keeps all my seam allowances straight and it guides your fabric. My daughter will tell you that this is the only way she can sew a straight seam, LOL.
With the right sides together, you want to sew the blue starred fabric to your 3 smaller strips using a 1/4″ seam allowance and then set your seam and press towards the blue fabric.
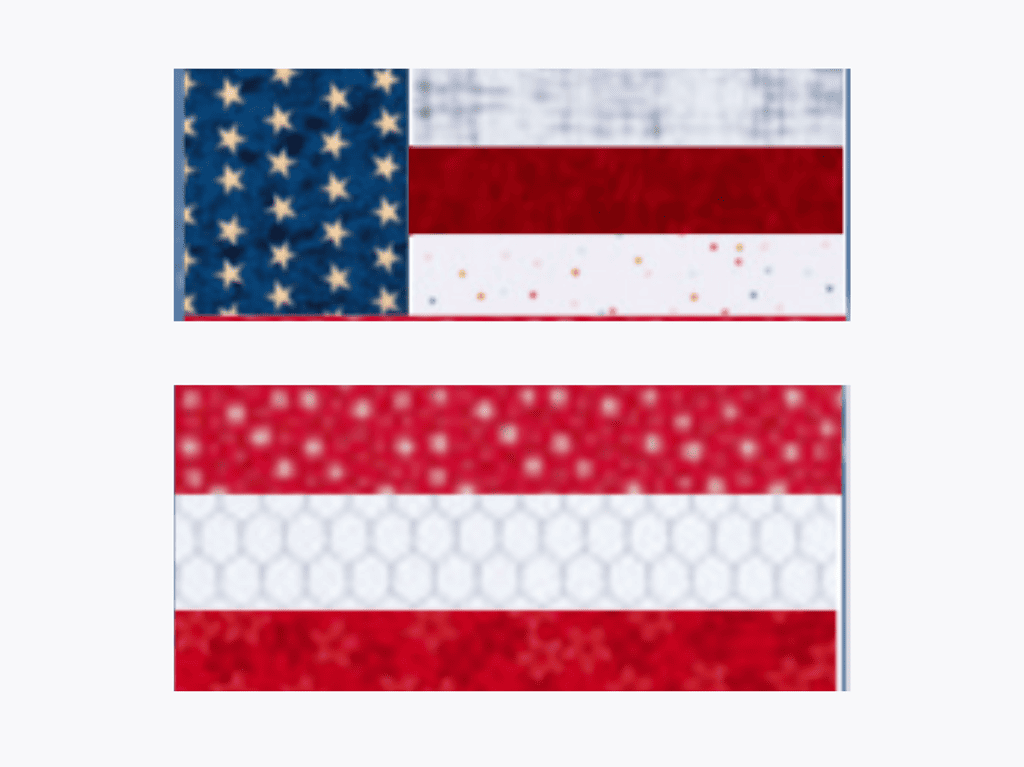
Now you want to attach your top piece to your bottom piece again using a 1/4″ seam allowance. Set your seam and then press the seam toward the bottom strips.
Attach your borders
Great job, you are nearly done with your quilt block. Now let’s get your borders attached.
First, you want to sew on your side borders using a 1/4″ seam allowance. Set your seam for each one and press the seam towards the border strips.
Finally, you want to attach your top and bottom borders and set your seam and press the seams toward the border strips
How You Can Finish Off Your Quilt Block
You can simply leave it as is and put it in a frame or you can create a quilt, wall hanging, or even a pillow. The possibilities are endless.
You can download the PDF version of this quilt block from our sewing library.

Fabric Giveaway
Enter our monthly fabric giveaway. Simply complete the tasks daily and you will be entered into the drawing. Winner will be randomly drawn on the first day of the month and notified via email