How to Thread a Sewing Machine in 7 Easy Steps
After buying a sewing machine, the next questions will become: How to thread a sewing machine. Today, we are going to walk you step-by-step guide through the process.
Each machine can be a little different, so make sure you also read your sewing machine manual that came with your sewing machine.
In some rare case, your machine didn’t come with a user manual, you can usually download one from their website or by simply searching on Google for the name of your machine and add sewing machine manual PDF.
I also found a post that has a link to most of the sewing machine companies and a link to their manuals
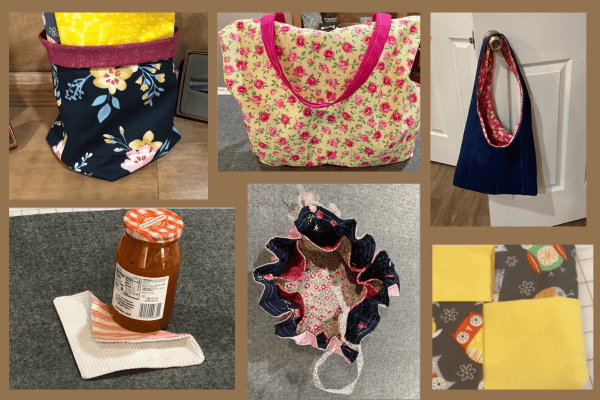
So, if you are ready, let’s get started. Once you get your sewing machine threaded, make sure to check out our sewing classes which include some fun sewing projects like:
- Fabric basket
- Pot Holder
These are just a few of the projects. Our sewing classes membership has the option to receive 2 new projects monthly, including a simple quilt. It includes the PDF with step-by-step directions. It is only $7 monthly and includes between 2–3 projects monthly.
Table of Contents
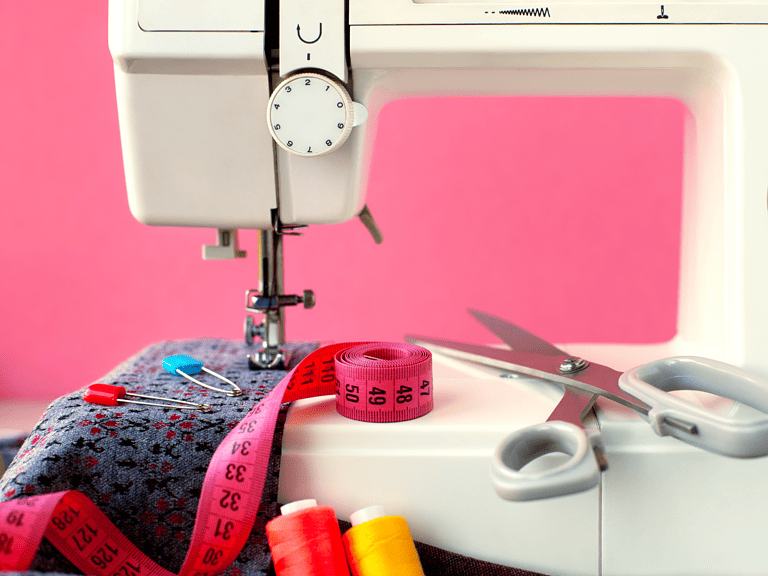
Supplies To Thread a Sewing Machine
How to Thread a Sewing Machine Step-By-Step
Wind your bobbin thread
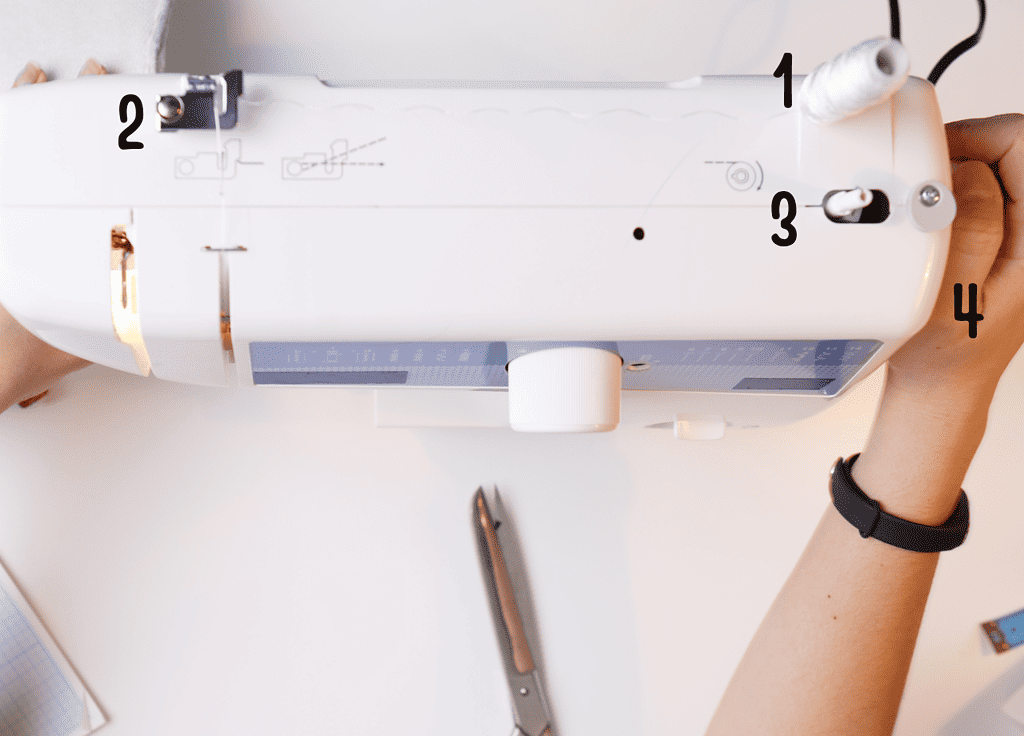
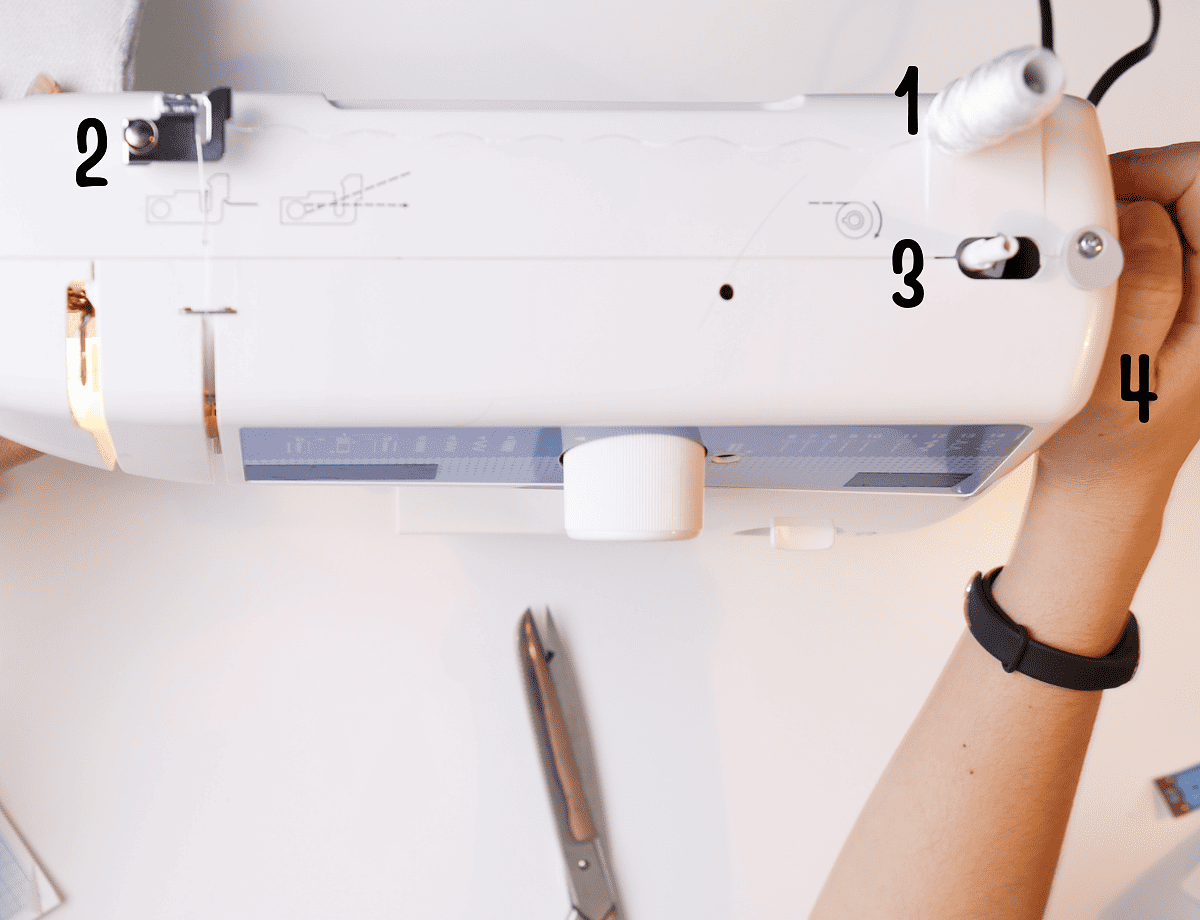
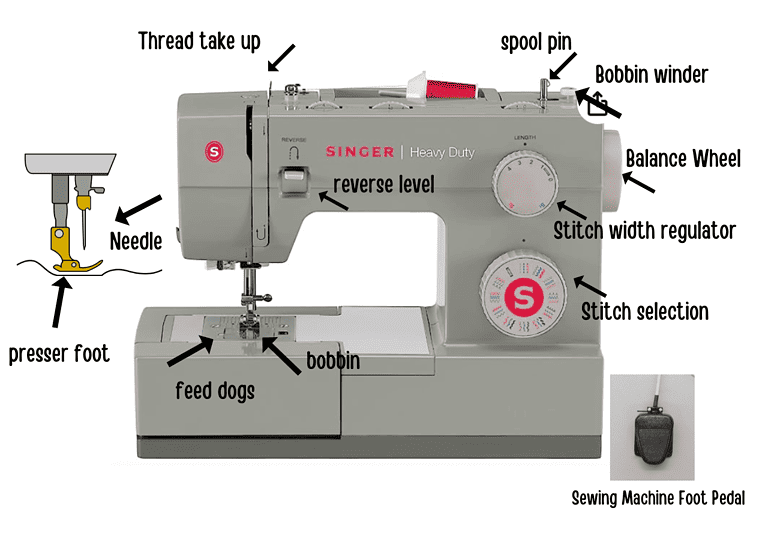
You want to grab your bobbin and a spool of thread. You can see the picture above and use it for a reference. Place your spool of thread on the top of the machine on the vertical spool pin.
Next, you want to insert your thread through #2 on the diagram and then bring the thread back to your bobbin which should be on the top of your machine ready to be threaded. Now, let’s proceed with threading your bobbin using the following steps:
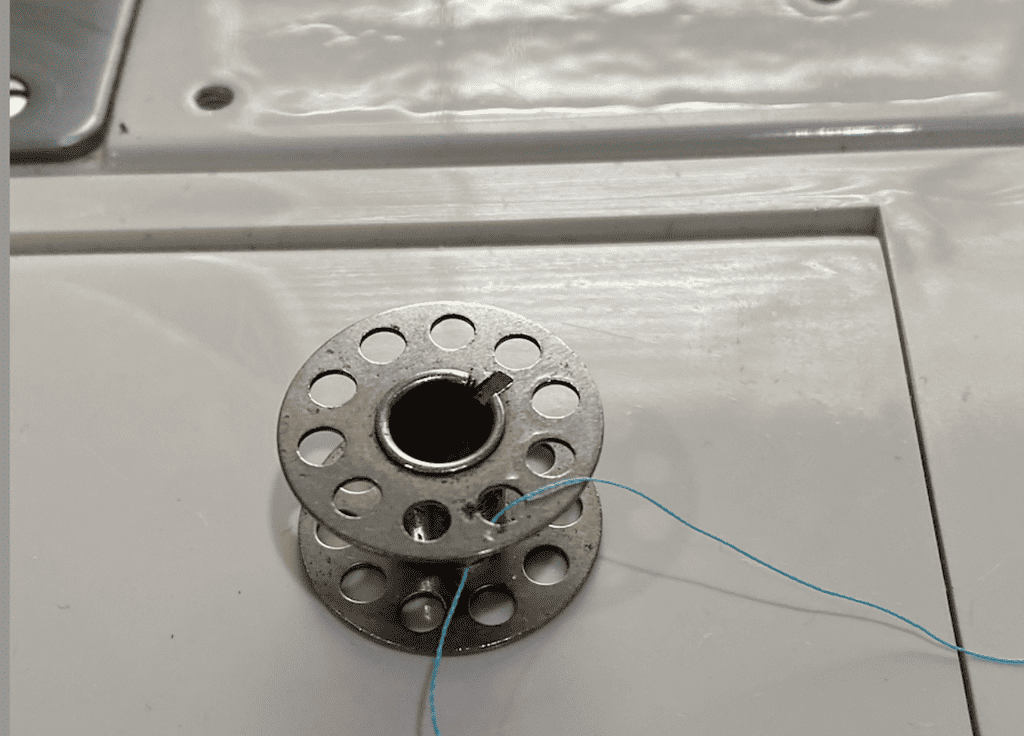
- Position your thread in the center of the bobbin, ensuring it is securely held in place.
- Locate the small hole situated on the top of your bobbin.
- Insert the end of your thread through the small hole, threading it from the bottom up. It is crucial you go from the bottom.
- Pull the thread gently to ensure it is securely in place within the bobbin. You should have 1-2 inches of thread.
Once you have successfully threaded the bobbin, the next step is to place it on the bobbin winding pin, following these instructions:
1. Before placing the bobbin on the pin, ensure that the pin is in the disengaged position, typically located to the left side.
2. Take the bobbin and align it with the bobbin winding pin, ensuring that it fits securely.
3. Carefully position the bobbin onto the pin, making sure it is properly seated and aligned.
4. Once the bobbin is securely placed on the pin, engage the bobbin winding mechanism by pushing the pin to the right. This action locks the bobbin in position.
5. Turn the hand wheel counterclockwise to loosen it. Don’t forget to turn it a clockwise direction after you are finished winding your bobbin.
By following these steps, you will correctly position the bobbin on the bobbin winding pin, ready for the next stages of your sewing process.
To activate the bobbin winding function of your sewing machine, please follow these steps but also don’t forget to check your owners manual as sewing machines have specific directions:
1. With the bobbin securely placed on the bobbin winding pin, push the bobbin to the right until you hear a distinct “snap” sound. This action engages the bobbin winder. If you are using an older machine, the bobbin winder can stop working. If it does, it may be time to have it serviced.
2. Confirm that the bobbin winder is engaged by pressing on the foot controller of the sewing machine. As a safety feature on most modern home sewing machines, the bobbin winder should start winding while the sewing function remains inactive. The needle will not be moving up and down during this process. This isn’t always the case especially with older sewing machines. If you are unsure, ask in a sewing Facebooks group.
3. As you prepare to wind the bobbin, ensure that you maintain slight tension on the thread emerging from the top of the bobbin. This helps prevent the thread from accidentally getting tangled under the bobbin during the winding process.
4. Gradually press the foot pedal, starting slowly, while continuing to hold gentle tension on the thread. This controlled winding process will effectively wind the thread onto the bobbin without any entanglements or snags. You will see the thread going around your bobbin.
By following these instructions, you can safely engage the bobbin winding function and efficiently wind the thread onto your bobbin. When your bobbin is finished winding, you will see it stop, and you can simply cut your thread and place your bobbin in your bobbin case.
Thread Your Machine
If you removed your spool thread from your spool pin, go ahead and put the top thread back in place. If you have a sideways spool pin your machine may tell you to use a spool cap. Check your owner’s manual.
Ensure that your thread is guided through the appropriate channel, which typically runs from the top to the front of your machine. Follow the directional arrows provided to ensure correct threading.
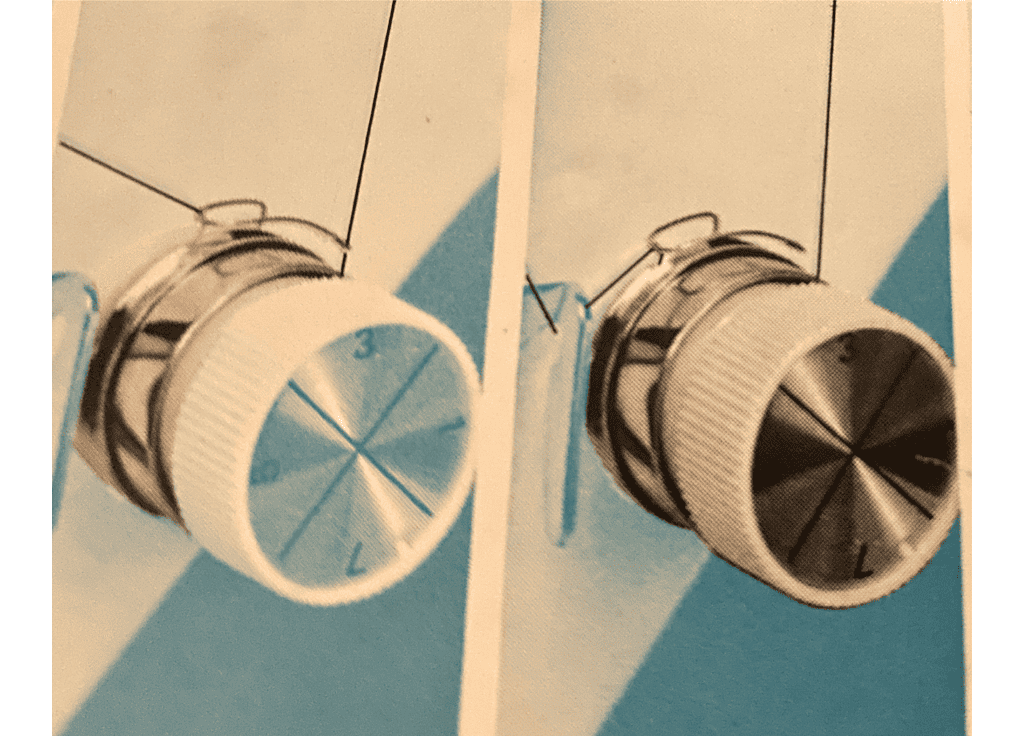
Tension knob
Next, you will thread around the tension discs (tension knob). Your sewing machine may have arrow and if not simple go around it and back down towards your needle.
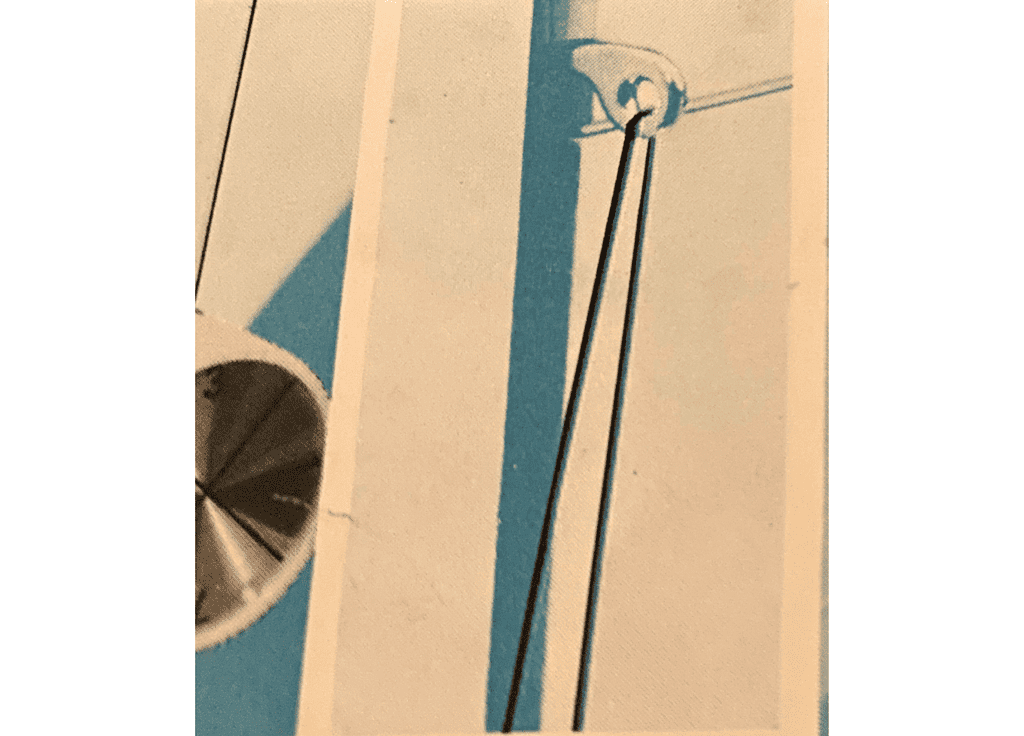
Take-up lever
Now you want to place your thread through the take-up lever. This is the lever that moves up and down and has a hole in the top.
Using your right hand, grasp the handwheel located on the right side of your sewing machine. Rotate the handwheel in a clockwise direction while observing the movement of the uptake lever. This motion will allow the uptake lever to move up and down, facilitating easy threading.
As soon as the uptake lever reaches its highest position, stop turning the handwheel.
Next, carefully insert the thread into the uptake lever, starting from the back of the machine and moving towards the front. Ensure that the thread is positioned correctly within the uptake lever to ensure smooth operation.
Once the thread is securely placed within the uptake lever, proceed to guide it down the channel on the front of the sewing machine, following the designated path.
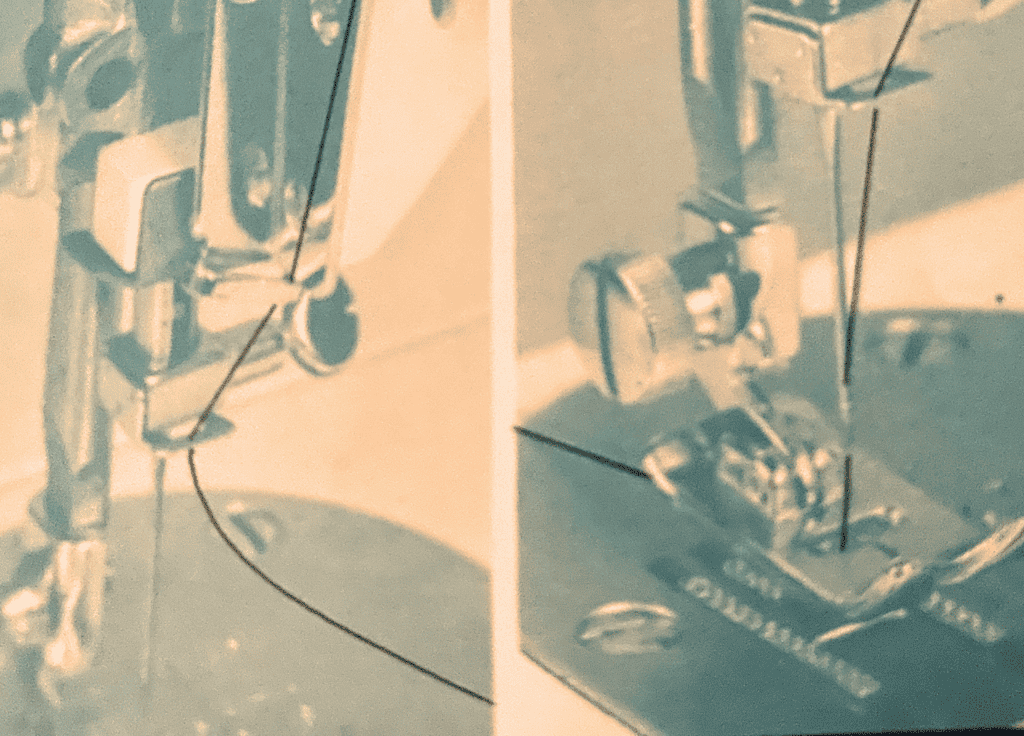
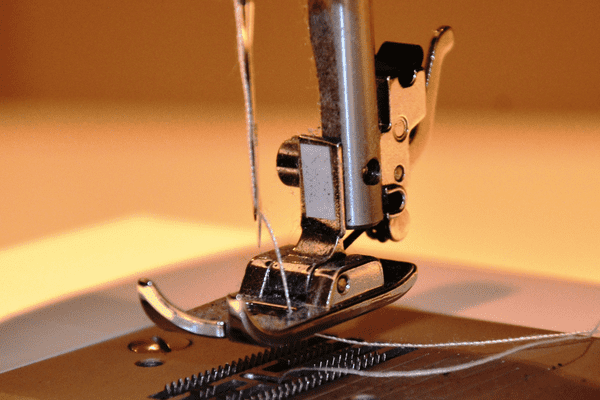
Very Small Hook above Needle
In addition, you may encounter another small hook where your thread will rest before threading your needle. The size and appearance of this hook may resemble the one mentioned earlier, slightly smaller, or it could be identical. The specific design can vary depending on the make and model of your sewing machine.
To get a better understanding of what you should be looking for during the threading process, please refer to the accompanying image below. Keep in mind that not all sewing machines will have two hooks above the needle, but your machine might. Therefore, it’s worth checking for this feature as you proceed.
Needle Eye
Once you have that done, you can then put your thread through the eye of the needle. If you struggle to get your thread to go through a needle threader can help and making sure cut the end of your thread and use a light if needed to see the thread and eye of the needle.
You should have already put your sewing machine needle in. If you haven’t, you will want to do that, obviously before putting it through the eye of the needle. Some machines have an automatic needle threader, and if you do, please read the manual and follow those directions.
This is the last step to having your sewing machine fully threaded and being ready to sew.
- Hold some tension on the thread coming through the presser foot (upper thread).
- While holding that thread with your left hand, slowly begin to turn the hand wheel on the right side of your sewing machine to lower the needle.
- When the needle lowers into the bobbin case, it should hook the thread and draw it back up. It’s the same whether you have a front-loading bobbin or top-loading bobbin
- Gently pull the two threads out to meet and place them behind the presser foot.
You have now successfully fully threaded your sewing machine.
You want a few inches of thread pulled out and put towards the back of the machine. Excess thread is always a good idea to keep your thread in you needle’s eye from coming out. You can test on a scrap piece of fabric to see if you have everything threaded correctly by sewing a straight stitch or 2. If you have any messed up stitches, check out this post on possible issues.
Learning how to thread a sewing machine doesn’t have to be complicated. Most domestic sewing machine have the same basic instructions. Remember to always check the instruction manual for full instructions.
The more you practice how to thread a sewing machine the more it becomes second nature for any basic sewing machine. Singer sewing machine has a great video tutorial we will link below. The YouTube video walks you through most of the steps.
Other brands probably also have video tutorials including Brother sewing machine or someone has done one for you. Simply search YouTube. I do have a general video that walks you through each step that I have posted below.
Remember if you have questions, ask in the Facebook group. Someone can help you with any problems you run into.
Free Sewing Classes
After you have learned how to thread a sewing machine, check out our free sewing classes. there are several projects with PDF instructions. Have fun using your sewing machine.
Fabric Giveaway
Enter our monthly fabric giveaway. Simply complete the tasks daily and you will be entered into the drawing. Winner will be randomly drawn on the first day of the month and notified via email

One Comment