Wondering What Does A Serger Do? We have the Easy Answers
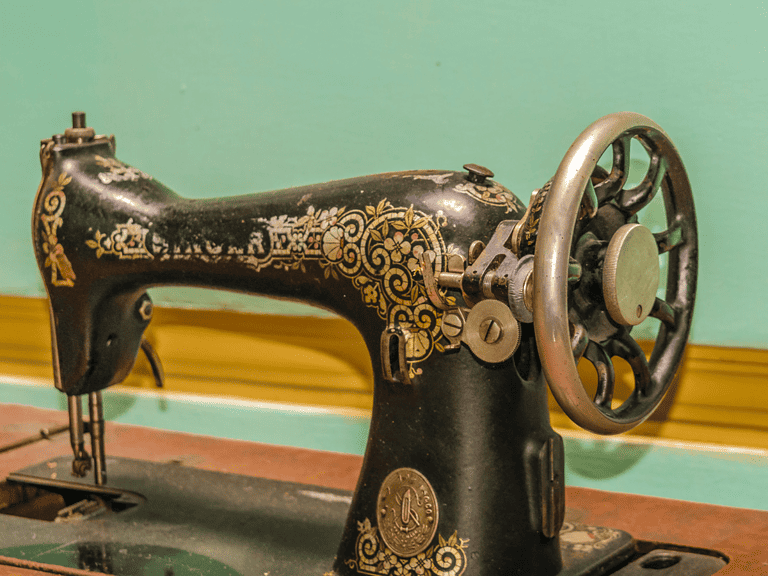
Have you ever wondered what does a Serger do? A serger, also known as an overlock machine, is such a fun addition to your sewing tools.
It’s designed to give your sewing projects a clean, professional-looking finish by trimming and encasing raw edges with an overcast stitch.
Imagine the neat seams you see on the inside of store-bought T-shirts – that’s serger handiwork.
While your sewing machine does a great job with straight and zigzag stitches for assembling pieces, a serger steps in to elevate the final look.
It can work with multiple threads at once – usually two to five – to create strong, stretchy seams.
Plus, sergers can sew at a lightning-fast pace, reducing the time you spend on a project. And here’s the kicker — sergers aren’t just for the finishing touch.
They can also construct garments, add a decorative edging, and even roll hems.
If you’re into making clothes, bags, or anything requiring stretchy or reinforced seams, getting to grips with a serger might just change your sewing game.
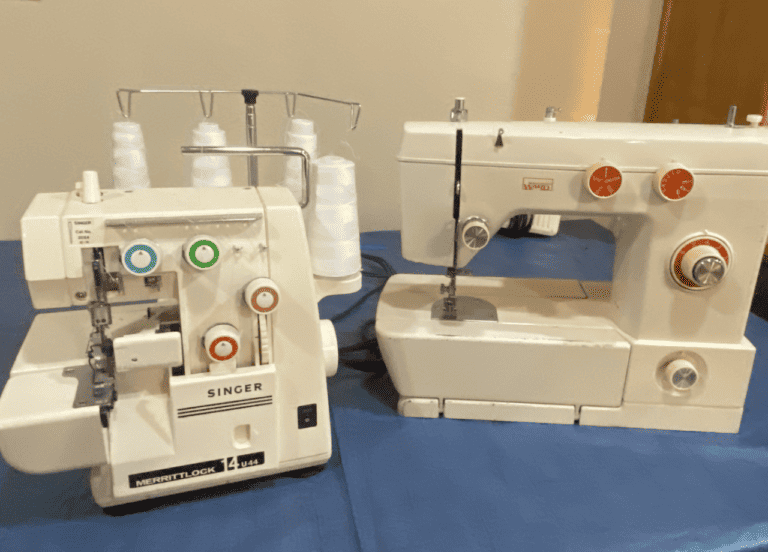
What Does A Serger Do?
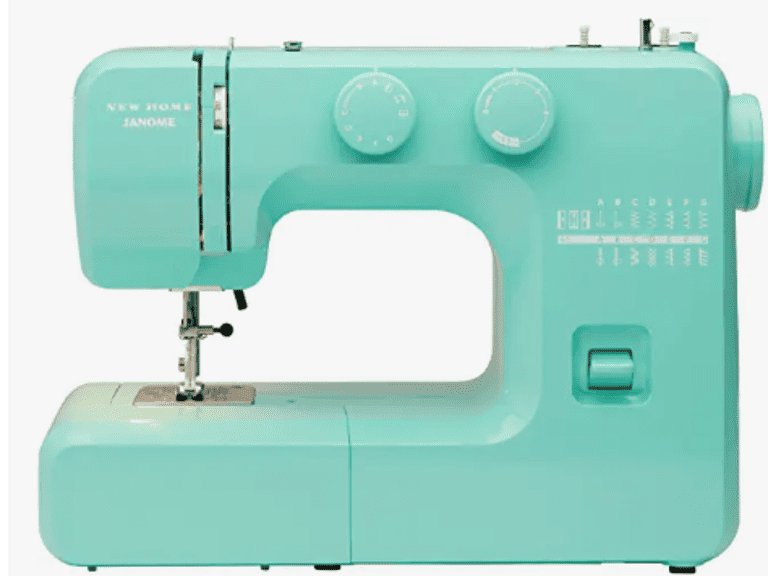
When you’re stepping up your sewing game, a serger, also known as an overlocker, can be a game changer.
It’s specialized for edging, hemming, and seaming, giving your projects a polished, professional look.
The Basics of a Serger Machine
A serger machine is a type of sewing machine that excels at creating strong, durable stitches, specifically the overlock stitch.
Unlike a regular sewing machine, it trims the seam and encloses the seam allowance or edge of the fabric inside a thread casing, all in one step.
Here’s a snapshot highlighting its features:
- Functionality: Primarily used to create clean-finished edges.
- Stitch options: Possesses multiple thread options, usually 2-4, providing different results in terms of seam strength and stretch.
- Blades: Integrated with a cutting blade to trim fabric edges as you serge.
Serger machines are perfect for handling fabrics that fray easily, ensuring your creations are not just good quality, but also built to last.
How Sergers Differ from Regular Sewing Machines
Think of sergers as the close cousins to regular sewing machines, but with a twist. They are different machines designed to complement rather than replace each other. Here’s what sets them apart:
- Speed and Efficiency: Sergers usually operate at a higher speed, churning out finished seams rapidly.
- Complexity: There’s a bit of a learning curve, as threading a serger can be more intricate than a regular machine.
- Stitch Variety: While regular sewing machines offer a wide range of stitches, sergers provide specialized overlock stitches known for their stretch and durability, making them the most important thing for knit fabrics or textiles that need a clean finish.
So, if you’re after that professional, store-bought look, adding a serger sewing machine to your toolkit is a smart move.
With its simple operation-stitching process, your projects will not only be sturdy but also have that polished edge you’ve been seeing on off-the-rack clothes.
Serger Stitches and Seams
Sergers are your go-to when it comes to whipping up professional-looking seams and a variety of stitches with speed and precision.
Let’s dive right in and break down all the nitty-gritty details about the stitches and seams sergers deliver for your projects.
Types of Stitches Created by Sergers
Your serger’s stitch fingers are a big deal. They support the threads as different stitches are formed, helping your projects to have just the right amount of give without unraveling.
Sergers are primarily known for their overlock stitch—a sturdy and stretchy option that wraps around your fabric’s edge. This is your bread and butter for knitwear and anything that needs a little stretch.
- Chain Stitch: Akin to traditional straight stitching but with a serger twist. It’s great for waistbands or anywhere you need a strong singular line of stitching.
- Cover Stitch: Think of hemming your favorite T-shirts; the cover stitch is your friend for creating professional double or triple lines of stitching on the top with a serger-style overlock underneath.
You’ll also find sergers capable of executing decorative stitches.
Your options for creativity here are pretty vast, including zigzag stitches and other decorative stitching patterns. These can add flair to your garments or even serve a functional purpose in reinforcing stress points.
Stitch Length: Adjusting this on your serger can significantly influence the look and strength of your seams, so you’ll want to choose the ideal length for the fabric you’re handling.
Exploring the Serged Seam
The serged seam is all about protecting and polishing the raw edges of fabric.
Sergers trim the excess while they stitch, leaving you with a clean, contained edge.
- Serged Seam: Encompasses both a stitch and a finish, as it wraps thread around the fabric’s raw edge while simultaneously cutting off the excess seam allowance. This means no more fraying, and your seams lay flat and neat inside your garments.
- Edge of the Seam: The serger excels in creating clean-finished edges along the seams of your project, which is essential in preventing the raw fabric edges from fraying over time.
Layers of fabric become one with a serged stitch, making your work durable and stretch-resistant, perfect for clothing that goes through a lot of wear and tear.
Your serged seams will ensure the inside of your projects look just as tidy as the outside.
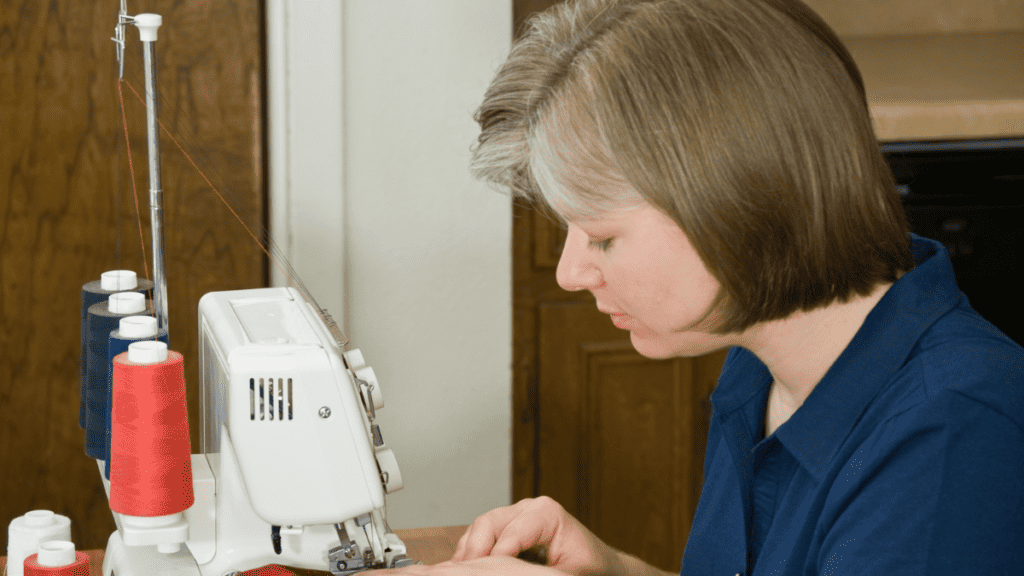
Components of The Serger
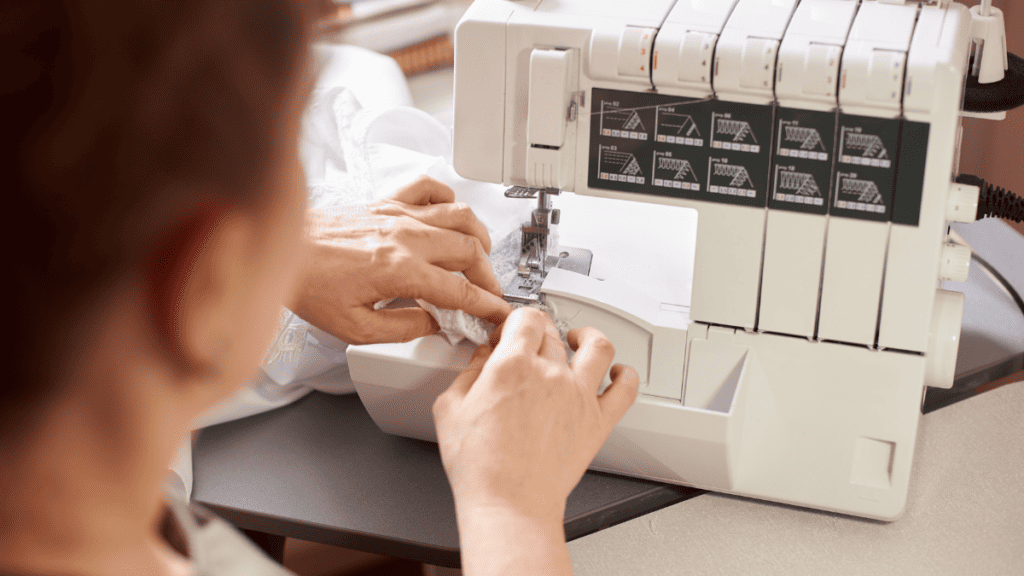
A serger simplifies sewing by neatly finishing the edges of your fabric.
It’s a multitasking machine that uses several spools of thread to create a strong, professionally finished seam that won’t fray.
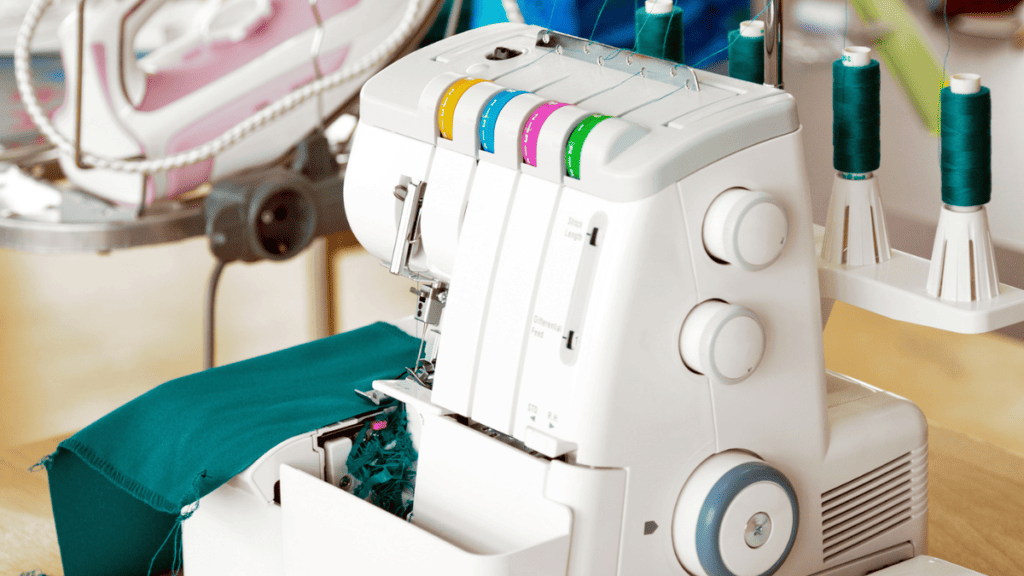
The Role of Loopers and Threads
Your serger is a threading champion, equipped to handle multiple spools of thread—often three or four.
These threads interlace through the use of loopers, which are crucial components.
There’s typically an upper looper and a lower looper thread that work together to create the overlock stitch.
Picture this:
- Upper Looper: Directs the thread over the edge of the fabric.
- Lower Looper: Secures the thread underneath to complete the stitch.
For a balanced stitch, each looper thread must collaborate with the needle thread.
You’ll thread these through designated paths that make sure the serger thread creates the right stitch.
It’s a team effort, and all these loopers and threads have to be in sync.
Adjusting Tension and Using Feed Dogs
Your serger has tension dials for each thread, which you’ll need to tweak to get the perfect stitch tension.
Check them out:
- Tension Dials: Fine-tune the tightness of each thread.
These dials are pivotal, especially when switching to new thread types or weights.
Now, let’s talk about the feed dogs:
- Feed dogs are the metal teeth that pull your fabric through the serger.
- Sergers often have sets of feed dogs.
They work with the differential feed system that allows you to adjust the speed at which the fabric is fed through the machine, ensuring smooth seams on various fabric types.
A steady hand on the differential feed system keeps puckering and stretching at bay.
Use it right, and your fabric edges will roll through like they’re on a leisurely stroll, not a mad dash.
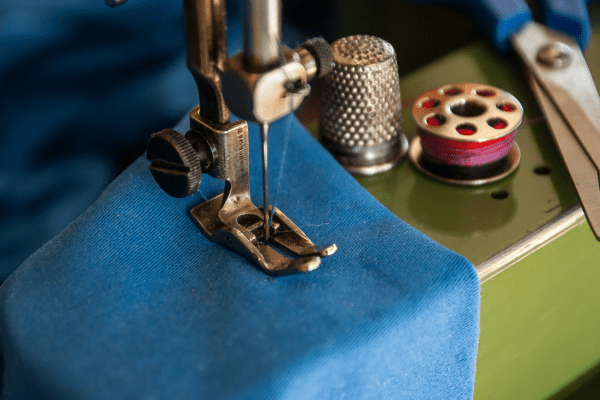
Working with Different Fabrics
When using a serger, the type of fabric you’re dealing with significantly impacts how you approach your project.
Sergers excel at handling the stretch in knits and creating professional-looking seams that withstand stretching and wear.
Best Practices for Sewing Knits and Stretchy Fabrics
When sewing knit or stretchy fabrics, it’s crucial to use the right presser foot and threads to prevent unwanted puckering or stretching.
A serger is particularly well-suited for creating knit garments, as it can sew, trim, and finish a seam in one pass.
- Set your serger for a stretch stitch or an overlock stitch to maintain the fabric’s elasticity.
- Use ballpoint needles specifically designed for knitting to avoid snagging.
- Thread Selection: Use woolly nylon or stretch threads in the loopers for increased flexibility in the seams.
Handling Excess Fabric and Achieving Clean Edges
With a serger, you can easily manage excess fabric and achieve clean edges without extra steps.
- Trimming as you sew: A serger cuts the edge of your fabric, allowing you to remove the excess and seal edges simultaneously.
- Finishes: For a professional-looking edge finish, opt for a narrow rolled hem to neatly encapsulate fabric edges.
- Guide: Adjust the cutting width to ensure the fabric edge is completely enclosed by the stitch.
Use tables to help you determine the ideal settings for different fabrics:
| Fabric Type | Needle Type | Stitch Selection | Thread Type |
|---|---|---|---|
| Knit | Ballpoint | Overlock Stretch | Woolly Nylon |
| Stretchy | Stretch or EL | Narrow Rolled Hem | Stretch Threads |
Keep your fabric feed consistent to prevent unwanted gathering or stretching, checking the fabric type and adjusting the differential feed accordingly.
Advanced Techniques and Decorative Options
When you’re ready to level up your serging game, exploring advanced techniques and trying out decorative options can give your projects a unique twist and a professional finish.
Let’s dive into some of the ways you can achieve that.
Exploring Decorative Techniques with Sergers
Your serger is not just for edges! It’s a versatile tool that can add flair to any project.
Have a go at the wave stitch for an eye-catching trim or border. It’s a great way to add texture and interest to your work.
To try out different looks, play with various decorative threads in the upper and lower loopers.
You’ll see how a simple switch can drastically change the appearance of the stitch.
- Flatlocking: An easy way to create decorative seams that lie flat.
- Roll hems: Perfect for a delicate and clean finish on lightweight fabrics.
- Pintucks: Using a serger for pintucks can yield subtle yet beautiful texture.
These techniques can be easily achieved with most serger models, but ensure you consult your machine’s manual for the best option regarding specific settings.
Utilizing Complex Sergers for Professional Finishes
If you’re aiming for that crisp, professional look, a 5-thread serger might be your best option. It allows for the creation of strong, durable seams alongside a neat overcast edge in one pass.
Industrial sergers bump this up even further, with faster sewing speeds and additional stitch options for high-volume projects.
- Beginner tip: Start with a 3 or 4-thread serger before tackling the complexity of 5-thread options.
For professional finishes, consider these advanced capabilities:
| Stitch Type | Description | Ideal Use |
|---|---|---|
| 5-Thread Safety Stitch | A combination of overlock and chain stitch | Seam reinforcement |
| Coverstitch | Creates professional-looking hems and topstitching | Knitwear and activewear |
Remember, while these options add versatility, it’s important to practice and become comfortable with each technique.
Your serger model’s manual is a treasure trove of specific guidance on making the most of these features.
Choosing the Right Serger
When you’re in the market for a serger, it’s crucial to strike a balance between affordability and quality to find the best match for your sewing needs.
Finding the Best Serger for Home Use
For home sewists, the best serger is one that combines ease of use with versatility. You’ll want a machine that’s:
- User-friendly: Look for sergers with simple threading mechanisms and clear instructions. A color-coded threading guide can be a lifesaver.
- Versatile: Ensure the serger can handle a variety of stitch types. At a minimum, it should offer 3-4 thread overlock stitches.
Consider popular brands known for their reliability and support:
- Baby Lock: Renowned for robust machines with patented features, perfect for sewers at any skill level.
- Brother: Offers a range of affordable and beginner-friendly sergers, with ample online tutorials available.
- Singer: A well-established brand with models that are a good mix of affordability and stitch quality.
Practical Tips for Serger Owners
To get the most out of your serger, you need to focus on maintenance and know-how to troubleshoot common issues.
Maintaining Your Serger for Optimal Performance
Regular Cleaning: Your serger works hard and collects lint and debris.
Before each use, use a lint brush to clean out the area under the stitch plate. This prevents clogs and preserves your machine’s health.
Lubrication: Keep your serger running smoothly by applying sewing machine oil to the moving parts.
Always check your manual for the correct oiling method and frequency.
Needle Change: Swap out dull or bent needles. Doing so will enhance your stitch quality and protect your fabric from damage.
| Maintenance Task | Frequency | Tip |
|---|---|---|
| Clean lint | Before each use | Use a lint brush |
| Oil machine | As per manual | Only use sewing machine oil |
| Change needles | After 8 hours use | Ensure correct needle type |
Thread Quality: Use high-quality threads to minimize breakage and tension problems.
If you see loops in your stitches, re-thread your machine as it might be a sign of incorrect threading or tension imbalance.
Common Troubleshooting Scenarios
Skipped Stitches:
If your serger skips stitches, check for a damaged needle or incorrect threading.
Test with a new needle and re-thread if needed.
Thread Breakage:
When threads break, first inspect the thread path for snags.
Then, adjust the tension dials as it might be set too high for the thread you’re using.
| Troubleshooting | Possible Cause | Action |
|---|---|---|
| Skipped stitches | Bent needle | Replace needle |
| Thread breakage | High tension | Adjust tension dials |
Remember, most serger problems are due to threading issues or incorrect settings.
When you’re in doubt, re-thread and reset your serger to the standard settings and begin troubleshooting from there.
If you need more detailed instructions or support, don’t hesitate to take a closer look at your user manual or seek online tutorials that can guide you through the specifics.
Fabric Giveaway
Enter our monthly fabric giveaway. Simply complete the tasks daily and you will be entered into the drawing. Winner will be randomly drawn on the first day of the month and notified via email