What Is A Serger? Easy Sewing Guide For Beginners
What is a Serger? A serger, also known as an overlock machine, is a type of sewing machine designed to give your sewing projects a professional-looking finish.
Imagine the clean, bound edges inside store-bought clothes that stop fabric from unraveling – that’s what a serger does. It trims the edge and encloses the seam allowance all in one step, typically working with three, four, or even five threads for durability.
When you’re ready to step up your sewing game, adding a serger to your toolkit opens a world of possibilities.
Unlike traditional sewing machines, sergers can create stretchy seams perfect for activewear, lingerie, and swimwear, all while executing those clean edges and decorative touches.
Getting the hang of a new machine, however, comes with a learning curve. But don’t let that put you off; once you get the hang of threading and adjusting the tension, you’ll wonder how you ever managed without one.
Whether you’re whipping up a jersey tee or assembling the layers of a quilt, a serger could become your go-to for strong, stretch-resistant seams and those flawless, frill-free edges.
What Is A Serger?

Before we jump in, know this: a serger is a specialized machine that’s all about creating clean-finished seams and edges, setting it apart from its sewing machine cousin.
Serger vs Sewing Machine
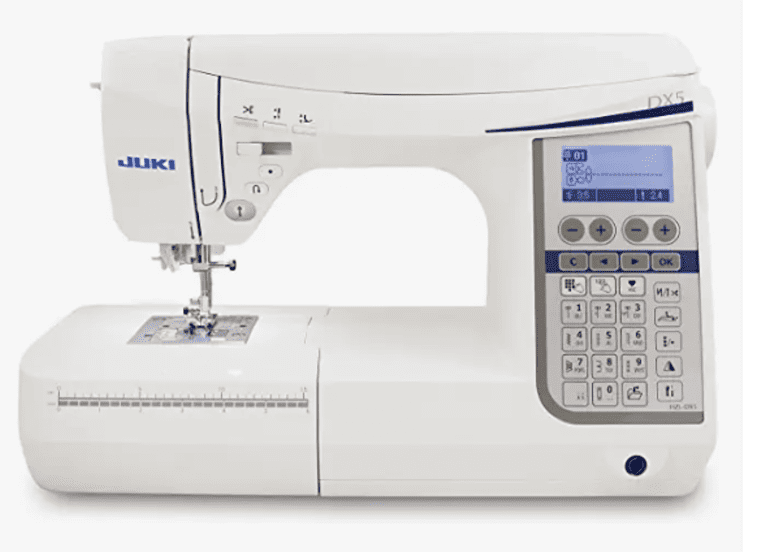
When you’re eyeing a serger, remember you’re looking at a machine built for speed and precision—this isn’t your standard sewing machine.
Sergers, also known as overlock machines, use multiple threads—typically 3 or 4—and have a looping mechanism to wrap thread around the fabric edge. This tightly cut and finishes edges all in one swoop.
- Stitches: Sergers produce an overlock stitch; think of the loops on the inside of your t-shirt hem. Regular sewing machines stitch one thread at a time, with a straight or zigzag pattern being the limit for most edges.
- Cutting blade: Your serger’s built-in blade trims the fabric edge before it stitches, ensuring a neat finish that regular machines can’t achieve in one step.
- Speed: Sergers leave regular sewing machines in the dust. They’re racehorses, fast and efficient, perfect when you’ve got piles of fabric to finish.
Evolution of the Overlock Machine
The overlock machine, the handy crafter behind your fraying fears, has come a long way. It evolved from a simple concept to the complex industrial sergers that you see in large operations, and they’ve carved out a niche in the home sewing room as modern machines too.
- Early Days: Initially, overlock machines were industrial, meant for the rapid production environment where durability and speed were paramount.
- Modern Twists: Modern machines have adapted with features like differential feed for preventing unwanted stretching or gathering and easy-threading capabilities for hassle-free setup.
- Home Use: Now, sergers are staples in many home sewing rooms for their ability to give garments that professional touch that’s so hard to replicate with a regular machine.
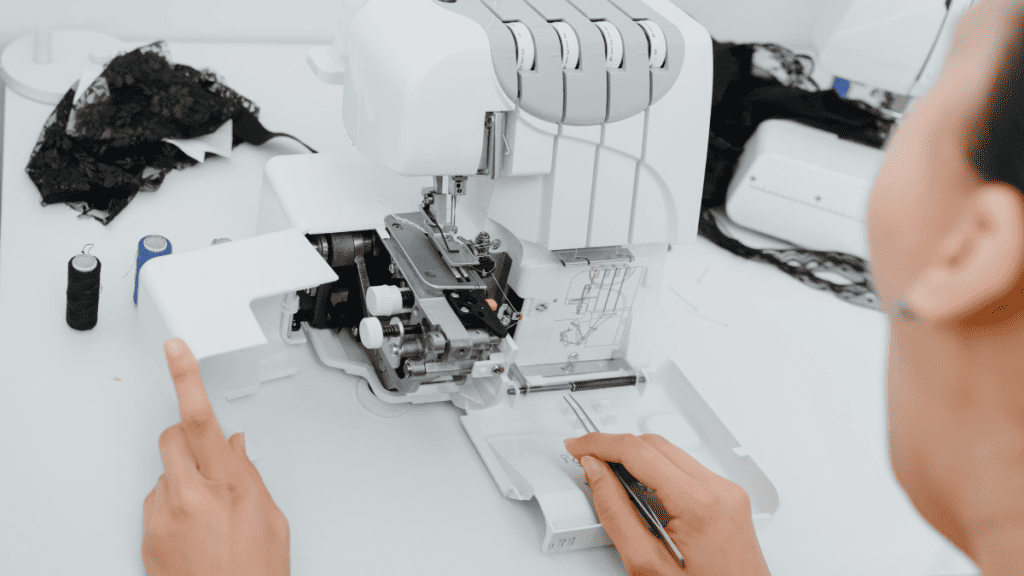
Features of a Serger

A serger, often referred to as an overlock machine, comes equipped with a unique set of components that enable it to trim and enclose an edge in a thread casing, all in one swoop. The elements that give a serger its robust functionality include multiple thread spools and specialized systems for creating a variety of stitch patterns.
Looper System and Needle Threads
Your serger has a looper system which is the heart of its operation. The lower looper and upper looper work in tandem to create loops that interlock with the needle threads from above.
Typically, you can work with 3 to 8 different threads at once, allowing for a strong and flexible overlocking stitch. This multi-thread characteristic is what sets your serger apart from regular sewing machines.
Tension Dials and Differential Feed
The tension dials control the tightness of the threads, which is paramount for achieving the desired stitch quality. You’ll find individual tension dials for each thread, allowing you to refine the stitch balance precisely. Additionally, the differential feed mechanism adjusts the movement of the feed dogs. This lets you smoothly handle fabrics of varying thicknesses and elasticity without unwanted stretching or puckering.
- Differential Feed: Adjusts the speed at which fabric is pulled through the machine
- Tension Dials: Allows fine-tuning of thread tension
Adjustability and Stitch Variations
You have the freedom to manipulate both the adjustable stitch length and stitch width on your serger to suit your project’s needs. This adjustability is critical when you’re working across different fabric types and weights.
What’s more, you can explore a multitude of stitch variations, from secure seams for stretchy fabrics to decorative edges. The ability to customize using various stitch types and selecting the appropriate number of threads contributes greatly to your serger’s versatility.
Benefits and Uses

When you’re tackling sewing projects that involve a variety of fabrics, a serger can be your go-to machine for creating clean, professional-looking seams. Let’s explore why a serger is such a valuable addition to your sewing arsenal.
Why Choose a Serger Over a Regular Machine
A serger, or overlock machine, offers you advantages that a regular sewing machine doesn’t. First off, serged seams are incredibly durable, making them ideal for garments that endure a lot of wear and tear. Here’s a quick rundown:
- Speed: Sergers work at high speeds, letting you finish edges swiftly.
- Clean Finishes: They trim raw edges as they go, which means you get neat finishes in one pass.
- Stretchy Fabrics: If you’re sewing knits or stretch fabrics, sergers manage these with ease. Their loopers create a stretchable chain of stitches that won’t snap.
- Versatility: They handle a wider variety of fabrics, including lightweight and delicate ones, without puckering.
Handling Different Fabrics and Projects
Your serger isn’t limited to just knit and stretch fabrics; it’s quite the all-rounder. Observe:
Stretchy Fabrics
- Knit Fabrics: They are notorious for being tricky. Your serger, however, maintains the stretch without the dreaded ‘lettuce edge’.
- Stretch Fabrics: The elasticity in these fabrics requires a seam that can stretch—sergers nail this requirement.
Variety of Fabrics
- Lightweight Fabrics: A serger wraps the edge neatly, preventing fraying that often occurs with finer fabrics.
- Raw Edges of Fabric: Say goodbye to fraying; the serged seam wraps these edges securely within the stitching.
Mastering the Serger
Getting to grips with a serger can be quite a ride, but once you’ve tackled the learning curve, you’re in for a powerful enhancement to your sewing arsenal.
Remember, a Serger sewing machine is different from your regular sewing machines, so don’t hesitate to invest a bit of time and patience during your first few encounters with one.
Learning and Practice
When you first sit down with your serger, it might seem intimidating. Initially, threading can seem complex compared to standard sewing machines, and understanding the tension on multiple threads takes a little getting used to. Here’s a quick rundown to kickstart your journey:
- Take the time to read the manual, even if it’s dry — it’s your bible here.
- Begin with simple projects that allow you to get a feel for the machine’s pace and functions. Quick tip: Napkins or simple scarves are great starters!
- Always practice on scraps before moving on to your actual project to save the heartache of a botched job.
- Don’t rush. Speed control is crucial, so start slow.
- Understand that every serger is different, so switch between different machines only if you’re comfortable.
Troubleshooting Common Issues
No matter the quality of your serger, you might run into some hiccups — it’s a normal part of the learning process. Keep these pointers in mind when troubleshooting:
- Loose Stitches: Re-thread your serger. This solves the majority of stitch quality problems, especially if you’re using it for the first time.
- Breaking Threads: Check for replacement parts like needles and loopers. Good quality parts ensure fewer thread breaks.
- Skipped Stitches: Examine the needle. Swapping it out may just do the trick if it’s bent or dull.
- Tension Issues: Adjust the tension dials one at a time, testing on scrap fabric to achieve balanced stitches.
Always keep your machine’s manual handy for specific troubleshooting related to your model. With each project, you’ll get more intuitive about the adjustments and fixes needed for smoother serging.
Creative Applications
When you’re looking to add a dash of flair or a professional touch to your projects, your serger is your go-to buddy. Let’s break down how you can make the most of your serger for both decorative and professional finishes.
Decorative and Specialty Stitches
Chain Stitch: The chain stitch is your ticket to creating a flowing line of thread that’s both decorative and durable. Use it for beautiful topstitching or a stand-alone decoration. Here’s a quick way to try it:
- Thread your serger for a chain stitch (check your manual for guidance).
- Select a contrasting thread for visibility.
- Practice on a scrap of fabric to adjust tension settings.
- Stitch away on your project for an instant decoration.
Cover Stitch: Ideal for hems, cuffs, and necklines, the cover stitch gives you that neat, ready-to-wear look. Plus, it stretches, making it perfect for knit fabrics too. Here’s a simple checklist:
- Select cover stitch settings on your machine.
- Fold your fabric accordingly for hems or edges.
- Serger welds the fabric edge with a clean finish.
5-Thread Sergers: These are the powerhouses, combining the strength of a safety stitch with the flexibility of a serger. You’ll find they make decorative techniques robust and give your items a longer life with their professional-grade seam security.
Professional Finishing Techniques
Decorative Techniques: Mix and match threads and use different stitches to bring a creative edge to your work. For example:
- Narrow Rolled Hem: Perfect for light fabrics, giving a delicate, professional edge to scarves or napkins.
- Experiment with serger stitches for various textures and effects, like using a flatlock stitch for a unique seam finish.
Professional Finishes: Your serger isn’t just for looks; it’s a tool to achieve those coveted clean lines and strong seams that scream “boutique”. Some top finishes include:
- Flatlocking: Lay it flat for a smooth, no-bulk seam that’s as good-looking as it is functional.
- Secure Edges: Prevent fraying and keep those fabric edges neat, even on the most ragged materials.
By mastering these stitches and techniques, you’ll take your projects from homemade to handcrafted with a high-end feel.
Serger Resources

Here are more resources to help you learn about a Serger sewing machine.
Fabric Giveaway
Enter our monthly fabric giveaway. Simply complete the tasks daily and you will be entered into the drawing. Winner will be randomly drawn on the first day of the month and notified via email