How To Use A Serger 5 Easy Steps For Beginners
A serger machine, also known as an overlock machine, is a versatile addition to your sewing toolkit. You may wonder though, how to use a serger.
If you have a passion for sewing, a serger can elevate your projects with professional finishes that just can’t be achieved with a regular sewing machine.
Whether you’re a home sewist or someone who’s just starting out, understanding how to use a serger opens up a new world of possibilities for crafting garments, home décor, and more.
Understanding Sergers
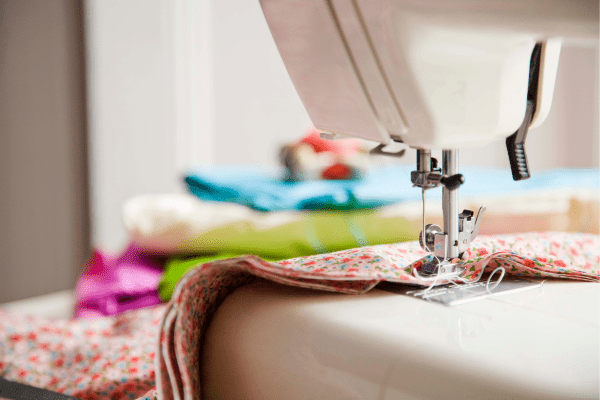
Sergers are distinct from traditional sewing machines in that they can trim, seam, and finish an edge all in one swift motion.
This specialized type of sewing machine uses multiple threads to wrap around the fabric edge, which prevents fraying and creates a clean, stretch-resistant seam.
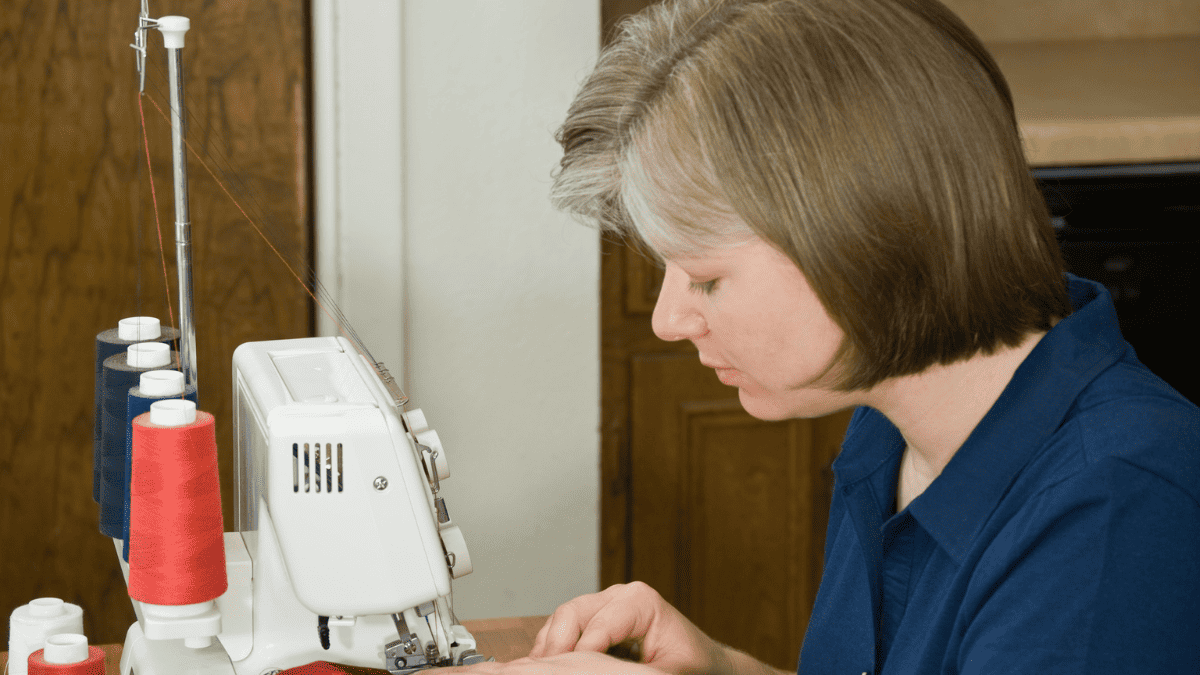
While they may seem daunting at first glance with all their spools of thread and needles, there’s no need to be intimidated. You’re in the right place to embark on your serger sewing journey.
Remember, it’s just a matter of threading, balancing tensions, and practicing the use of different stitches.
Once you master the basics, your serger will become indispensable for adding durability and a professional touch to your creations.
Serger Vs. Regular Sewing Machine
Unlike a regular sewing machine that most often does straight stitch to assemble pieces of fabric together, a serger trims and encloses the seam allowance all in one go.
It’s a great way to prevent fraying, with the ability to sew a seam, trim the excess, and overcast the edge with up to five threads for a stronger seam.
Components of a Serger
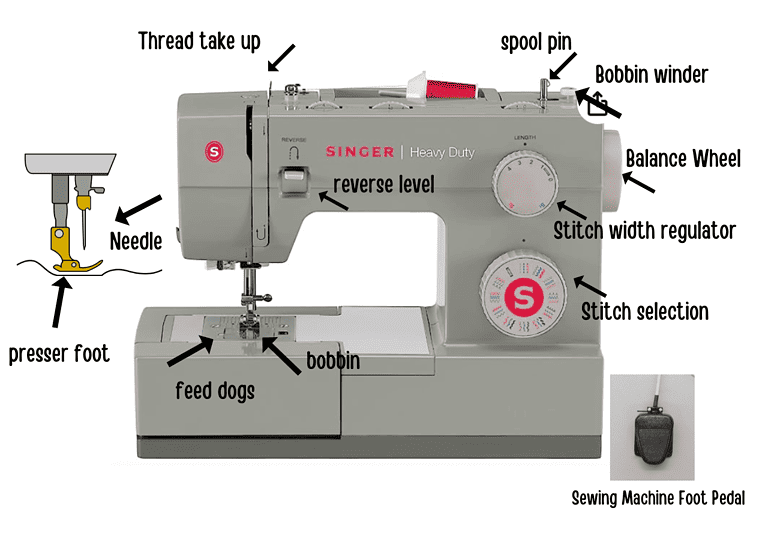
Your serger has several key parts:
Two loopers (upper looper and lower looper) intertwine the threads for secure stitches,
tension dials or discs to adjust thread tightness,
feed dogs that pull the fabric through the machine efficiently, and a
presser foot that holds your material in place.
The foot pedal controls the operation speed.
Types of Sergers
There are different types –
overlocker machines for basic edge finishing,
coverstitch machines for hems and decorative stitching, and
industrial sergers for heavy-duty projects. Juki machines are a popular choice due to their reliability and range of features.
Setting Up Your Serger
Setting up involves consulting your user manual to place spools of thread onto their holders and threading your serger according to instructions.
Correct threading is crucial, often beginning with the upper looper, then the lower looper, and finally, the needles.
How To Use A Serger Sewing Machine
Basics of serging include understanding how to control stitch length, managing the differential feed to prevent wavy seams or stretched edges, and selecting the right serger stitches for diverse projects.
This could mean using a tight overlock stitch for knits or a rolled hem for delicate fabrics.
Common Serger Stitches
The straight stitch is good for simple seams, while the overcast stitch finishes edges neatly.
A three-thread overlock is versatile, and a rolled hem creates a beautiful edge finish.
The flatlock stitch allows seams to lay flat and is commonly used for sportswear.
Threading & Tension Adjustments
Proper threading in correct order ensures your serger runs smoothly.
Adjust tension by using the tension dials to avoid poor tension, such as looper thread showing on the fabric surface.
Always test on scraps of your project fabric first.
Starting and Finishing a Serger Stitch
When starting, place fabric under the presser foot and begin to serge off the edge, then guide the fabric through.
To finish, serge off the fabric’s edge and continue stitching to create a chain stitch tail. Trim this tail and secure it to prevent unraveling.
Serger Machine Maintenance
Frequent use leads to lint build-up. Make it a habit to clean your serger regularly to prevent common problems.
The maintenance tips from your user manual will often include oiling specific different parts of the machine to keep it running smoothly.
Advanced Serging Techniques
Once you’re comfortable with basic serging, explore different stitches like decorative threads for a creative touch or a blind hem for almost invisible seams on garments.
Experiment with fabrics and thread colors to customize your different projects.
Tips and Tricks for Efficient Serging
By mastering a few key techniques, you can serg with ease and tackle most projects more efficiently.
Optimizing Thread Use
When you’re dealing with multiple spools of thread, it’s smart to think about conservation.
Thread cones generally last longer than regular spools, and they can be a more economical choice.
If you’re toying with the thread color, try using a different thread on the inside looper for an easy way to conserve your favorite ones. Here’s a breakdown of how to optimize your thread use:
- Right Side Detailing: Use regular or decorative threads on the outside looper for stitches that show.
- Hidden Areas: Economize by using less expensive thread on the inside looper for seams that will be hidden.
Perfecting Tension and Stitches
Adjusting tension dials is crucial for good quality seams, but it can be tricky.
Your serger’s stitch book is a fantastic reference to get settings right for a variety of fabrics.
If you notice poor tension or fabric rippling, fiddle with the tension discs to sort it out. Here’s a quick guide:
- Stretchy Fabrics:
- Decrease tension for smooth edges on fabrics like Lycra.
- Knit Fabrics:
- A slight increase can prevent wavy seams.
Remember to test on scraps of the same fabric you’re working with to ensure you’ve got the perfect tension.
Overcoming Common Challenges
Running into hiccups is part of the process, but they’re nothing you can’t handle.
For raw edges of fabric that seem unruly, your serger is ideal for creating a clean finish.
If you’re dealing with excess fabric, carefully trim it before serging to avoid bulky edges. Tips for overcoming common challenges:
- Uneven Seams: If you see that your stitches are uneven, rethread the machine carefully to fix the issue.
- Skipped Stitches: This often occurs with stretchy fabrics; try a specific stretch stitch or rethreading.
Creative Applications for Sergers
Your serger can do more than just seam finishing. Get creative with your projects using these ideas:
- Decorative Stitching: Spice up any project with a serger do by trying out some decorative stitches.
- Different Ways to Finish: Use a rolled hem to give edges of the fabric a professional look or try out a flatlock stitch for an athletic finish.
Don’t be afraid to experiment with different threads for a unique touch on your serged creations!
Serging Different Fabrics and Projects
A serger can tackle a wide range of fabrics and projects. From sewing stretchy leggings to creating a chic tote bag, mastering your serger will open up a world of creative possibilities.
Let’s look at how to approach different materials and some unique serging projects.
Working with Stretchy and Knit Fabrics
Serging stretchy and knit fabrics gives your garments a professional finish and can help prevent wavy seams.
Differential feed is your best friend here. It allows you to adjust the rate at which fabric is fed through the machine, which is crucial for getting smooth edges on stretchy materials. Here’s a quick tip:
- Reduce the differential feed: This helps prevent stretching the fabric as you serge.
Also, using a ballpoint serger needle will avoid snags and runs in your knit fabrics.
Remember to test settings on a scrap piece of your fabric first to ensure the best results.
Serging Heavy or Delicate Fabrics
For heavy-duty materials like denim, you need a robust machine with sharp, strong needles.
Increase the stitch length for a strong seam that doesn’t gather the heavy fabric.
On the other end of the spectrum, delicate fabrics like chiffon require a gentle touch:
- Use fine needles and threads: To avoid damaging the fabric.
- Lower the presser foot pressure: This prevents the delicate fabric from puckering.
Serging is a great way to prevent fraying on these fabrics and can give a neat, rolled finish on edges.
Unique Serging Projects
Serging isn’t just for hems and seams; it’s also ideal for fun skill-building projects.
Consider crafting a tote bag as a practical application of your serging skills.
You’ll learn how to manage different pieces of fabric and get more comfortable handling bulkier items under the presser foot. Quick serging tips for projects like this include:
- Serge raw fabric edges before assembly: This makes the construction tidier.
- Use decorative thread: For an eye-catching finish on exposed seams or edges.
Different projects will help you explore the full capacity of your serger.
Don’t be afraid to experiment with layers, textures, and various pieces of fabric to discover what you can create.
Learning Resources for Serging
To become proficient with a serger, you’ve got plenty of learning resources right at your fingertips.
From engaging in community discussions to following step-by-step tutorials, select what resonates with your learning style and budget.
Finding Serging Classes and Lessons
Local craft stores often host serging classes. These could range from group classes to one-on-one private lessons.
It’s a great way to get hands-on experience and direct feedback from experienced instructors.
Search for local learning opportunities:
Fabric Giveaway
Enter our monthly fabric giveaway. Simply complete the tasks daily and you will be entered into the drawing. Winner will be randomly drawn on the first day of the month and notified via email