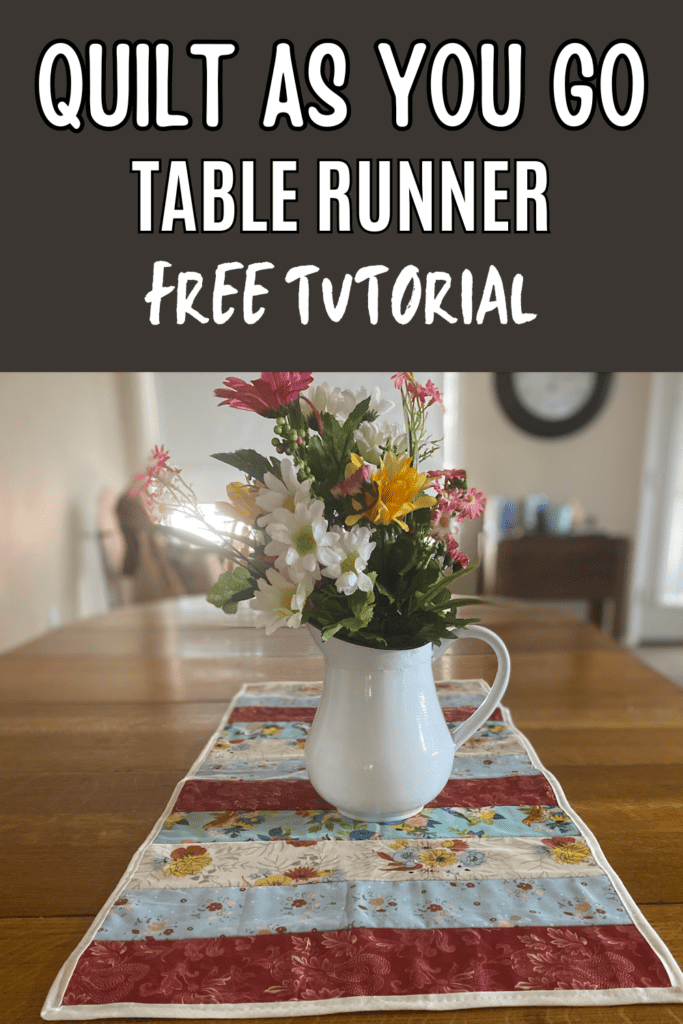
Easy 60 Minute Quilt As You Go Table Runner Pattern
Are you looking for a fun and manageable quilting project to tackle this weekend? Look no further than the quilt as you go table runner!
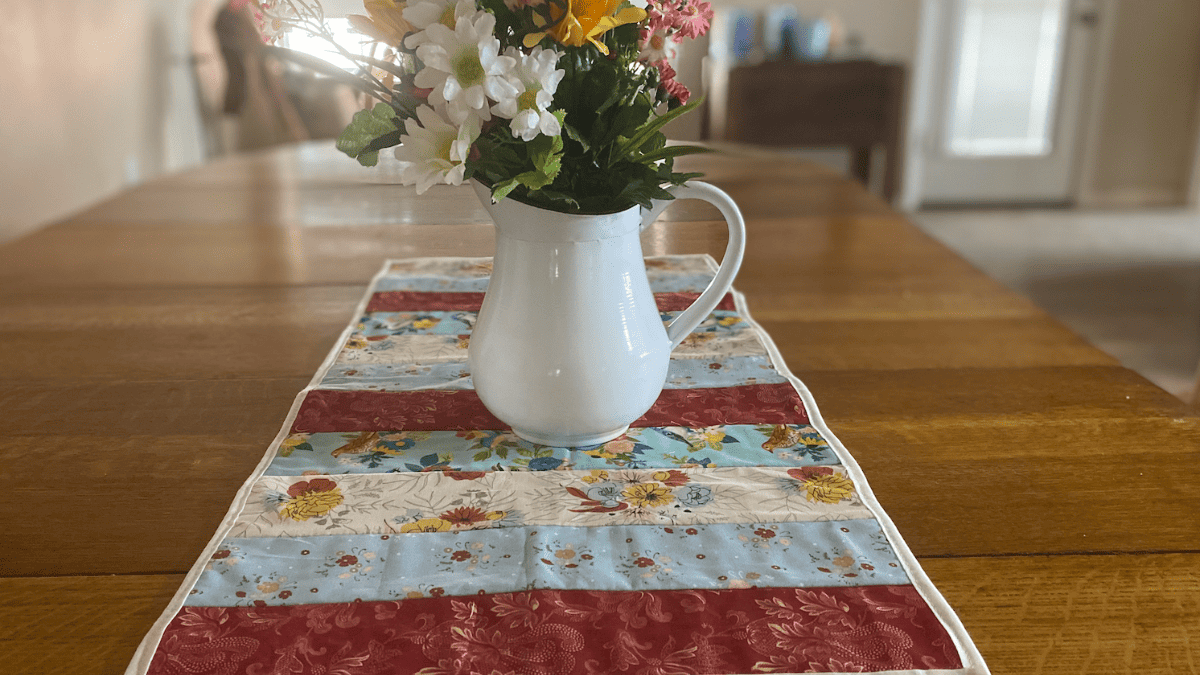
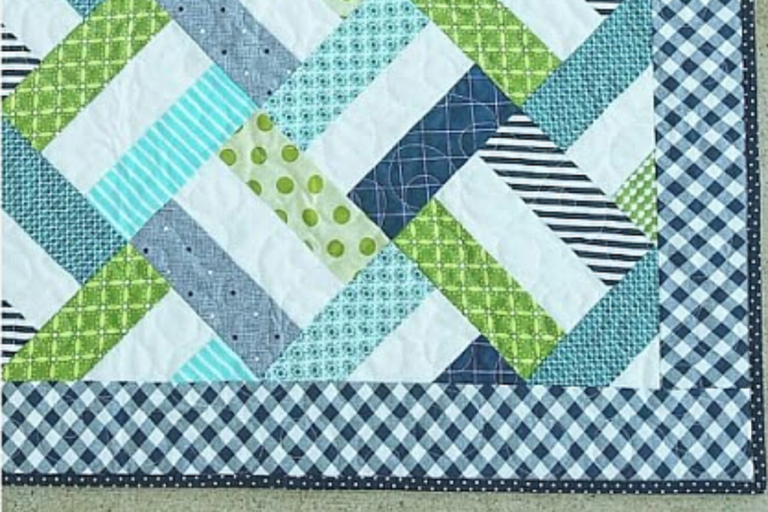
This delightful project measures 15 1/2″ x 32″ and is perfect for adding a touch of charm to your dining table or sideboard.
Whether you’re a seasoned quilter or just starting out, this table runner is a great way to practice your skills and create something beautiful for your home.
One of the best things about the quilt as you go technique is that it allows you to work on smaller sections at a time, making it ideal for new quilters or those with limited time.
The process involves quilting each individual section as you assemble the project, which is not only efficient but also a great way to build confidence in your quilting abilities.
With this table runner, you’ll be able to experiment with different fabric combinations and patterns, creating a unique and personalized piece that reflects your style.
Using 3″ strips of fabric, this project offers a wonderful opportunity to play with color and design. Whether you opt for a coordinated color scheme or a bold mix of prints, the quilt as you go table runner is a fantastic canvas for expressing your creativity.
So, gather your fabric scraps, fire up your sewing machine, and get ready to enjoy a weekend of quilting fun with this delightful and practical project.
Follow along as we make it in this free pattern. There is a PDF format available you will find below with more color photos and assistance if you need it.
Sewing Supplies
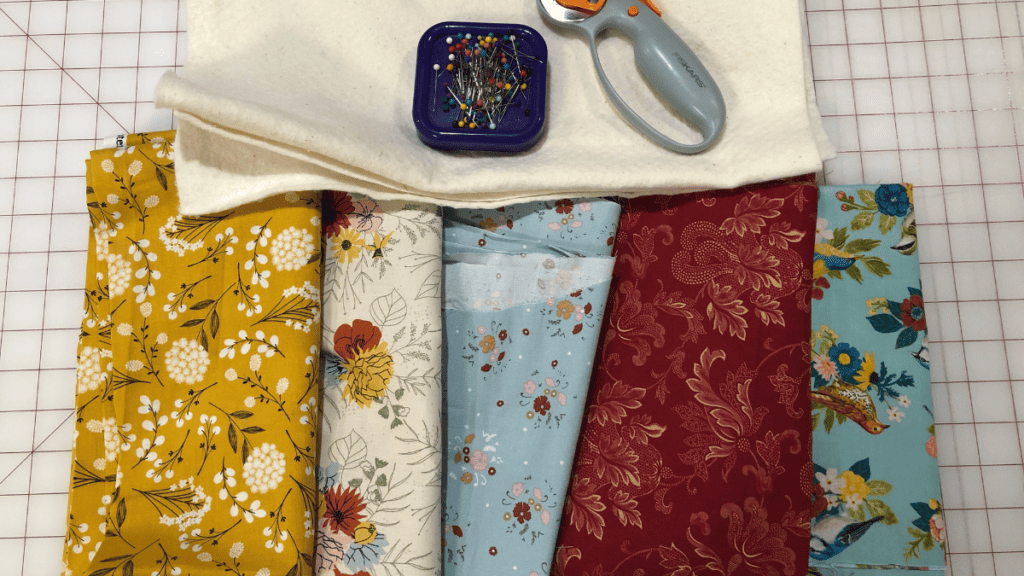
- Fat Quarter bundles
- Cotton fabric for backing
- Quilting batting
- June Tailor quilt basting spray
- Fabric Binding
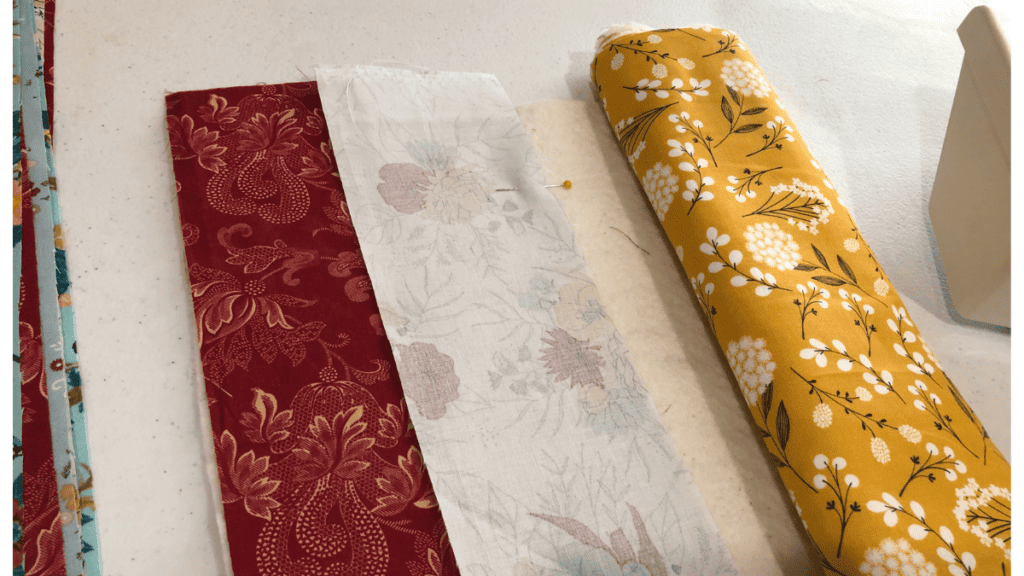
Cut Fabric
You will need fabric strips that are 3″ wide and 16″ long. We did 3 fabrics from fat quarters bundle, but you can simply pick any coordinating colors.
You will also need a backing and quilt backing of 16″ x 33″
If you have a jelly roll, you can easily use that for your strips also. Using jelly roll fabrics would also speed up the time to complete this as your strips are already cut and your fabric is coordinated so no need to go find fabric or cut your strips.
Quilt As You Go Table Runner Instructions
First, you want to apply your backing to the wrong side of the backing fabric. The right side of your backing should be on the bottom of your sewing table or work space.
I used June Tailor quilt basting spray to hold it in place. Any fabric spray adhesive works.
Make sure and do this in an open space and away from your sewing machine as it creates overspray.
You also want to clean the nozzle well when finished as I have found that any adhesive you use, the nozzle gets sticky and I have had to throw a few bottles away as the spray no longer works.

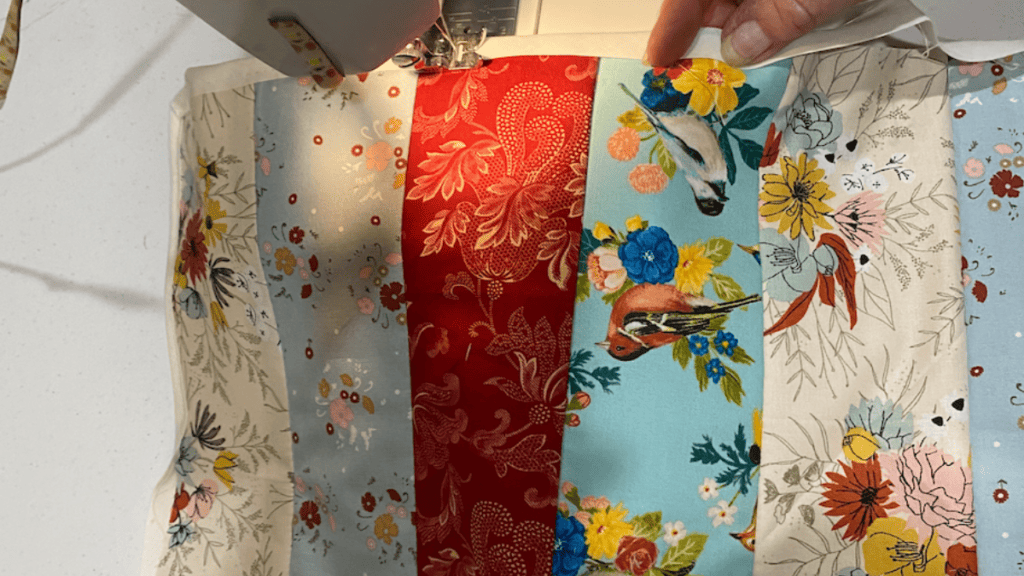
Next, you want to lay out your strips to see how you want your table runner to look. Determine what will be your first strip and your second strip so you can get started.
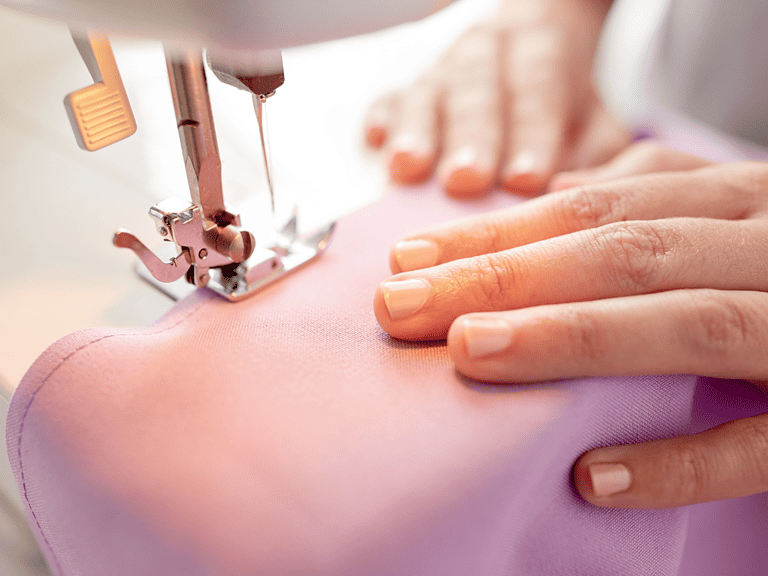
If you have a walking foot, you might find it easier to use. I did in this quilt as you go table runner use my regular foot, but I also did go slower in some of my stitches.
You want to use your regular stitch length and width when sewing. Roll up your excess, raw edges and let’s get started sewing.
To start sewing, you want to place one of your 3 inch strips on the edge of your backing with your right side facing up and then place your 2nd piece on top of that with right sides together. Sew your pieces with a 1/4″ seam allowance.
Now you want to press your seam. You can either press it with your fingers or if you used cotton backing you can use your iron.
Step 3, you are going to add another piece of fabric with right sides together and again sew the edge of the fabric 1/4″ seam allowance. You will continue these steps until you reach the end of your table runner quilt. This is such a quick project for your dining table.
Once finished with your strips, you will want to fold your table run in half, making sure the tops are right sides together.
Line up the flat surface ie center line of your backing to a line on your cutting mat.
If you find you want a smaller table runner, now is the time to make it smaller. You want to line up your quilting lines and carefully cut through all your layers using your rotary cutter to even up your table runner.
I always use my quilter’s ruler to cut as it helps my edges stay straight as I cut.
Now you want to place your binding on your quilt as you go table runner. If you haven’t ever done binding, here is a binding video to help you complete this easy table runner.
Don’t forget you can add some applique or other designs if you want at this point, I would do that before I did binding.
How easy is this table runner? You can easily use this for making more table runners and for specific holidays.
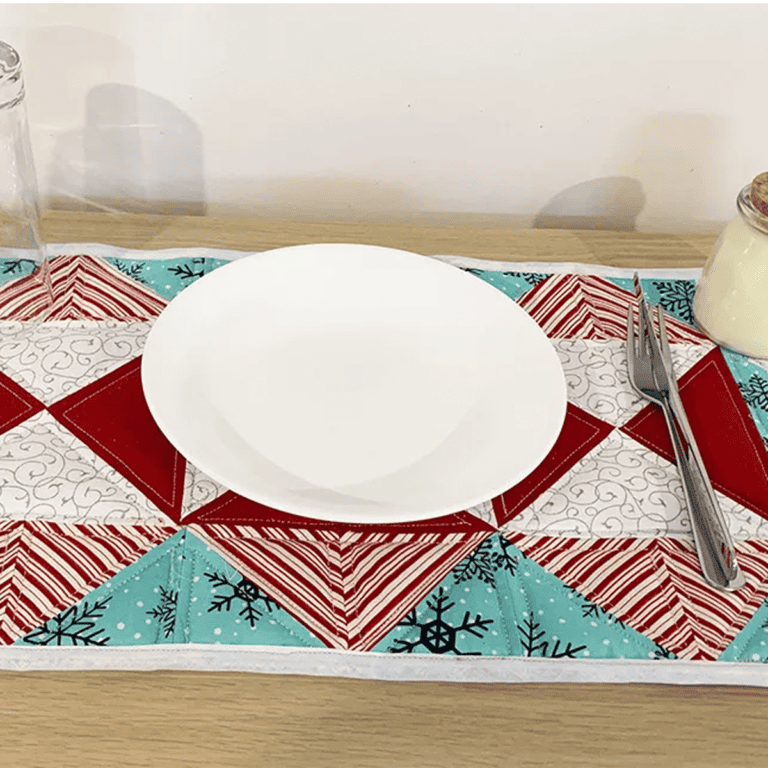
This would be super cute for a Christmas table runner. You can also make place mats by trimming your fabric to the size place mat you want.
We have an entire library of table runners you can easily sew and quilt. See our favorite table runner patterns below.
Download Pattern
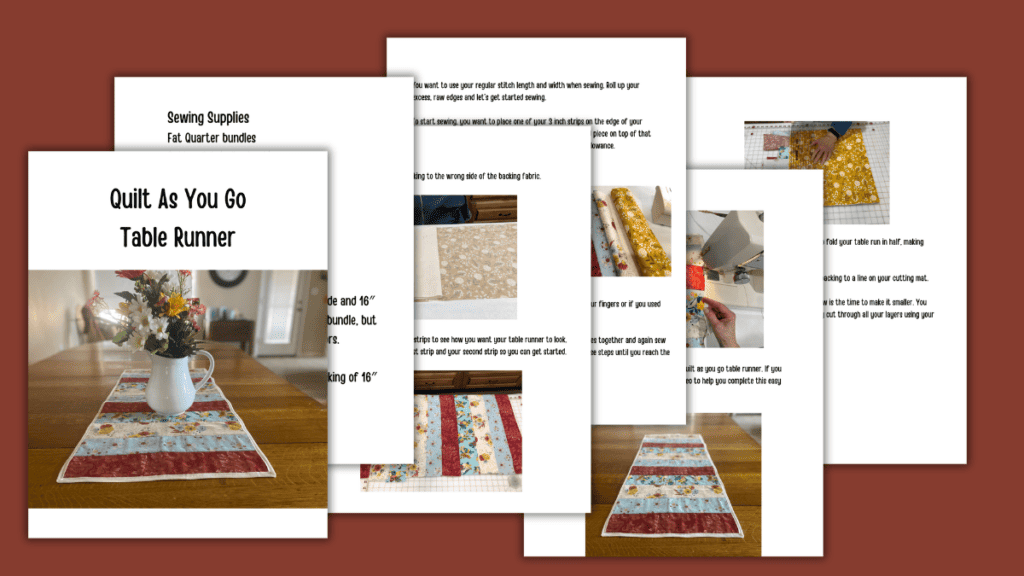
Table Runner Patterns
Fabric Giveaway
Enter our monthly fabric giveaway. Simply complete the tasks daily and you will be entered into the drawing. Winner will be randomly drawn on the first day of the month and notified via email

3 Comments