How To Make a Barn Quilt: In 7 Easy Steps
Barn quilts are a charming touch to your farmstead, a way to celebrate tradition, and a creative expression that adds beauty to an often overlooked space. Learn today how to make a barn quilt.
If you’re looking to create your own barn quilt, you’ll be joining a craft movement that dates back centuries but has seen a revival in recent years.
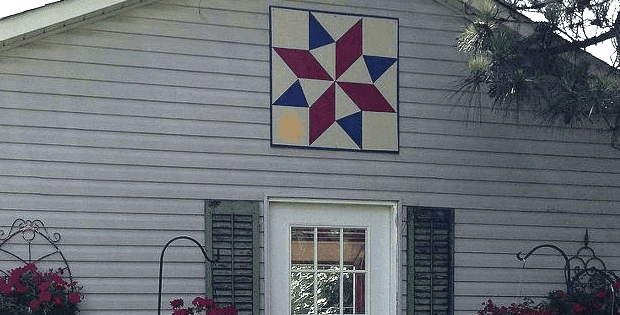
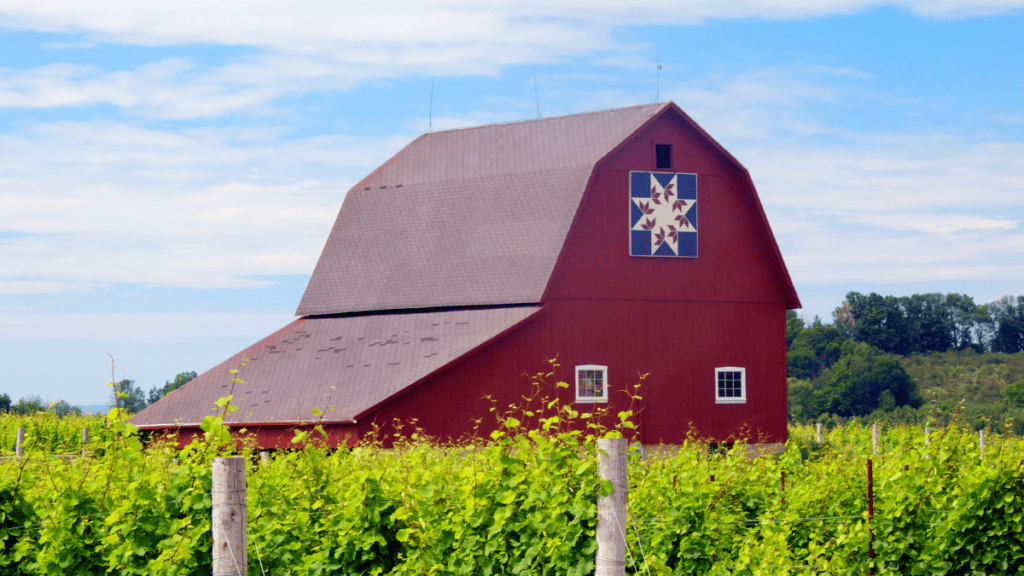
Made from simple materials like wood and paint, barn quilts are large, square pieces that mimic the colorful patterns of fabric quilts and are typically displayed on the side of a barn.
Creating a barn quilt can be a rewarding DIY project that not only enhances the aesthetic appeal of your property but also allows you to engage in a meaningful artistic endeavor.
You’ll start by choosing a quilt pattern that resonates with you, perhaps one that has historical significance or represents your personal style.
Selecting the right paints and preparing the wood are key steps that ensure your barn quilt withstands the elements and maintains its vibrancy over time.
Remember, the process of making a barn quilt is straightforward, and anyone can do it with the right tools and a bit of patience.
It’s about bringing your chosen design to life and perhaps even telling a story that’s unique to your homestead.
Whether you are looking to start a new hobby or simply wish to add a splash of color to your barn, the journey of creating your barn quilt is just as enjoyable as seeing the finished product from afar.
Understanding Barn Quilts
Barn quilts are colorful, painted quilt squares often displayed on barns or other farm buildings. Explore their history and cultural impact to appreciate their beauty and significance.
History of Barn Quilts
Barn quilts have a rich heritage tracing back to the early 2000s in Adams County, Ohio, where Donna Sue Groves wanted to honor her mother’s quilting art by creating a painted quilt on their barn.
The idea sparked a movement, resulting in the “Quilt Trail” concept. Now, these decorative pieces can be spotted across the United States and Canada, celebrating rural heritage and the tradition of quilting.
- First barn quilt: Created by Donna Sue Groves in Ohio
- Quilt Trail Initiative: Inspired communities to display their own barn quilts, leading to trails for tourists to follow
Significance in Culture
Barn quilts quickly evolved from a single sentimental gesture to symbolic landmarks rooted in community pride and cultural significance. They pay homage to quilting as an art form and represent a tapestry of stories connecting generations.
Moreover, barn quilts have become a way to beautify rural landscapes, attract visitors, and stimulate economic activity through agri-tourism.
- Community: Each barn quilt reflects local history, family heritage, or a particular narrative unique to the area.
- Agri-tourism: Barn quilt trails boost local economies by drawing in tourists and supporting small businesses.
How To Make A Barn Quilt
Creating a barn quilt involves thoughtful planning to ensure it reflects your personal style and enhances the aesthetic of your barn.
Here’s how you can design your own barn quilt with a focus on selecting a pattern and choosing the appropriate colors.
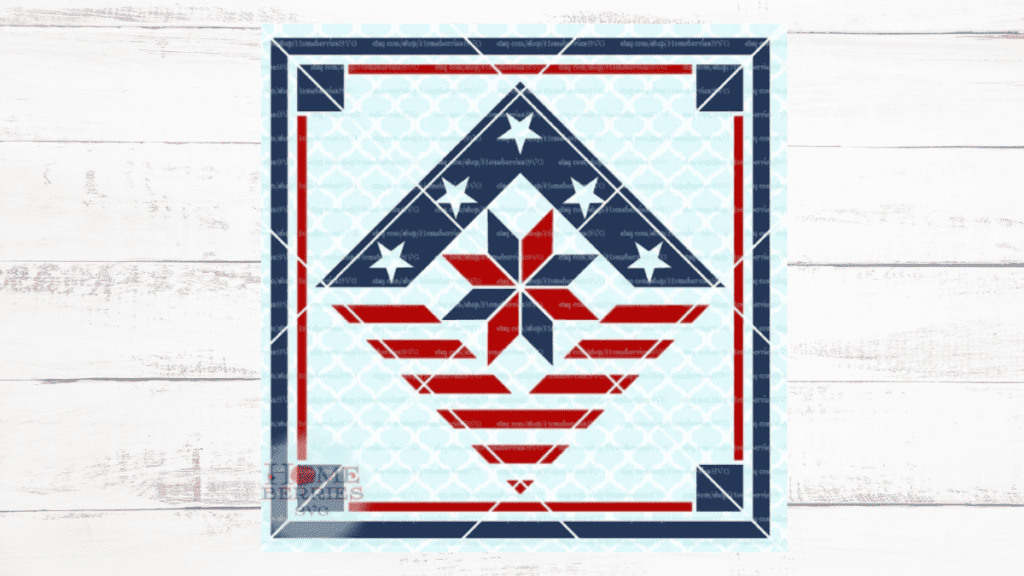
Choosing a Pattern
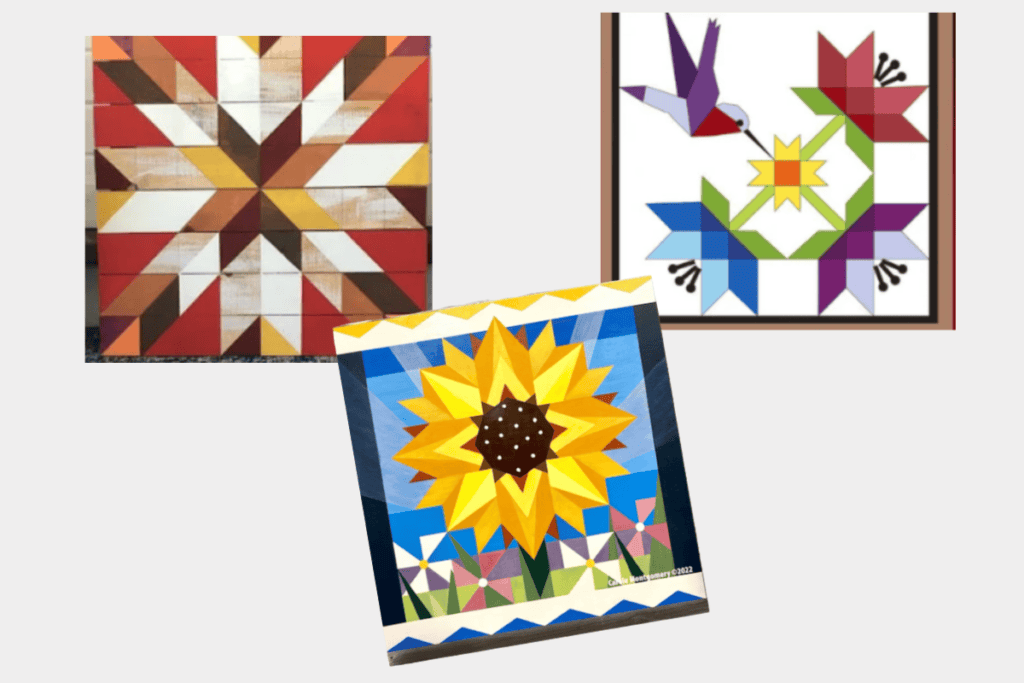
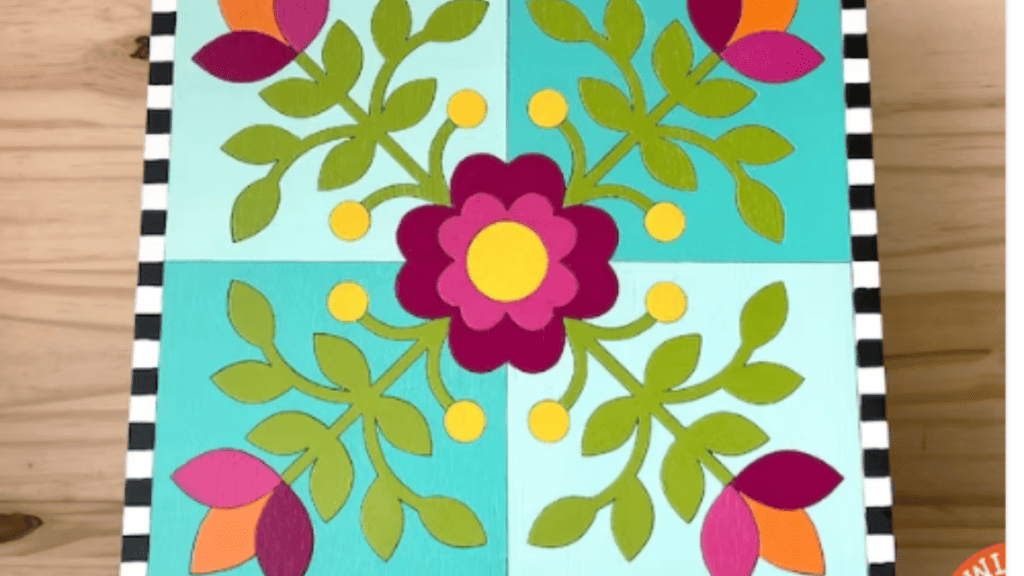
When selecting a pattern for your barn quilt, consider symbols that have personal significance or are commonly recognized in quilting communities.
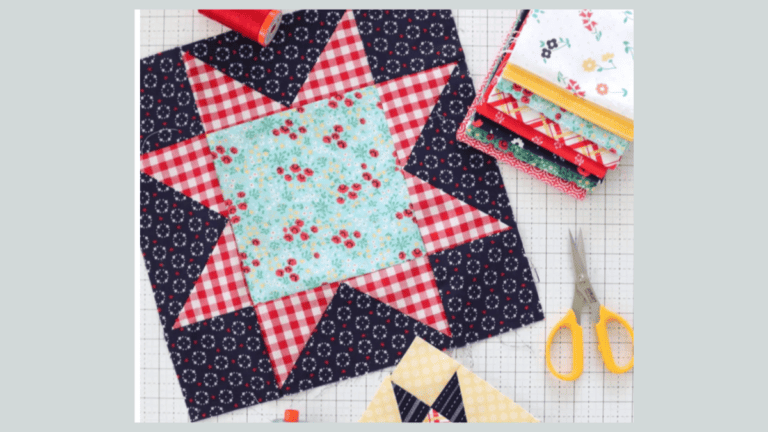
Traditional patterns like “Ohio Star,” “Log Cabin,” or “Bear’s Paw” connect your artwork to a rich heritage of quilting designs.
- Simple or Complex: Decide whether you want a simple geometric design or a more intricate pattern.
- Symbolism: Choose symbols or patterns that might reflect the history of your farm, family, or region.
Selecting Colors
Choosing the right colors is crucial as they breathe life into your pattern. Think about the colors that will stand out against your barn’s exterior and complement your property.
- Harmony with Surroundings: Select colors that harmonize with the surroundings of your barn.
- Visibility: Opt for contrasting colors to ensure visibility from a distance.
| Visibility | Example Combinations |
|---|---|
| High Contrast | Black on white |
| Moderate Contrast | Navy on sky blue |
| Low Contrast | Dark green on light green |
Note: Use weather-resistant, high-quality paint for longevity.
Materials and Tools Needed
To create a beautiful barn quilt, you’ll need the following materials:
- Plywood: A 4×4, 4×8, or even 2×2 feet piece, depending on your desired quilt size.
- Primer: High-quality exterior grade to weatherproof your artwork.
- Paint: Exterior-grade, in various colors of your choosing.
- Sealer: To protect your painted quilt from the elements.
Here’s a table summarizing the tools you’ll require:
| Tool | Purpose |
|---|---|
| Tape Measure | For accurately measuring your plywood and design grid. |
| Circular Saw | To cut your plywood to the desired size (if not pre-cut). |
| Sander | For smoothing out the plywood surface. |
| Painter’s Tape | For creating sharp lines and borders in your design. |
| Paint Brushes | To apply primer, paint, and sealer. |
| Pencil | To sketch your design onto the plywood. |
| Ruler or Square | For straight lines and right angles in your design. |
| Level | To ensure your design is symmetrical and balanced. |
Preparing the Barn Quilt Board
Before applying your design, ensure your barn quilt board is smooth and receptive to paint.
Sanding and Priming
Your first task is to sand the wood surface. Start with a medium-grit sandpaper, like 120-grit, to remove rough patches.
Finish with a fine-grit, such as 220, to achieve a smooth texture. Wipe the board with a tack cloth to remove all dust.
Next, prime your board with high-quality, exterior-grade primer. Apply with a roller for an even coat and use a brush for edges.
Allow the primer to dry thoroughly according to the manufacturer’s instructions before moving to the next step.
- Sanding Steps:
- Start with 120-grit sandpaper
- Finish with 220-grit
- Wipe with tack cloth
- Priming Steps:
- Apply even coat of exterior primer
- Use a roller for large areas and brush for edges
- Allow to dry completely
Transferring the Design
Once your board is primed, you’re ready to transfer your design. You can use a large sheet of grid paper to scale up your pattern. Tape the grid paper with the design onto your board.
Use a ruler and a level to trace the design onto the wood with a pencil, ensuring straight lines and accuracy. Take your time with this step to avoid errors and rework later on.
- Transferring Steps:
- Tape grid paper to board
- Use a ruler and level for straight lines
- Trace with a pencil
Painting Your Barn Quilt

Once your barn quilt is primed and ready, painting can transform it into a vibrant piece of art. Precise tape placement and methodical painting will be your keys to success.
Taping and Painting
- Prepare Your Paints:
- Choose weather-resistant exterior paints.
- Mix colors thoroughly to ensure uniformity.
- Tape Out Your Design:
- Apply painter’s tape to outline your pattern.
- Press the edges of the tape firmly to prevent bleeding.
- Paint Application:
- Use a small roller or angled brush for even coats.
- Paint one color at a time, allowing it to dry before moving on to the next.
Detailing and Touch-ups
- Fine Details:
Use a fine brush for intricate lines and edges to ensure clean, crisp lines. - Touch-up Process:
- Remove the tape once the paint is dry to the touch.
- Examine the quilt for any imperfections or bleed-through.
- Touch up with a small brush for a seamless finish.
Sealing the Barn Quilt
After painting your barn quilt, it’s crucial to seal it properly to protect it from weather elements such as rain, wind, and sunlight. Here’s how to seal your barn quilt effectively:
Materials Needed:
- Outdoor-grade polyurethane or sealer
- Foam brush or roller
- Sandpaper (220 grit)
Step-by-Step Instructions:
- Choose Your Sealant: Select an outdoor-grade polyurethane or sealer that is clear and offers UV protection to prevent fading.
- Prep Your Quilt: Ensure your painted barn quilt is completely dry. Lightly sand the surface with 220 grit sandpaper to remove any imperfections.
- Apply the Sealant:
- First Coat: Using a foam brush or roller, apply a thin, even layer of sealant over the entire surface.
- Drying Time: Allow it to dry completely, according to the sealant manufacturer’s instructions, usually a few hours.
- Sand Between Coats: Once dry, lightly sand the surface again with 220 grit sandpaper. Remove all dust with a clean cloth.
- Apply Additional Coats:
- Second Coat: Apply another layer of sealant, just like the first.
- Additional Coats: For best protection, apply at least two to three coats, allowing for proper drying time and light sanding between layers.
Installing the Barn Quilt
Once you’ve finished creating your barn quilt, it’s time to hang it up for display.
Safety and visibility are key. Here are the steps to install your barn quilt:
- Choose the Right Location
- Find a spot on your barn that is highly visible and receives less direct weather, to help protect the quilt.
- Gather Your Tools and Materials
- You will need:
- Drill
- Screws or bolts, appropriate for your barn surface
- Ladder or scaffolding
- Level
- Stud finder (if attaching to a wall with underlying studs)
- You will need:
- Preparing the Quilt for Mounting
- Attach mounting brackets to the back of your quilt, make sure they are level.
- Mounting the Quilt
- Use a stud finder to locate a solid mounting point.
- Pre-drill holes for your screws or bolts.
- With a friend’s help, lift the quilt into position.
- Make sure the quilt is level, then secure it using screws or bolts.
- Seal and Protect
- Consider applying a sealant around the edges to prevent water from seeping behind.
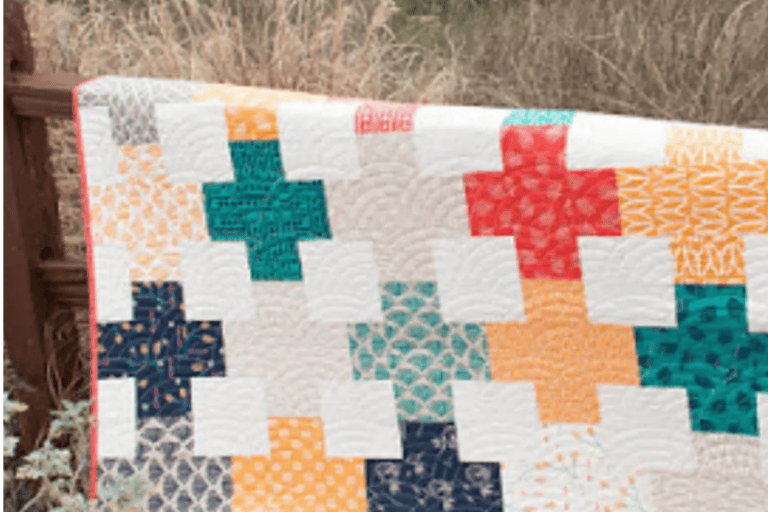
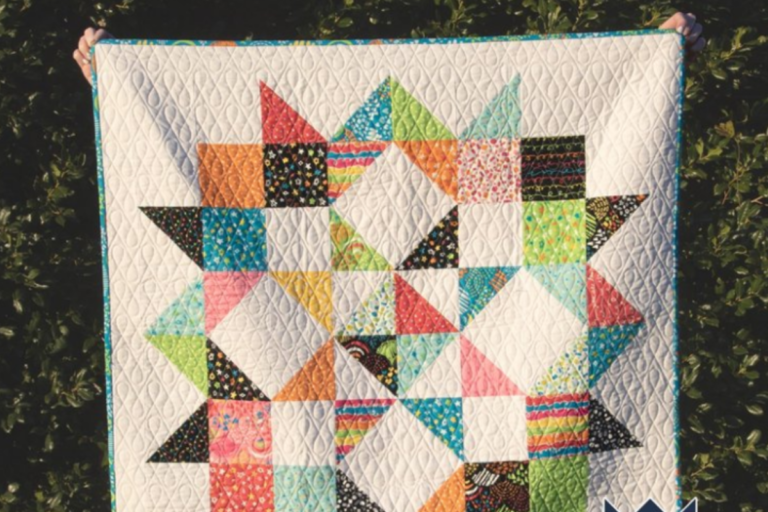
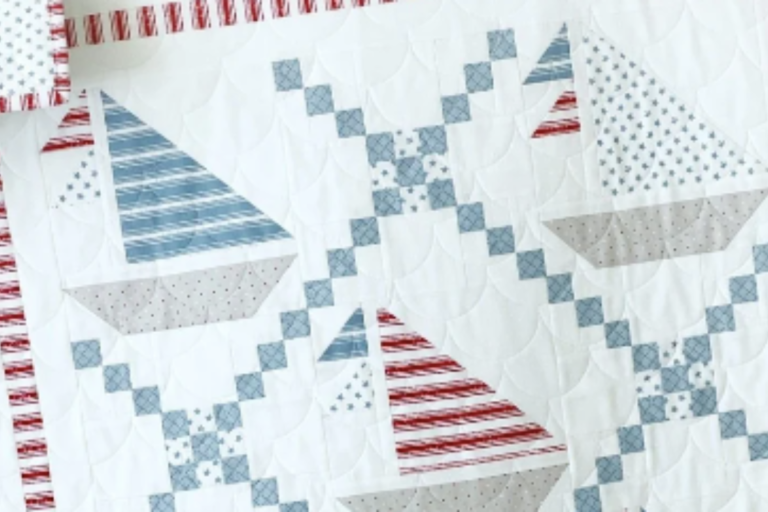
Barn Quilts
We have an entire library of barn quilts that cover everything you need to know and a ton of great and unique barn quilt designs. Here are some articles to get you started and designs to choose from.
Fabric Giveaway
Enter our monthly fabric giveaway. Simply complete the tasks daily and you will be entered into the drawing. Winner will be randomly drawn on the first day of the month and notified via email