
How to Clean a Self Healing Cutting Mat: Easy Tips
Self-healing cutting mats are a staple in crafting and sewing spaces, providing a durable surface that withstands numerous cuts without showing much wear. Today we are learning how to clean a self healing cutting mat.
Like all frequently-used tools, these mats can accumulate grime from fabric fibers, adhesives, and other materials. Learning how to clean a self healing cutting mat not only extends its life but also ensures it provides a smooth surface for your projects.
Cleaning your self-healing cutting mat is straightforward and doesn’t require specialized equipment.
Regular cleaning can prevent the tiny grooves from filling up with debris, which can dull your blades faster.
Remember to treat your mat with care, using gentle methods to avoid damaging the self-healing surface.
Without proper maintenance, you might find the mat’s performance diminishes over time. With a few simple steps, you can keep your mat in top shape, making sure it continues to be a reliable tool in all your crafting endeavors.
How To Clean A Self Healing Cutting Mat
Video Tutorial: How to Clean Self healing cutting mat
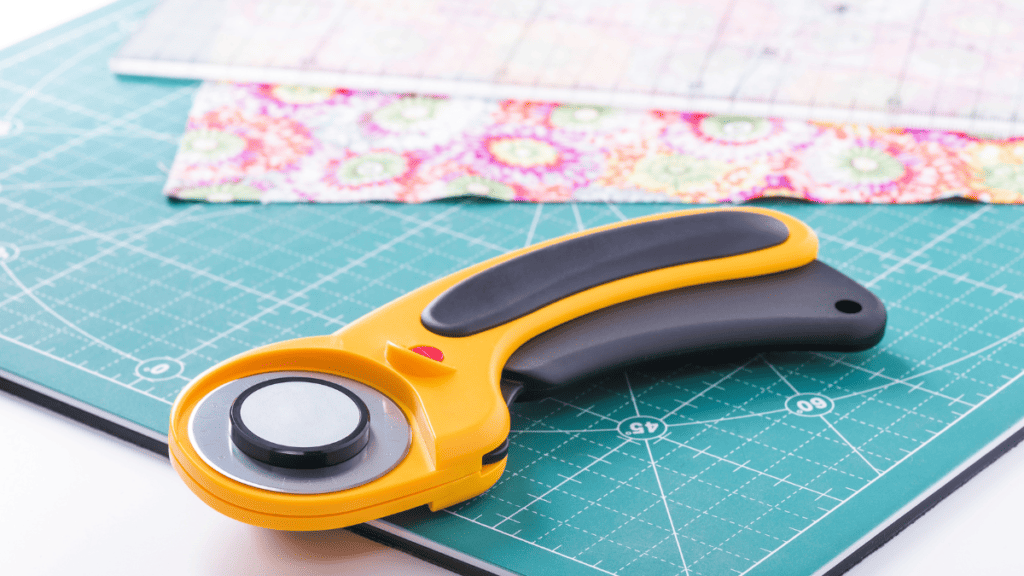
Your self-healing cutting mat is a crafters’ sidekick, known for its durability and ability to withstand numerous cuts.
Self-healing refers to the mat’s unique surface, which is designed to close up after being cut. This special feature extends the mat’s lifespan and keeps the surface smooth for consistent use.
- Surface Material: The top layer of your mat is usually made of a softer PVC or similar synthetic material. This allows sharp objects such as rotary cutters or craft knives to slice through without leaving permanent grooves.
- Self-Healing Properties: Tiny cuts on the mat reseal themselves, which maintains a flat surface—essential for accurate cutting.
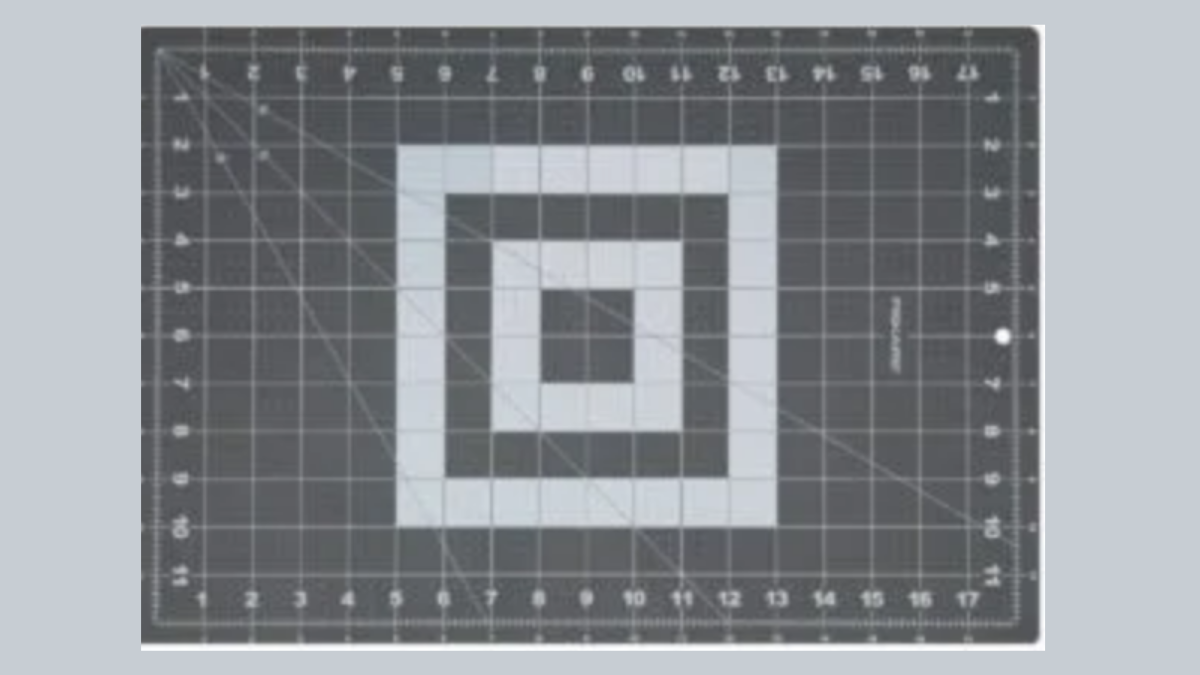
Most self-healing cutting mats, especially the ubiquitous green self-healing mats, possess a grid layout that aids in measuring and aligning materials.
However, to keep yours in tip-top shape, avoid extreme temperatures and direct sunlight, which can cause a warped cutting mat.
Here’s how to prevent surface damage:
- Rotate your mat regularly to distribute wear evenly.
- Always cut against a straight edge to avoid uneven pressure.
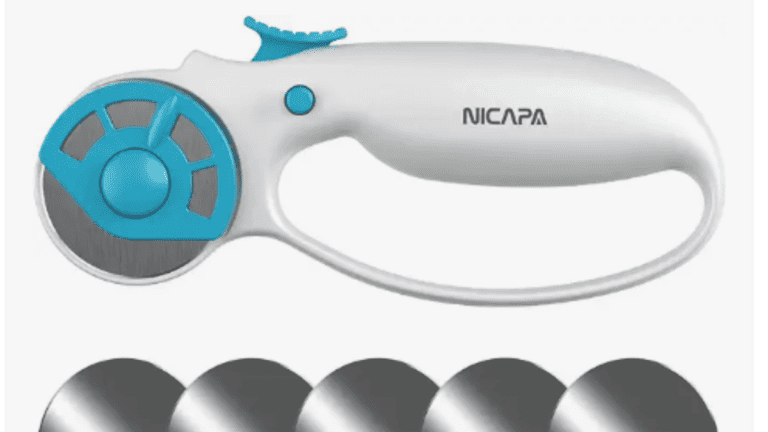
- Use blades that are sharp; dull blades can harm the mat’s healing ability.
Remember, the longevity of your cutting mats correlates directly with how well you take care of them. Proper maintenance will ensure that your mat remains the perfect cutting mat for your projects.
Routine Cleaning and Maintenance

Keeping your self-healing cutting mat in tip-top condition requires some simple yet effective routine cleaning and maintenance.
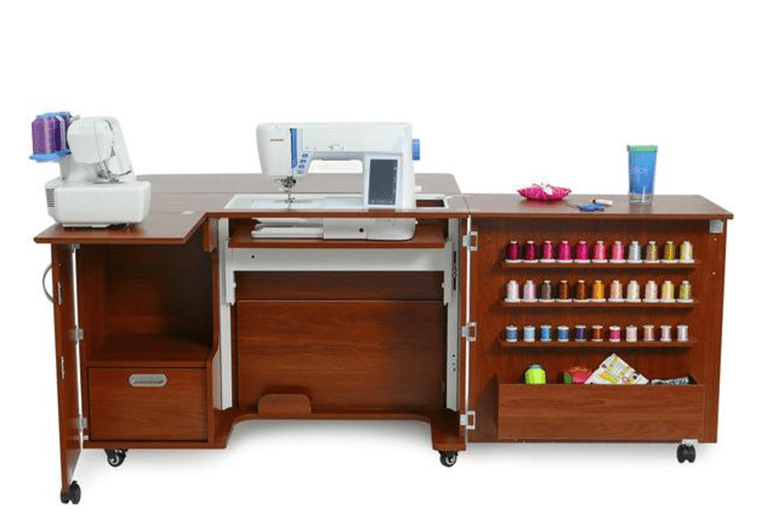
By looking after your mat, you’ll ensure it remains a vital part of your sewing room for years to come.
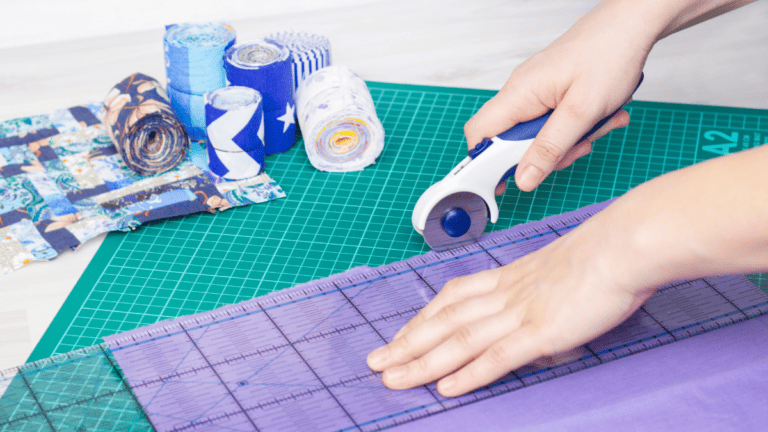
First things first: Sweep off any loose debris on a regular basis using a soft brush or lint roller. This prevents buildup and keeps your work surface ready for action.
Every now and then—think about the last time you gave it a thorough wipe—you should clean the entire surface of the mat. Here’s a quick guide:
- Mix a solution of 1 cup of room temperature water with a small amount of dish soap—just enough to get some suds.
- Using a soft cloth, gently scrub the mat’s surface in a circular motion.
- After you’ve gone over the whole mat, grab a fresh cloth and rinse it in clean water.
- Wipe the mat to remove any soapy residue.
- For a deeper clean, make a mixture using 1 cup of white vinegar and a gallon of cool water. This helps remove stubborn stains.
For safety’s sake, remember not to use hot water as it can warp the mat. And when you’re using quilting tools like a rotary blade, try to vary your cutting lines to avoid grooving the same spot repeatedly.
Quick Tip: Baby wipes are a good idea for fast cleanups! They’re handy for wiping off any residue and keeping your mat refreshed between deep cleans.
In summary, a little soap and some TLC on a regular basis can go a long way in maintaining your self-healing cutting mat. Make these steps part of your routine, and your mat will stay as good as new!
Addressing Tough Stains and Marks
When you’ve put your self-healing cutting mat through the works, certain stains and marks insist on sticking around. Whether it’s an old mat that’s seen better days or some recent slip-ups, let’s tackle those stubborn areas head-on.
Ink and Adhesive Residue
Ink Stains and Marks:
- Fresh Ink: If you’ve got fresh pen marks, grab a damp cloth and gently rub the ink. Most of the time, water does the trick.
- Older Stains: For ink that’s been around, isopropyl alcohol on a microfiber towel might be your savior. Dab it, don’t rub, to avoid spreading.
Table for Adhesive Removal:
| Type of Adhesive | Removal Solution | Application Method |
|---|---|---|
| Sticky Tape | White Vinegar/Soapy Water | Gently peel off the piece of tape, use a cloth dampened with your chosen solution, and wipe. |
| Other Sticky Residue | Goo Gone or a similar product | Apply with a cloth, leave it for a moment, and then clean away the sticky side residue. |
Avoid using harsh cleaning chemicals or nail polish remover as these can damage the mat.
Embedded Fibers and Loose Threads
Embedded Fibers:
- Linty Fabrics: After cutting linty fabrics, you might see fibers embedded in the mat. Use a mushroom brush or a stiff toothbrush to gently scrub the fibers off.
Loose Threads:
- Thread Intervention: If your rotary cutter has left loose threads in the cuts, use a lint roller or the sticky side of a piece of tape to pick them up.
Keep in mind, regular maintenance can prevent the build-up of visible marks. Avoid bad habits like leaving cut marks uncleaned or using the same spot repeatedly without rotation.
Restoring Warped Cutting Mats
If your cutting mat’s taken a bit of a twist and isn’t lying flat anymore, don’t fret—it happens. Warping can occur when mats are exposed to extreme temperatures or inconsistent heat sources. But there’s a reliable way to coax the mat back to its flat state.
Steps to Unwarp Your Mat:
- Heat it up: Start by warming your warped mat to make it more pliable. You might consider using a bath tub with warm water. Let your mat soak for about 15-20 minutes. Just make sure the water isn’t too hot as extreme temperatures can cause additional warping.
- Find a Flat Surface: Once your mat is flexible, find a flat surface where you can lay it flat. This is an important step as it ensures the mat will cool down and dry in the shape you want.
- Apply Weight Evenly: Now, use heavy books to press the mat down evenly. Make sure to distribute the weight across the entire surface of the mat to prevent new warping from happening in different spots.
- Wait it out: You need to give it some time. Longer is better here, so let those books sit for a day or so to really help that mat flatten out.
- Move Delicately: After the mat has had time under the books, move it to a different location where it can continue lying flat without any interruptions or pressure.
And that’s about it. With a touch of patience and care, you can save your mat from the warps. Remember to keep it away from heat sources in the future to prevent this from becoming a recurring issue.
Self-Healing Cutting Mat
Here are more resources about self-healing cutting mat.
What Is a Self-Healing Cutting Mat
Fabric Giveaway
Enter our monthly fabric giveaway. Simply complete the tasks daily and you will be entered into the drawing. Winner will be randomly drawn on the first day of the month and notified via email


One Comment