How Do Self Healing Mats Work: Easy Sewers Guide
Self-healing mats might sound like something out of a science fiction novel, but they’re pretty common in craft rooms and workshops. So, how do self healing mats work? Ever wonder how you can slice away at these mats with sharp blades, and they don’t end up looking like Swiss cheese?
It’s not magic—it’s smart design. Self-healing cutting mats are a trusty sidekick for anyone into sewing, quilting, or any hobby that requires a lot of cutting.
These handy tools are composed of tiny particles that are designed to shift when cut, allowing the cut to close back up smoothly. It’s like they wiggle back into place, keeping the surface even and preventing your blades from becoming dull.
Imagine cutting on a solid surface that actually helps prolong the life of your cutting tools. That’s your self-healing mat at work—taking a hit and then getting back to business without much of a trace or damaging your work table or hard surfaces you are cutting on.
How Do Self Healing Mats Work
Self-healing mats are designed to reseal after being cut, offering extended durability. Let’s explore what they’re made of and how this self-repair process works.
Material Composition
Self-healing cutting mats are typically made of multiple layers of PVC (polyvinyl chloride) or other similar durable plastic materials. The top layer is designed to be resilient and able to withstand cuts and slices from sharp craft knives or rotary cutters.
This top layer has a special composition that allows it to “heal” over time, closing up the cuts and nicks made by the cutting tools.
Beneath the top layer, there are usually additional layers of plastic or other materials that provide support and stability to the mat. These layers work together to create a sturdy and long-lasting cutting surface that can endure repeated use.
The materials used in self-healing cutting mats are carefully chosen to ensure that the mat remains smooth and reliable for precise cuts, while also being durable enough to withstand regular wear and tear.
Self-Healing Mechanism
So, how does your mat mend itself? The key lies in the self-healing polymers:
- Initial Cut: When you make a cut, the sharp blade goes through the softer top layers of the mat.
- Elastic Response: These layers are designed to be elastic and have a “memory” — they stretch rather than tear.
- Closure: After the blade is removed, the elastic action of these polymers causes the material to contract and close up the cut.
This self-healing feature means that your cuts don’t leave lasting marks, keeping the surface smooth for future use.
Practical Use and Benefits
When you’re working on your crafting or DIY projects, having a self-healing cutting mat can be a game-changer. These mats are designed to withstand cuts and slices from your craft knives or rotary cutters, and then magically heal themselves over time.
This means you can say goodbye to constantly replacing your cutting mat and hello to long-lasting durability. The self-healing feature not only saves you money in the long run, but it also ensures that your cutting surface remains smooth and reliable for precise cuts every time.
Another great benefit of self-healing cutting mats is the peace of mind they provide. You can focus on your creative process without worrying about damaging your work surface.
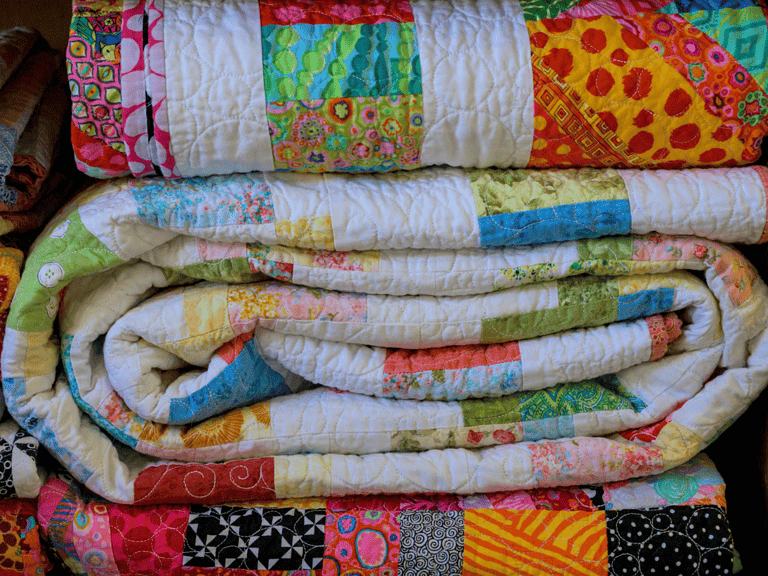
Whether you’re into quilting, scrapbooking, or any other craft that involves cutting, having a self-healing cutting mat allows you to work with confidence and precision. Plus, with the ability to heal from cuts and nicks, these mats offer a sustainable and eco-friendly option for your crafting needs.
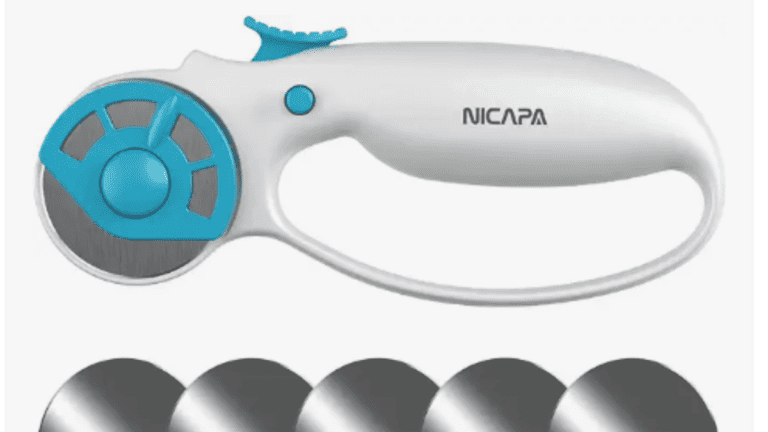
Working with Different Tools
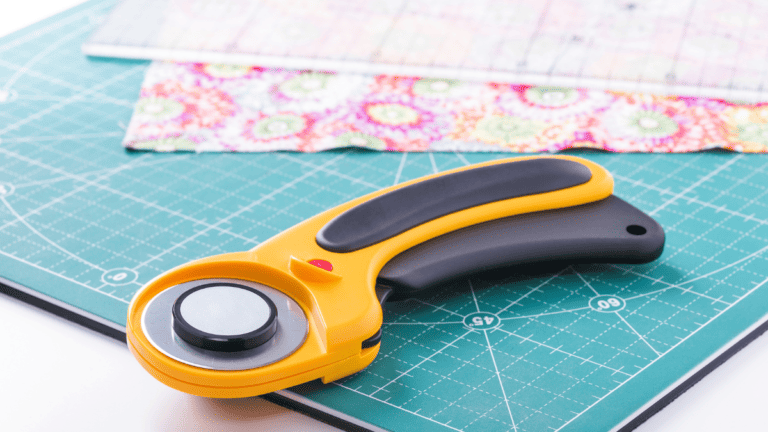
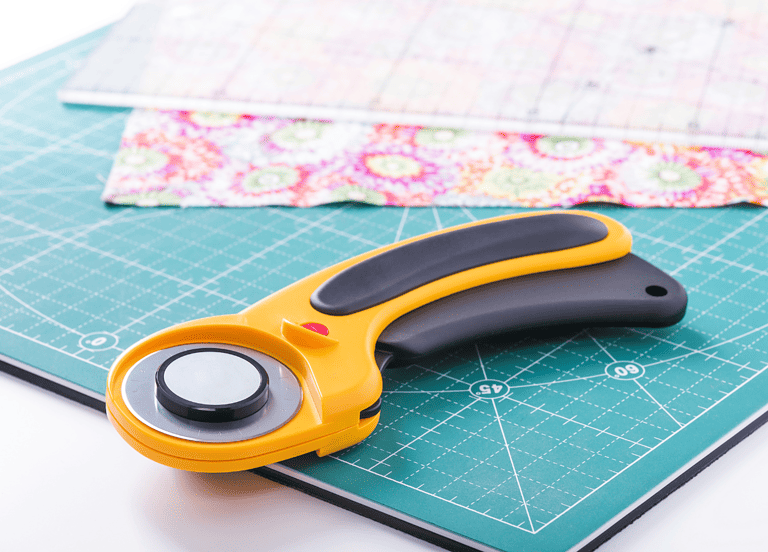
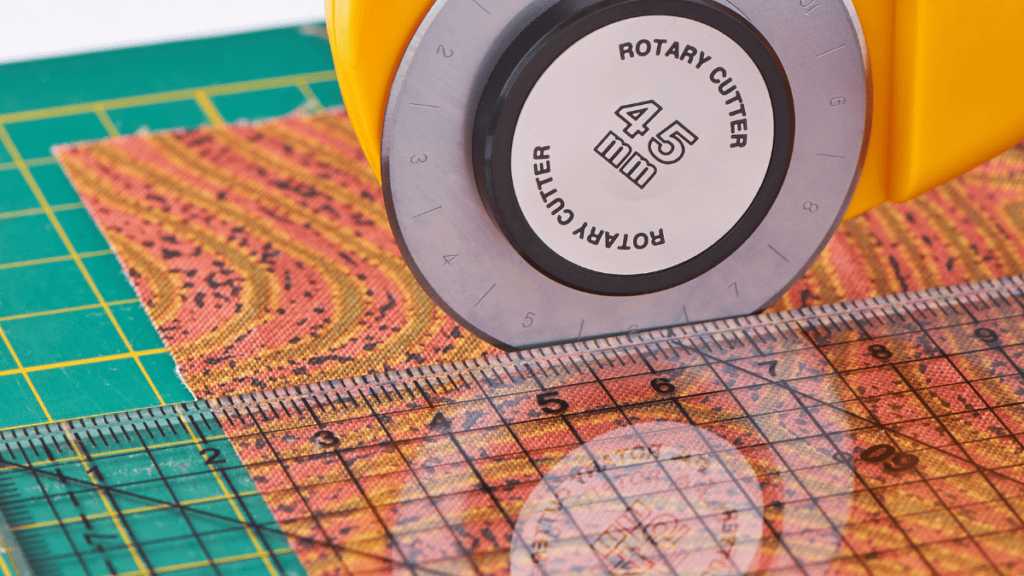
When you’re dealing with sharp blades like new blade craft knives or a rotary cutter blade, a self-healing mat has you covered. Its unique surface absorbs clean cuts and straight cuts, providing a durable area that protects both your tools and the table underneath. Here’s a brief breakdown:
- Sharp Blades: Preserve the sharpness of your tools, allowing for smoother and more accurate cuts.
- Dull Blades: Even when your blade isn’t as sharp as you’d like, the mat’s surface can help prevent ragged edges.
- Deep Cuts: With deeper cuts, the healing property ensures the mat’s surface won’t be littered with grooves or scoring marks.
Durability and Longevity
Your self-healing mat doesn’t just make your cutting more efficient—it’s built to last. Thanks to the mat’s ability to essentially ‘heal’ from deep cuts, it boasts a long life, reducing the frequency with which you need to replace it. Here’s what you can expect:
- Long Life: The self-healing feature helps the mat withstand multiple cuts without significant wear and tear.
- Consistent Work Surface: Over time, you won’t find grooves or cuts on the mat, keeping your work surface smooth and even.
Remember, while using a dull blade might not damage your mat as quickly, always using a new blade ensures peak performance for both your tools and the mat itself. If you need to know how to sharpen scissors, we have you covered.
Care and Maintenance
Taking care of your self-healing cutting mat is key to ensuring its longevity and effectiveness. To keep it in top condition, make sure to clean it regularly with a mild soap and water solution, gently scrubbing with a soft cloth or sponge.
Avoid using harsh chemicals or abrasive cleaners, as these can damage the surface of the mat. Additionally, it’s important to store your cutting mat flat or rolled up, rather than folded, to prevent permanent creases or warping.
When using your cutting mat, be mindful of the pressure and force applied by your cutting tools. Using excessive force can cause unnecessary wear and tear on the mat, so try to use a gentle, controlled cutting motion.
If you notice any deep cuts or grooves in the mat that don’t seem to be healing, it may be time to consider replacing it. By following these simple care and maintenance tips, you can ensure that your self-healing cutting mat remains in great shape for all your crafting and DIY projects.
Cleaning Your Mat
To clean your self healing mat, lightly mix dish soap with cool water. Gently scrub the surface using a soft brush or cloth to remove any debris. For stubborn stains, a solution of white vinegar and water can be effective. Rinse thoroughly with cool water and dry it off with a soft, cotton towel.
- Mix: A few drops of dish soap with cool water.
- Scrub: Gently with a brush or cloth.
- Stain Solution: Mix white vinegar with water for tough marks.
- Dry: Pat down with a cotton towel.
We have an entire blog post dedicated to how to clean a self healing cutting mat. There is also a video to walk you through each step. It’s important to clean it on a regular basis to keep your new mat in good working condition.
Storing Your Mat
Always store your mat on a flat surface, away from direct sunlight and heat sources to prevent distortion. If your space is limited, you can roll the mat loosely with the marked side facing outward, but avoid sharp folds.
- Location: Store flat in a cool, shaded area.
- Rolling: If necessary, roll loosely with the printed side out.
- Avoid: High temperatures and folding as it can damage the mat.
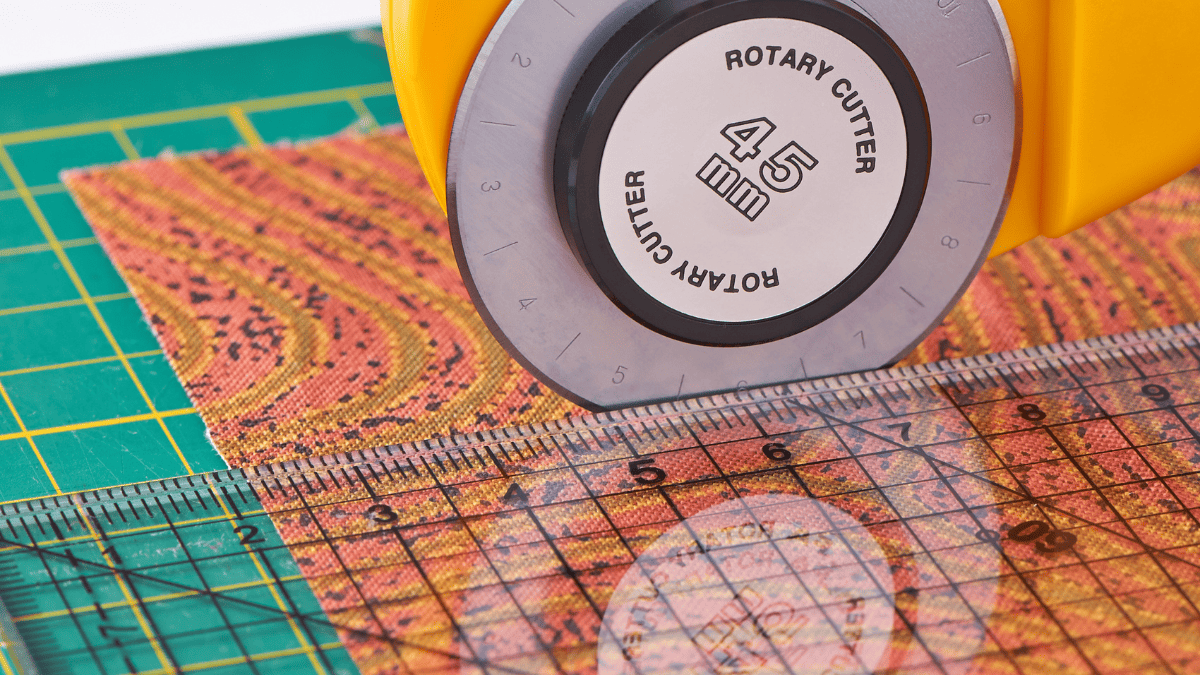
Selecting the Right Mat

Before you buy a self-healing mat, you need to know the right size and type that’ll suit your projects best. The best way to determine that is to think of how you are going to use it the most. Are you cutting strips for your next quilt or sewing project or are you crafting on your Cricut machine?
Size and Thickness Considerations
When it comes to size, your self-healing mat should fit your work area snugly. Mats come in a wide range of sizes, so measure your space before shopping. Maybe you’re dealing with small pieces and don’t need much room, or perhaps you’re often tasked with larger projects requiring a large mat. The thickness is usually measured in millimeters (mm); a standard mat might be 3mm, but if you’re frequently cutting heavy materials, consider a heavy-duty cutting mat with greater mm thickness for extra durability.
- Small Projects: Go for a smaller size, maybe A4 or A3.
- Larger Projects: A1 or even A0 will provide more room.
- Thickness Needs: Commonly, you’ll find 3mm, but consider 5mm or above for heavy use.
Types for Various Projects
Your projects dictate the type of mat you’ll need. There’s a variety for each task—some designed for precision, others for durability. For different types of crafting, look into specialty mats, but a general-purpose mat is versatile for mixed use.
Here’s a quick guide for types:
- General Crafting: An all-purpose mat should do the trick.
- Precision Cutting: Opt for a mat with detailed grid lines and angles.
- Heavy-Duty Cutting: Seek out a mat designed for rigorous use; they’re tougher and last longer.
Your mat is an investment in your work’s quality, so choose wisely and it’ll pay off in the long run!
Maximizing Mat Lifespan
When you’ve got a self-healing mat, giving it a little TLC can go a long way. First off, we’re talking regular use. You know, the kind where your mat doesn’t feel neglected but isn’t overworked either.
That’s the sweet spot. If you’re a frequent user, you’ll want to rotate the mat often. This way, you don’t wear out one area too quickly with your cutting tool.
Now, let’s talk cut lines. It’s tempting just to cut away willy-nilly, but if you plan your cuts so they don’t overlap old cuts, you’re setting your mat up for a longer, happier life. Think of it as prepping the working surface for future cuts by not going over the same spot time and again.
Your choice of sewing tools also matters. If they’re super sharp, you’re in good shape. Blunt tools can be a mat’s worst nightmare. They force you to press harder, which can damage the mat’s self-healing properties.
Here’s a quick cheat sheet to keep in mind:
- Rotate your mat often to distribute the wear evenly.
- Plan cuts to avoid going over the same area.
- Ensure your tools are sharp; replace them if they get dull.
- Avoid excessive constant use in the same area.
- For best use, store your mat flat and away from extreme temperatures.
By following these simple steps, you’re on your way to ensuring your mat sticks around for your next bright idea!
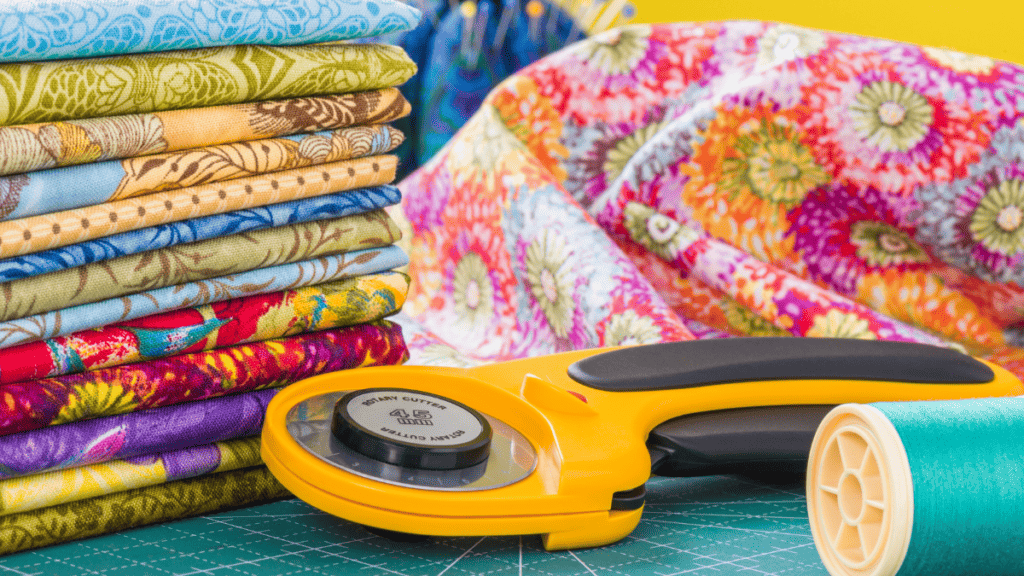
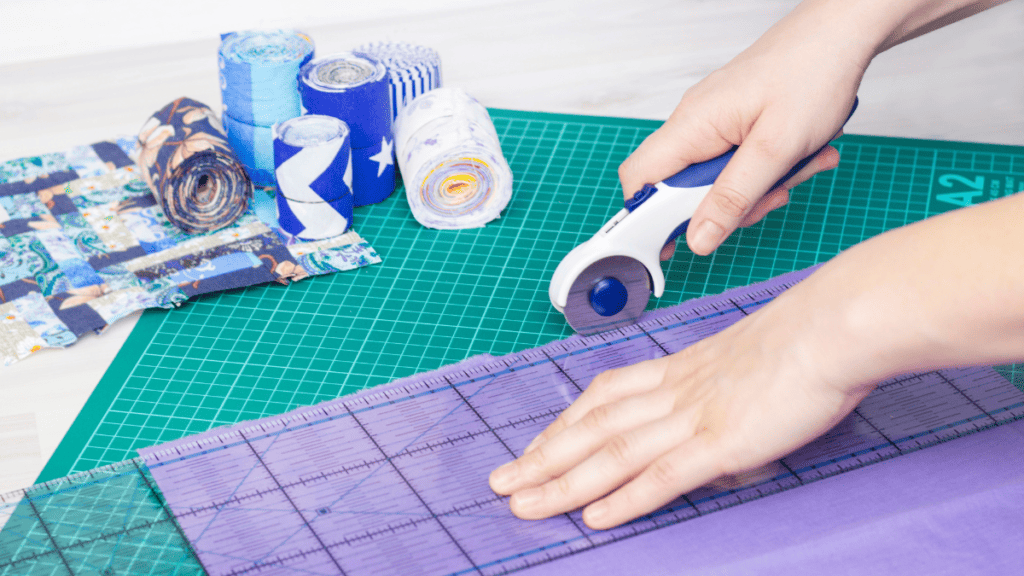
As a quilter, I use my self-healing cutting mat on every single project. It makes cutting so much easier, especially when using a rotary cutter. It was the best investment I made.
Sewing projects are simply easier and quicker using the rotary mat. I have a large working surface so I have large mats and they have lasted for years with proper care.
Other Self Healing Cutting Mats Resources
What is a self healing mat (includes links to my favorite self healing cutting mat with free shipping on Amazon)
How To Clean Self Healing Mats (more in depth info on how to clean your self healing cutting mat)
If you use a self-healing cutting mat, let us know some tips in the comments. This community is so great at helping each other and it’s important to hear other peoples take on using them.
Fabric Giveaway
Enter our monthly fabric giveaway. Simply complete the tasks daily and you will be entered into the drawing. Winner will be randomly drawn on the first day of the month and notified via email