How To Use A Rotary Cutter Make Quilting And Sewing Easy
Crafting and sewing projects often require precise cuts for patterns and fabrics to align perfectly and that is why you need to learn how to use a rotary cutter
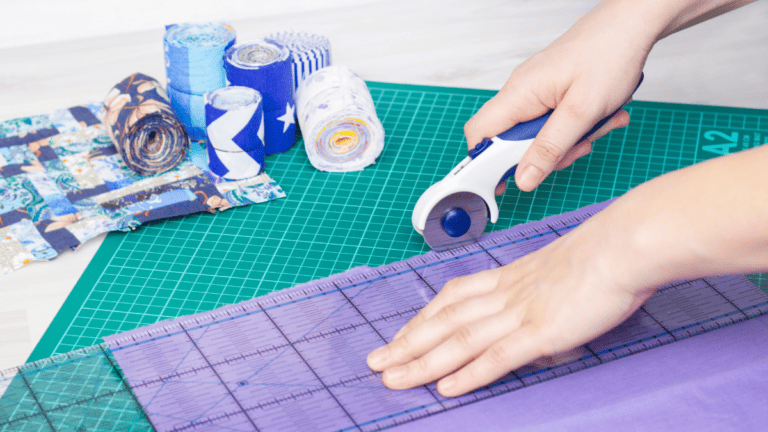
A rotary cutter, with its sharp, circular blade, presents an efficient way to get clean, straight lines every time. This handy tool is a favorite among quilters and sewists for its ease of use and the professional-looking results it delivers.
To use a rotary cutter effectively, you’ll need a cutting mat and a clear ruler alongside your cutter.
These accessories not only protect your surfaces and provide straight edges for your blade to follow, but they also help to ensure your safety, which is paramount when handling sharp instruments.
With the right setup and technique, you’ll be slicing through materials smoothly and quickly, significantly speeding up your cutting process compared to traditional scissors.
Getting Started with Rotary Cutters
Before diving into the world of rotary cutters, it’s key to understand that having the right tools and setup is essential for precision cutting, especially in projects like quilting where accuracy is paramount.
Choosing the Right Rotary Cutter
Your choice in rotary cutters is pivotal for comfy crafting. Different brands offer different sizes and styles to fit your grip and cutting needs.
Small rotary cutters, often 18mm in diameter, are perfect for intricate work, while larger cutters, like the 60mm size, can slice through multiple layers with ease.
Assess what you’ll be cutting most often and match your cutter to your projects. Here’s a quick guide to your blade size:
- 18mm rotary cutter: Ideal for small, detailed cuts.
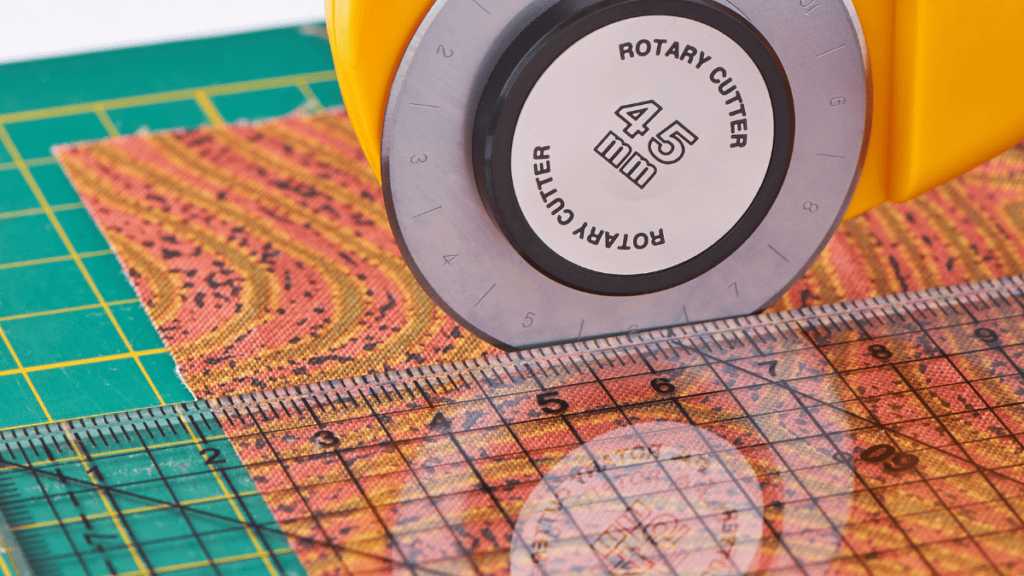
- 45 mm rotary cutter: The most versatile size, great for general use.
- 60 mm blades rotary cutter: Best for heavy-duty cutting through thick fabric or multiple layers.
Understanding Blade Sizes
The mm blade size of the rotary blades determine how much material it can cut through in one go, without sacrificing precision.
Large blades are great for big, straight cuts, but if you’re working on something with tight curves, a smaller blade might be your best bet. Remember, no matter the size, always keep the round blade sharp to prevent dragging and uneven cuts.
Setting Up Your Cutting Area
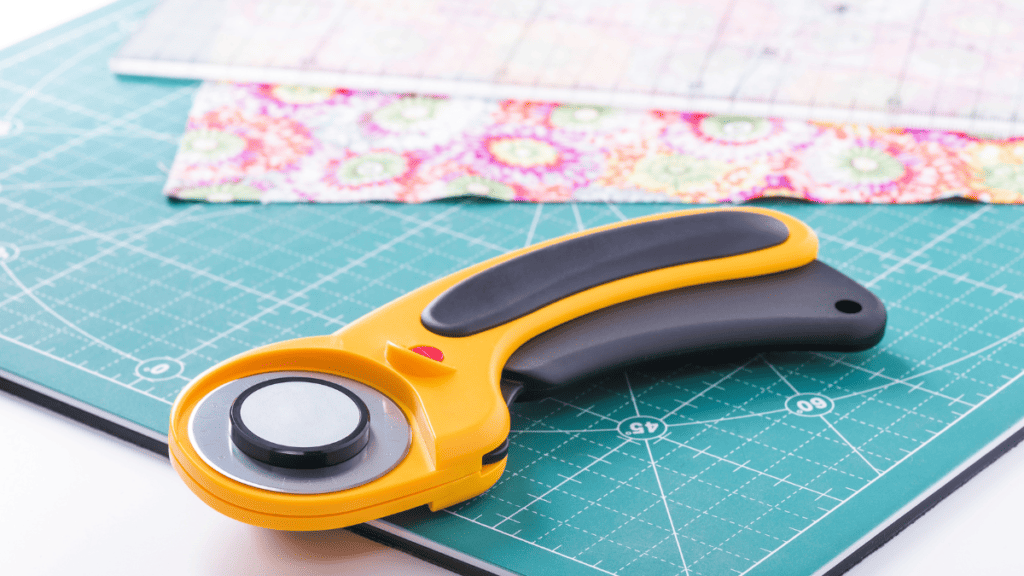
Setting up an efficient cutting area in your sewing room helps maintain accuracy and safety. You’ll need a good cutting mat; it not only protects your surfaces but also extends the life of your rotary cutter blades.
The mat should be placed on a stable, flat cutting surface that’s at a comfortable height. This setup will reduce strain on your arms and back, and keep your cuts clean. Always ensure the mat is larger than your largest piece of fabric to avoid any mishaps.
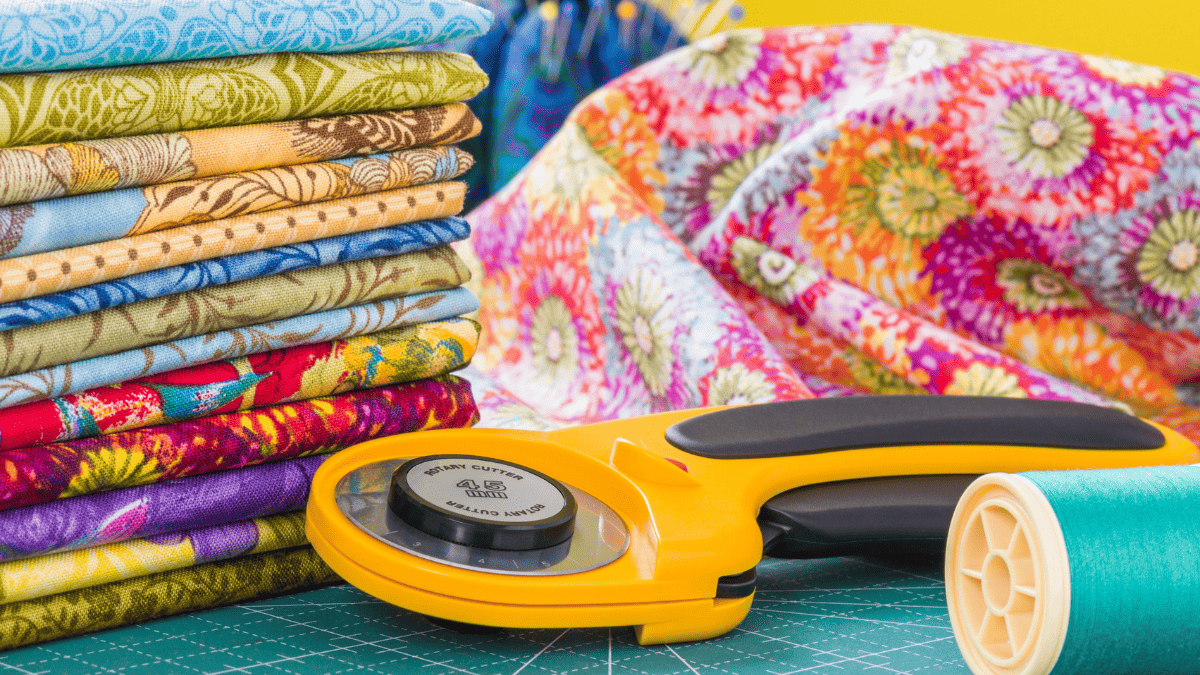
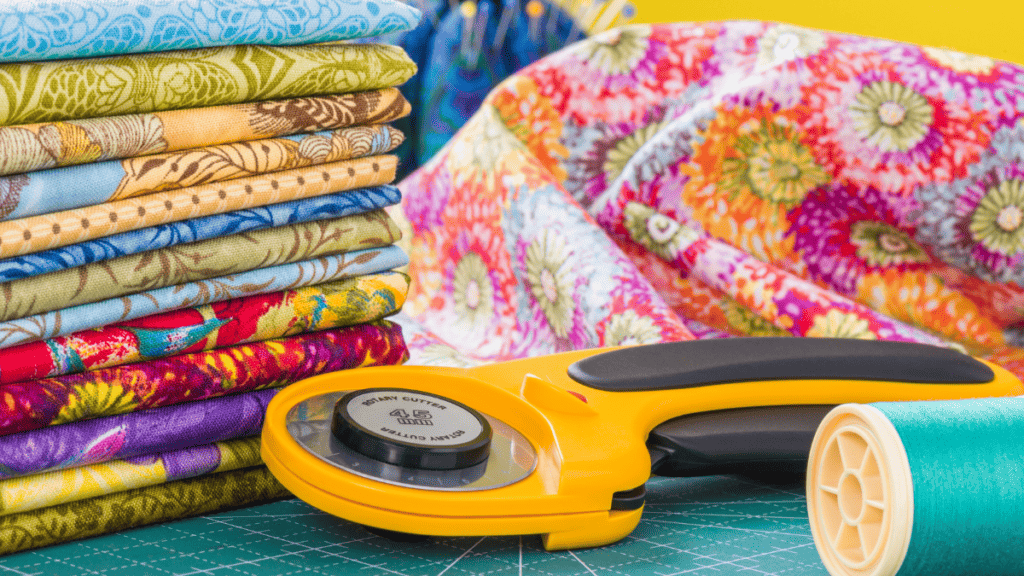
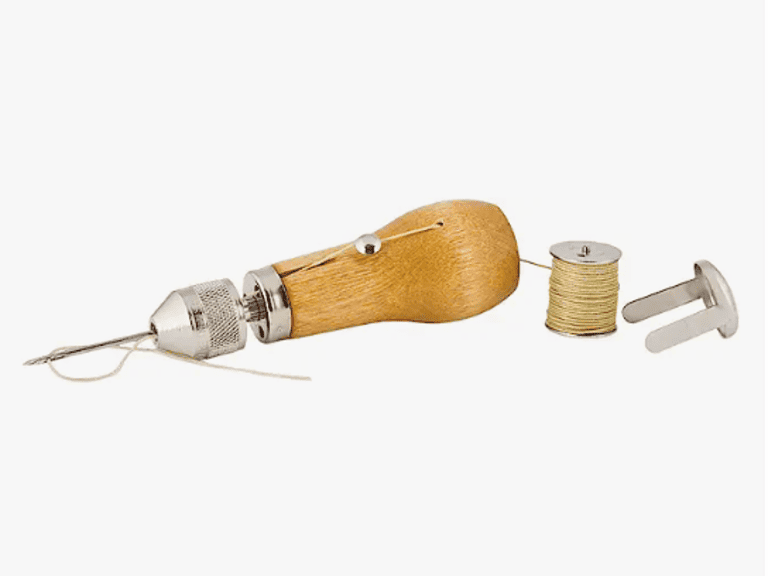
Rotary Cutter Supplies
If this is your first cutter, here are some supplies including the cutting tool to get your started.
How To Use a Rotary Cutter
When working with a rotary cutter, the precision of your cuts can transform your sewing project. These techniques will help you make perfect, clean cuts on both straight lines and curves, maximizing the yield of your fabric.
Mastering Straight Cuts
Start by aligning the fabric’s edge with the guidelines on your cutting mat to ensure a square foundation.
Holding the ruler firmly on the fabric, align it to the line you wish to cut. Keep the ruler on the right side to guide you and prevent measurement errors.
When you make the cut, apply consistent pressure on the rotary cutter and glide it along the straight edge of the ruler, ensuring straight and clean cuts.
Horizontal lines are often the simplest to achieve, usually requiring just one smooth movement. Here are quick steps for perfect straight cuts:
- Ensure fabric layers are flat and smooth.
- Align the ruler’s edge with the desired measurement.
- Hold the ruler steady with your non-dominant hand.
- Run the cutter smoothly along the ruler’s edge.
Navigating Curves and Corners
Cutting curves require a steady hand and a focused eye. To maintain precision on curved lines or corners, move the fabric rather than the cutter, keeping the blade’s motion consistent.
Slow down as you approach tight curves and reposition your hand as needed to support the fabric. For complex shapes or sewing patterns, consider using a smaller cutter for better control.
Here’s how to maintain accuracy on curves:
- Secure the fabric without stretching it.
- Position the cutter to follow the curve closely.
- Gradually pivot the fabric as you cut, realigning as needed.
- Slow cutting speed around tight corners to maintain control.
Maximizing Fabric Efficiency
Efficiency is not just about reducing waste but also about achieving the most cuts with the least effort.
Plan your cuts by laying out your sewing pattern strategically to minimize excess fabric between pieces.
Stack fabric layers accurately and make sure they don’t shift. Remember to follow the grain of the fabric for the best results in your finished project. Here are tips for efficient fabric use:
- Lay out cutting patterns with minimal space between components.
- Use weights or pins to secure layers before cutting.
- Double-check alignment with the ruler before each cut.
Employing these rotary cutting techniques will ensure that every piece you cut contributes to the success of your sewing projects.
Safety and Maintenance
When using a rotary cutter, safety should be your top priority, along with proper maintenance to ensure that your cutter lasts as long as possible and performs well.
Handling and Storage
Always use a blade guard when your rotary cutter is not in use. This will protect you from accidental cuts and keep the blade sharp. When you’re done using your cutter, store it in a safe place, ideally in a dedicated storage case or on a magnetic strip away from high traffic areas. Make sure the blade cover is securely in place before putting the cutter away.
Replacing Dull Blades

Working with dull blades not only makes cutting more difficult but also increases the risk of accidents as you apply extra pressure. If you notice any skipping or difficulty slicing through materials, it’s time for a new blade. Here’s a quick step-by-step on how to replace your blade:
- Disassemble: Unscrew the nut or bolt holding the blade in place.
- Remove and Dispose: Carefully take the old blade out and dispose of it properly in a sharps container or wrapped carefully to prevent accidents.
- Replace: Place the new blade onto the cutter, ensuring it sits evenly.
- Reassemble: Screw the nut or bolt back on without over-tightening to secure the new blade.
Keeping Your Cutter Sharp
To maintain a sharp blade, it’s essential to use a cutting mat to avoid dulling the blade prematurely.
When not in use, store extra blades in a safe, dry place, preferably wrapped in the original packaging or a felt piece to prevent tarnishing. Rotate between a few extra blades to extend the life of your cutter, giving each a break to stay sharper longer.
Advanced Tips for Expert Quilting
Taking your quilting to the next level involves mastering complex patterns, efficiently handling multiple fabric layers, and ensuring precision in every quilt piece. Get ready to elevate your projects with these advanced techniques.
Working with Complex Patterns
When tackling intricate designs, your first step is to identify the pattern piece sequences. Plan your cuts ahead of time to avoid mistakes.
Keep your seam allowances consistent; even a small deviation can throw off complex patterns. Use a fine-tip marker to trace the pattern onto your fabric, which helps in maintaining the shape integrity of each quilt block.
Layering and Cutting Multiple Fabrics
Cutting several layers of fabric at once saves time but requires careful alignment. Stack up to four layers flat and smooth to avoid any shifting.
Secure them with quilting clips if needed. When you’re ready for those long cuts, ensure your rotary cutter blade is sharp to avoid snagging the fabric or causing misshapen edges. Proceed with a firm, steady hand and maintain equal pressure from start to finish.
Achieving Precision in Quilting Projects
Accurate cuts, especially for your first quilt. For accurate quilt pieces, consider using an acrylic ruler with grid lines that align with your cutter.
This helps maintain straight lines and precise angles. Don’t rush; take your time to check each cut against your pattern piece and if needed do a fresh blade if the fabric isn’t cutting on the rotary mat.
Remember, every pattern has a grain line; align this with your fabric to maintain the drape and structure you’re aiming for in the final product. Employing these methods ensures each block fits perfectly, creating a professional-looking quilt.
Quilt Patterns
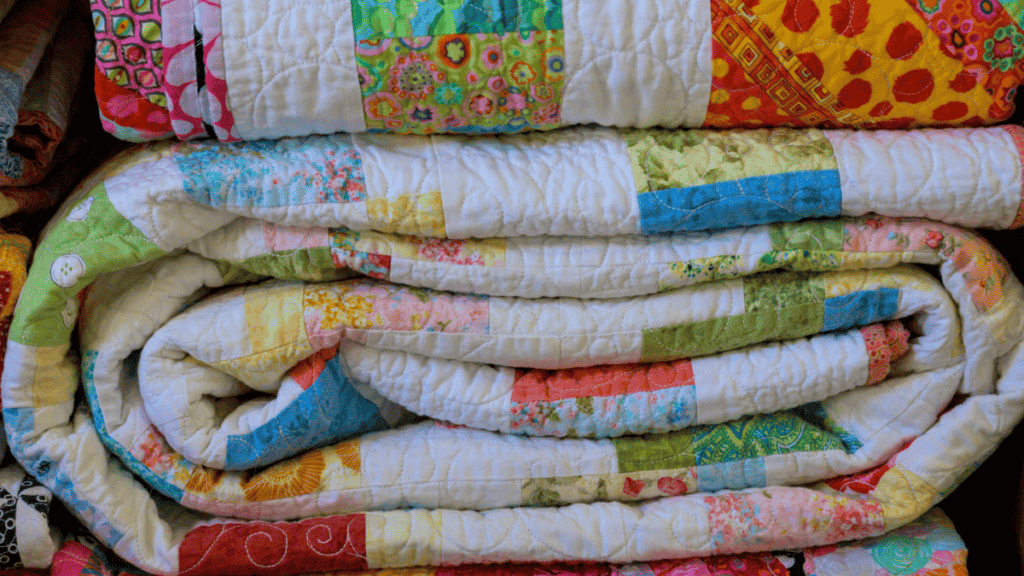
See all Quilt Patterns
Any of these are perfect for using traditional rotary cutters to ensure you have the perfect size pieces for your quilts.
Fabric Giveaway
Enter our monthly fabric giveaway. Simply complete the tasks daily and you will be entered into the drawing. Winner will be randomly drawn on the first day of the month and notified via email


One Comment