

How to sew a potholder: free quick and simple pattern
Are your kitchen potholders (hot pads) looking a little worn out? It is easier than you think to make square potholders that match your kitchen decor. Here are a few reasons to consider making new ones, especially since they are an indispensable part of the kitchen:
The standard size of a potholder is 7″ but the front of this DIY potholder will measure 8 inches. They are adorable patchwork potholders with an easy potholder tutorial that anyone can make. If you want a small potholder or even a mini potholder, simply make your back piece and front pieces smaller when cutting.
This tutorial is an easy project to make, and super cute, if you have pieces of fabric you can simply use scrap fabrics. Each potholder measures 8×8”
Get a Free Pattern Every Friday

Materials Needed
You only need a few basic sewing supplies to make this quilted potholder.
- Fabric: Four 8 x 8-inch fabric squares. Use three squares in the same color or print and one contrasting square.
- Insul-Bright: One 8 x 8-inch square for the insulating layer.
- Sewing machine
- Thread: Choose a coordinating thread.
- Ruler: For measuring and marking your fabric.
- Fabric marker: For marking your quilting lines.
- Rotary cutter or scissors
- Sewing pins or clips: To hold your fabric pieces together.
Fabric Tip: You can absolutely use scrap fabric for this project! Choose three coordinating pieces and one contrasting fabric to make the woven design stand out.
Cutting Your Fabric
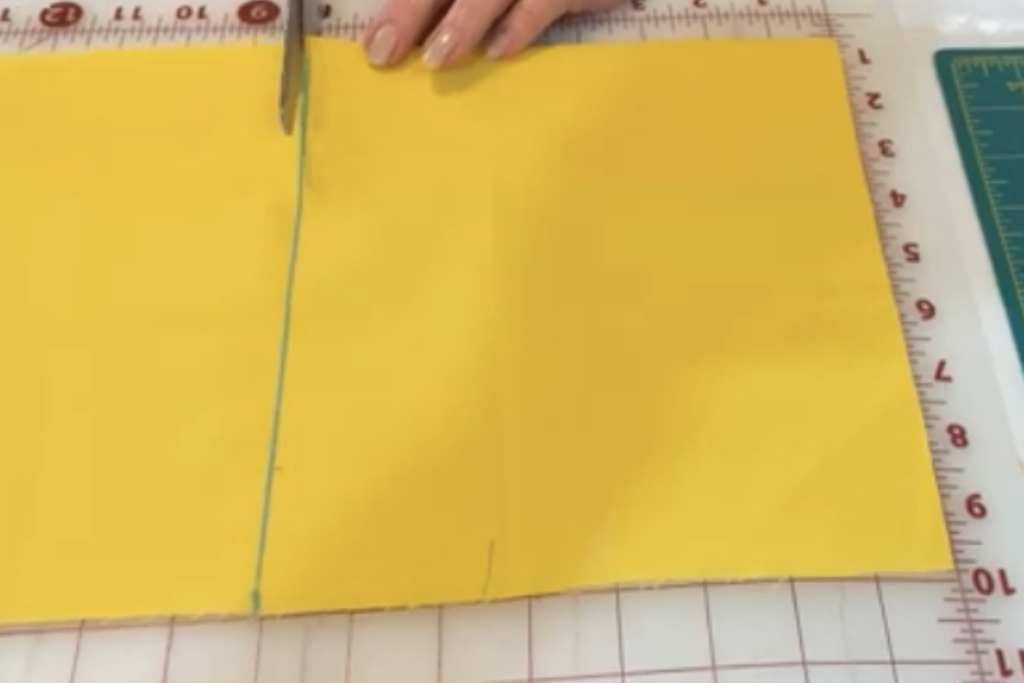
Before you begin sewing, you’ll need to prepare your fabric pieces.
- Cut four fabric squares measuring 8 x 8 inches.
- Choose four squares in the same color or print.
- Choose two squares in a contrasting color or print.
- Cut one 8 x 8-inch square of Insul-Bright.
You should now have four fabric squares and one square of Insul-Bright.
Easy Quilted Potholder Pattern Instructions
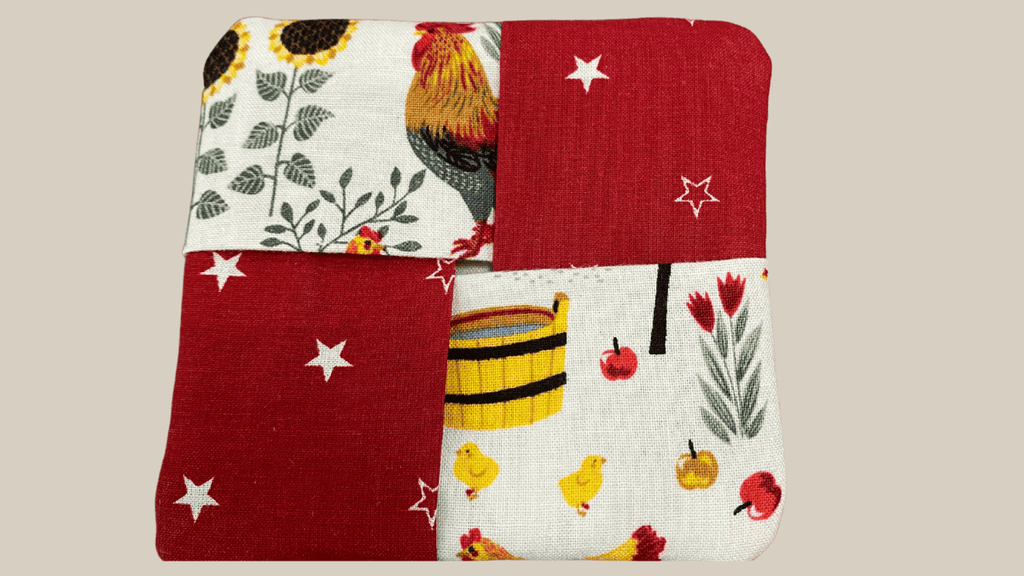
Step 1: Prepare the Bottom Layer
Take two of your matching-color fabric squares and your Insul-Bright.
Place the Insul-Bright between the two fabric squares.
Arrange the fabric so the right sides are facing outward, with the Insul-Bright sandwiched in the middle.
Use sewing pins or clips to hold all three layers together.
Step 2: Quilt the Bottom
Now it’s time to secure the layers together.
Using your sewing machine:
- Sew diagonally across the layered square in one direction.
- Sew diagonally in the opposite direction to create an X.
- Stitch around the outside edge using a straight stitch.
This quilting helps hold the layers together and keeps the Insul-Bright in place while you work on the rest of the potholder.
Step 3: Arrange the Fabric for the Woven Design
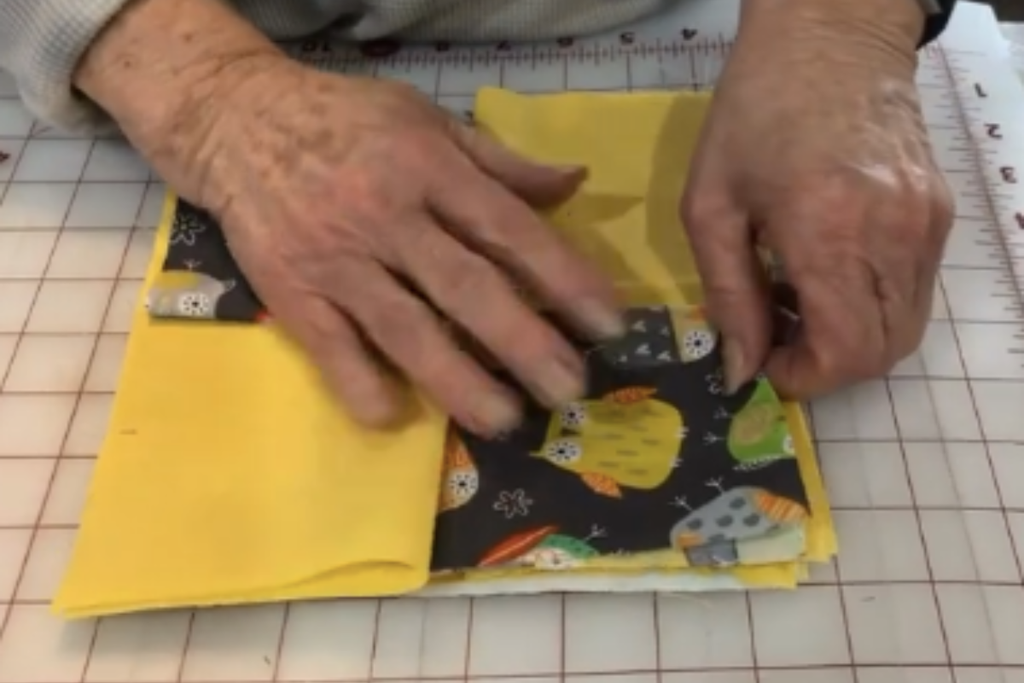
Now comes the fun part!
Take your contrasting fabric square and your remaining fabric square.
Arrange and weave the fabric sections together with the quilted base to create the four-square design.
Fold the fabric sections over one another to form the woven center. Refer to the project photos to see how the fabric pieces are arranged.
Take your time with this step so the sections are evenly positioned.
Step 4: Pin or Clip Everything in Place
Once you have your woven fabric sections arranged, use sewing clips or pins to hold everything securely.
Check that:
- The four sections are evenly arranged.
- The fabric edges are aligned.
- The woven center is lying flat.
- All the layers are secured before sewing.
Step 5: Sew Around the Potholder
Using your sewing machine, sew around the outer edge to secure the woven sections and layers together.
Be sure to backstitch at the beginning and end of your stitching.
Once you’re finished sewing, trim away any loose threads.
Step 6: Turn the Woven Sections
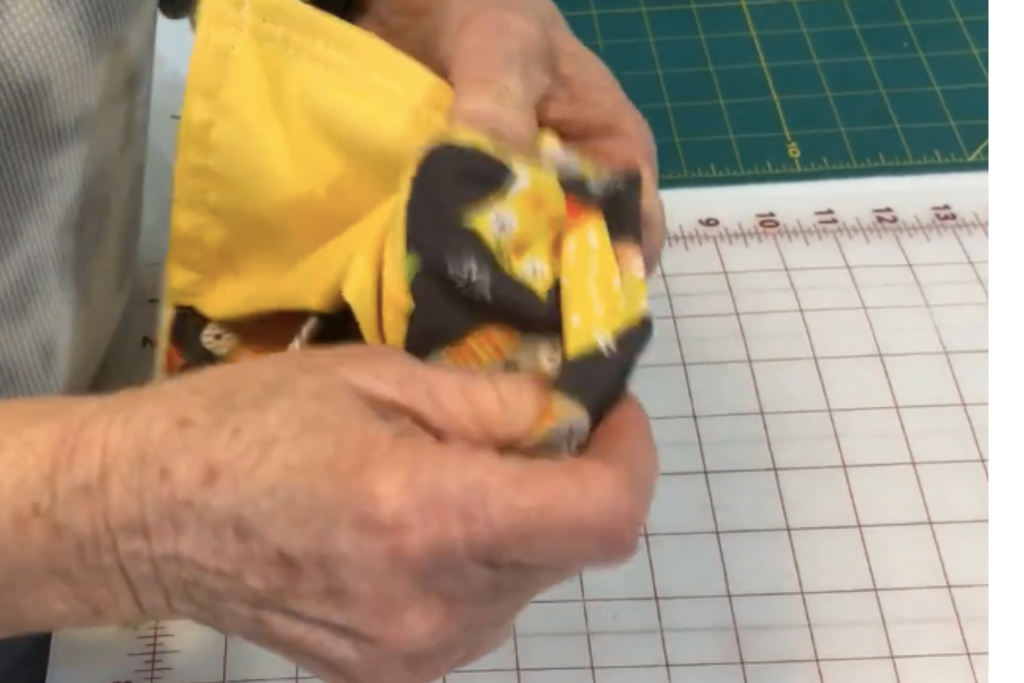
Now it’s time to reveal your finished potholder!
Carefully turn the middle fabric pieces through the center to reveal the woven four-square design.
Gently arrange the fabric sections so everything lies flat.
Step 7: Add Optional Topstitching
If you’d like to give your potholder a more finished look, you can add a straight line of topstitching around the outside edge.
This step is optional but adds a nice finishing touch.
Your easy quilted potholder is complete!
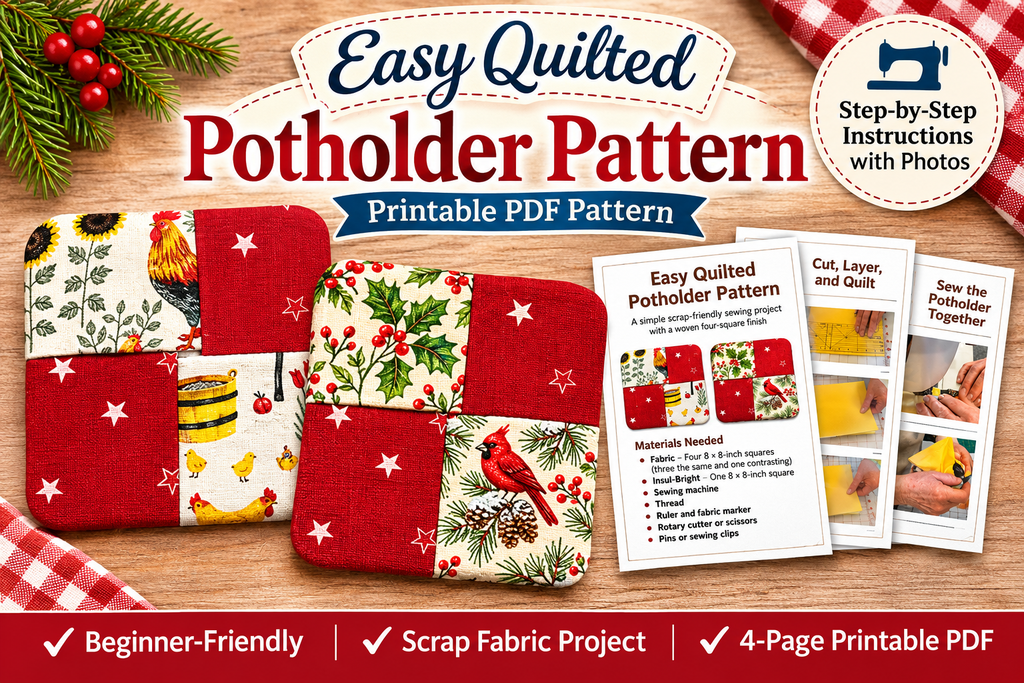
Make a Christmas Quilted Potholder
One of my favorite things about this project is how easy it is to customize with different fabrics.
For a Christmas version, choose a combination of red fabric and coordinating holiday prints.
Try:
- Red fabric with white stars.
- Holly and berry prints.
- Cardinal or evergreen fabric.
- Traditional Christmas prints.
You can follow the exact same instructions and create a beautiful handmade Christmas potholder. These would also make thoughtful handmade gifts for friends and family.
Instructions

Video tutorial for potholder
Sewing projects you might like
Fabric Giveaway
Enter our monthly fabric giveaway. Simply complete the tasks daily and you will be entered into the drawing. Winner will be randomly drawn on the first day of the month and notified via email


Excellent information about singers. I do own the featherweight portable 221 for many years.