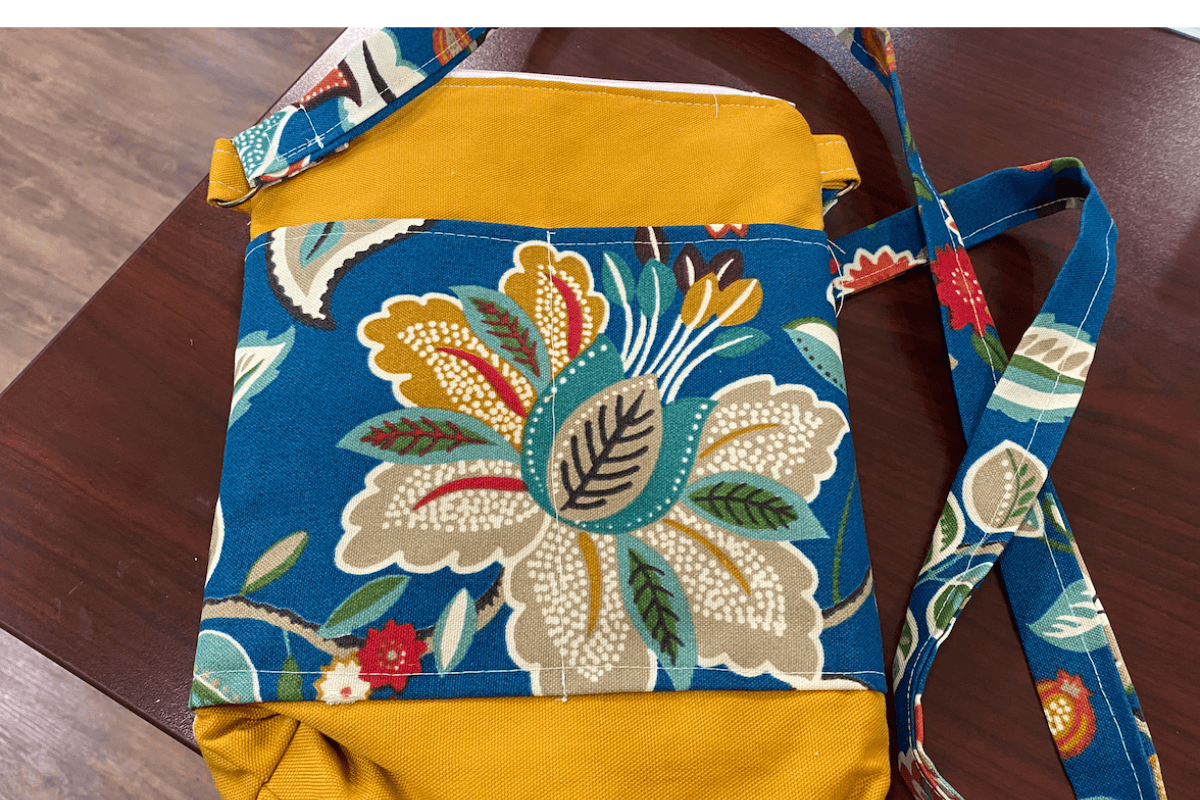
Easy Crossbody Bag Pattern
I was looking for a new purse pattern and I love a crossbody bag. I saw this crossbody bag pattern and made some changes and it is my favorite purse.
You can follow the instructions below or grab the PDF with more photos and help via messages.
Supplies for Crossbody Bag Pattern
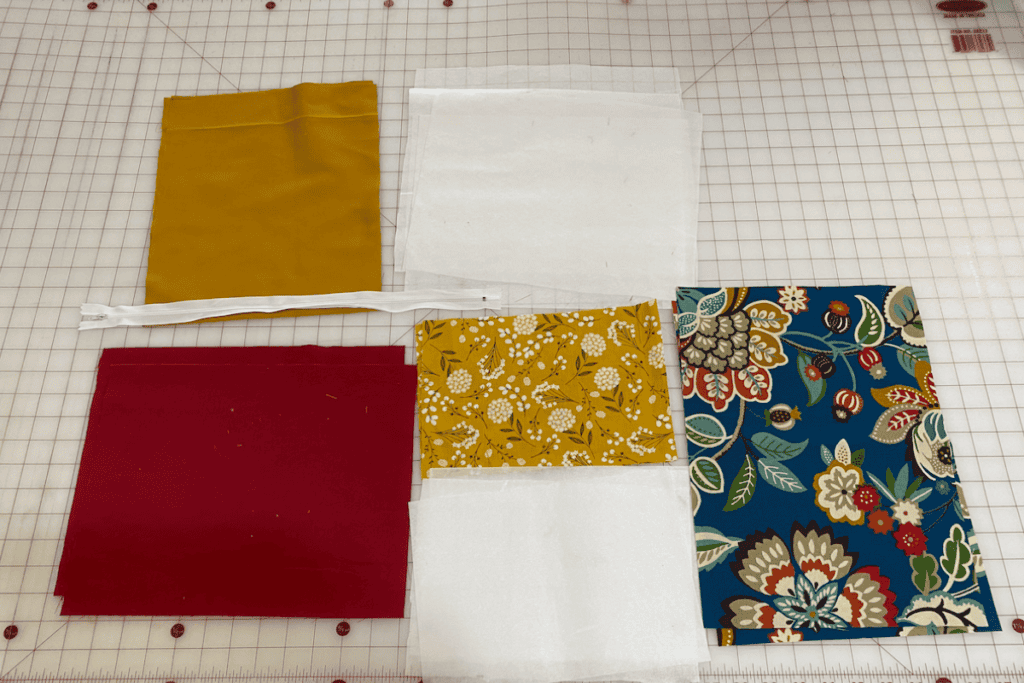
I used a heavier fabric for the base and a duck fabric for the blue fabric. I also added a medium weight interfacing to give it even more structure.
If you need the D rings or duck fabric I love Amazon because of the free shipping and quick shipping. I also find great fabric at Joann’s and I use Rakuten for cash back when you order online.
Crossbody Bag Pattern PDF

Sewing Instructions
Cut the following pieces of fabric:
Outside fabric (what shows at the top)
- 2 pieces of fabric 10 x12.5”
- 2 pieces of lining 10 x 12.5”
- 2 pieces of medium or heavy weight interfacing 10x 12.5”
Outside Pockets
2 pieces 14×10”
Inside pocket
- 2 pieces 10×7
- 2 pieces interfacing 10×7
Strap:
4” x 43 “ (You can always adjust depending on your own preferences)
D-ring holder
2 pieces 4×2
Zipper
2 pieces 2” x 1 ¼”
Cut out a 1” square on all your lining and outer pieces minus your pockets
Add your interfacing to all the pieces
Strap

Photo Credit: Nanasewing.com
Create your strap by cutting your strip. You may need to sew 2 pieces together for the length. Next head to your iron and iron your pieces in half and then iron each half to the middle and then turn so that the outside edges are tucked in. Sew all 4 sides using a topstitch.
Inner Pocket:
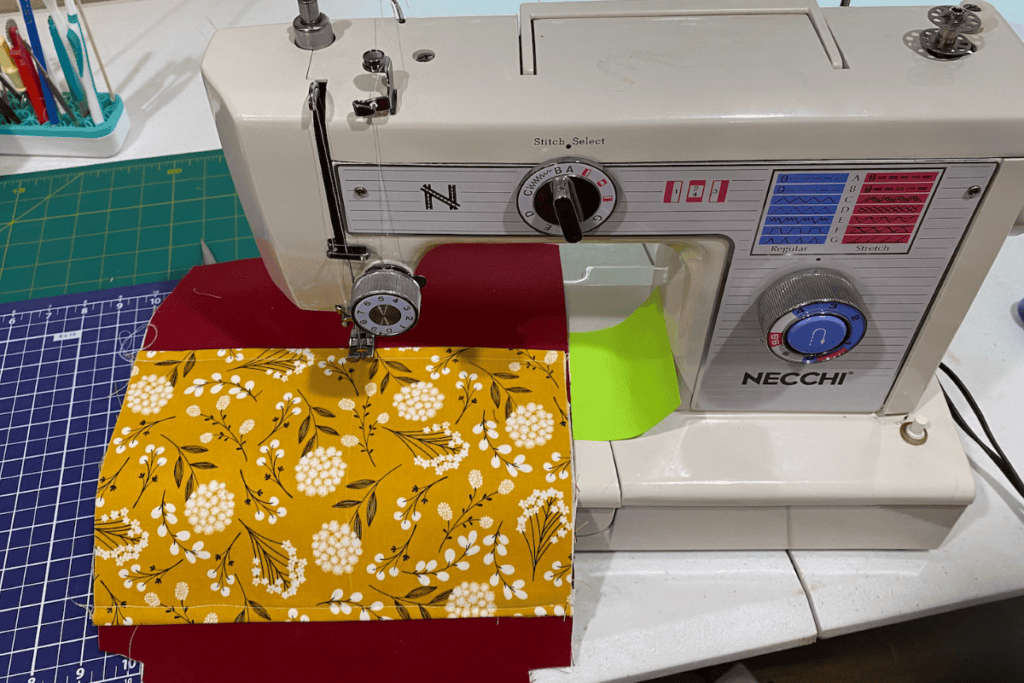
Photo Credit: Nanasewing.com
Sew the end of both pieces of pocket using a 3/8 seam allowance and turn then topstitch one side.
Add it to one inner piece and sew the bottom, both sides and a middle seam.
Outer pocket

Photo Credit: Nanasewing.com
Sew one end and turn and then sew a topstich down one side
On the outer outside fabric measured down 3” from the top (not where notches are)
On lining measure down 3” and mark from the top. This is where your pocket will go.
Sew the bottom of your pockets (inside and outer pockets)
Fold your piece in half and mark a line down the middle using a marking pen and sew down the middle on all 3 pieces
You then want to sew each side of your pockets of all your pieces so that the middle, bottom and sides are all secure.
Zipper Stoppers
Next you want to create stoppers for your zipper. Fold in half and iron and then fold each section in half and put the ends of each part of your zipper in each piece.
D Ring
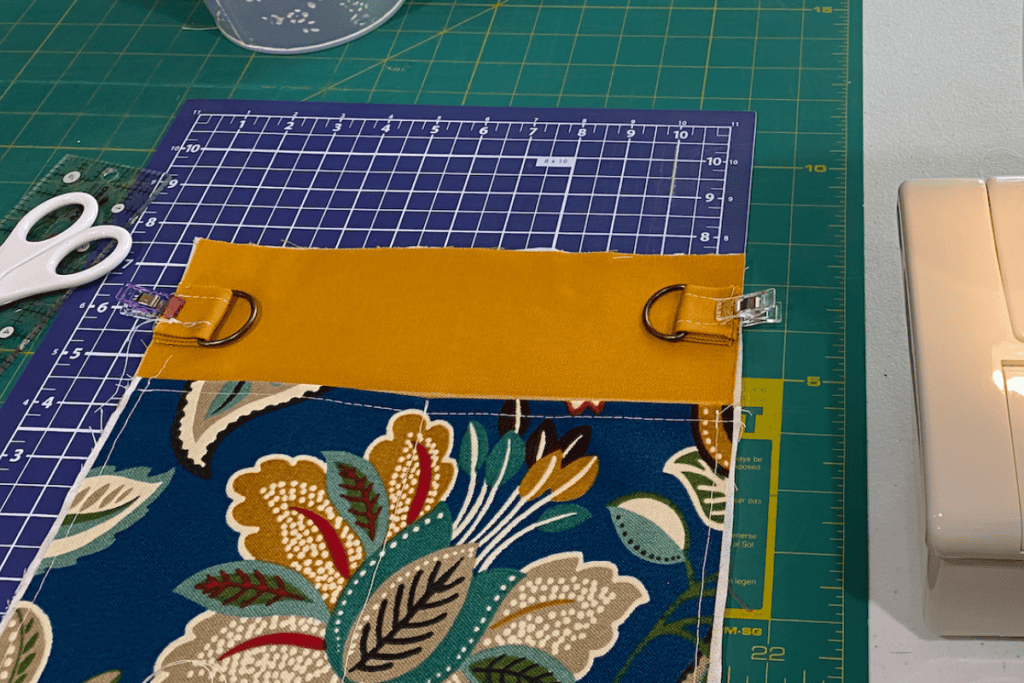
Photo Credit: Nanasewing.com
Create your strips for your D ring by folding in half and then each in half and then that piece in half and then sew down both long sides of each piece.
You will measure 1” from the top of your outer pieces and mark with a marking pencil or pen.
Place your D ring right below that mark with the d ring facing inward. Secure that to your pieces. Make sure and backstitch a few times the entire width for added security.
Adding the Zipper

Photo Credit: Nanasewing.com
Place an outter piece facing you and place your zipper with the zipper down and then add your interior lining with the pocket on top of that right sides together. Stitch all along the top taking your time making sure you catch all 3 layers.
Open your pieces and fold your lining to the inside. You should see your outer piece facing you with the zipper at the top. Grab your other outside piece and lay near the zipper with the top facing the zipper.
Take your bottom piece that has the zipper and fold it over to the other outer piece. Add your other lining to that sandwich making sure right sides are together.
Just like previously, you are going to sew the top edge making sure you catch all 3 pieces.
Now you will open all your pieces making sure you only have the zipper flat on your table. You want to sew down both sides to secure it. You should only be sewing your outer fabrics.
You want to open your zipper at least ¾ of the way before you do the next steps.
Next you want to line up your outer fabric right sides facing each other and your lining right sides facing each other. You are going to sew down all your edges. All the way across your outer fabric and slightly in on your lining making sure you leave an opening.
Make sure and align your seams where your zipper is. This is the hardest part and if your fabric is too thick, you may need to use a walking foot. I simply went really slow and was able to get through the sections.
Boxed Corners
Create your boxed corners by bringing your corners together and sewing ⅜ of a seam allowance and trimming the excess fabric. Do this on all 4 sides.
Finish your Bag
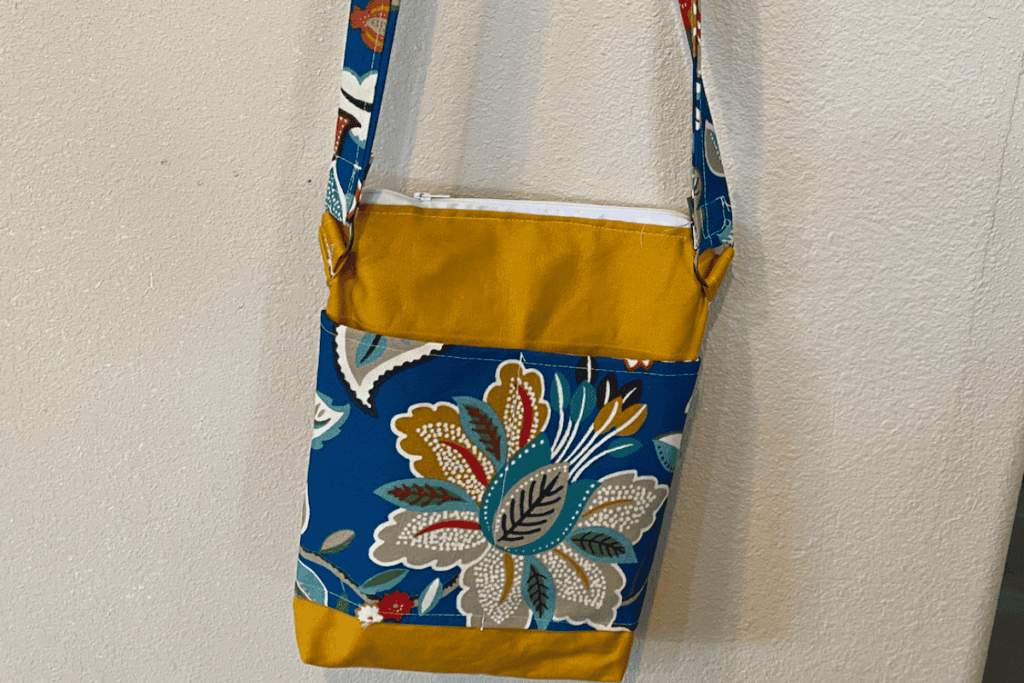
Photo Credit: Nanasewing.com
Now you want to pull through all of your pieces and close the bottom of your lining.
Now push in your lining. You want to add your straps. Adjust it to the size you need. I made sure the raw edges were to the inside of the bag and I sewed a box around the edges of the ends to help it have strength.
Easy Sewing Patterns
Here are our top 5 easy sewing patterns
Fabric Giveaway
Enter our monthly fabric giveaway. Simply complete the tasks daily and you will be entered into the drawing. Winner will be randomly drawn on the first day of the month and notified via email